HOW TO PHOTOGRAPH AN EGG - part 1
We have a little Easter treat for you! There is no Easter without eggs and so today, we'll give you a little tutorial on how to photograph the humble egg.
Today, we're giving you a few examples on how light can affect the way that your egg looks and how to achieve it without studio lights, costly props etc. In Part 2, we give you an idea of how to apply a few photographic composition principles to capture the egg.
Let's start simply:
The minimalist egg
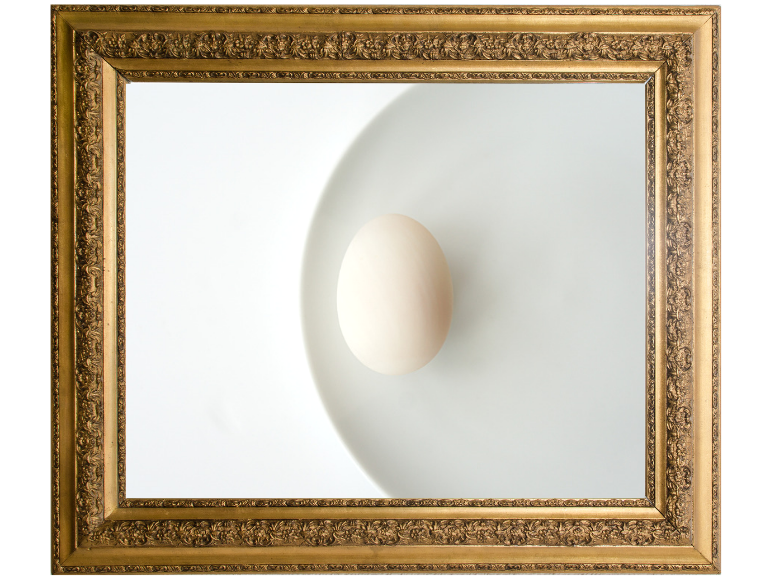
White egg ( mine was duck's ) on white plate, and white background. Pure simplicity. Nothing there to distract from the oval beauty of the egg.
What I did:
I placed the egg and the other props by a window with indirect natural light coming in. That means, the sun was not directly opposite the window, so the light was gentle, rather than harsh.
I used a white foamboard as a background placed on the table and put a simple white plate on it. Then I placed the egg on one of the edges of the plate and composed so that I could capture a fragment of the plate in such a way that the curve of the plate creates a partial frame, bringing the eye to the egg.
All elements - the backdrop, the plate and the egg were white - albeit in slightly different shades of white - this allowed me to create a minimalist, shades of white image that uses shapes as its main composition principle.
I used solely natural light from the window - the gentle light created only gentle, wrap-around shadows which highlighted the eggy shape and made the egg look three dimensional rather than flat but were not too harsh at the same time.
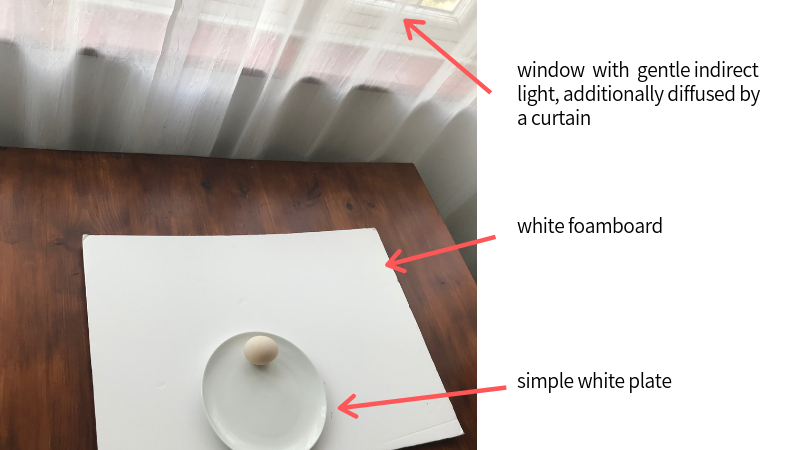
I experimented with reducing the shadows by bringing another foamboard to the side of the picture, but found that the added extra light didn't work out in this composition - it took too much of the shadow away and made the composition look flat.
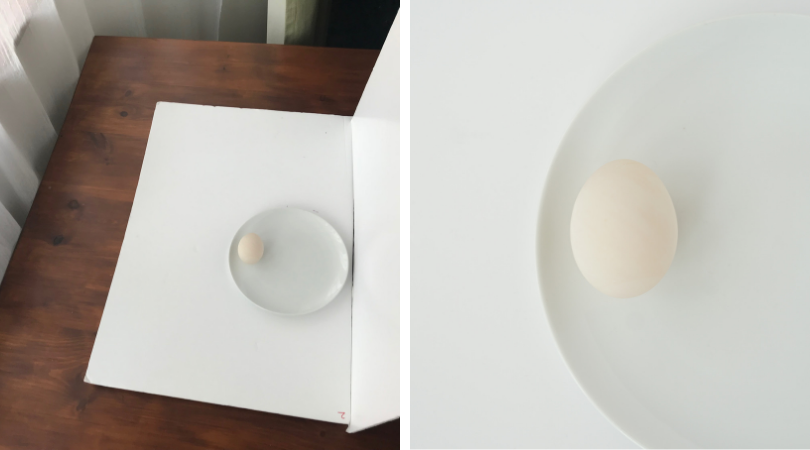
Important note on exposure. The images you are seeing are SOOC ( straight out of camera) = no editing beyond a gentle crop. To make sure I got the right look and the right exposure in this white on white on white image, I ended up overexposing by 2 exposure stops - otherwise the image was looking very ashen. I did that in manual, but if you're shooting in semi-auto modes, you can use the exposure compensation button.
The drama egg
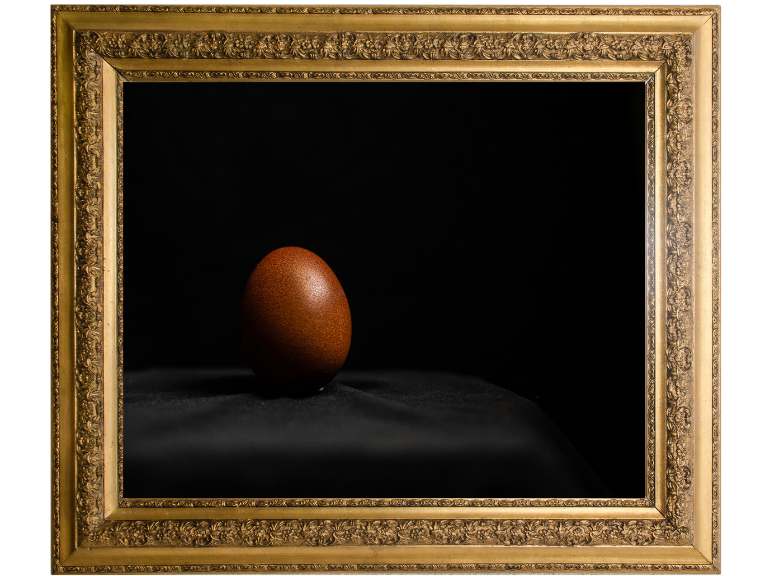
Just as our last photo relied on small and gentle shadows, this one takes full advantage of more dramatic light to highlight the egg's texture ( I just loved how freckly it was ) and shape. The shadows are deep and sharp, the backdrop impenetrably black. The light shines and reflects of the shiny egg, giving it a bit of a sheen.
What I did:
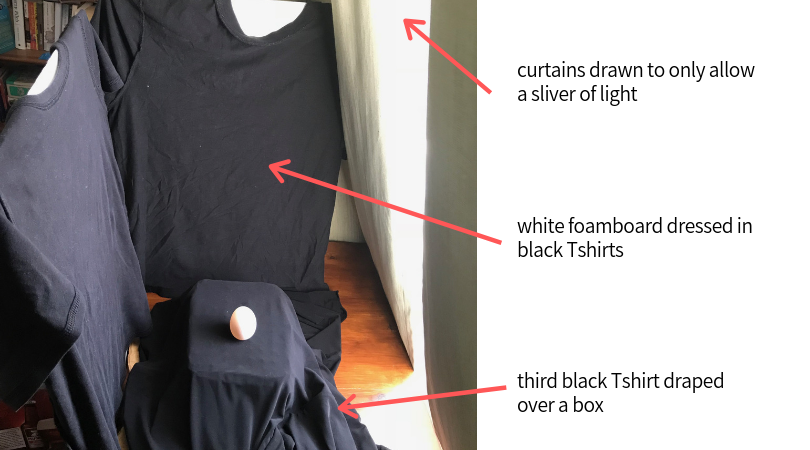
This is a tale of 3 black t-shirts which I used to 'dress' my white foamboards. My egg was placed in virtually the same place as in the last picture, with the window by its side, slightly elevated compared to the plate I used previously.
I then used the curtains to narrow down the beam of light coming onto the egg - I wanted the light to be coming from one direction only and since it was overcast and all I had was indirect light ( which worked so well in the previous image) - I needed a way to shape it a little.
I dressed my whiteboards in the black Tshirts and placed one behind the egg and one on the side facing the light. By using a dark surface there, it meant that the light which would be hitting it from the window would be absorbed and not reflected back onto the egg, allowing me to shape the light more precisely. I used the third Tshirt to drape over a little box the egg was resting on.
How is the egg staying up? Blue tac and a match placed strategically behind it.
Composition wise, I used an approximation of the rule of thirds and allowed more space on the side the light was coming from.
From exposure point of view, the same way as our cameras make white look ashen, they make black look a little more charcoal like. But I wanted black-black and a good contrast with the shiny part of the egg. So I ended up underexposing by -1.7 stop to make it look just right. The image above is again unedited, straight out of camera.
The double egg
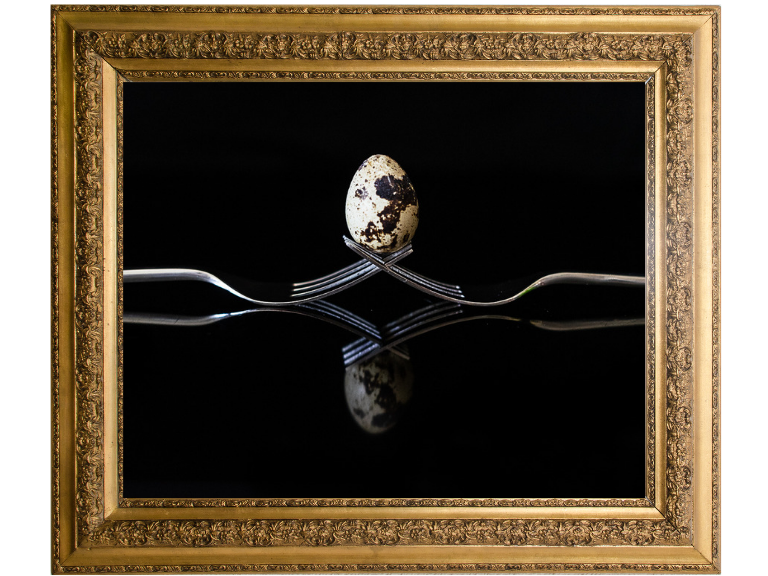
This, to a degree is a version of the Drama egg from above.
I used two intertwined forks to create a little seat for the egg and placed them on a shiny surface. I wanted an uninterrupted black background but to achieve it, I had to improvise. The only shiny black surface I could find in my house was the surface of the cooker. I used my black tshirts draped over my foamboards again, this time using 3 of them and creating a mini booth for the egg so that I could direct the light to come from one direction only to limit the glare on the cooker surface.
I was careful to compose in a way that highlights the symmetry of the composition.
Exposure wise, I had to underexpose again to make sure my black background showed up as true black.
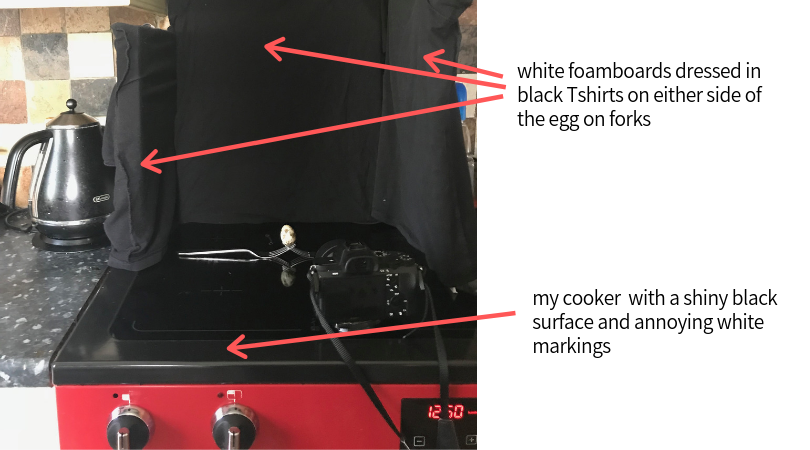
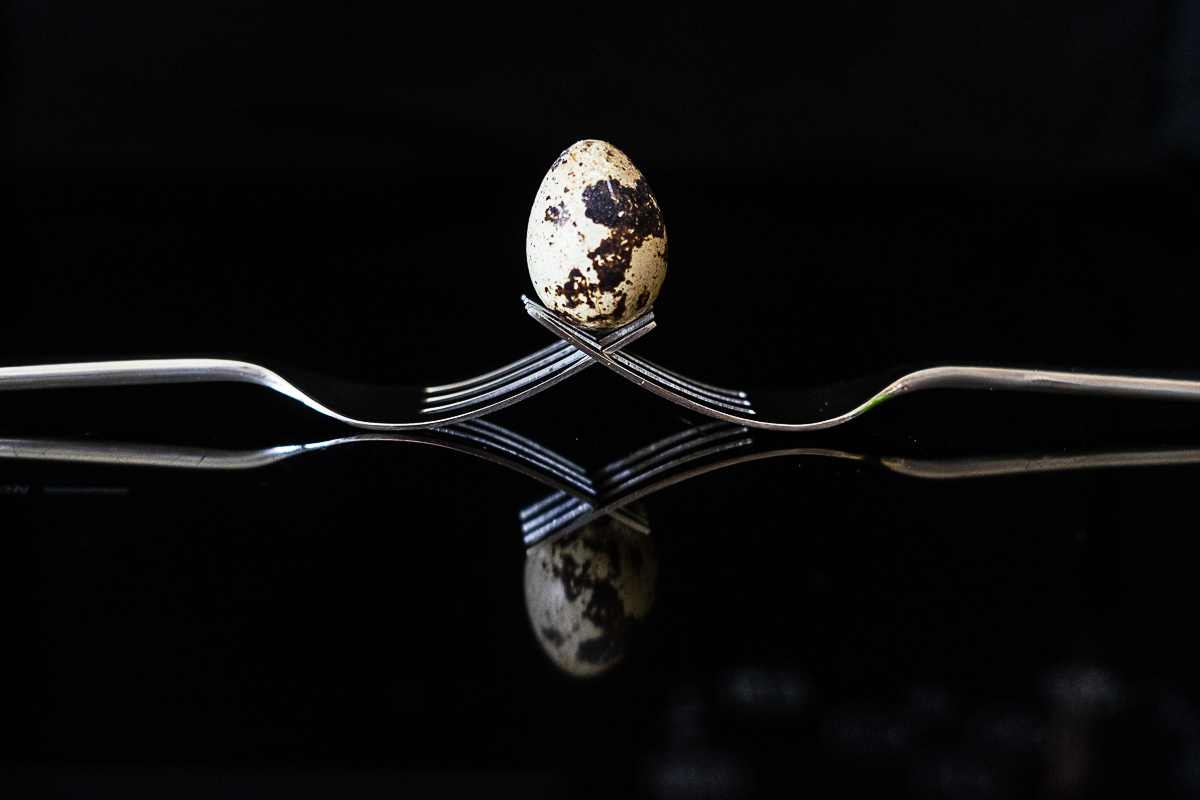
I did perform one small edit after downloading the images from my camera. Due to the nature of my shiny surface ( working cooker!) , I couldn't get away from the white markings ( to regulate hobs and temperature) and they showed up in the original image. I used adjustment brush in Lightroom to get rid of them. See the photo of my set up and the unedited image below - the white markings are showing in the bottom right part of the frame.
If you enjoyed this little round up of ways to photograph an egg, you'll be delighted to find out we have a couple more ways with Egg in our part 2!
