This is it! The very last lesson! But before you dive in, I have a few important announcements for you:
You of course remember that you can win a year's worth of our Photoparents Membership simply for posting a photo for each of the 5 first topics. Today's lesson is exempt ( you will see why when you read it) and you have until Saturday 23rd August to post any missed photos.
And let me tell you, YOU DO WANT THAT MEMBERSHIP - if you're someone who wants to finally learn what your camera does, drastically improve your photography skills and be supported at every step - this is it, I challenge you to find a better. more inclusive, more nurturing service!
To be in with a chance to win, you will also have to tune in Live into our Live Prize Draw - on Sunday 24th August, 8pm UK time. If I call your name and you're not there, I will draw again!
I have a few additional bonus tutorials and info guides to share with you and I'll be adding them in over the next few days as well as opening another Ask Me Anything thread to answer your photo prelated questions so even if you've already posted for each of the topics, stick around so you don't miss out on the extras!
Ready for your last lesson? Read on ( no video this time )
WATCH ME:
WELL DONE MY FRIENDS!
You made it through the summer school and we're now in the final stretch. Maybe you still have some catching up to do on some of the previously posted lessons, so I thought I'd give you something a bit different this week and help you plan for what you're going to do with all the photos you've taken!
Speaking as someone who still hadn't finished editing our last year's holiday photos, (cobbler no shoes and all that) take it from me - USE THIS WEEK to GATHER, BACK UP, ORGANISE, SELECT, EDIT and PRINT your photos. ( if I'm honest I was hoping for a better acronym than GBOSEP but here we are - if you guys can work something better out there for me, that would be great)
I know how very very boring and long this bit is BUT you have done ALL the hard work getting your summer photos, you have bribed and coerced your children into cooperation, you have dragged that heavy camera to places you'd be much more comfortable without it - so please, please for the love of all that is holy to you, don't miss this step.
On this page, we'll be looking at the GBOSE bits. On the next page, I'll be giving you advice on the final Printing options.
Ready?
GATHER:
You probably don't need much input from me on the GATHER stage. You've been doing it all along. My one small bits of advice at this stage is as follows:
If your import process allows you to do it in bulk, rename your photos as they enter your computer to something more memorable than DSL39276 - I would suggest a combination of 'situation' or 'location' and date - nothing fancy: camping_scotland_2025 or similar.

BACKUP
First and foremost: whatever your file organization, DO NOT and I repeat DO NOT delete images from your card unless you have created at least one back-up - preferably two! for your photos. BUT - once it's done, once all the photos from your card are safely in at least 2 locations, put that card back in your camera and FORMAT it.
Do not delete photos off it beforehand - the format process will do that for you. The difference is that deleting images off the card, will almost always leave some bits of data behind (even if you can't see it) and they can lead to your card becoming corrupt in the future. Formatting your card restores your card to a blank slate, just like you got it.
To format your card, you'll need to locate the format option in your camera menu - it can sometimes be a bit hidden, so you'll need to search your camera for it a bit.

Let's get back to the backup.
The safest approach is “3-2-1 backup” — 3 copies of your photos, 2 types of storage (e.g. external drive + cloud), 1 copy off-site (e.g. cloud or drive kept at a family member’s house)
If you are not yet backing up your photos, please start from here. There will be a point in the future when you will look back at this moment and thank your past self for doing it. EVERY drive eventually fails. Cloud services go out of business. Just make your memories safe. And if you're starting now, start from this set you've just uploaded. If you decide to upload all your files dating from 2002 - great. Just do it from your most recent to the oldest.
Backup - but where to?
Cloud Storage and Backup

Let's start with online options.
- Google photos is nice and free up to 15GB ( that's across all the Google services you use so it includes google photos, Gmail, google drive, etc). 15GB won't get you very far these days as the photo files get bigger but you can upgrade your storage options starting from under £2.49 per month for £200GB or up to possible 30TB of space - depending on how much storage you need.
- Amazon Prime - if you are Amazon prime subscriber you have unlimited photo storage included in your subscription.
- Dropbox - not strictly photo storage but can be really good value as you get 2TB of space for £10 a month and it can easily be integrated across all your devices. It's not ideal for viewing photos, but as backup, it works great ( I use it)
- Icloud and Apple Photos - if you're a mac or iPhone user, you likely have some of that already. Again, the basic option is fairly limited, but if you are already paying for more, you might as well use it. You pay £2.49pm for 200GB or £6.99 for 2TB of space
There are more out there of course, but I'd encourage you to find one that can be easily integrated into a process - so ideally something that you can backup to effortlessly, with a simple click or even automatically, rather than something you'll have to actively log into and turn on. All the options above allow that which is why they are on my recommended list.
Hardware Storage and Backup
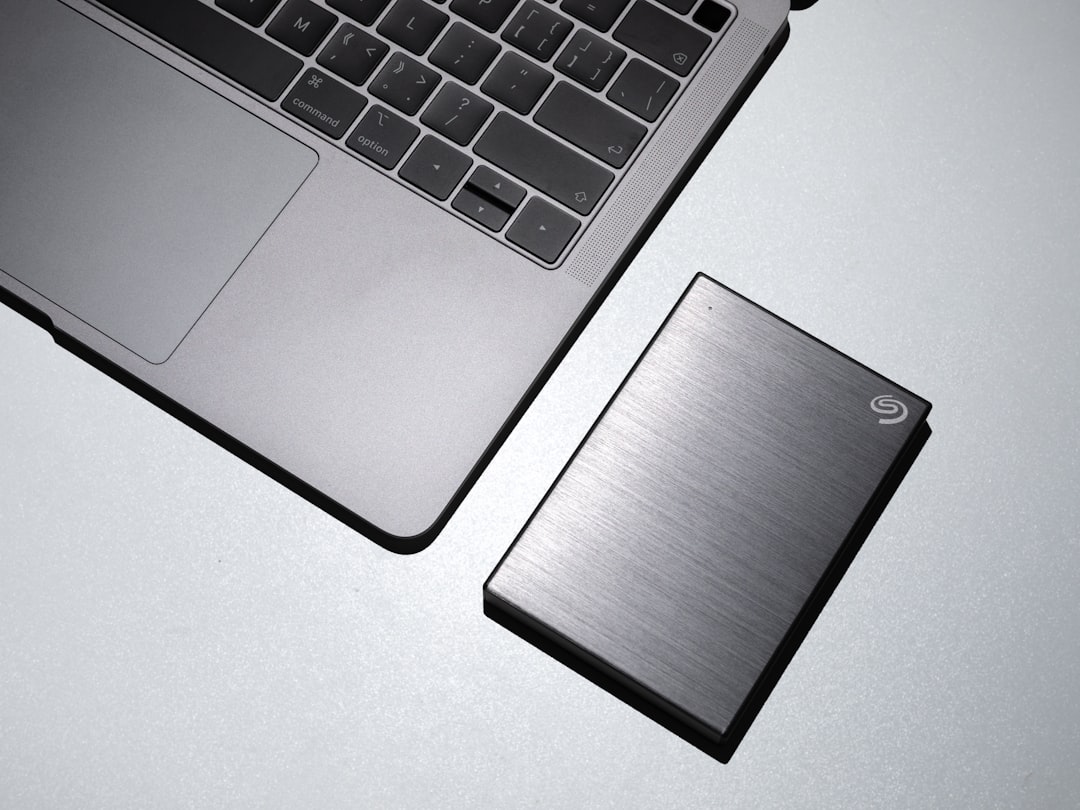
When it comes to non-online photo storage, you have some choices that may suit you better or worse depending on what your budget is, how many photos you have to store and how technologically savvy you are. The prices of all these devices are consistently coming down and I'd recommend shopping around for best prices, but also sticking with the well known brands such as Seagate or WB as well as checking of they offer data recovery service - some of them do! Here are the options you have in the nutshell:
1. Portable External Hard Drives
Small, easy-to-plug-in drives you can carry around. Best for: Families who want a budget-friendly way to keep a full copy of their photos, but don’t mind connecting the drive occasionally.
Examples:
- Seagate Backup Plus Slim (from ~£50 for 2 TB)
- WD My Passport (from ~£55 for 2 TB)
Pros:
✅ Large storage for a relatively low price.
✅ Portable — take them anywhere.
✅ Plug-and-play with most computers.
Cons:
❌ Can fail if dropped or damaged.
❌ Needs to be plugged in to update photos — not automatic unless set up.
❌ Only as safe as where you keep it (fire/theft risk).
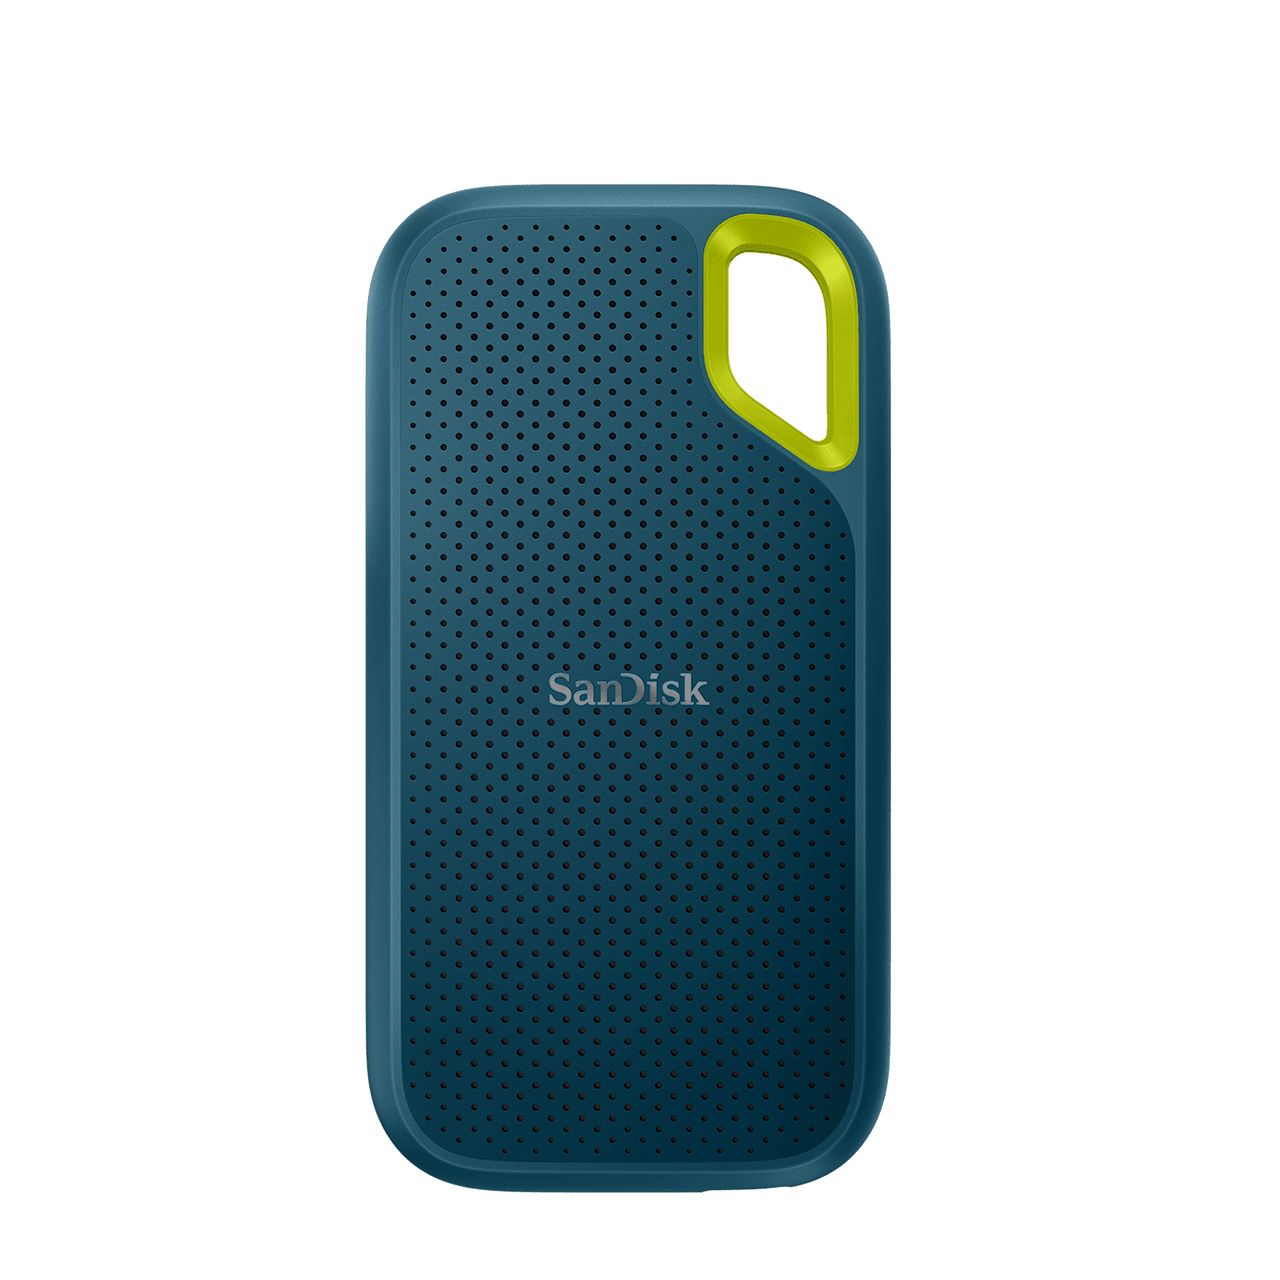
2. Solid State Drives (SSDs)
Like portable hard drives, but faster and more durable (no moving parts).
Best for: Parents who want portability and extra reliability, and are willing to pay more for peace of mind.
Examples:
- Samsung T7 Portable SSD (from ~£80 for 1 TB)
- SanDisk Extreme Portable SSD (from ~£85 for 1 TB)
Pros:
✅ Much faster than standard hard drives.
✅ More shock-resistant — safer if dropped.
✅ Compact and lightweight.
Cons:
❌ More expensive per GB.
❌ Still needs regular manual backups.
3. Desktop External Drives
Bigger, stay-at-home storage — often larger capacity. Best for: A long-term home photo archive, not frequent travel.
Examples:
- WD My Book (from ~£100 for 4 TB)
- Seagate Expansion Desktop (from ~£95 for 4 TB)

Pros:
✅ Huge capacity for a good price.
✅ Great for archiving years of photos/videos.
✅ Often faster than portable drives.
Cons:
❌ Bulky — not for travel.
❌ Needs mains power.
4. Network Attached Storage (NAS)
A mini “personal cloud” you keep at home — photos accessible anywhere via the internet. You typically will need to purchase the actual drives separately. Best for: Tech-comfortable families who want cloud-style access without paying monthly fees to a big company.
Examples:
- Synology DiskStation DS220+ (~£320 without drives)
- QNAP TS-230 (~£200 without drives)

Pros:
✅ Access photos from anywhere, like your own cloud service.
✅ Can be set to automatically back up from phones/computers.
✅ Can be expanded with more drives over time.
Cons:
❌ More expensive upfront.
❌ Setup is more technical.
❌ Needs to be kept on and connected to the internet.
ORGANISE
OK, so we are organizing our photos with two purposes in mind.
- So that 3 years down the line you can quickly see what you have and find what you want
- So that at this end of this GBOSEP process this week you can have some brilliant shots, ready to print either as individual photos or better, as a beautiful photo album.
You probably already have some photo organization process, Right? You're not just dumping all the photos in your 'photos' folder? Right? Right?
AS A COMPLETE MINIMUM please make sure that you have some sort of hierarchical structure applied to your photos - make it whatever works for you, but I find that just going by years/months tends to be a bit confusing. A bit like your file naming, I'd recommend sneaking in some keywords in your file structure.
Here is what I do:
My first level of organization is by Year. Simply because I tend to have a vague idea of what would happen etc in each year, but also because it's easier to keep a reference for repeating events ( Christmas, etc ) that way.
My second level of organization is NOT months. I can't tell my March from my April, nor do I care about remembering. You can usually filter by date regardless of your organisational structore, so I don;t need to be redundant here. What I do instead, is to include place/occasion and/or people in it depending on the occasion. For example Legoland with Grandma July or Cycling in Wales with family. If I have something that occurs regularly - like a trip to our favorite playground, I might have separate month folders for those: Playground April, Playground May with Bea - etc you get the picture. I do tend to have a larger 'Summer2025' etc folder with smaller folders inside if need be.
My final level of organization is a subfolder in each of those called Best of XXX ( whatever that folder is). I don't always have it at a folder level, sometimes I'll have it as a collection within Lightroom ( which is what I use for my photo organisation) but I always have it and I would highly recommend you do too. And it's an action which is connected to the next two steps in our process: Review and Select
SELECT
If you're anything like me, you would take dozens if not hundreds of photos each time you go out with a camera. But let's be honest, not all of those photos are keepers.
Some are great, some are bad, some are somewhere in the middle - not brilliant but not bad enough to just kick them.
You might also have some repetitions - 5-50 images that are virtually the same, but for some very very minute differences to your child's expression, how much their hand is raised, etc.
This is the time to review the photos: cull the rubbish ones and pick your faves. If you get in a habit of doing it every time to do an upload to your computer, you will be able to do it fairly effortlessly.
Here is what I do: I manage my photos from within Lightroom which has an in-built photo rating system, but you can adapt it to most organization systems.
Step 1: Cull the rubbish
My step one is to cull all the bad ones: I delete all the ones that are clearly never going to get printed or shown to anyone: anything that's blurry, focus missed, misfires. Anything that's unfixable - like photos which are too overexposed to get any good data out of them - they get the cut.
I keep - images that are a bit under or overexposed if I haven't got versions of them in good exposure.
I keep - images that somehow grab me even if they have some fault to them
( this step is not yet about selecting your faves, so you can afford to be merciful)

Step 2: Reduce multiples:
You know which ones - the 70 versions of your child digging in the sand, with tiny minute differences in facial expression or body positioning. Or the 4 identical portraits you snapped accidentally because you forgot you still had the burst setting on.
Put the duplicates from a particular shot side by side and pick your favorite. Look for differences in facial expression, focus, body cropping or that special factor ( like that one photo that shows your little one with a raised eyebrow to match the cheeky smile )
EXCEPTION: if I shoot action on a burst mode - like jumping in a lake, etc - I like to keep the multiples from that exposure as they show the progression of movement and I sometimes like to show them side by side.

Step 3 : Pick your favourites
And I mean, your absolute faves. Now that you cleaned your pool of photos of the duds and multiples, you should literally decimate it. And I mean it - if you took 300 photos - you should be left with 30 or so faves.
For me, for a photo to be a keeper, it needs to either tell a story by itself, compliment a story, document a unique moment well, have something fun or love-filled about them.
In Lightroom, which I use for photo organization, there are several levels of photo hierarchy. There are flags ( one for Yay, one for No), and there is a 5-star system.

If I'm working with Lightroom, I will use Flags ( white flag for "Yay, a keeper") - I don't bother with marking photos with black flags - if it's not flagged, it means I don't care enough about it enough to keep it.
If I end up with too many flagged photos, I will additionally use the star system. The star system I believe exists in many different versions of photo organization systems or software, so let me just tell you how I use it.
Out of the possible 5 star rating I only ever bother awarding 5 stars, or in some cases - if I can't decide immediately - 4 stars. I never bother with 3 or 2 or 1. If they're not good enough for the top tier, I won't be wasting my time and grading them. In what xact scenario woukd I ever want to see the 2 star photos when I know I have 5 star ones?
For me, 5* means - yes, I WANT it, 4* means - I really like it, but it's not perfect, I'll keep it in case I'd like to use it anyway.
Those 4 and 5* go into my The best of XXX folder and they will be the photos I will be selected to be published, printed or otherwise.
Editing
I won't be giving you specific editing advice here, because, well, it's just too wide a subject (we have several courses that cover that! But if you want to start editing your photos, I want to talk to you about software that does it.
Let's starts with free:
For basic editing there are decent free tools that will allow you to touch up, brighten, play with tone and colour etc. Some of them are built into certain photo storage, others are standalone. They will be limited in what they can do, but if all you need is a light occassional touch up, they should be sufficient.
For your computer:
- Google Photos, Apple photos editor - if you are storing photos in Google Photos or organise them on your mac in Apple photos, both of these have a built in basic photo editor tools that will help you take care of your simple editing needs.
- Canva Editor - Canva is a graphic design tool that I use extensively for a lot of things, but it also includes a simple photo edit tools that you can use to brighten, tone, sharpen, blur and adjust your images.
- Fotor is a free browser tool - the free tier gives you actually a pretty decent selection of tools, you have to pay to access the more fancy, Ai powered ones like background removal, but it does a good enough job with exposure and colour edits
- Pixlr is a free browser based tool - well, it's free if you can get past the misleading prompt to subscribe t the full AI assisted version. Select 'Editor' from the menu to access the free option. It has basic Photoshop style tools.
For your phone,
- the free version of Lightroom is probably the best (if you have adobe subscription, you will have access to the extended version of this tool).
- Alternatively, Snapseed is a free tool that is alsoo easy to use and has plenty of fun features.
Paid Editing Software:
If you're more serious about your editing skills and your software capabilities, I would look to invest in full grown-up editing software.
- Lightroom and Photoshop are two software packages that are still the most used by photographers out there. I use both ( for slightly different reasons) and they are both very very powerful. They will cover all of your editing needs but you do need to pay a monthly ( or yearly) subscription so I would only do so if you know you will actually use them.
Lightroom is more intuitive to use and makes it easy to edit your image without fundamentally changing it - so you can edit the light, save your images from being under or overexposed, change color, contrast, saturation turn them to black and white, remove blemishes or unsightly bits, smooth skin, remove grey hair, colorise, posterise, etc etc etc - in short - LOTS. And all the edits can be done in batch on multiple photos at the same time,
Photoshop does all those, but it also allows you to do the kind of edits that fundamentally change the photo - adding or removing things to your images, being mega selective about which bit of image you work on. It's very powerful, but with a much steeper learning curve. I'd also say, that the average snapper, won't get to use 85% of what the software does.
If you're after non subscription option, there are some alternatives to both worth checking out:
There are now several good similar options where you don't need to pay a subscription and simply pay a one-off fee to own the software.
- Affinity Photo 2 - Affinity Photo works a lot like Photoshop but without the subscription — you buy it once (around £69) and own it forever ( you may need to pay for updates to the software down the line). It has tools for retouching, layers, masks, and compositing, so you can do similar things as Photoshop can. It also includes a similar tool to Adobe ACR that can take care of RAW file edits.
- Luminar Neo - a modern, AI-powered photo editor designed to make big improvements quickly — things like brightening faces, replacing skies, removing clutter, and adjusting lighting with just a click or two. More like Lightroom than Photoshop in what it can do, which also means a less steep learning curve. Around £69 as a one off payment.
FINALLY - Print your photos!
On the next page I'll give you some more advice on printing your photos, but honestly my best advice is simply not to overthink it and just do it. There are so many services that offer really budget friendly photo book services - a lot of our members use and rate Colorland for the casual albums, if you want to go premium, there are many more that will offer this service. But honestly, just get it done - it will make it that much more real for your family - my kids love going over our past albums and remember about things we had done.
And the best time to start the photo book is now - a lot of photo book publishers will give you the option to set up an account and just start adding photos to your photobook as you go, without having to buy it straight away. If you make it a habit to add photos in weekly or even monthly, that photo book will be ready in no time!
