
“Look and think before opening the shutter. The heart and mind are the true lens of the camera.”
Yousuf Karsh
Since we started you on this mini course, we got you trying to do different things - we talked about finding an angle that can help you hide the clutter, we talked about simple ways of improving your composition and we talked about cropping, from the point of view of using the space in your frame well. Today, we take that last topic further, but consider its storytelling potential and crop not just to FIT a subject in the frame, but consider how much space we might want around them to tell a story - or a part of it.
We are creatures of habit
One common problem I see a lot with a lot of our students when they start up, is that a lot of their photos are - well, kind of the same. We all have this “fave” pose that we revert to over and over again. Look through your albums and galleries and you’ll spot it straight away - it could be a tight head-and-shoulders, looking straight into the camera portrait, or maybe a whole body shot. It's the photo you take without even thinking. Same composition, different location, maybe even a different child but it's still very 'same'.
It's partly because its the fastest shortcut for our brain to 'get to the point' - close enough that we can see the detail, but not too close that we can't see everything else.
Except, as with many things, the middle ground can be a little boring. And it certainly doesn't show us the whole story.
From Big to Little and the In-between.
When I observe my daughter, I often linger on the details. The little bits which always grab hold of my heart, the little quirks that are uniquely her, the little ways in which she does things that might change completely in a week, but that I don't want to forget.
But I also want the bigger story - the where we are? The what's going on? Time of the day? People they connect with?
Photos, where you can somehow fit both the detail and the context, are amazing. But they can also be a challenge to visualize and when you are only just starting in photography, it can feel daunting.
So I would like to invite you to try one of my favourite storytelling exercises. This exercise, I call it 1-2-3, helps you tell that story in 3 simple takes.
1 .... 2 ..... 3 exercise
How it works:
Rather than just taking the one shot, that you would normally take, you take 3.
But 3 specific ones.
Photo 1 : The ‘middle’ or your 'standard'
I find that for most people it’s usually the “head and shoulders crop” with your kid looking straight into the camera. It could be different for you - it doesn’t matter, this is essentially the “get it out of your system” photo. You know you’ll like it, it’s safe, so start here. Even if you hate the other two, you know you have that one, so it's OK
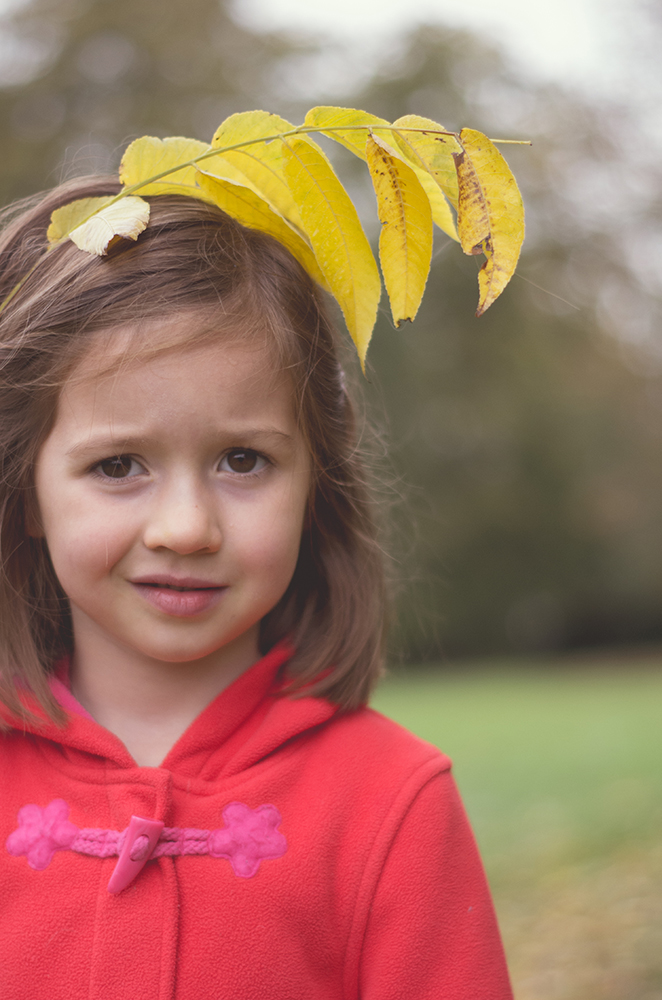
Photo 2: Go bigger
What I mean by that, is that you want to include more of what’s going on. If somebody who wasn’t there with you shooting it were to come across this photo, they should be able to glimpse from it things like where it was taking place ( park? your living room? playground?) and what’s actually happening ( is your child playing with something? talking to someone? running? eating?). The reason to take that shot is that if you’re not used to think about your photo in terms of the overall “story” this is making you do it. Making you pause and compose a bit more carefully. We included a few tips on how to make those wider shots work below.
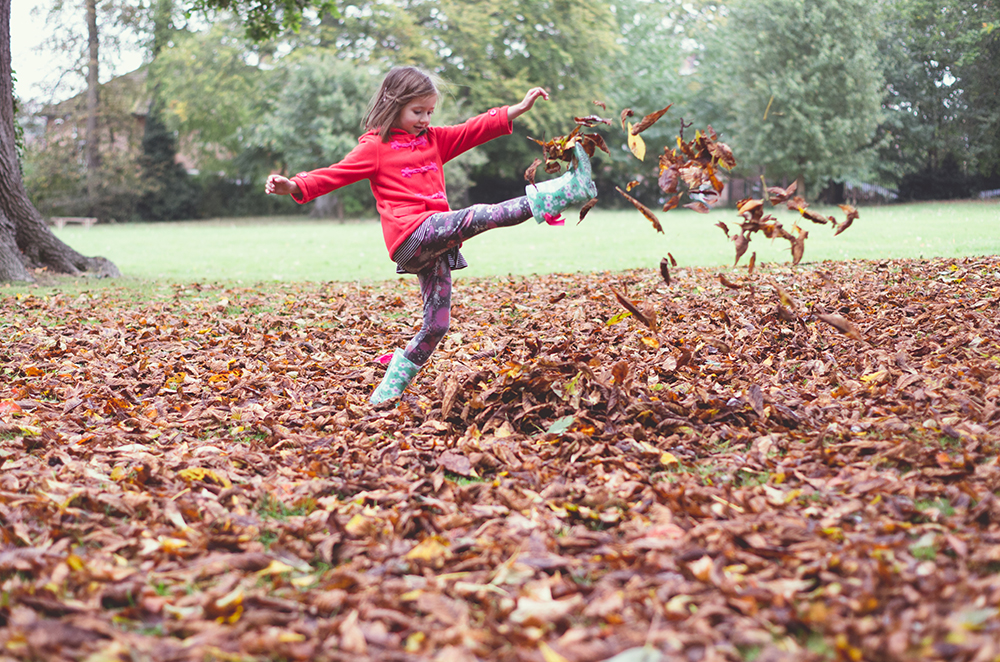
Photo 3 : Go smaller
Go the exact opposite way. This one is all about the details. Pick one small thing that is interesting about what’s in front of you - this could be your child, but also something in the environment - and take a pretty tight, detail photo of it. Devil may be in the details, but so is human interest - our brain likes having something highlighted that it can focus on. By switching your attention this way, you're also forcing yourself to look at what's in front of you from yet another angle, with a different focus. Check out our tpis for improving your detail shots at the bottom of this lesson.

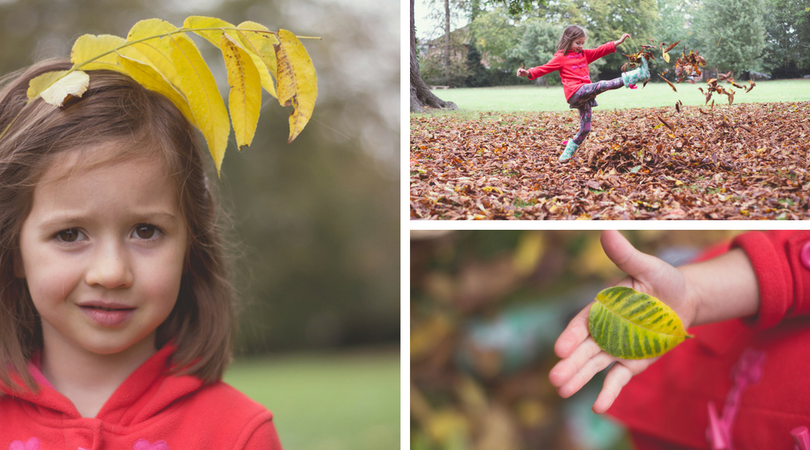
Now put these three photos together. You have the wider story, focus on your child and focus on detail. Together, they give you a really nice set that really tells the tale of what you’ve been up to and gives you a couple more angles to explore. And it’s easy as 1-2-3.
You can always remember : 'Normal' - Bigger - Smaller
5 tips for capturing the Big Picture
1. Zoom Out
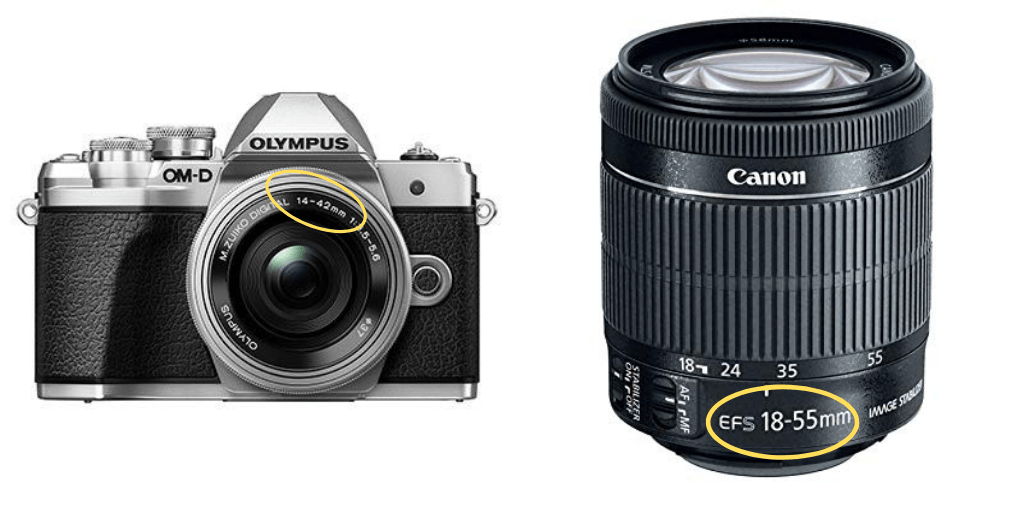
Talk about a no brainer, right? But, let me explain. Remember in the first lesson in this module when I suggested Zooming IN to hide the clutter, I mentioned that one effect of zooming in is that we can constrict the amount of space your camera sees and compress the space further to blur it out. Well, if you are after showing more of the story and more of the space, you want to do the opposite - let your camera capture more of the 'what's going on' and the story by giving it more space. If we're talking correct terminology, zooming out means using Short Focal Lenght = small value numbers on your lens ( your usual kit lens on a camera will usually go from 18 - 55mm or so - the 'teen' end of the scale is the short focal length aka no zoom). When you use those shorter focal lengths, cour camera can actually STRETCH the space, making it APPREAR larger and deeper and longer - perfect for bringing lots of elements in.
2. Embrace your home
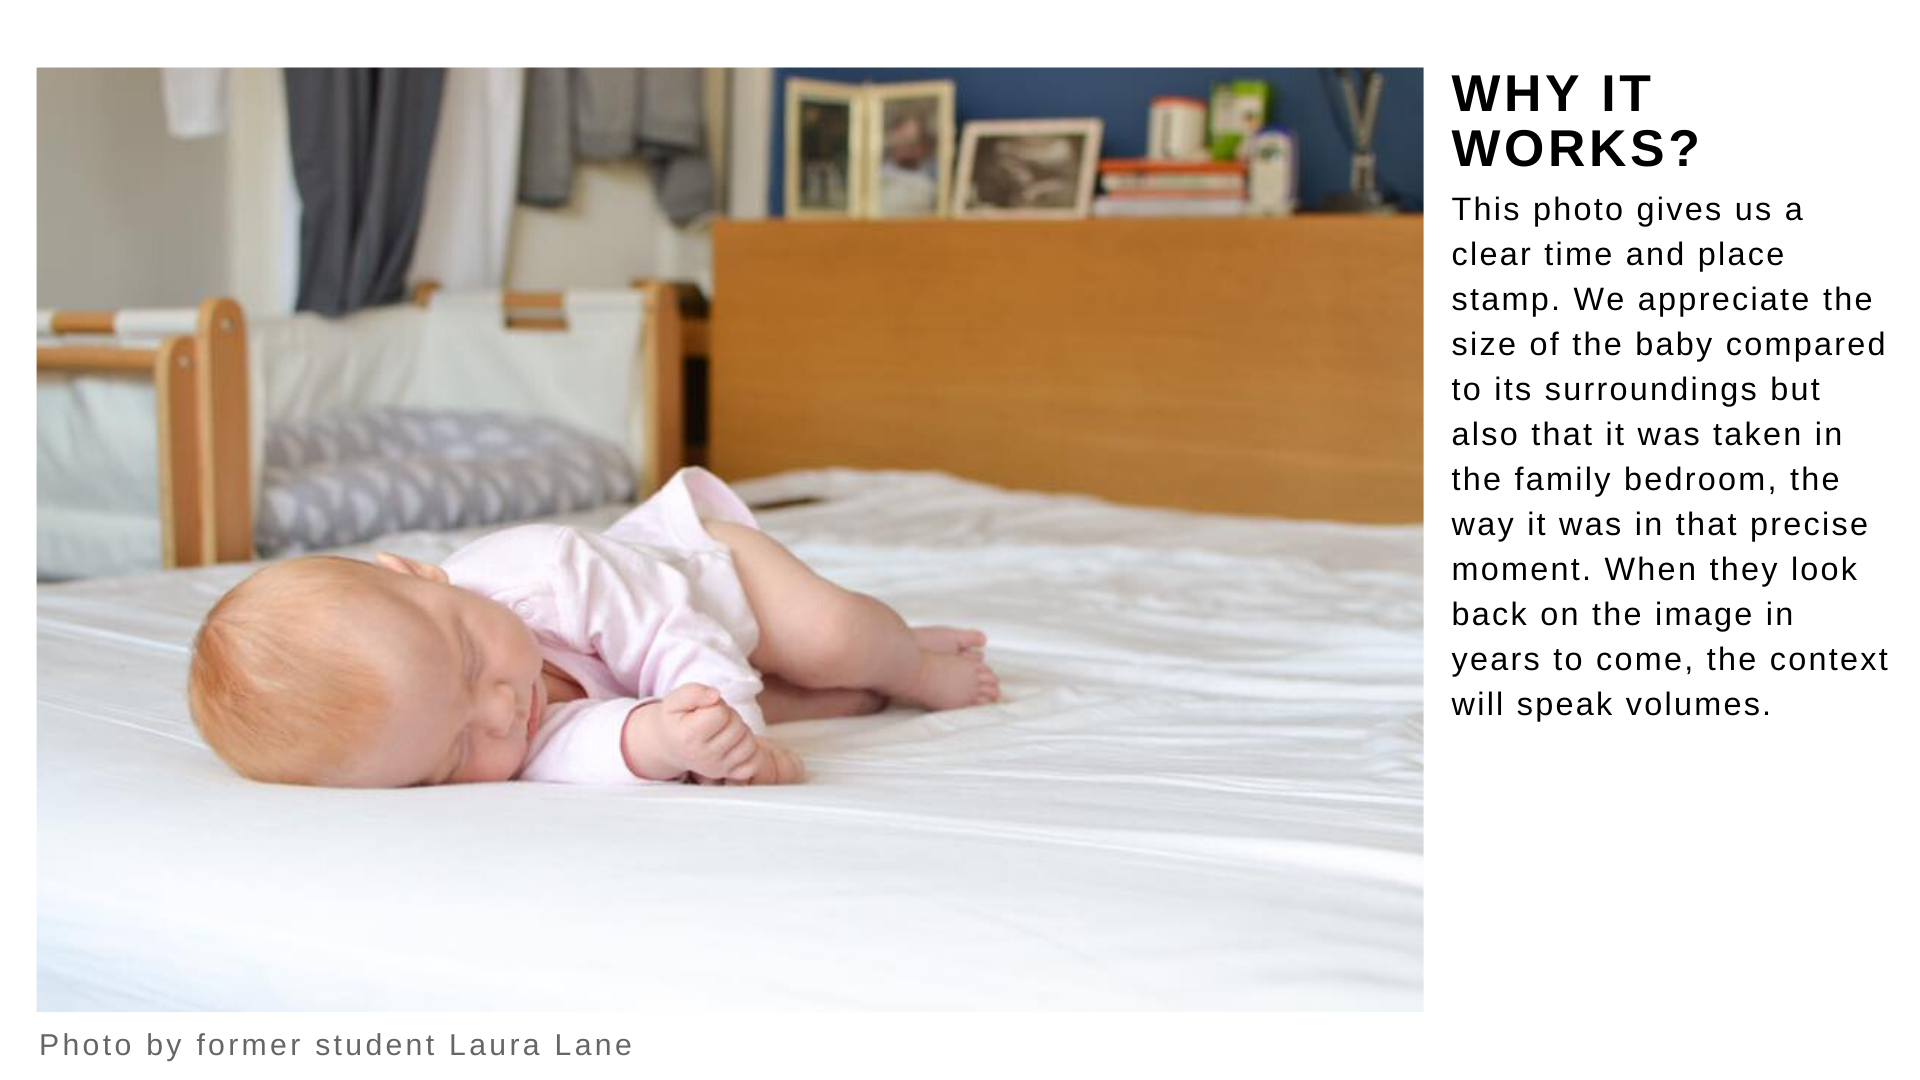
I can FEEL the anxiety rising: 'but if I take the wider shots, all the clutter will show!'. OK, breathe. Yes it will but it's OK. The other two shots will hide it, but this wider shot is for you, it's a record of what's going on and it just shows the context to this story. You can still play with angles to keep it contained to a degree - an ants view or child's view point of view will still give you plenty of story, but help you eliminate the bits that aren't essential.
3. Think in 3 dimensions: consider the foreground, middle ground and background
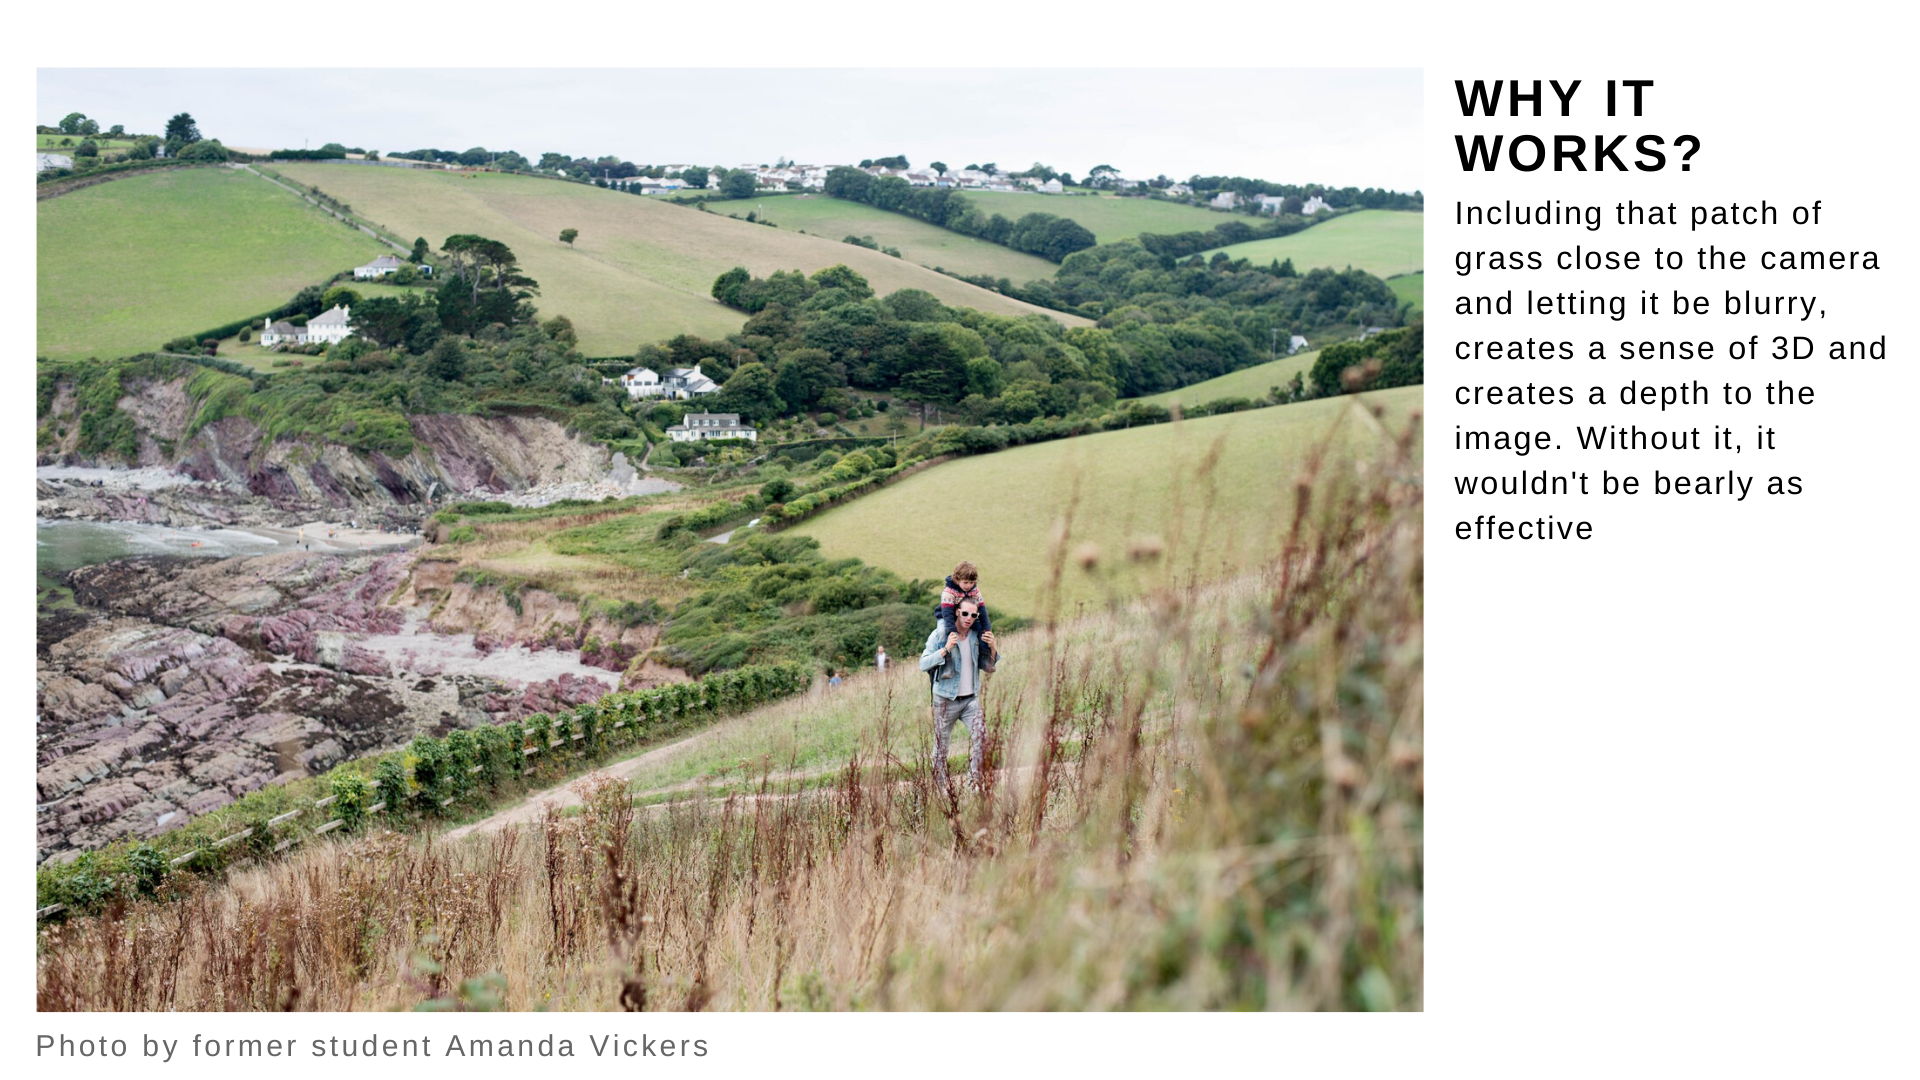
Use your foreground = what's in front of your subject, to create a visual layer in your photo that will help us appreciate the three dimensional aspect of it. Often, because it's closer to the camera, it will remain blurred out so it won't command all the attention, but it will help enhance the image.
4. Pay attention to what's going on and follow the story
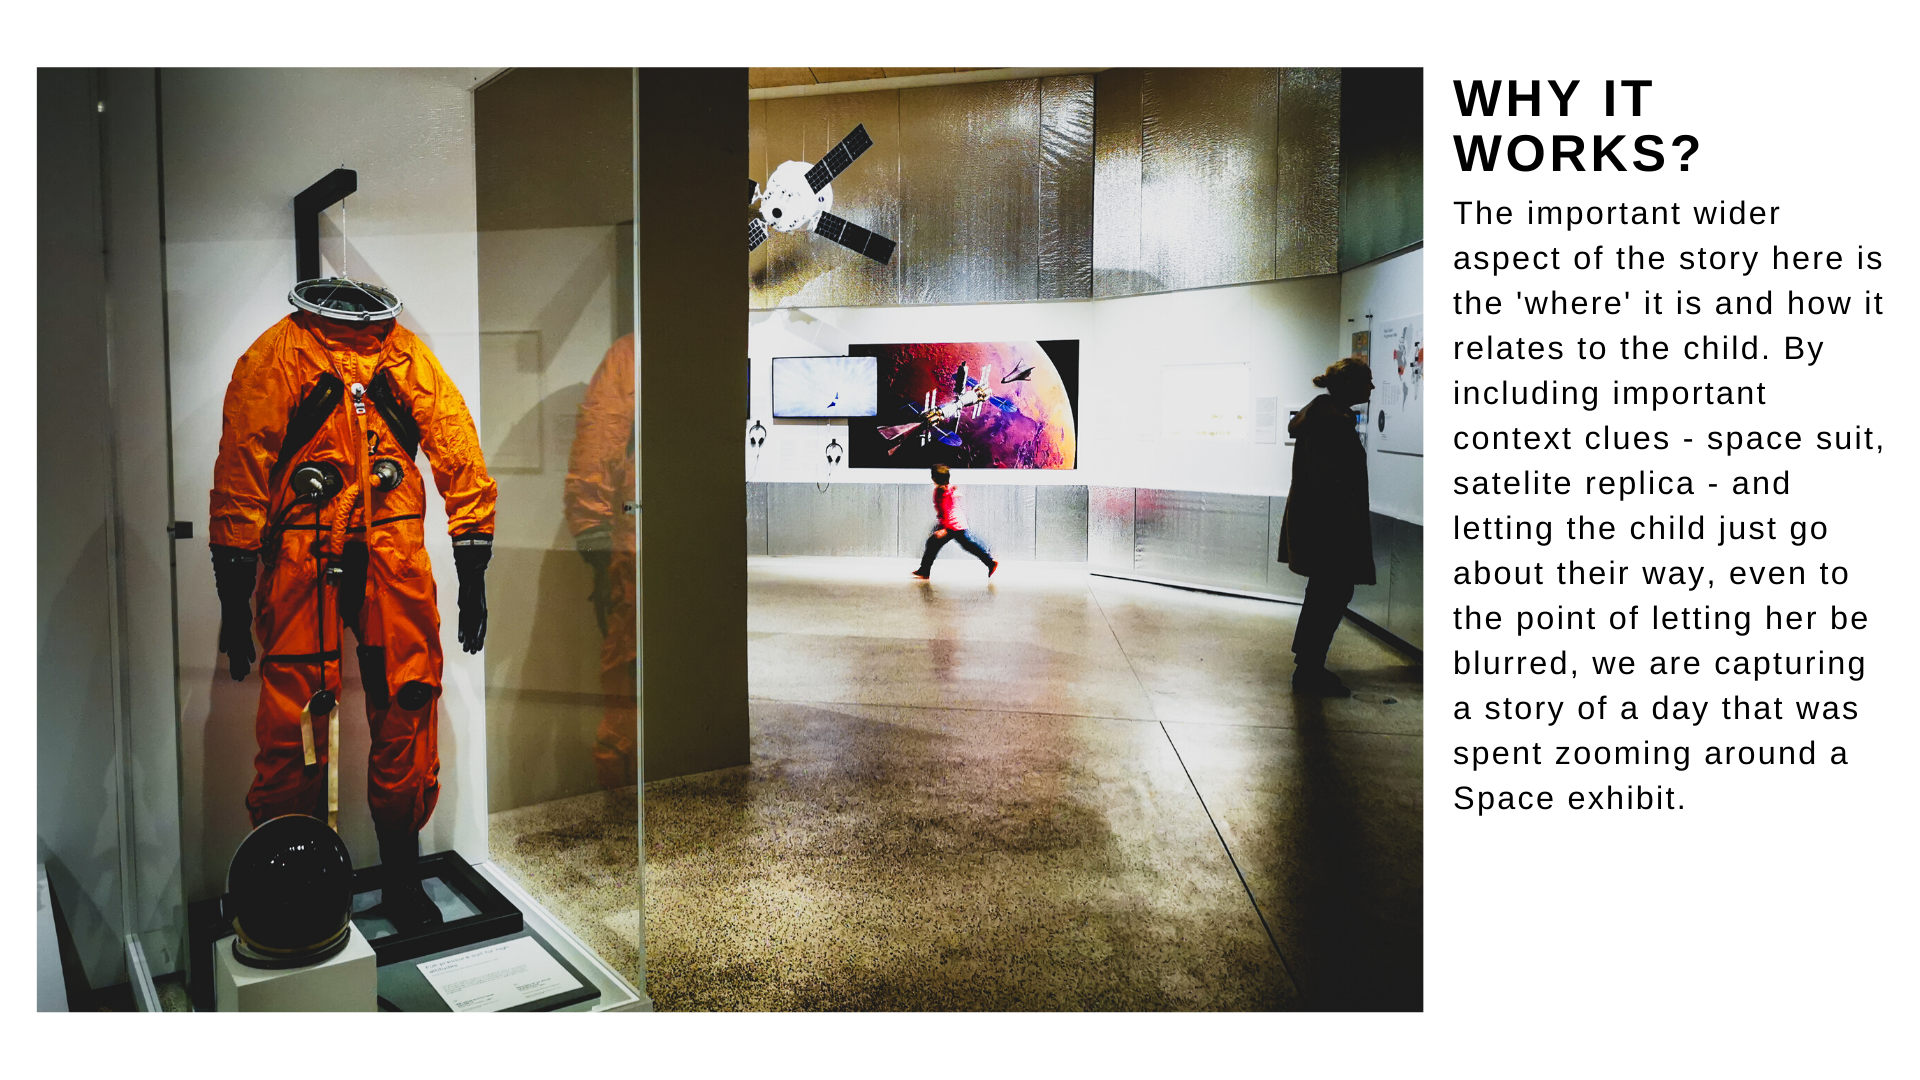
If you go wide with your images, there should be a reason for it - aka the story. So take a pause before you click that shutter and as you look through the viewfinder, think : what is going on here? which elements of that story are essential? For instance - if your child is playing with someone - show the interaction, make sure it's clear what they are doing. If your child is exploring a space - capture that interaction, don't tell them what to do and where to be. Get into their world and observe and then capture that.
5. Use the rule of thirds
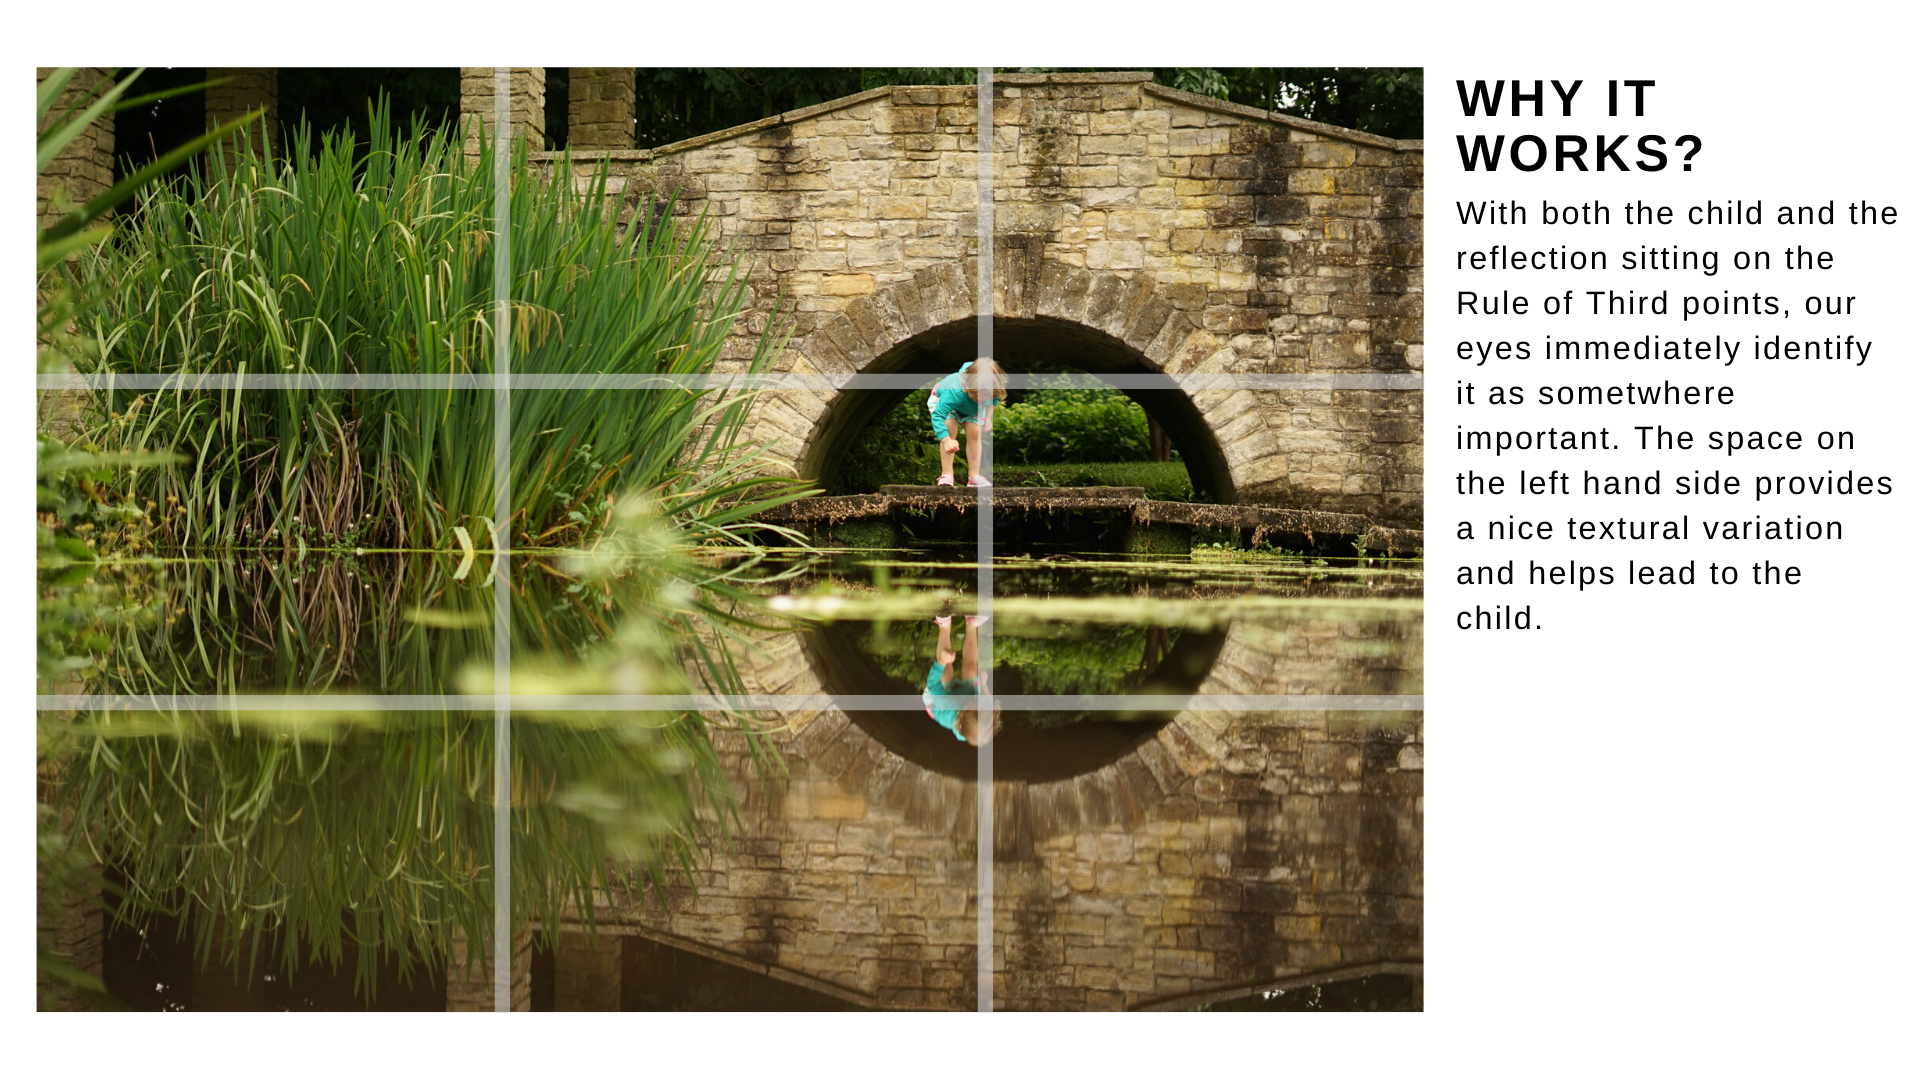
In the big picture images, knowing where to place your subject in the frame can be daunting. Make it easy for yourself by just trying to work the rule of thirds here - 9 times out of 10 it will be the right choice anyway and you have one less thing to think about.
5 tips for capturing the details
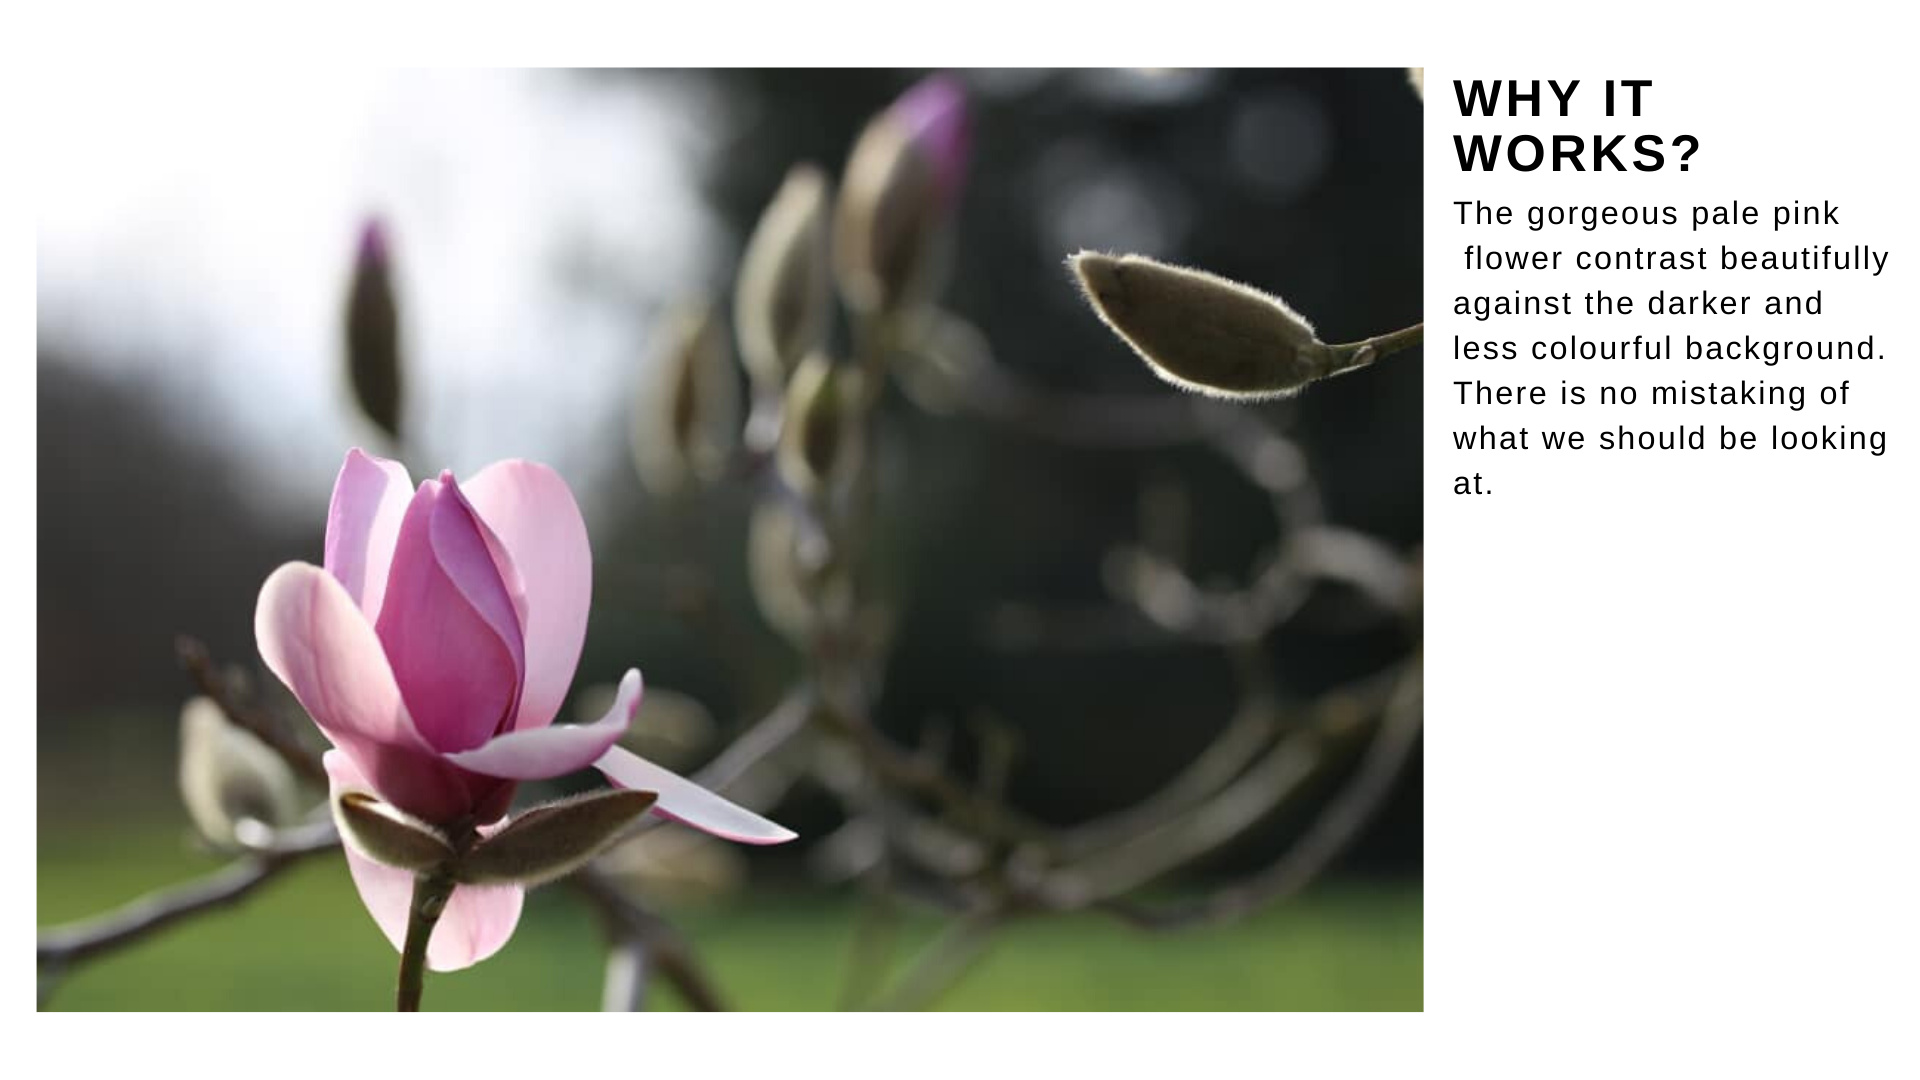
1. Use contrast to make your subject stand out
A good detail photo makes us look immediately at THAT element - not searching around for it in the frame, not wondering if it's the one thing or maybe the other. Our eyes should go directly to it. The way to do it is to use contrast - colour, light, texture etc to your advantage and let the subject stand out against it.
2. Highlight your subject by physically removing the distractions
And I mean it quite literally – walking up to your subject and moving away all the stuff which does not belong. A variation of this is using something – like a blanket – which will cover the elements you don’t want to see in the image and help highlight your subject.

3. Don't be afraid to crop out elements that are not important
We asked you to be bold with your crops yesterday, use it to your advantage here too. Remember, you have two other photos to tell more of the story, let yourself concentrate on just the detail here.

4. Highlight the detail by creating a blur effect which helps you visually ‘hide’ things in plain sight.
If you want to know how to create that blurry background we have a tutorial on it for you which walks you through it.
CLICK HERE TO DOWNLOAD THE BLURRY BACKGROUND TUTORIAL
A BIB BIG CAVEAT HERE ON THE BLUR FRONT: you will be seeing images come through on the facebook group where the blur is like milk, thick and impenetrable and the lovely details stand out against it beautifully. You will try and replicate them with your camera and get very frustrated and annoyed that yours don’t come out that way. You will be blaming yourself but the truth is – it’s not you – it’s your lens.
In most cases in order to get that really strong blur you do need a lens with what we call a wide aperture. The lenses which come with your camera as standard just can’t compete. But it doesn’t mean you can’t get any blur, just not quite as much. Your two secret weapons will be zooming in as much as you can – and I mean ALL THE WAY – and getting physically close to your subject.

5. Highlight your subject by using other elements to frame it or draw our attention to it.
Sometimes it’s not so much about removing things from view as it is about using them to shine a spotlight on your subject. Anyhing which can frame it, contrast with it can work very well.

Lesson 4 challenge
Try to tell a story in 3 takes - go for your 'usual shot', then the wider story, then the detail. Easy as 1-2-3 - don't overthink it, just get shooting.