Our lesson this week comes in 2 parts because while I want to give you some solid compositional pointers for capturing kids on their out-and-about adventures, there are some things I want to address on the 'what is it that you actually capture' side. Because, believe you me, this is half the challenge ( if not more).
Summer for me - and I'm sure it's similar for many of you too - is all abut being outside. we go on day trips, we drag the kids to beautiful locations with fields of flowers and charming stately homes. Or we just go to a local park or woods. And then, the problem rears its head:
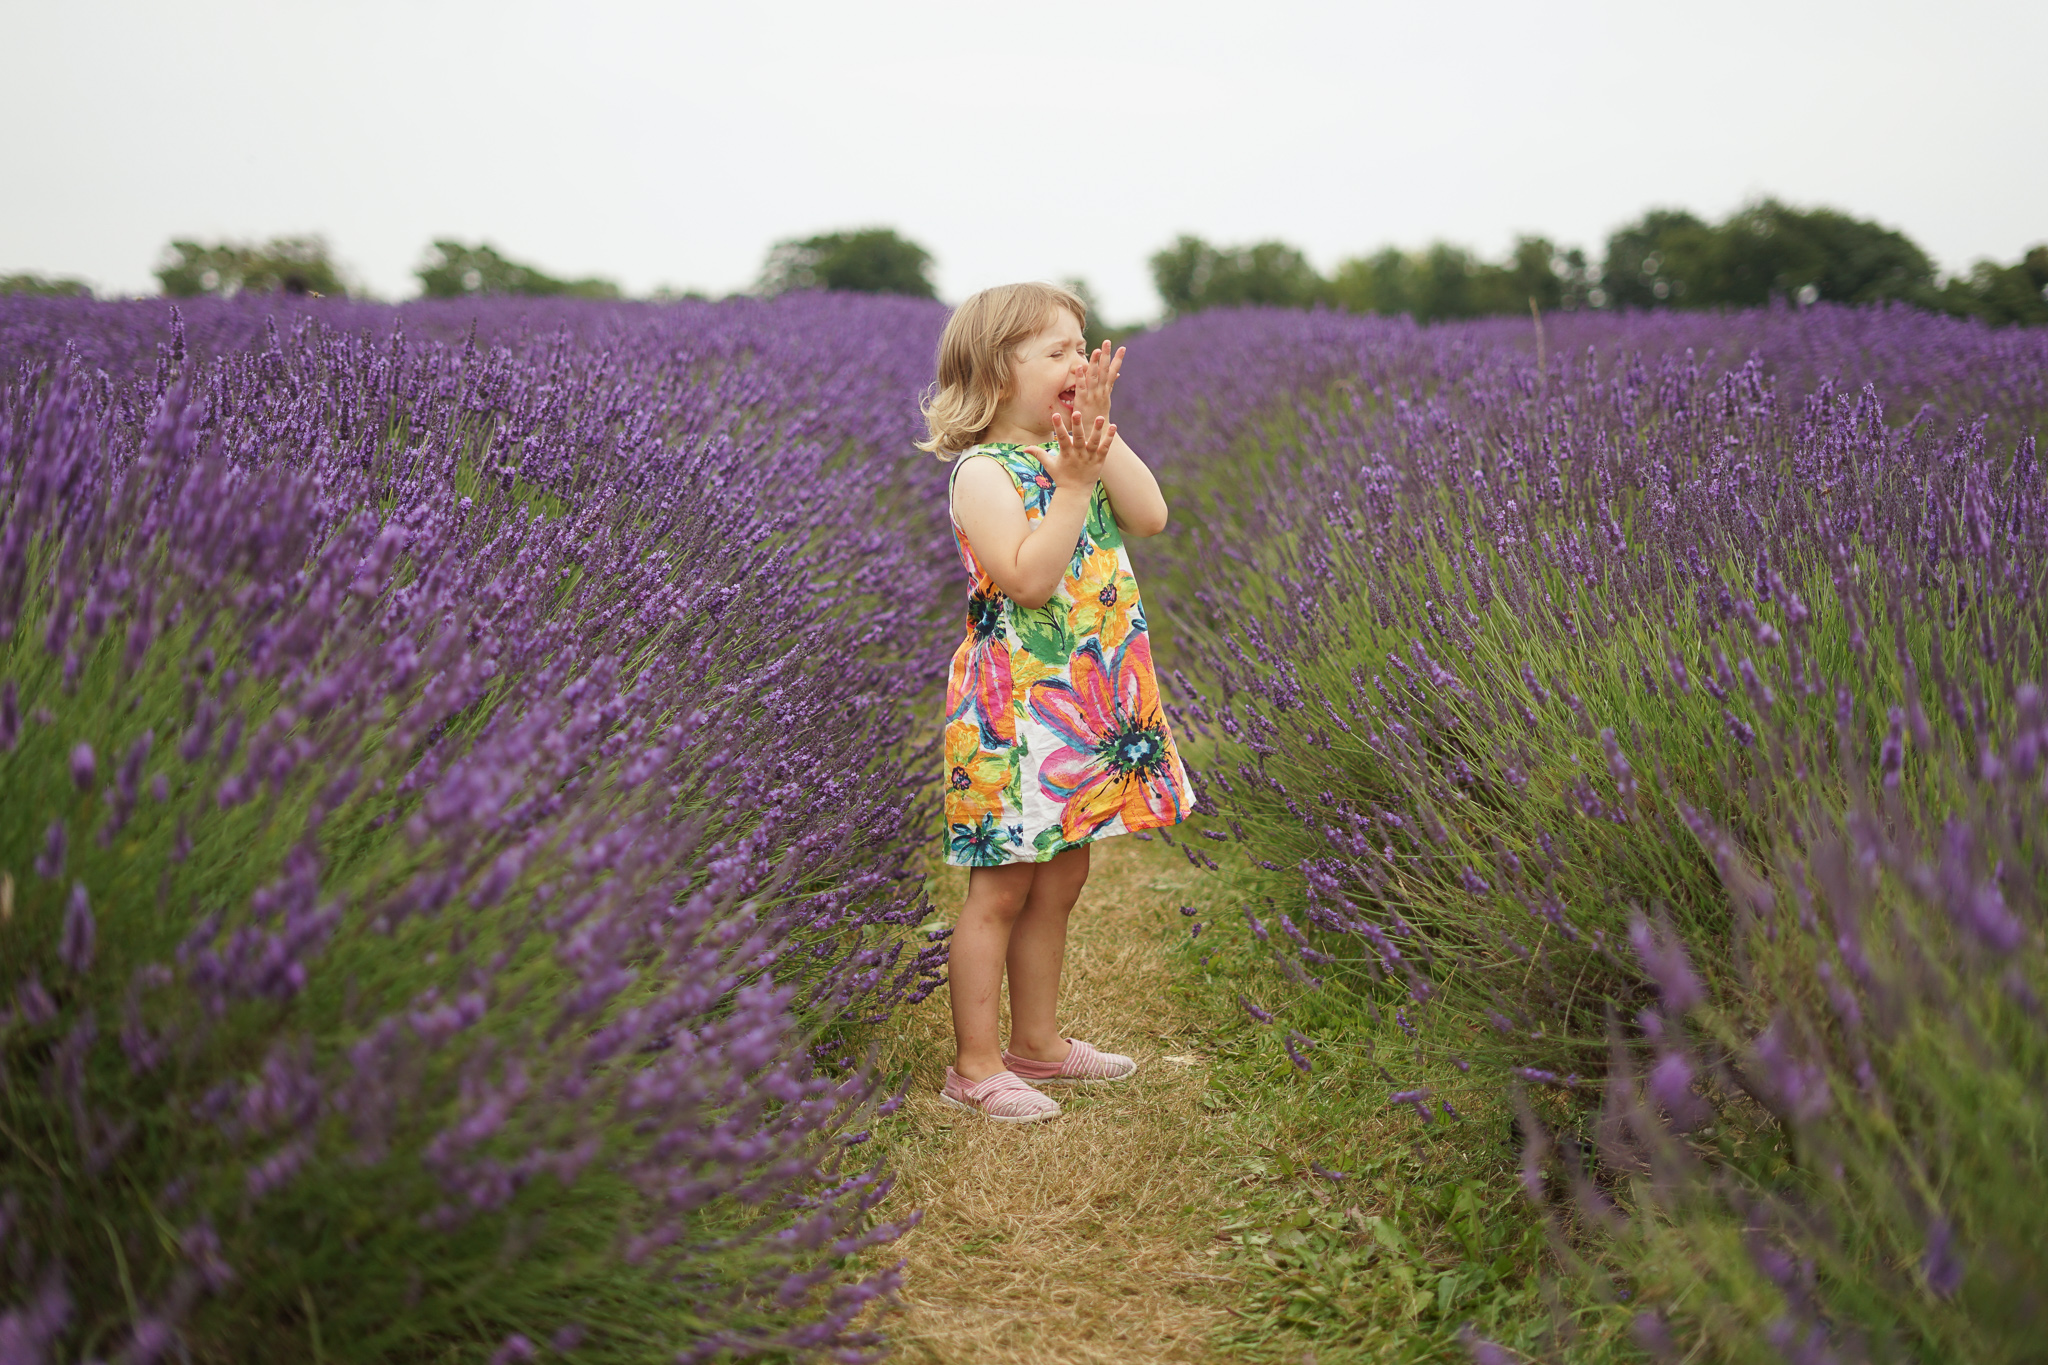
Here is a problem: : The kids don't appreciate the great outdoors quite the way we do. Anyone who's ever plonked a child in a flower field and immediately though - wait, what now? as your child compained about the bees, refused to smell that flower or pose nicely - knows exactly what I'm talking about.
Sounds familiar?
For me the key word here is 'pose'. I don't know about your kids but mine don't do posing. I may occasionally be able to 'convince' the older one into 'helping' but that's 4 min max. In our PhotoParents courses we teach lifestyle photography - and that means following your child and working with them to capture them at their most natural.
I also don't like telling my kids what to do, where to look, how to sit. The photos that I get of them when I do that are my least favourite as well. The photos where I let them be themselves - a whole different story. Not always perfect, not always polished, but full of life, and joy and true emotions that shine through. And honestly, when I look at my favourite summer photos - they are like that - I could poke holes in them all on the technical side, but they feel like sunshine and they smell like suncream and strawberries.
")
So here is what I would like you to adopt this week - and beyond! I want you to learn how to follow and gently guide your kids and how to adapt yourself and your camera so that you get great images. They won't always be perfect, you won't always capture all the things you may have envisioned in your head but they will be true, and they will be full of fun and they will make you smile.
Say NO to posing:
In everything we will be covering in this course, you will not see me utter the phrase - 'tell your child to do xyz' or 'tell your child to sit there' - first of all, they are not going to want to do this, second of all, your photos will be poorer for it. By all means, there is a time and place for portraits, and regularily take them of my kids, but that's a topic for a whole other course. This time, we're all about about following the kids' summer adventures.
Does that mean that you can't tell your kids what to do? Or where to look?
Not exactly. There is a difference between letting go of any control or direction entirely and working with your child.
What we teach in our PhotoParents courses is what could loosely be described as documentary lifestyle photography - and that means following your child and working with them to capture them at their most natural. The majority of our approach could be summed up as a balance of freeflow /encouraged interactions
Freeflow vs Posed vs Directed / Encouraged interaction
Going fully freeflow means not directing, not telling them what to do, simply letting them do what they feel like and following their adventures. It's letting your kids take you places. You observe, you follow, you anticipate, you take notice of what is happening, where you are and how your kids are relating to it. YOU and your camera move around and adapt to get the images you want to see not the other way round. But that 'fly on the wall approach' requires a lot more personal attention, anticipation and focus from the photographer and usually does not work with a photographer who is also the child's parent - after all, interacting with your own child is entirely normal! It would be odd to not do it! Plus where your kids might want to take you is as far away from the pretty space you found because it's 'booring mum' and head straight to the ice cream truck in the in the parking area. If you can let go, and just go with their flow, great, but I know that lack of direction and lack of control can be frustrating and unnerving for many parents.

So if you're not wanting to pose but not wanting to give up all control either, what do you do?
Let's call it 'directed freeflow' - that means you're still in charge, gently encouraging, suggesting, setting up things for them to do, things that will engage and interest them. So no specific instructions like- 'look at mummy, touch that flower, look wistfully into the disctance' and instead 'let's see how fast you can run - I'll time you from that tree to here', 'Can you count how many bees are buzzing around that bush?' 'I bet you can't jump over that puddle' , 'how many times can you turn around in place before you get dizzy?'
These are just some examples that worked well for kids I know, but they may be something different for you!
If you're photographing your own kids, you KNOW what makes them tick. You know what kind of things they're into and what are they likely to say yes to. Think of activities, games, objects they would naturally be drawn to. And frame the trips with those 'adventures' in mind.
Photo friendly activities:
A couple of suggestions for you.
- Scavenger hunt - if your kids are old enough, make it a game to spot and find things - you can think of them ahead of time and print them out for your kids to follow - they can be very simple, or more elaborate - for instance : 'Find the tallest tree' or 'When you see yellow flowers, jump on one leg'
- Hide and seek - they can hide or you can hide, you can give little treats for best camouflage! ( goes without saying that you should only do it in an area where either someone else can actually see where they are so you don't lose track of them! )
- Treasure hunt - make a list of 'treasures you want to find - a round pebble, a stick as tall as you, red flower petal, a leaf shaped like a hand etc - the possibilities are endless. If you know the space you'll be in and can have access to it before your kids get there, do a non seasonal treats hunt ( think Easter Egg hunt, just without eggs)
- making flower / leaf crowns / fairy gardens, dens, mudcakes - whatever's suitable for their age, ability and interest levels
- going insect spotting armed with magnifying glass and / or pretending to be animals or insects
- Simon says - but with really silly suggestions thrown in - like grow your arms extra tall, pretend you're your sister /Daddy
- Silly Walk Club ( borrowed that one from Monty Python )
The possibilities are endless!
The key is - do what works for YOUR kids and don't get frustrated when they don't want to play ball. They're entitled not to want camera in their face all the time - so if they resist, let them. If the outing is about the activity and not the camera and what you had in mind with your photos, the camera is much more likely to be tolerated!
I would love to hear from you on the Facebook group what makes your kids go - let's crowdsource some ideas!!
My top 5 tips for getting natural photos
1. Observe and Anticipate
If you're just following your kids, it can be easy to just get 258 photos of the backs of their heads. If you're constantly behind them, that's what you see after all! So I want to you to start anticipating : if you're walking on a path, get ahead of them from time to time. Think about where they might be in a few minutes and position yourself in a way that will allow you to capture it
2. Embrace imperfection
Make your peace with imperfection - you won't always be able to control what makes it into your frame. Some things can be manages by moving around, but sometimes, you just need to go with the flow. Expression before perfection! And if your photos didn't turn up as expected or you missed a moment, it's OK. Another great moment will come. Kids tend to repeat what they do or like. You learn from what didn't work technically and get ready next time
3. Move around
We've introduced you to this idea in week 1 but it's worth repeating - you NEED to move around. If your kids are doing something - move around. Try the same subject from different angles. Get closer, get further away, go high, go low. You may spot things from one side that you had no way of seeing from another. Sometimes the light direction will change the way the image works completely.
4. Slow down
Slow down - I can promise you that if you shots-per-hour ratio goes from 800 snaps to 100 more considered photos, they will be better for it. Capturing the moment doesn't mean capturing e v e r y moment. It's capturing moments that matter, that mean something, that tell the story. Slowing down makes you a better observer, shooting lots and lots and lots, just makes you reactive and panicky that you're about to miss something.
5. Watch the background
When you're focused on what's happening to your subject, it's easy to just ignore the rest of the stuff that makes it into the frame. But I urge you - pay attention to the background and if you have the time - adjust. This means seeing what's behind your subject and asking yourself - do they have their own space in the image? Is there a branch or someone else's hand sticking out of their head? If so, move - sometimes 1ft to the right or left makes all the difference.
