WATCH ME
Let's talk about light!
Summer light can be really challenging if you don't have a good understanding of its nature. On the upside, it can produce some really stunning images - when you know what to do with it!
So in part 1 of this lesson we will give you a crash course in the Facts of Light and in Part 2 we will look at harsh summer light specifically and see how you can work with it best.
Part 1: FACTS OF LIGHT
1. Soft or Hard?
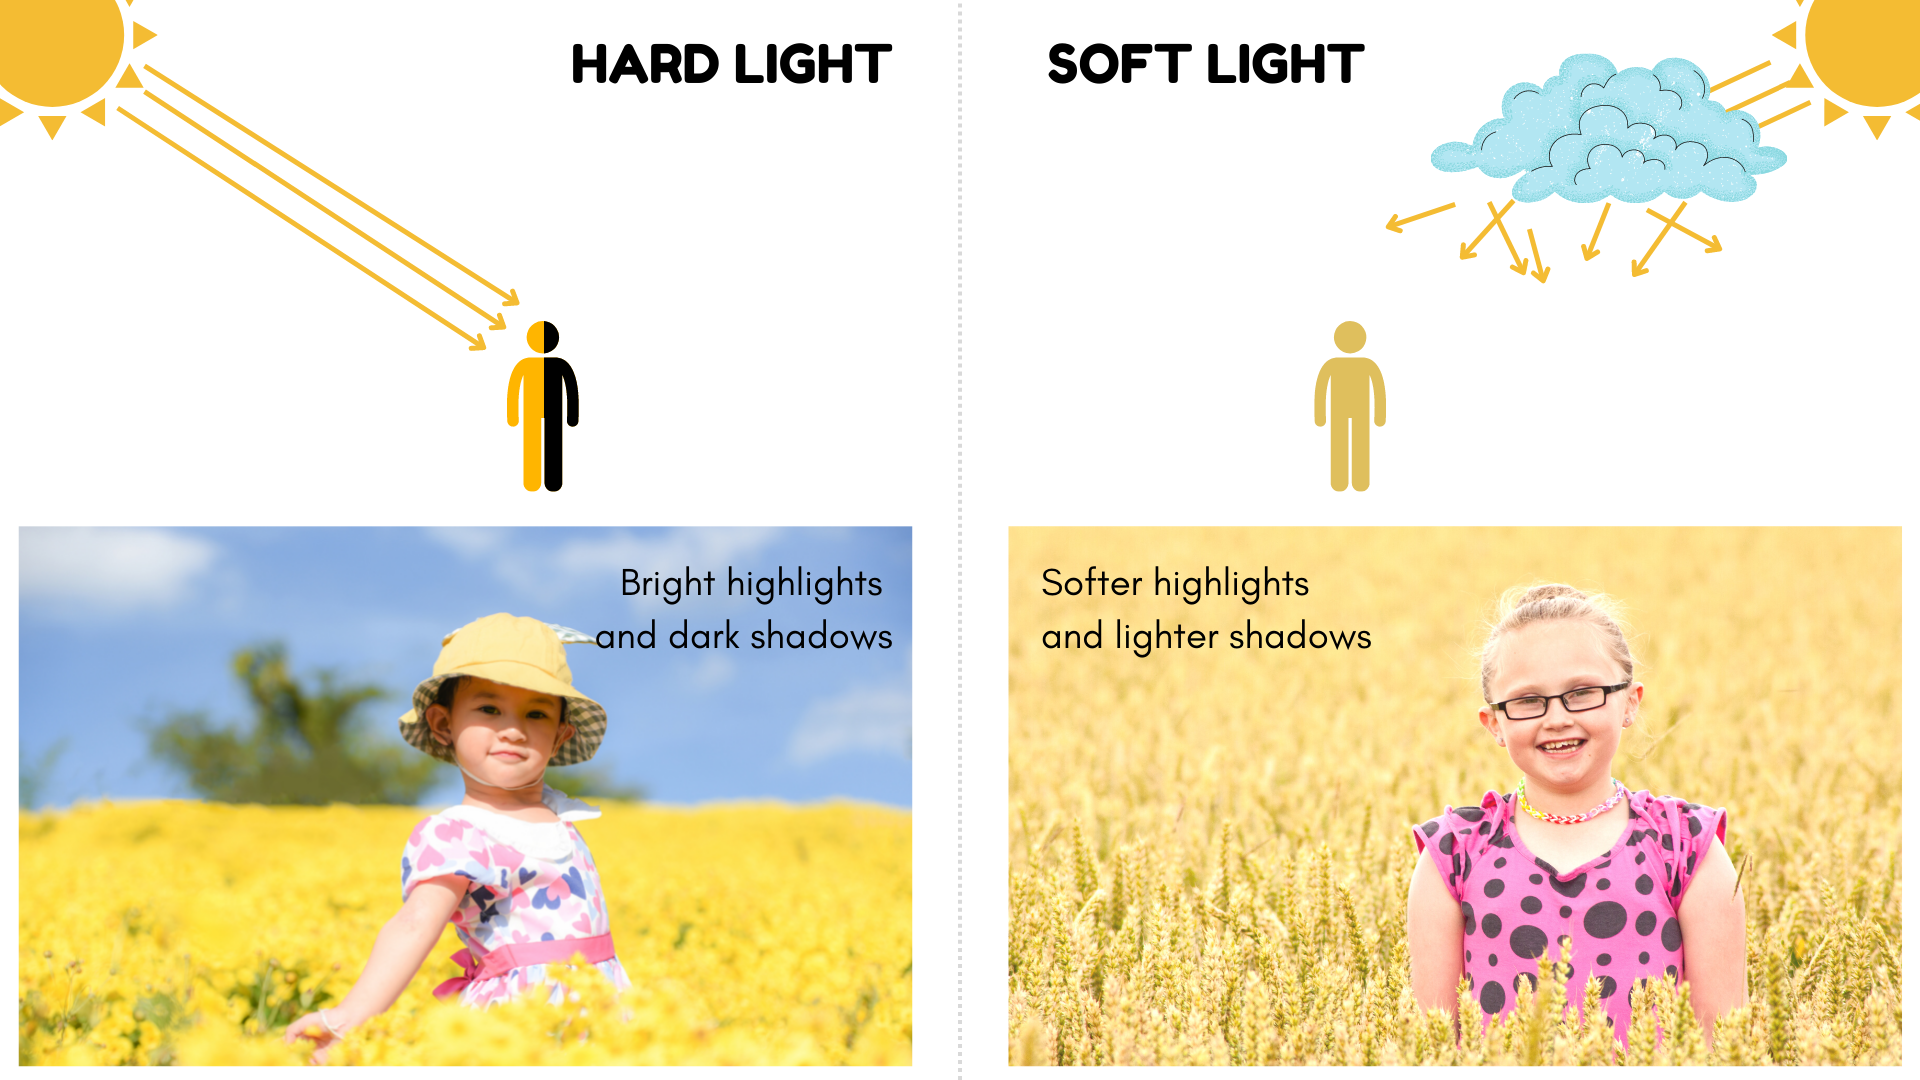
One of the things to determine when looking at your light is whether you are dealing with soft or hard light and it's all to do with how the light gets to your subject.
You get hard light when the light rays ( whether the source is the sun or any artificial light) hit your subject directly. You know you have a hard light when you can see well defined shadows with hard edges.
You get soft light when the light rays pass through something or are reflected by a surface and in doing so, the direction of the light rays becomes more scattergun which leads to softer, more diffuse light look with soft delicate shadows.
2. The stronger the light, the darker the shadows
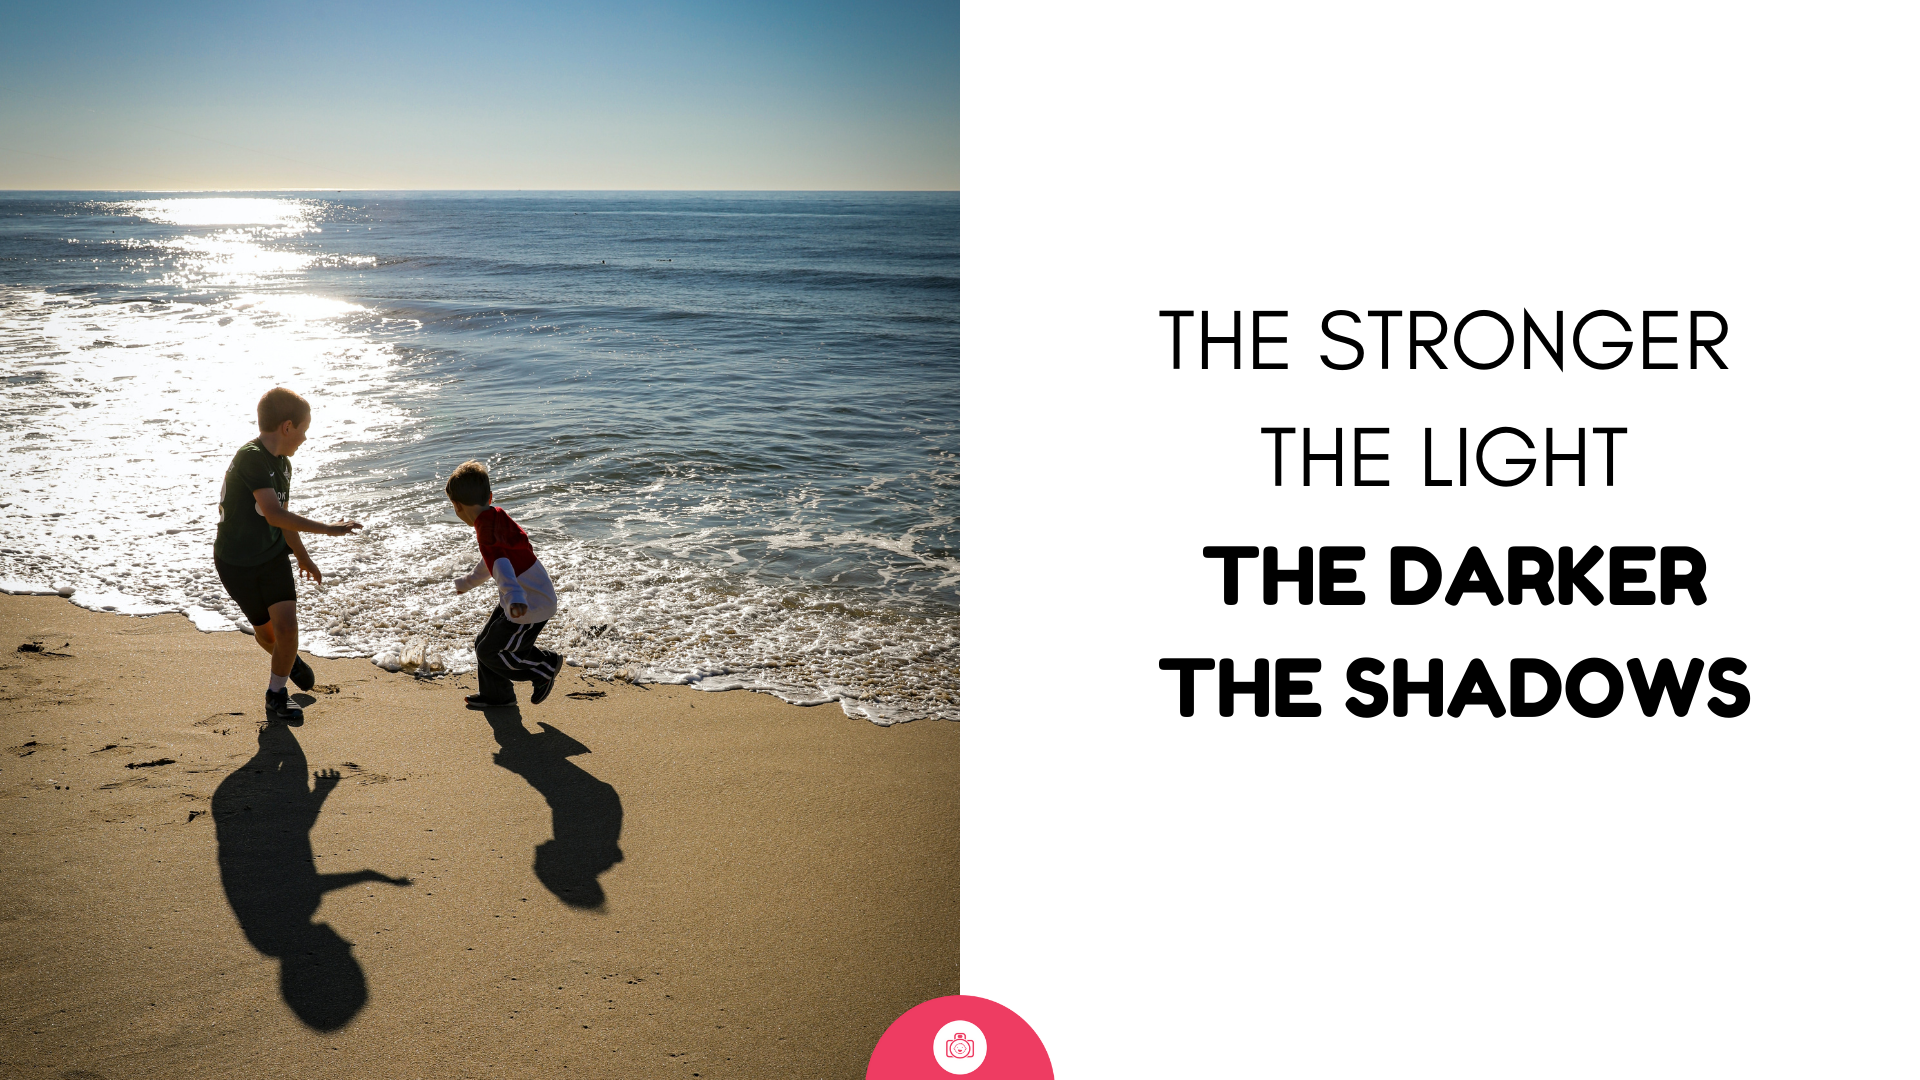
Here is the problem with the summer light in a nutshell. We get plenty of light ( good) but with that we get really strong shadows too ( challenging). Which leads to really strong contrast that can be hard for your camera to cope with and images full of contrast that won't suit every subject and can be difficult for your camera to capture.
3. Light direction matters
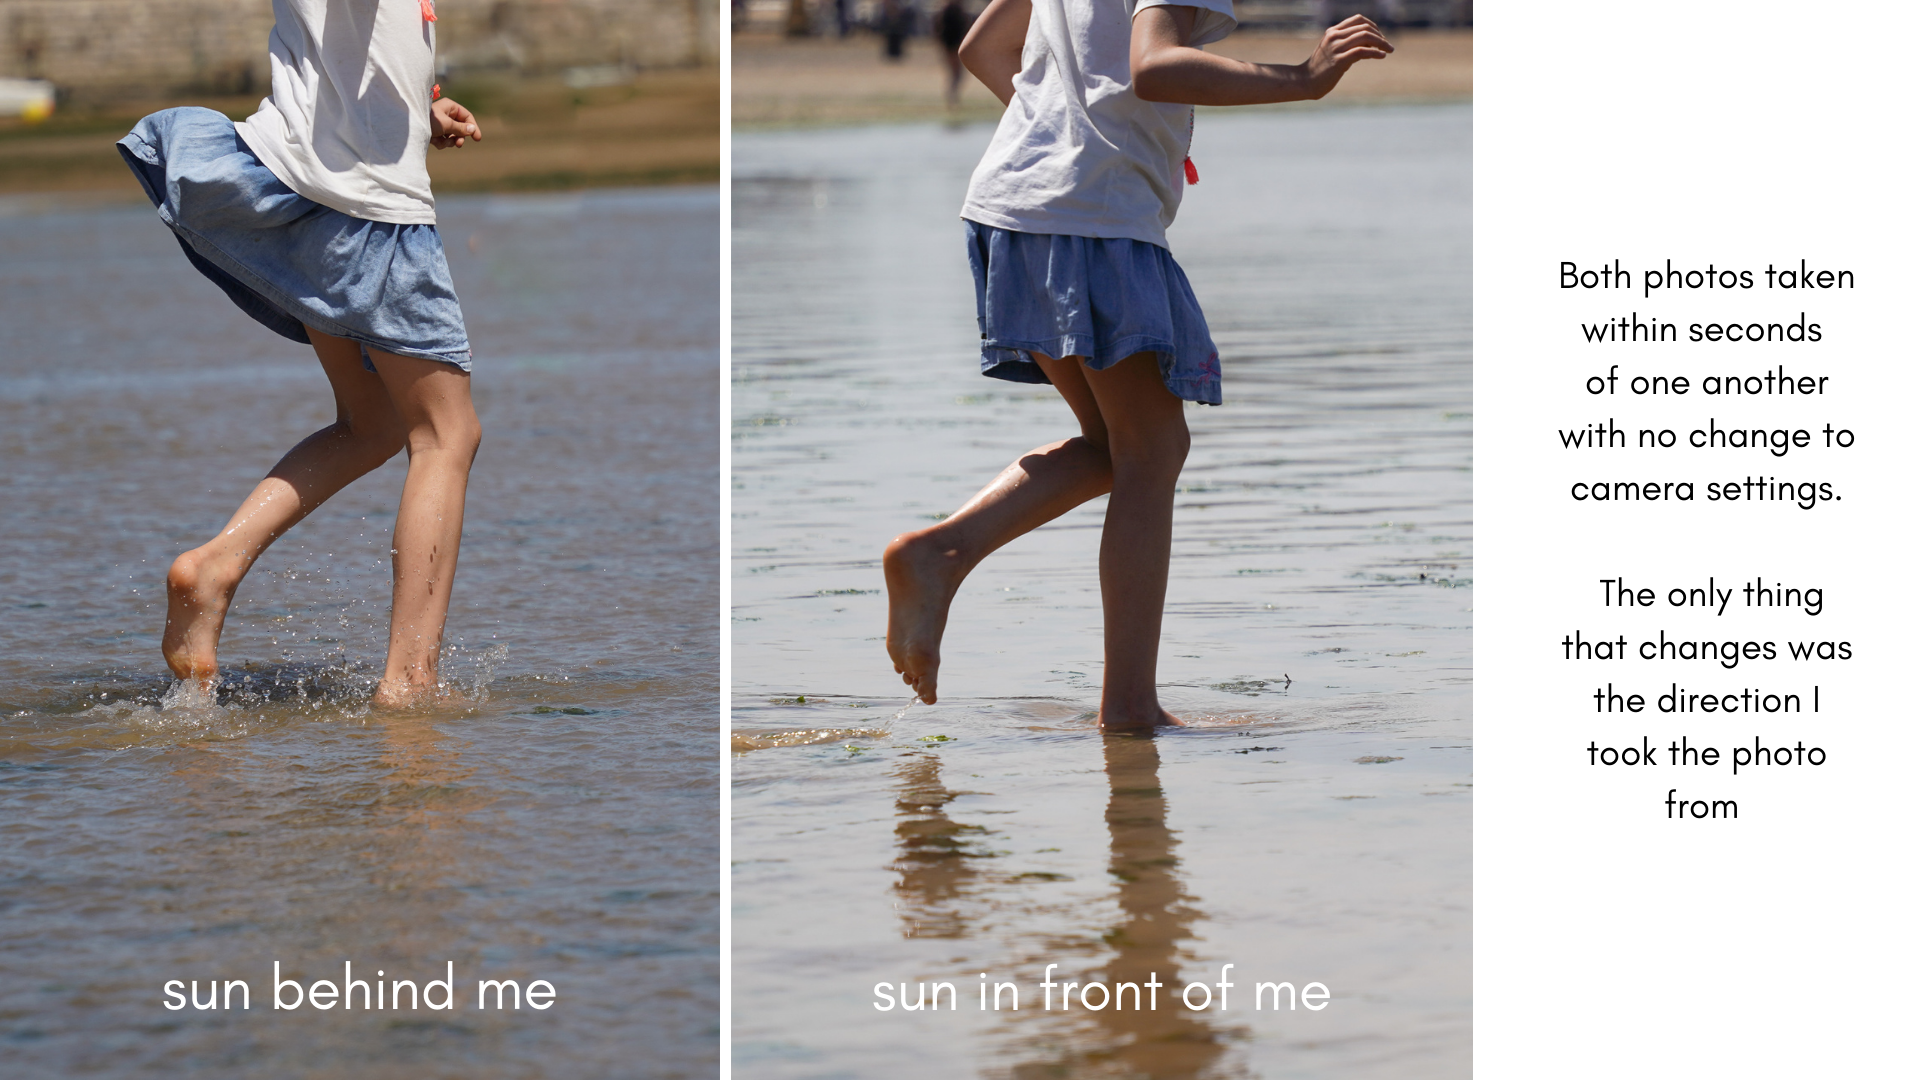
Light always travels in a straight line. All that talk about light 'wrapping around things' - that's purely metaphorical. When light hits an obstacle, light creates a shadow. And because of this, your light direction will matter - because depending on where the sun is on the sky and where you and your subject is in relation to the sun, your photos will look differently. Even on an overcast day, when the light is dispersed by traveling through the clouds, there is still a predominant direction to it and it will affect how your images are looking.
4. Light angle matters
The reason we dislike the midday light so much is that the angle of light, being pretty much 90 degrees down, is deeply unflattering - it causes unpleasant shadows in the worst places : under the eyes ( aka Panda eyes), under the nose and under the chin, and at the same creating sometimes very harsh highlights on the top of a person's head, their cheeks, tip of their nose. But earlier in the morning and later in the afternoon, even if the light is still as naked and direct, the angle changes, and the shadows become more manageable because that shallower angle gives us more to work for.
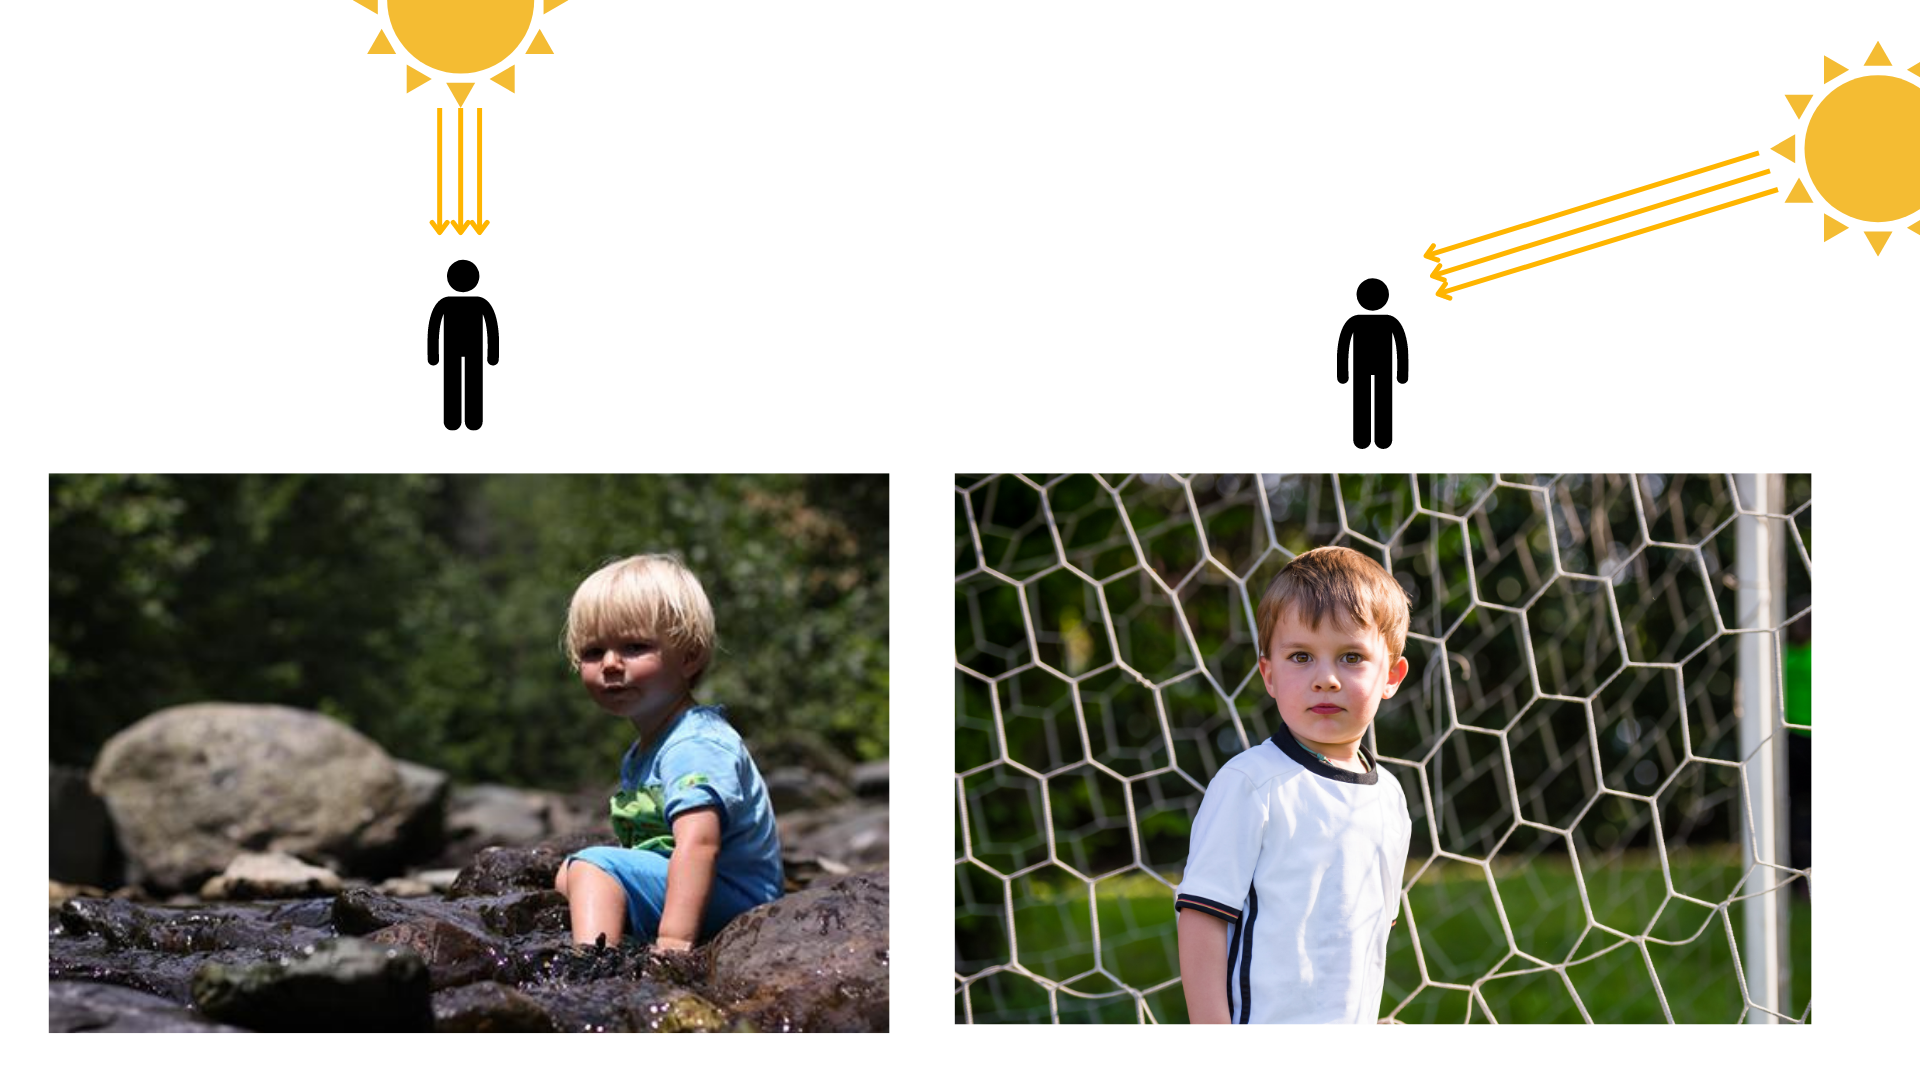
4. Light colour depends on Light angle ( when the light is the sun)
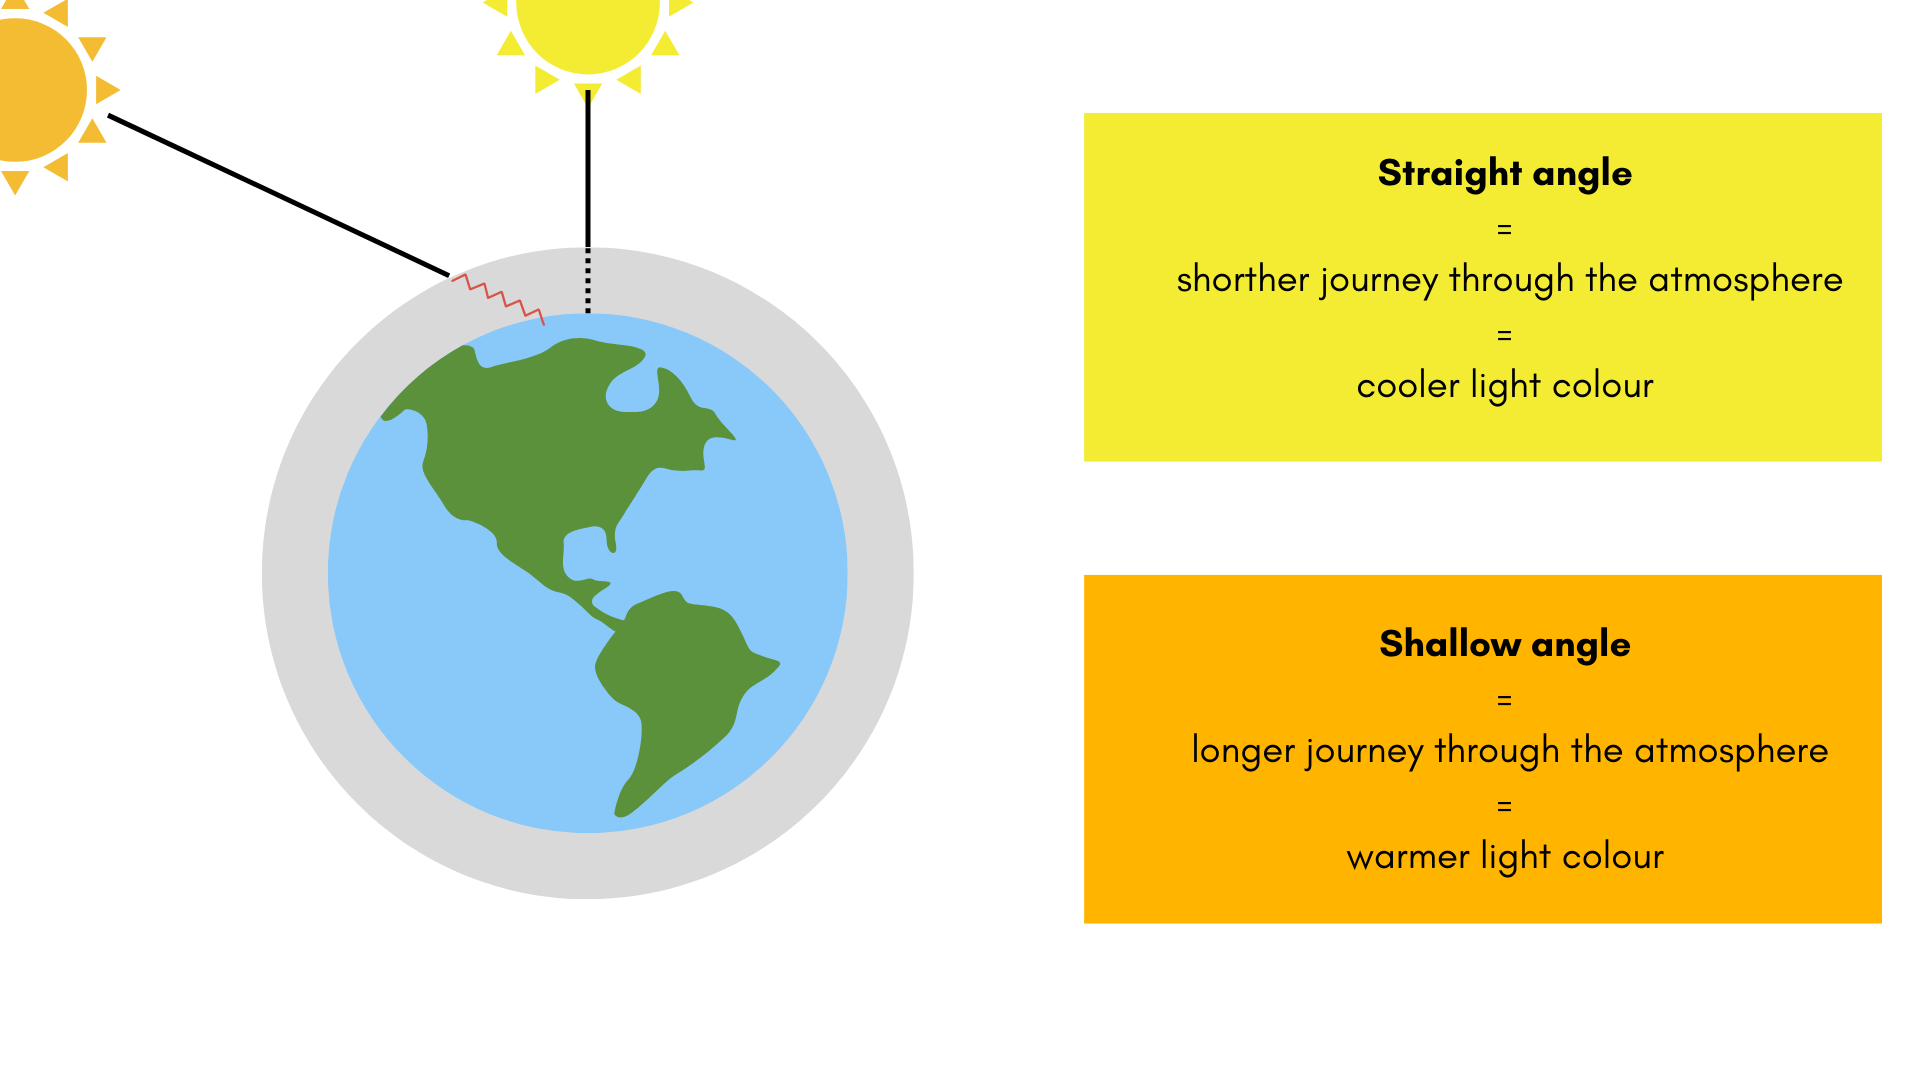
I'm sure you have observed how the late afternoon sun changes colour and everything starts looking properly golden? Let me tell you why that is and why you should use it. It's all to do with the angle the sun hits the Earth's atmosphere. AT midday, when the light is at it's highest point on our horizon, the light enters the atmosphere in a perpendicular angle, traversing the atmosphere in the shortest possible way. But towards the end of the day, the sun hits the earth at an angle and the light rays have a longer way to travel. This causes more resistance and changes the frequency of the wavelengths and with that, their colour.
Facts of the Summer Light
So how does all that relate to our summer light?
In a nutshell
- we get more sunny, non overcast days ( we hope) - so that you're more likely to be out and about in the sun and taking photos in these conditions
- longer days, which means that comparatively, the sun is at its highest ( most challenging point) for a longer part of the day
- In summer holidays we re more likely to be out and about when the sun is at it's highest, and also be in wide open spaces or near water which can cause additional issues ( water reflects! = 2 x the light!)
All of the above adds up to potential trip hazards for your photos. But even the really challenging light can be turned from a problem to a stunning photo, you just need to know what to do with it. There are whole books written on the subject of shooting in challenging light and obviously, with us only having one day for it in this bootcamp, we are very limited in what we can teach you. Some of the techniques will also require you to have a good grasp on your camera and especially shooting in manual.
BUT, even with those limitations, we can still help. So let's move to part 2 of the lesson where we show you how to handle summer light in a number of situations.
Part 2 - How to shoot in harsh summer light
1. Overcast light
Let's start easy! ( and let's face it - realistic for Britain).

Pros of Overcast light
Soft looking light, gentle shadows, no dramatic differences to how the whole of your environment and your subject is lit. Less likely to make your camera confused. Less likely to end up being under or over exposed.
Cons of overcast light
For all it's gentleness, it can look a bit flat.
How to work with it?
The great thing about overcast light is that it's really really easy to work with because the light remains more or less constant throughout. I would still keep an eye out for where the light is coming from ( even with overcast skies, there is always a part that's brighter than the rest) and if you're taking portraits, I would make sure my subject is facing that way, but otherwise you can just go ahead and concentrate on the shooting, because the light is less likely to make a difference.
If you find that the images are looking a little flat, look for contrast elsewhere - you will need to rely on other factors to bring some contrast to the images - such as placing a brighter subject against a darker background or using colours and textures to make the subject pop.
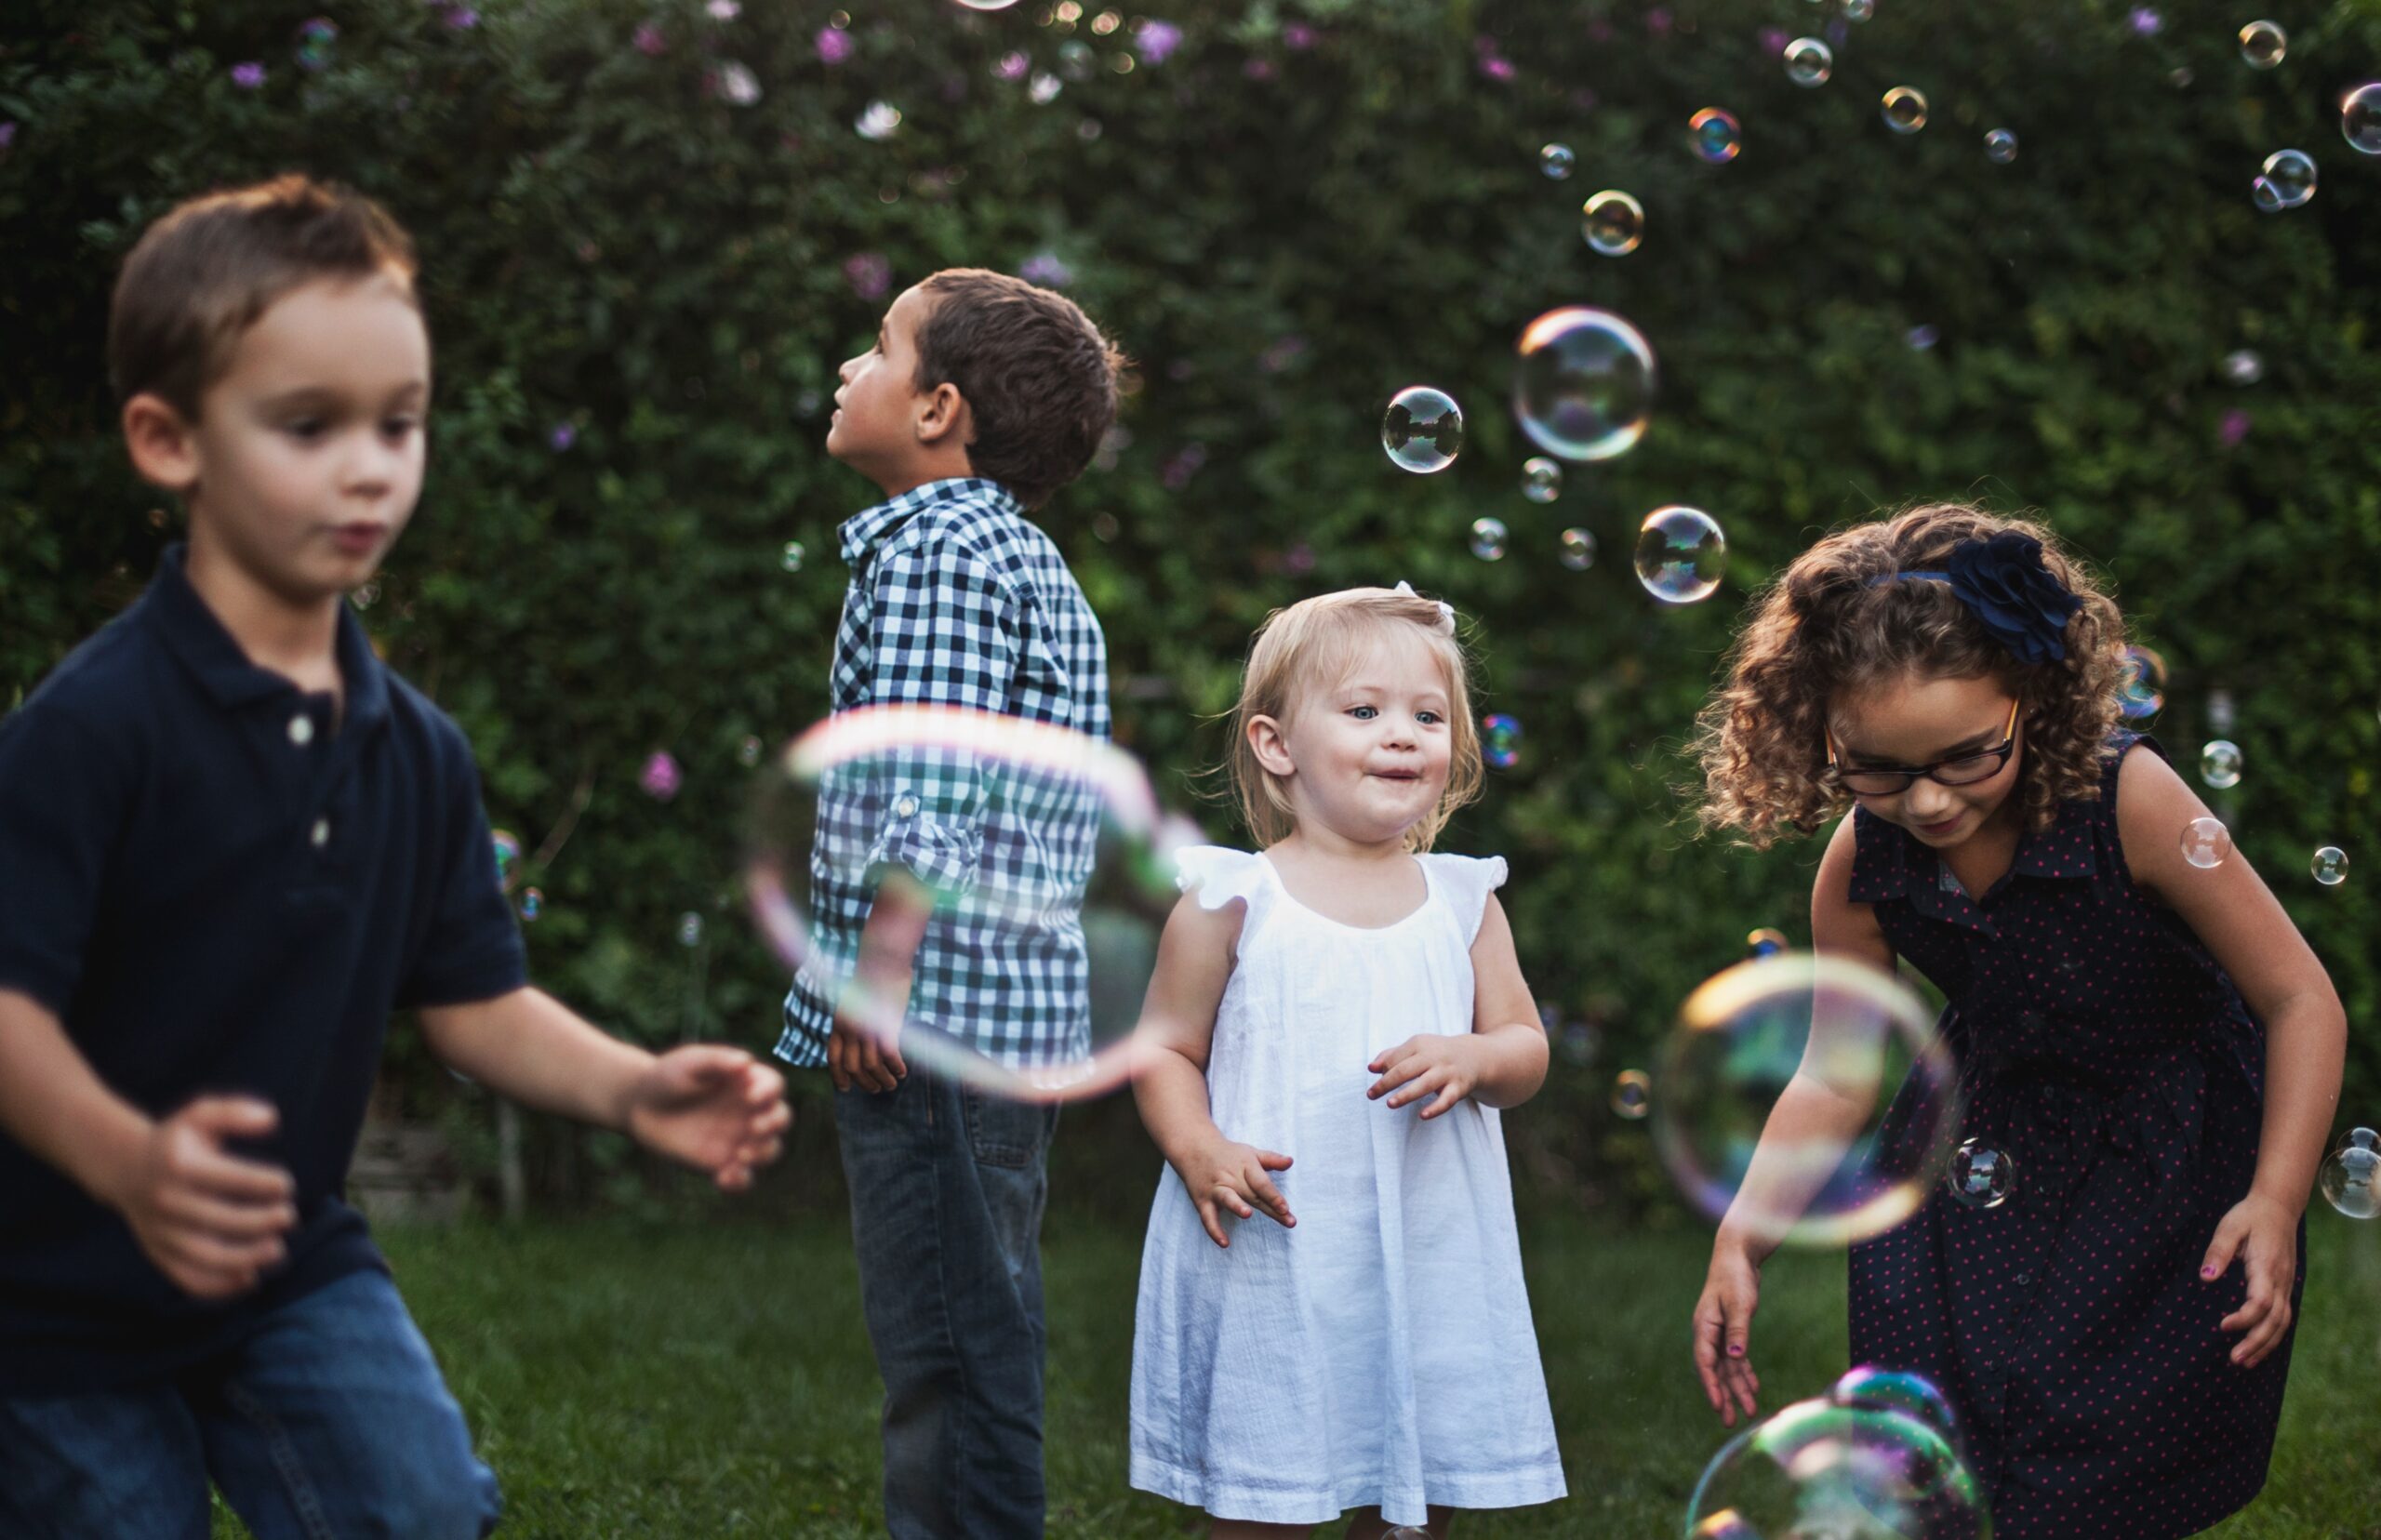
Photo by Katherine Hanlon
What is it good for? - portraits, storytelling, making colours look more rich, images that inspire calm in general.
Not so good for: dramatic images where light features as a composition element rather than something that brightens up the scene.
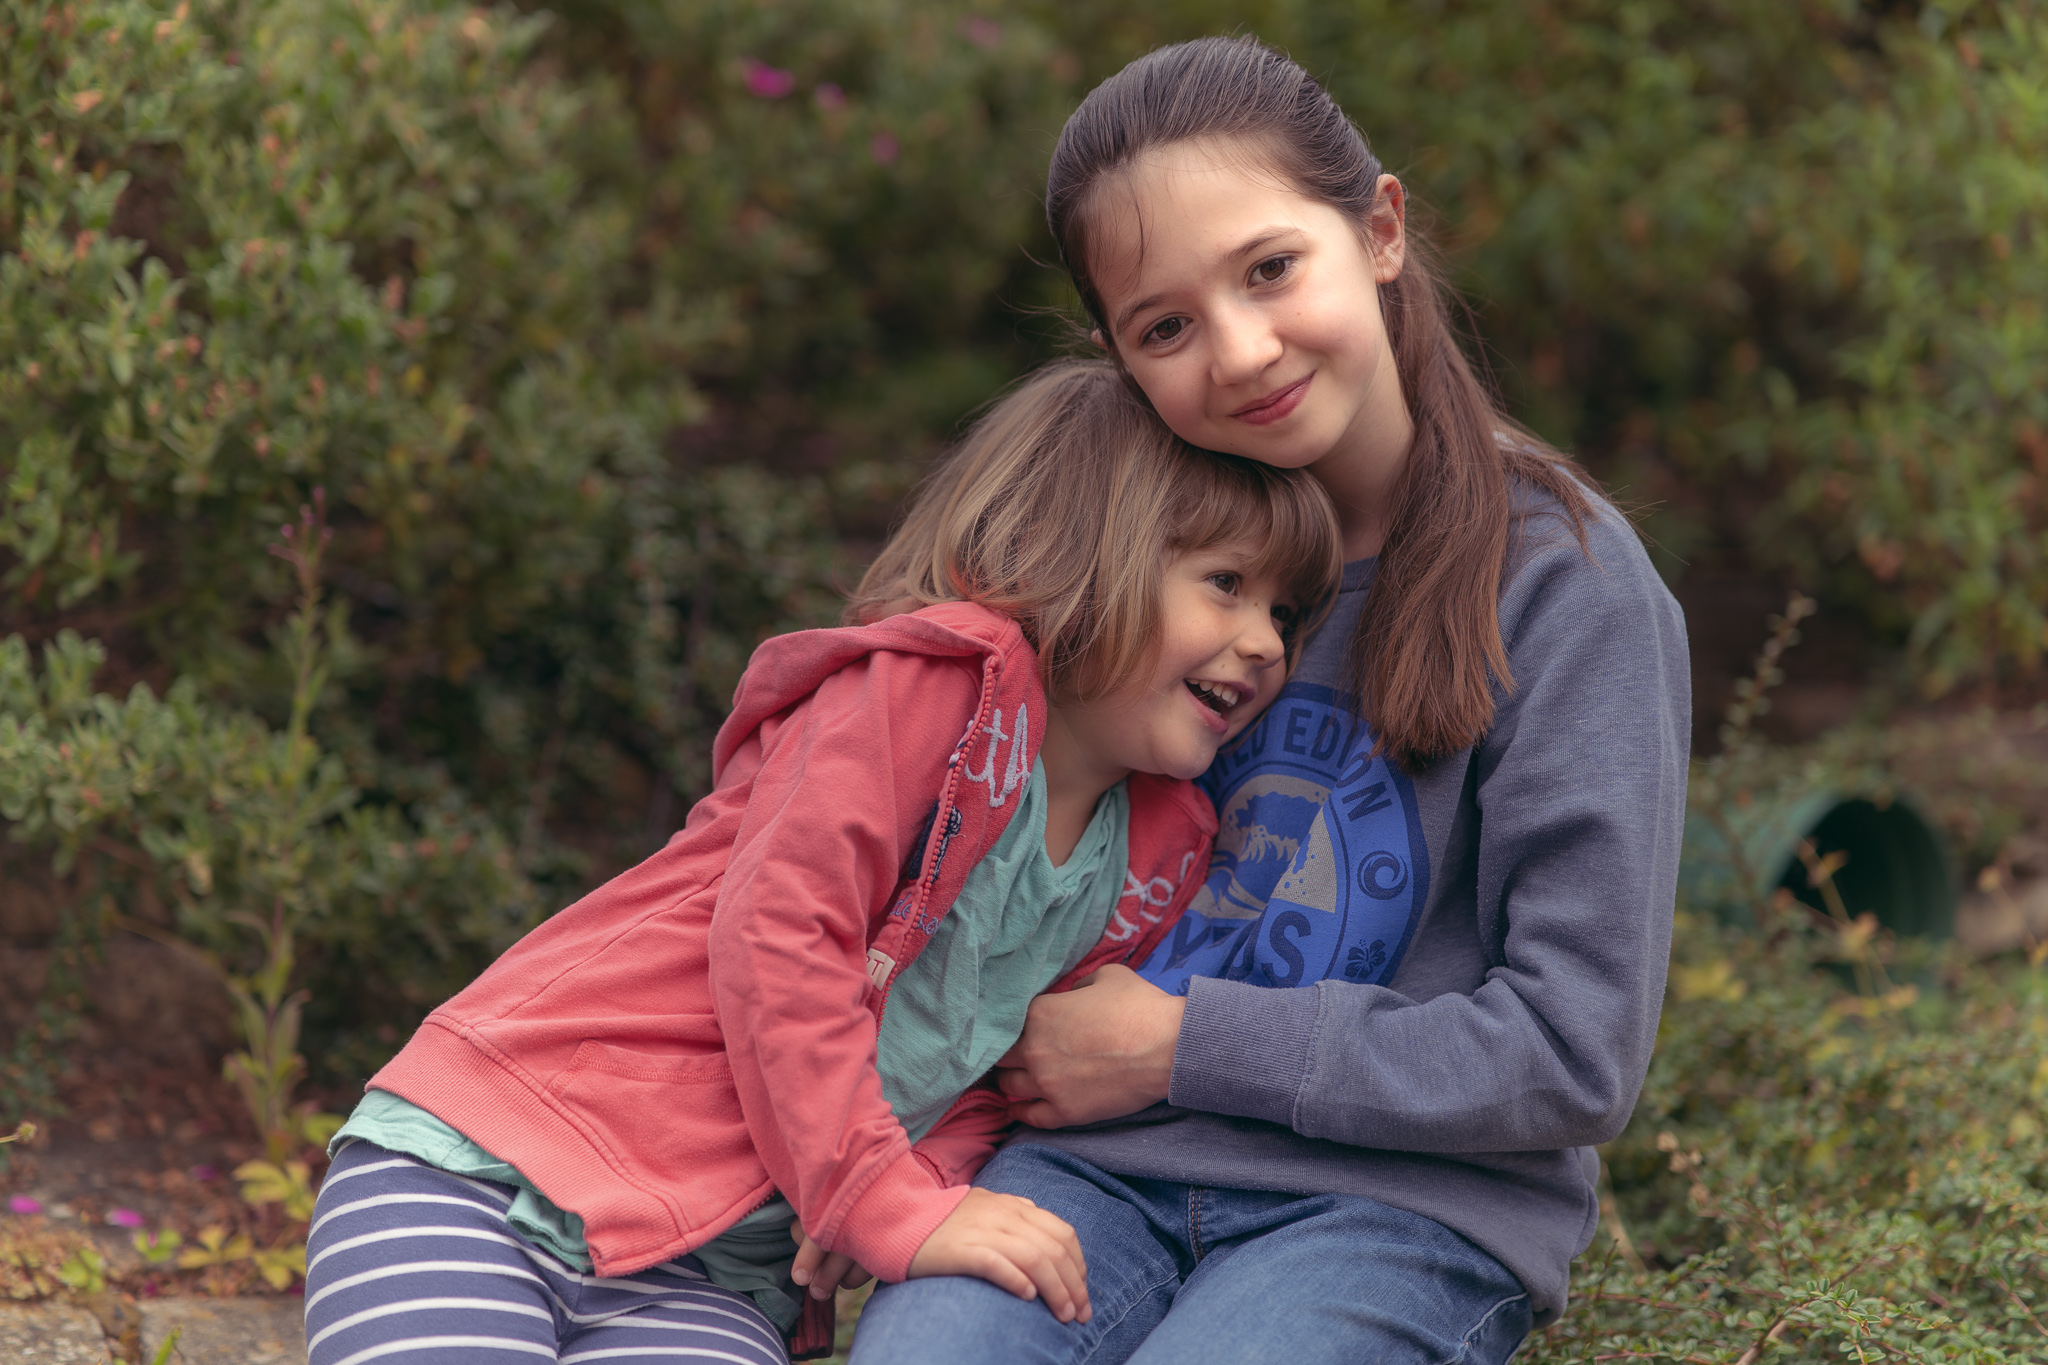
Strong Sunshine
First of all, everybody keeps your fingers crossed we actually get any sunshine this summer!
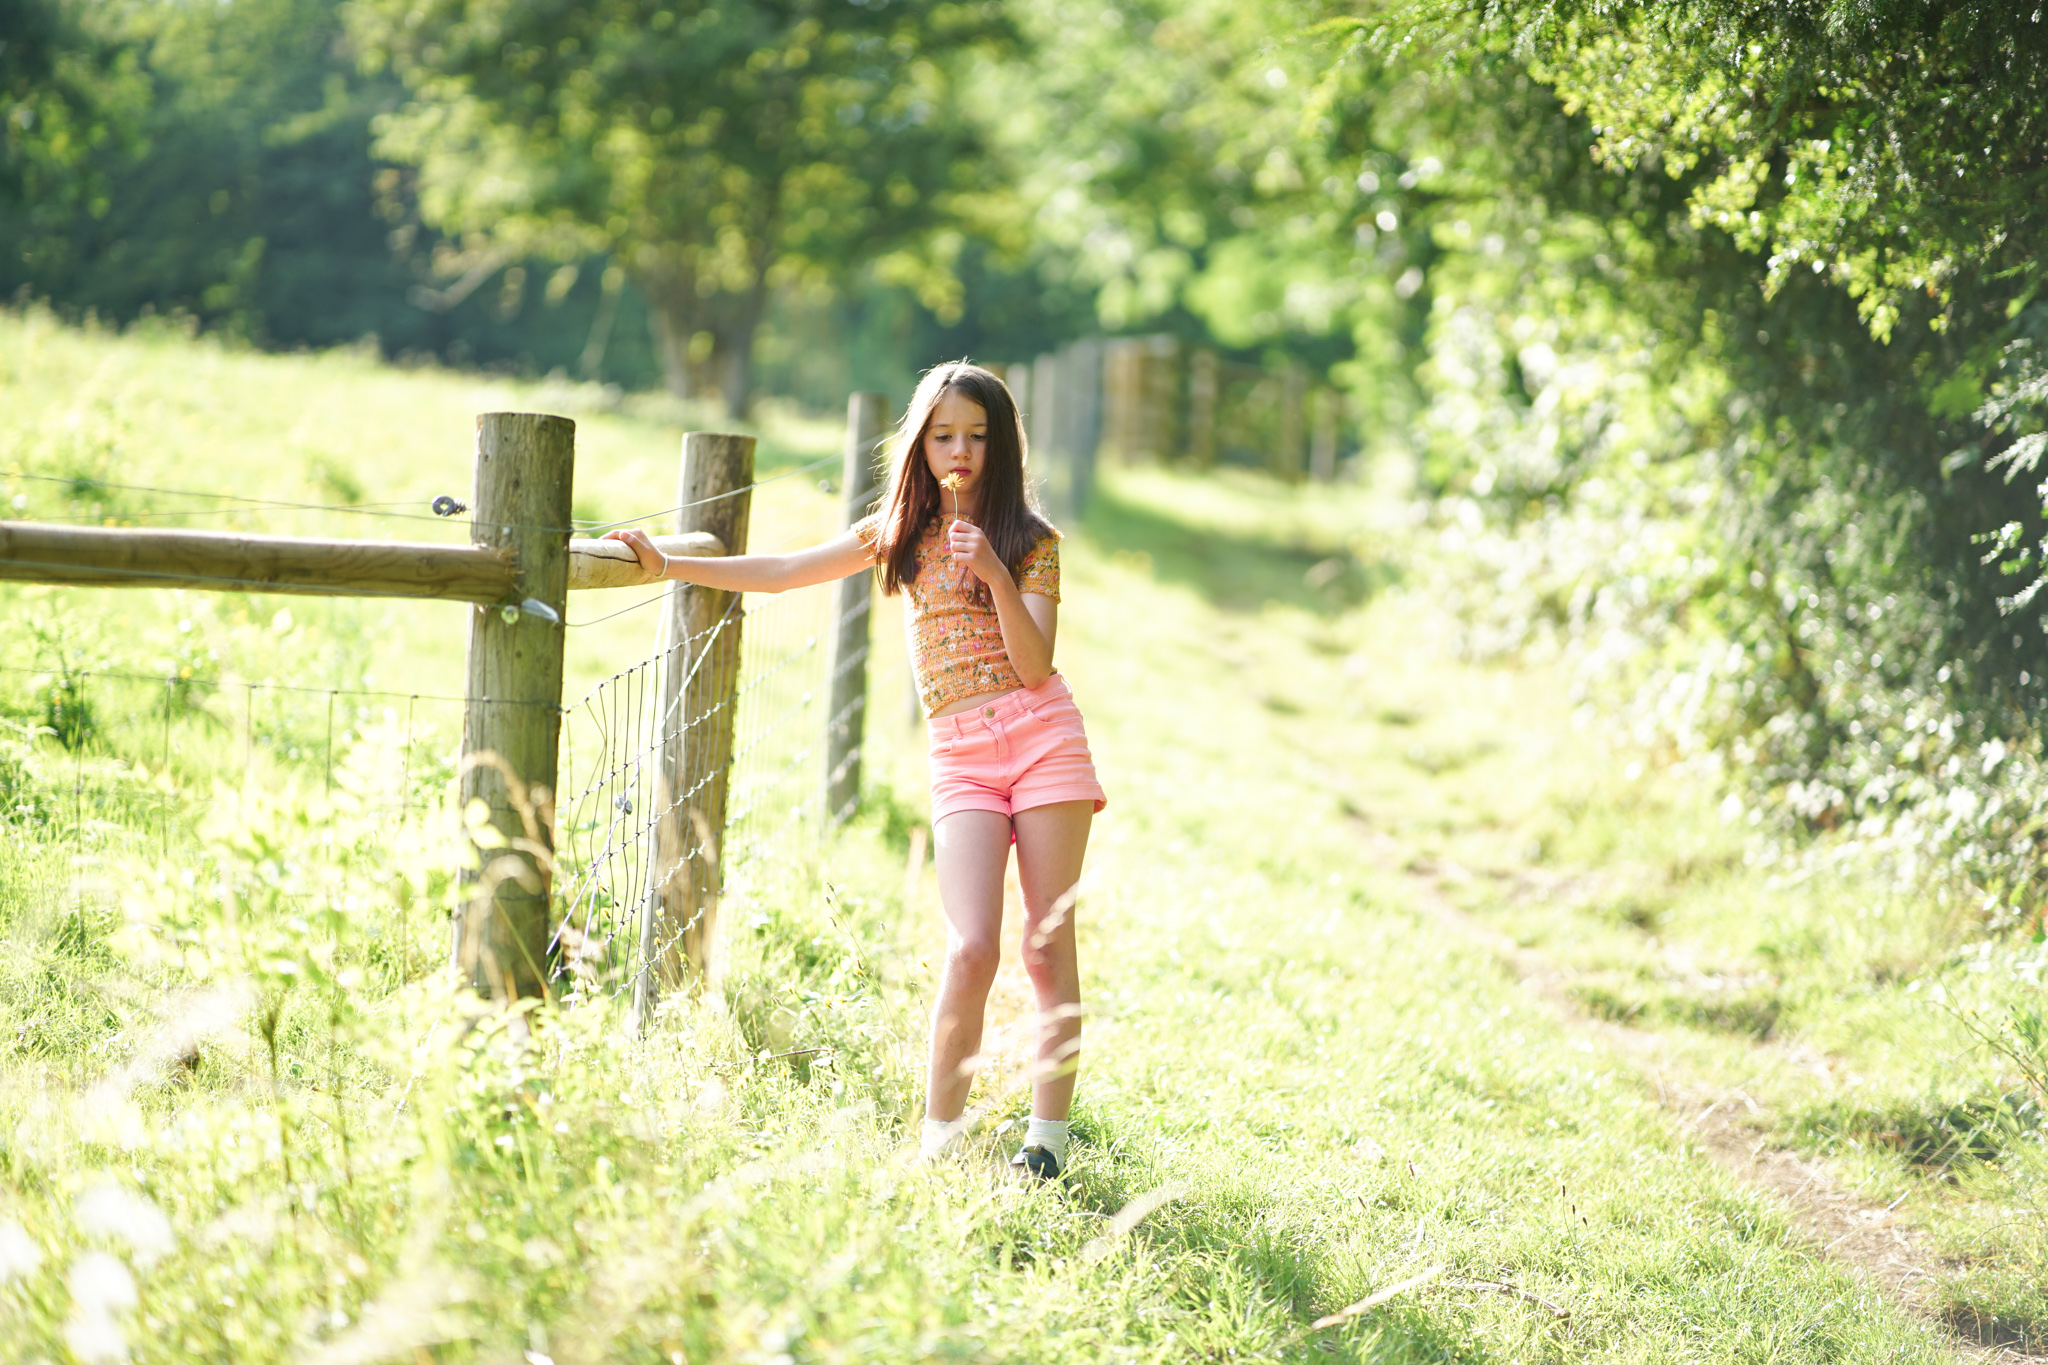
Secondly, can we please give up on the idea that all strong light is bad and that you should avoid it at all cost! It's challenging - yes. But it can produce stunning images where the light shimmers and sizzles and really makes the image. So let's consider how best can we work with it.
Pros of strong, unfiltered light
LOTS of light( as in quantity) - which means that you will not be struggling with capturing movement ( which likes to have plenty of light), ability to use the contrast between light and shadows to hide things in the shadows. Can be featured in images to make them visually stronger.
Cons of strong unfiltered light
It's easier to under- or overexpose things, there is always a risk of deep shadows (remember: bright light = dark shadows!) that can fall in the wrong places or be distracting and are harder to manage with kids on the move, it lacks the subtlety of soft filtered light.
How to work with it?
You basically have two lines of approach here:
You either embrace the harsh light with all its pros and cons and use it for images that will make good use of it or at least won't be spoiled by it.
OR
You find ways to mitigate it.
Let's first consider option 1, because sometimes, even with the best intentions we won't be able to do much about the light and change or soften it, and yet you will still want to take photos. So what then?
EMBRACING THE HARSH LIGHT
1. Give up on portraits or close up shots till you are somewhere you can get better light and take wider, more storytelling shots instead
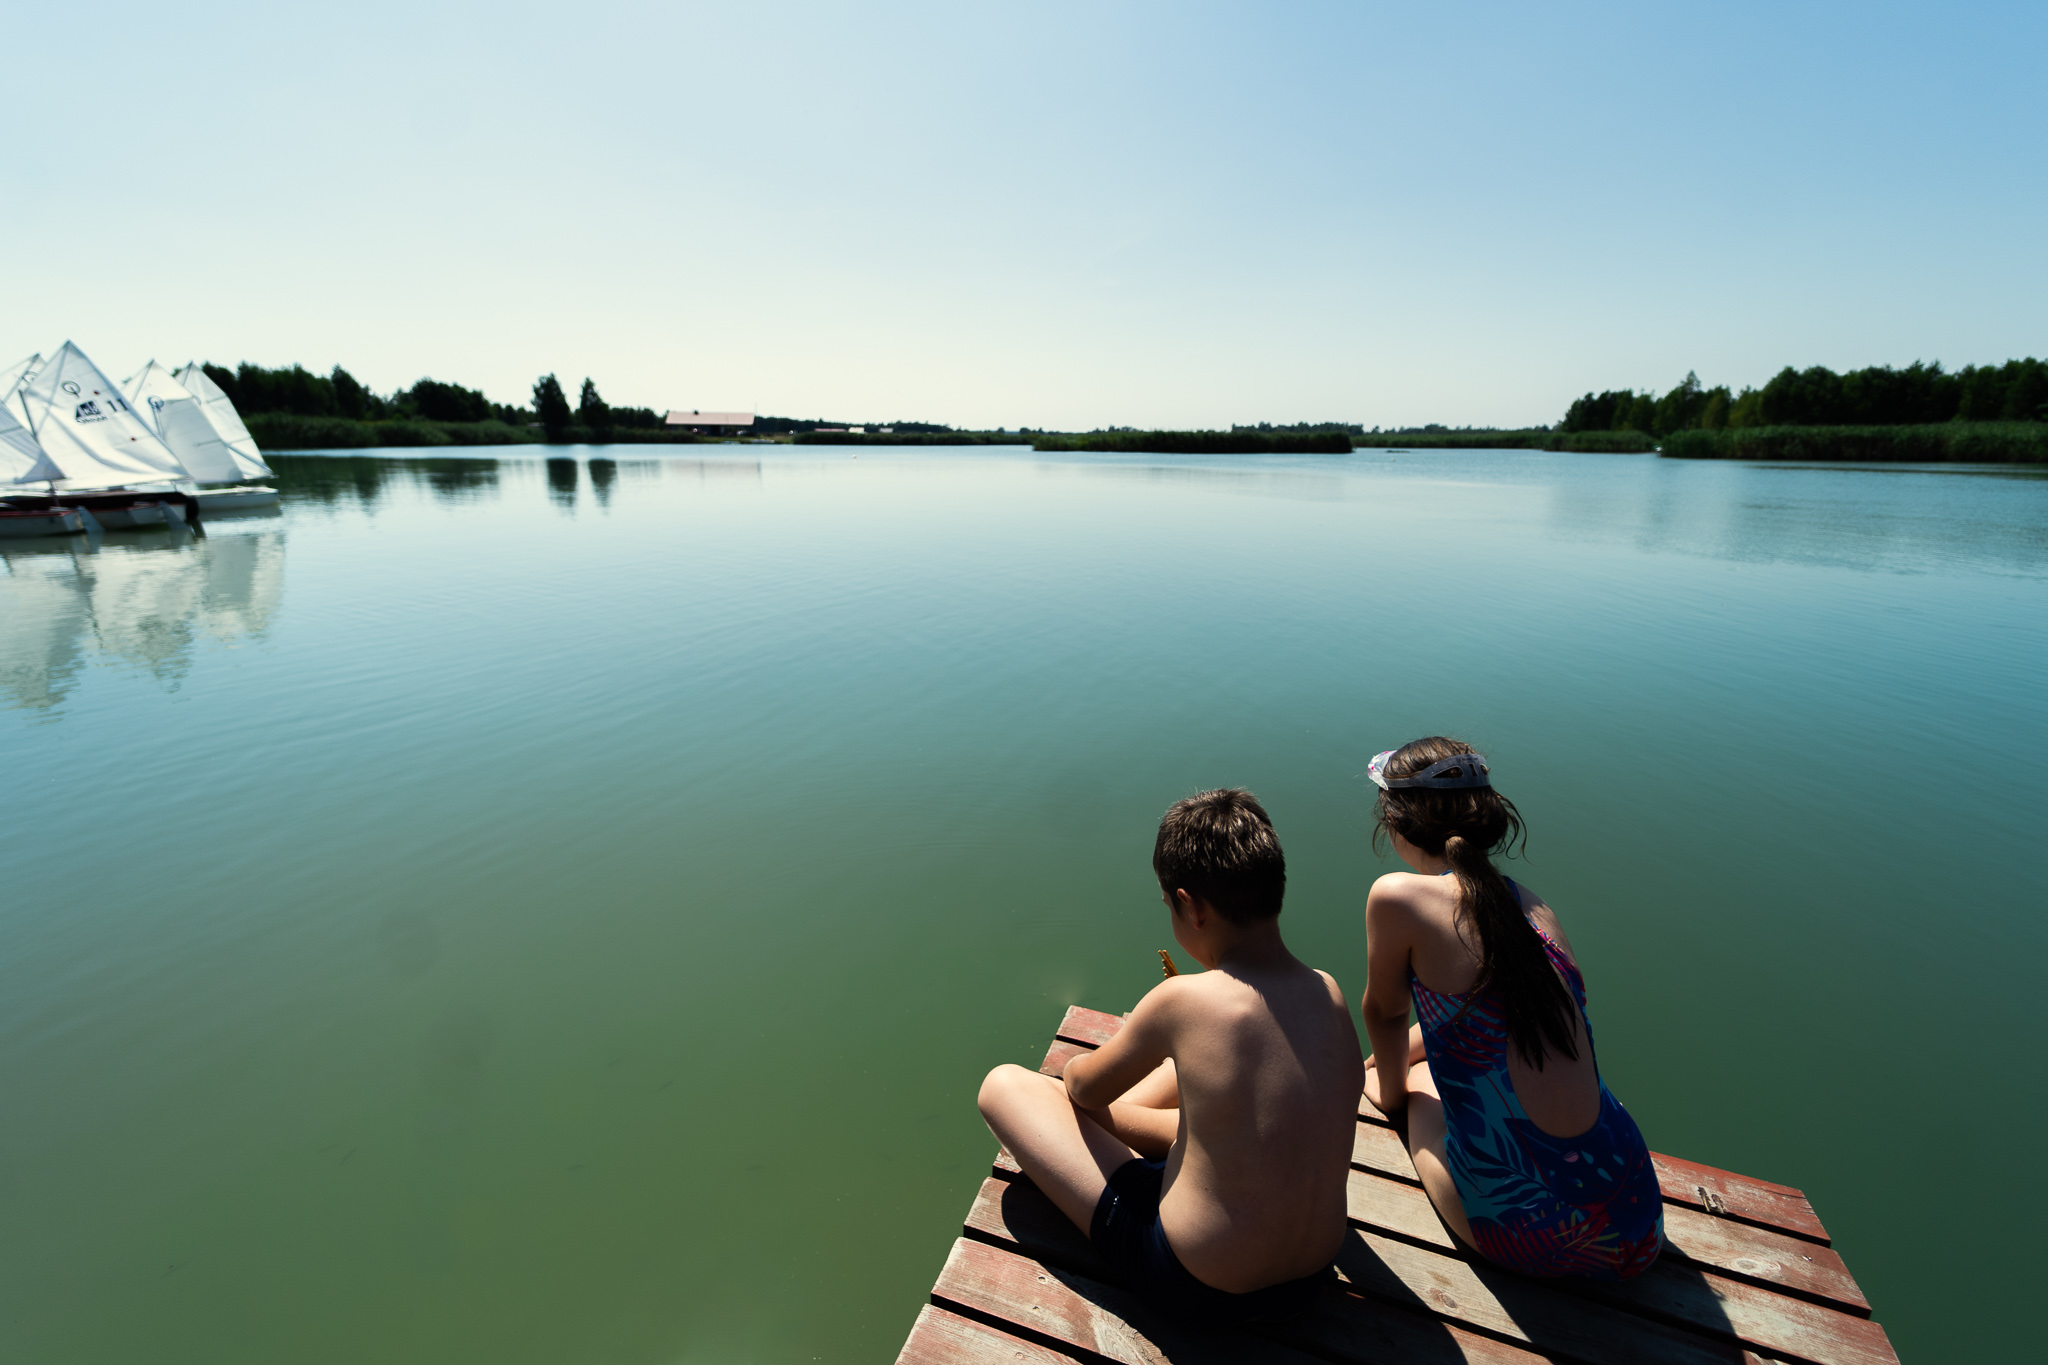
Why? with storytelling shots you tend to give more space in the frame to the environment, and the finer features on a person's face, are either non visible ( because they are more likely to be facing away from you) or are small enough that the shadows and highlights don't tend to make a difference that much. So aim for your subject to take up no more that 1/5th of space in the frame ( or less).
2.Use backlight
If the strong sunlight is not right above your subject and falls at your subject at an angle, try to position yourself so that the sun is in front of you and behind your subject. When the light falls on them from behind, it creates a shadow over their face - BUT although there is less light there, it will be gentle. To ensure your subject is bright enough you can do a few things, depending on your level of photography knowledge :
- if you're familiar with shooting in manual - spot meter from the face and overexpose a little to compensate for the darker light. I like to warm up my white balance a little too - either in camera or in post-editing.
- if you are shooting in auto or priority modes, you can use your Exposure compensation button and nudge it towards overexposure ( +1, or +2 depending on how strong a light you have). Again, setting your white balance to shade or cloudy will help from the person looking less grey.
- Use your flash ( yes flash - even the pop up variety) - as flash has a shorter reach and adapts its strength depending on how much light there is in front of it, you will get a pulse of light that's gentle enough to just brighten up your subject's face but not strong enough to affect the rest of the scene
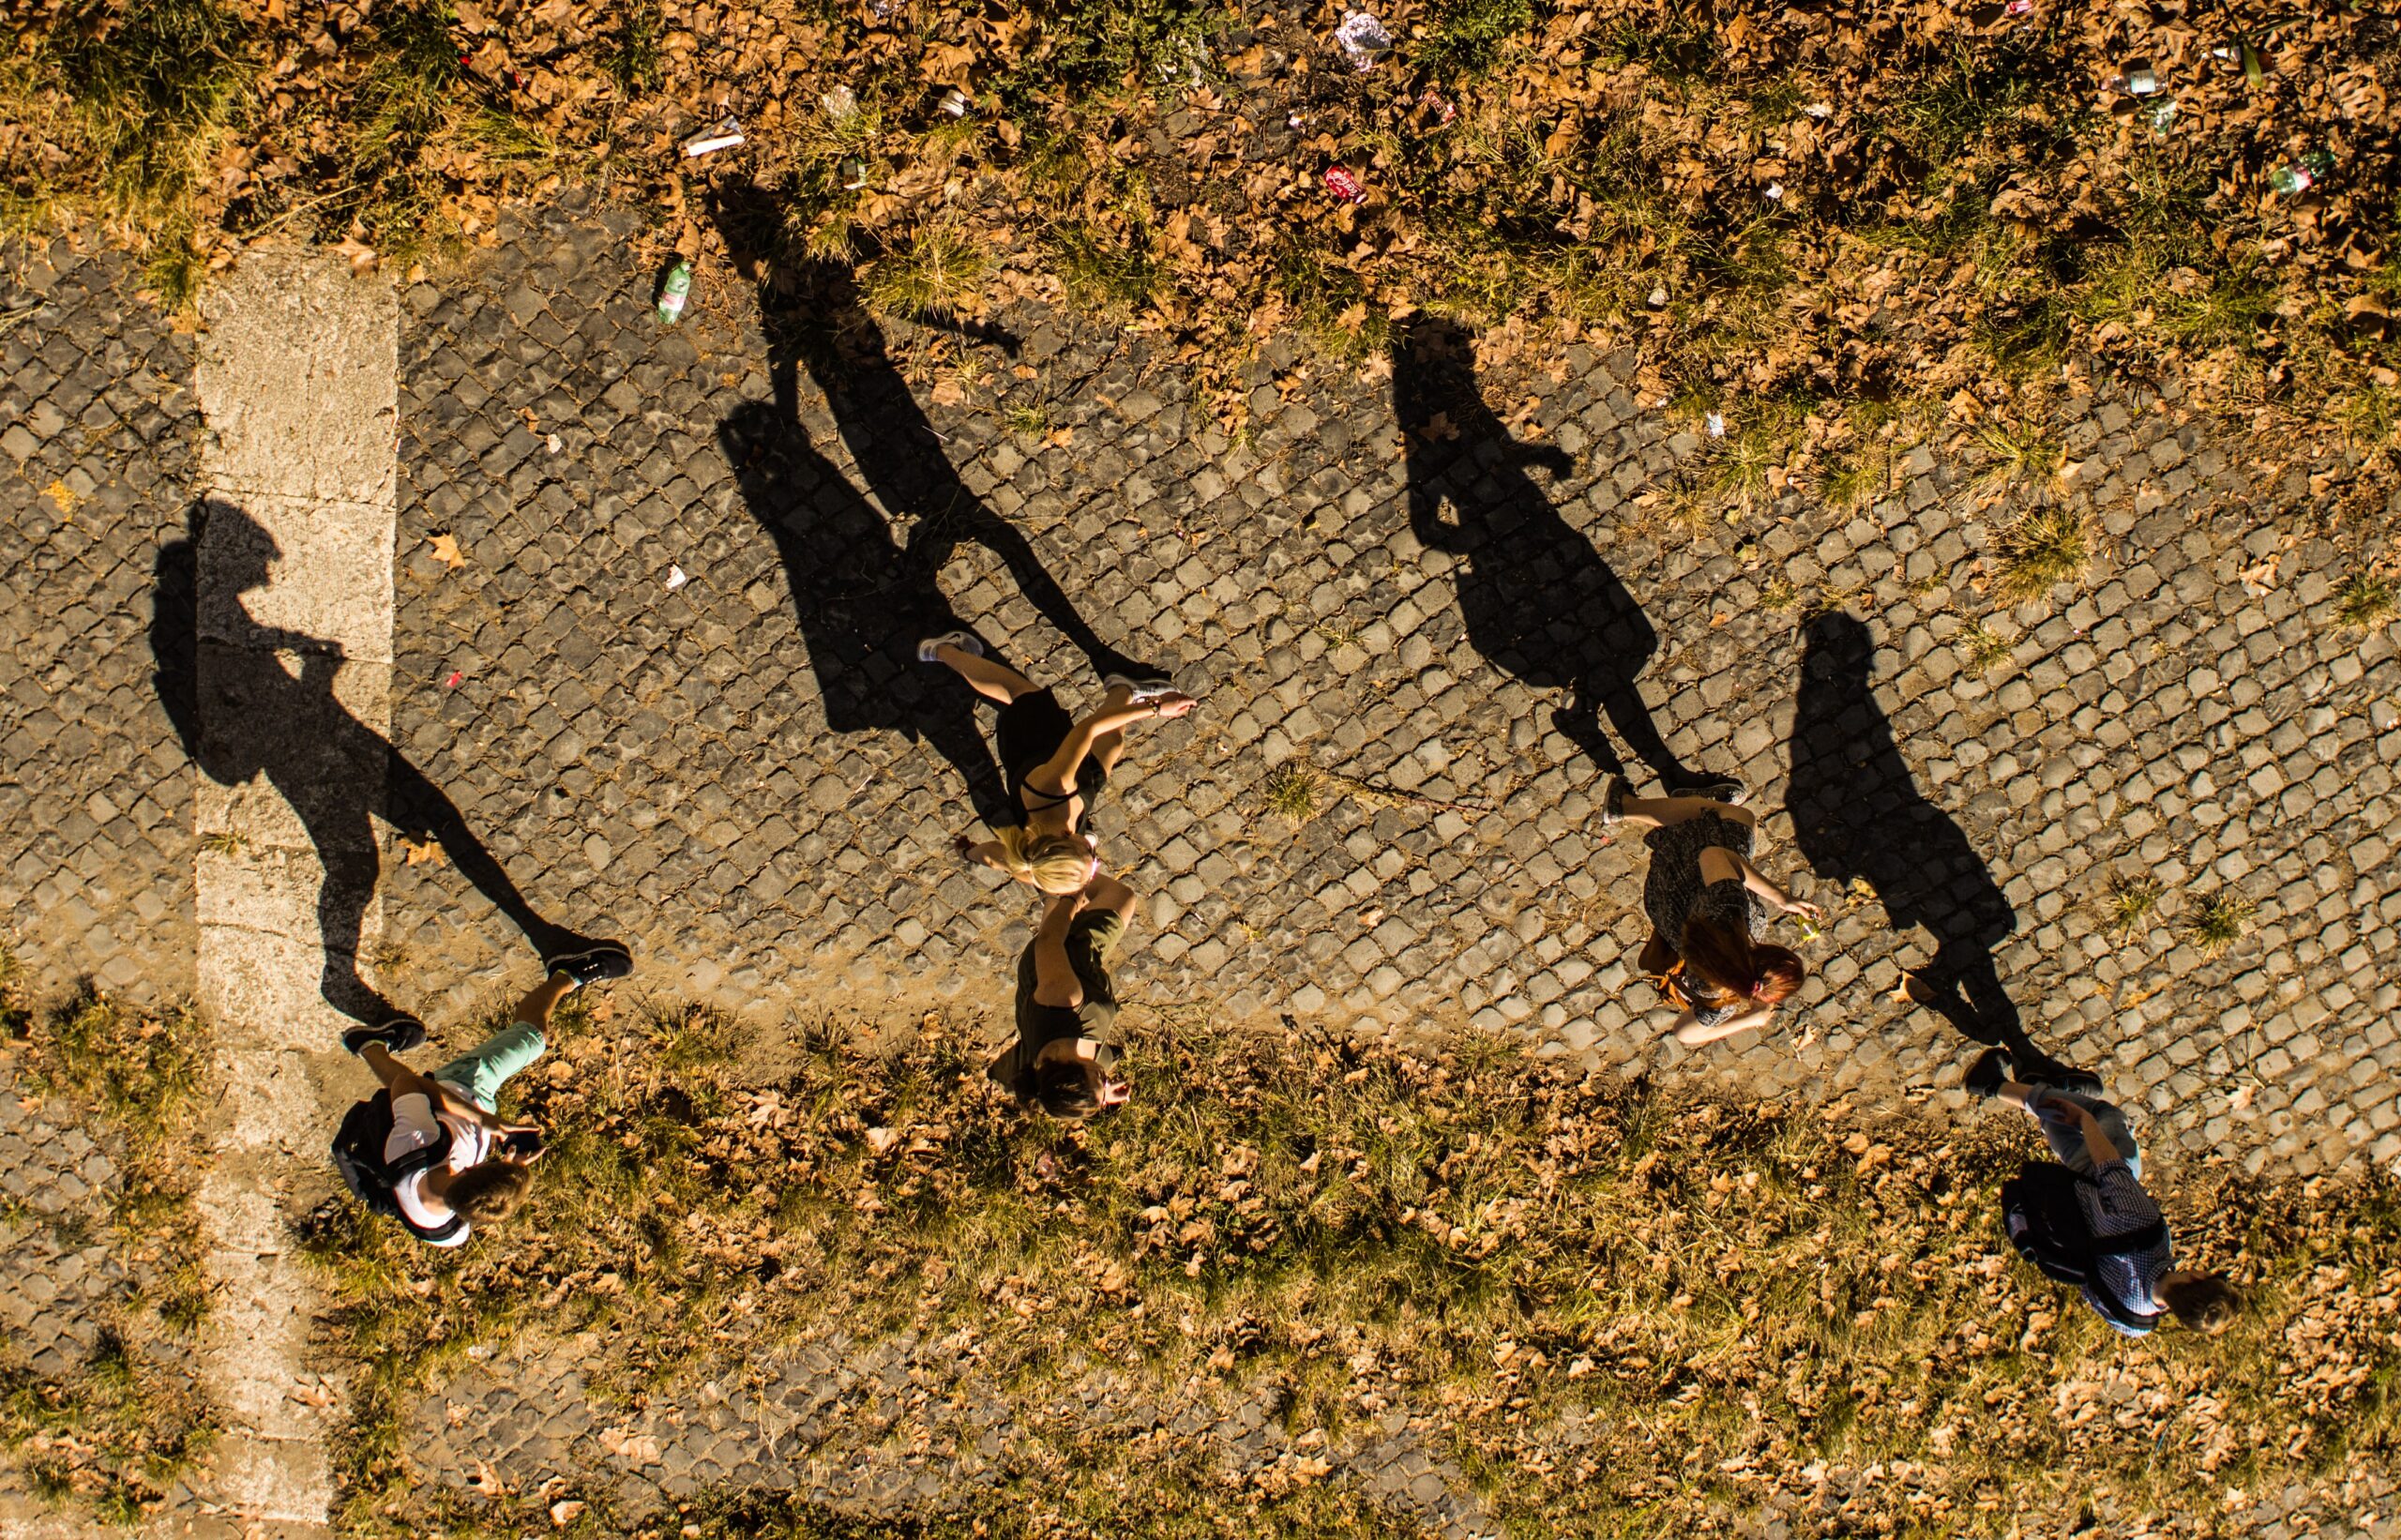
3. Use the strong shadows to your advantage!
You can get really creative with shadows! Both by focusing on the shadows themselves and capturing those, but also by hiding things in the shadows and using highlights to isolate your subject. I would say that this second option is a bit more of an advanced technique, because metering from highlights and shadows can be tricky if you're not sure what you're doing. We have a week dedicated to it in our Advanced course!
Top tip - if you see your own shadow in the image and you don't want to, change your position so that you face the light and your shadow will end up behind you, safely away from your subject.
4. Feature the light!
If I have strong light, I get excited because that means I can feature it in a number of ways. I love partly hiding it behind things and creating starbursts or paying attention to how it illuminates and reflects from the various elements in your environment, Top tip - if you're near the water, there will almost ALWAYS be a direction where the reflected light will look like pure silver or gold. Make sure you capture that!
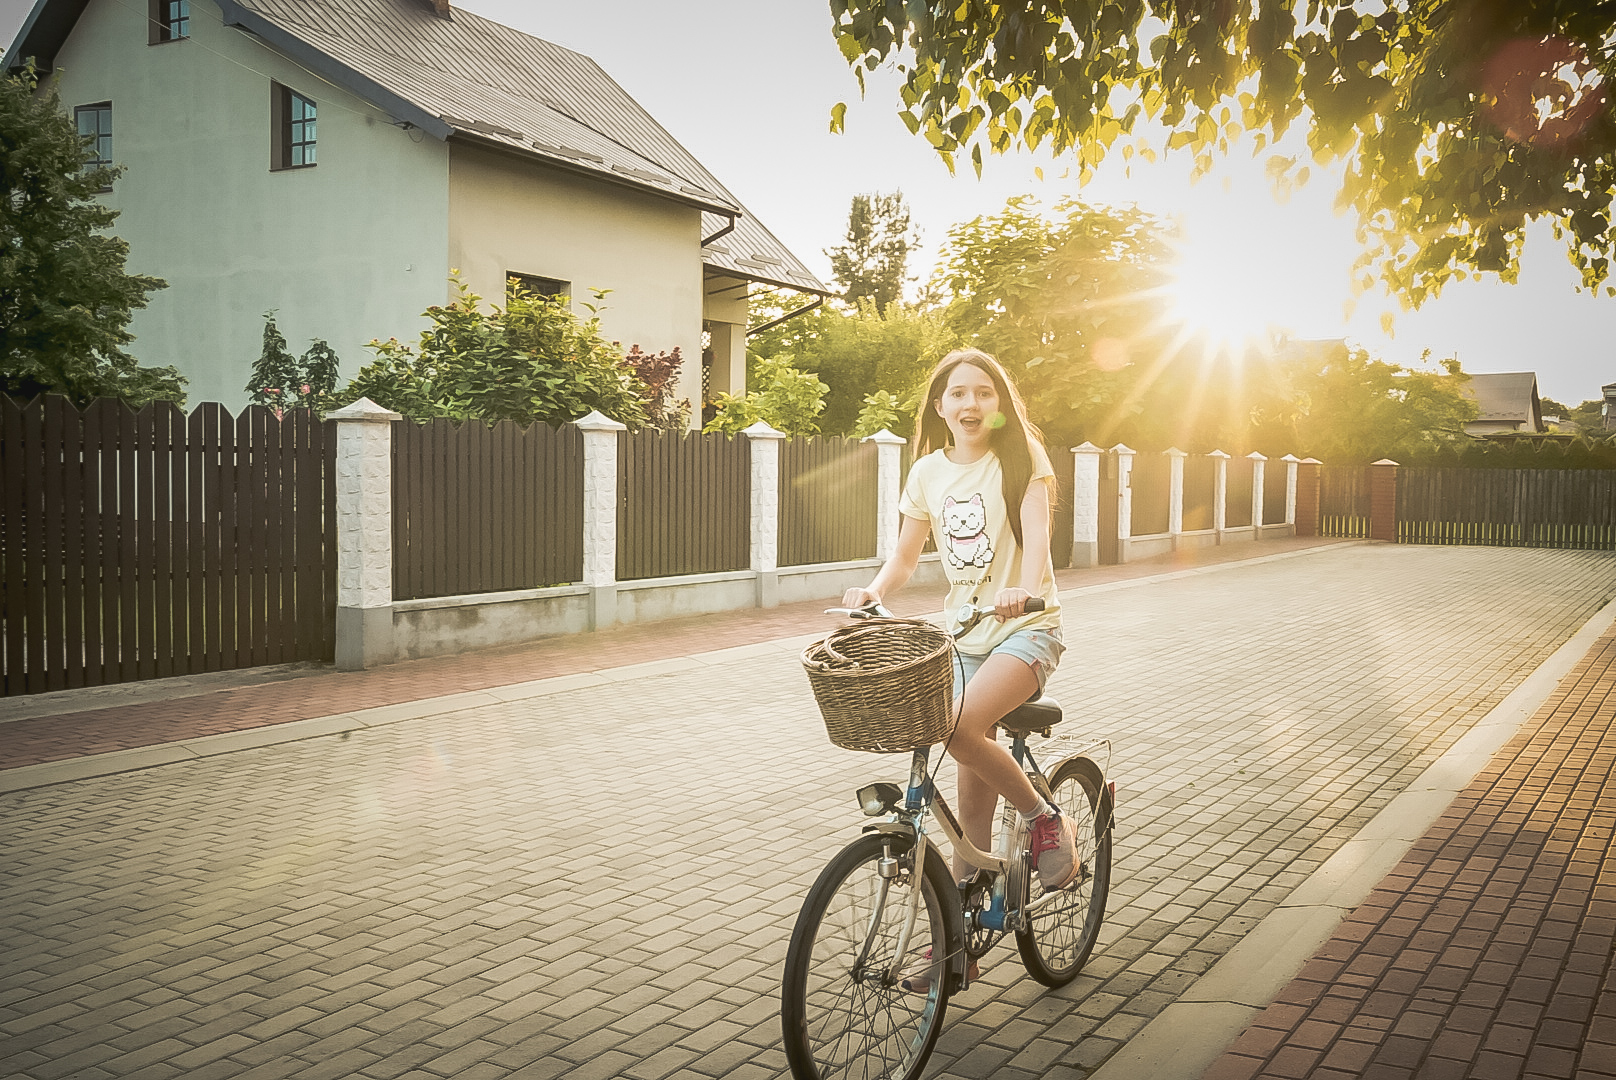
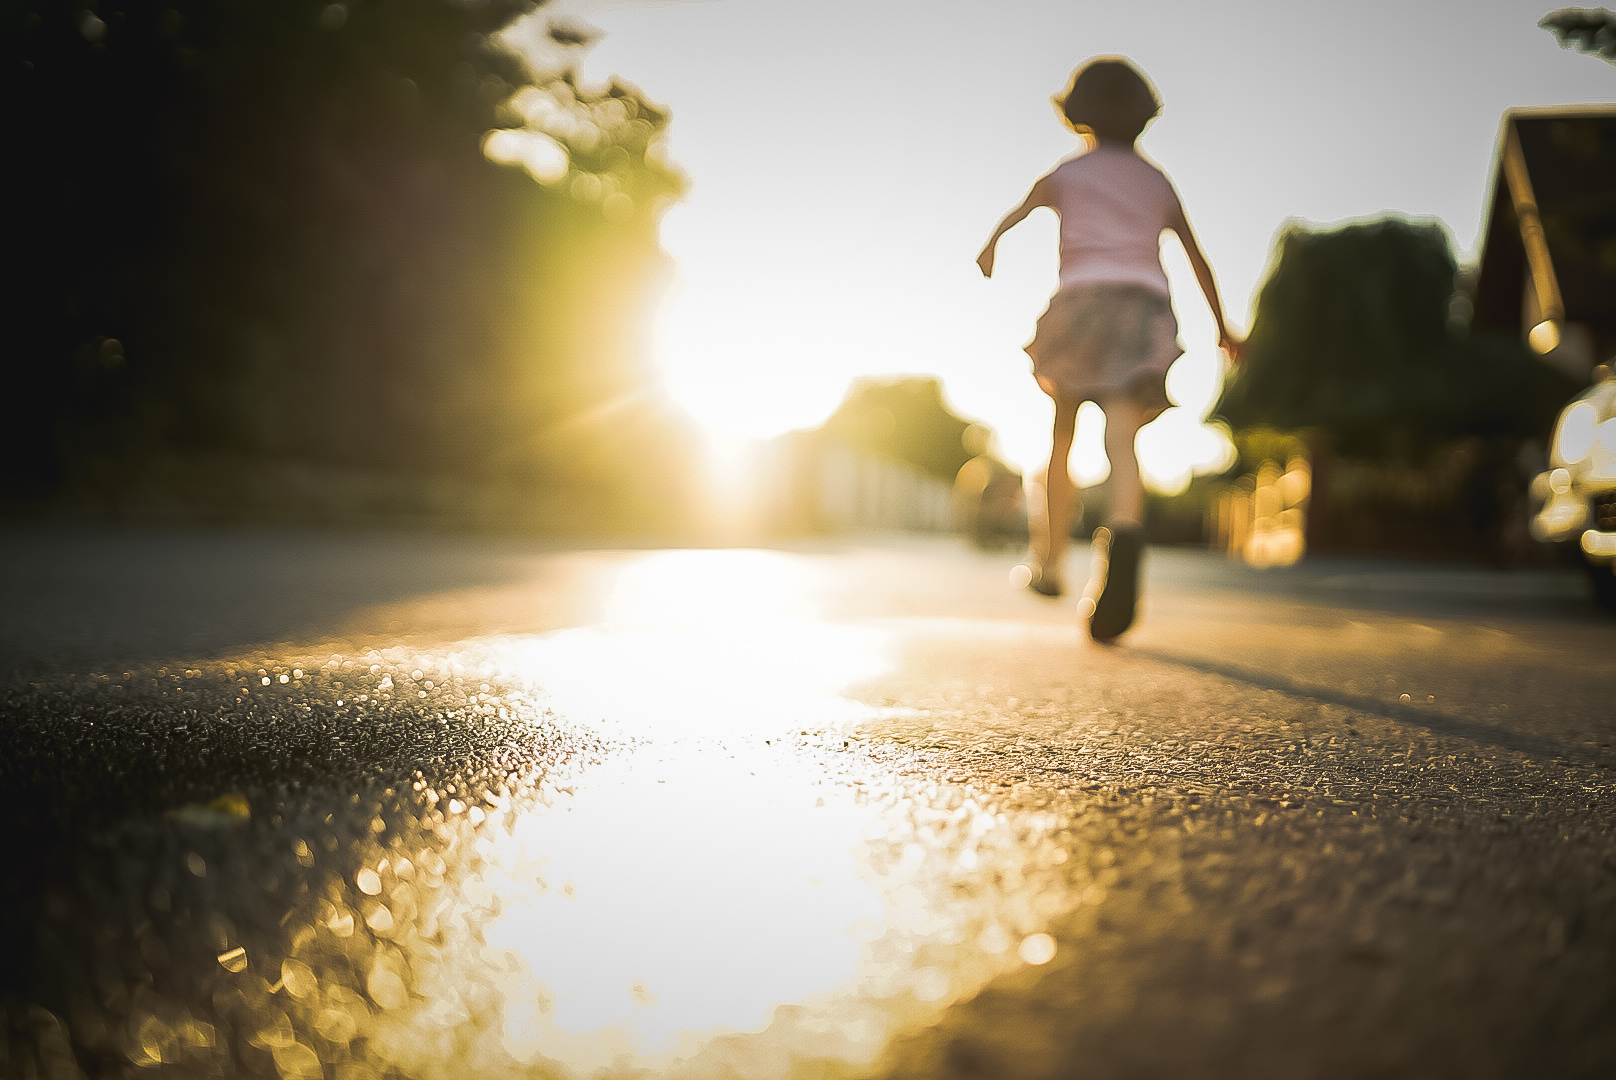
5. Capture silhouettes
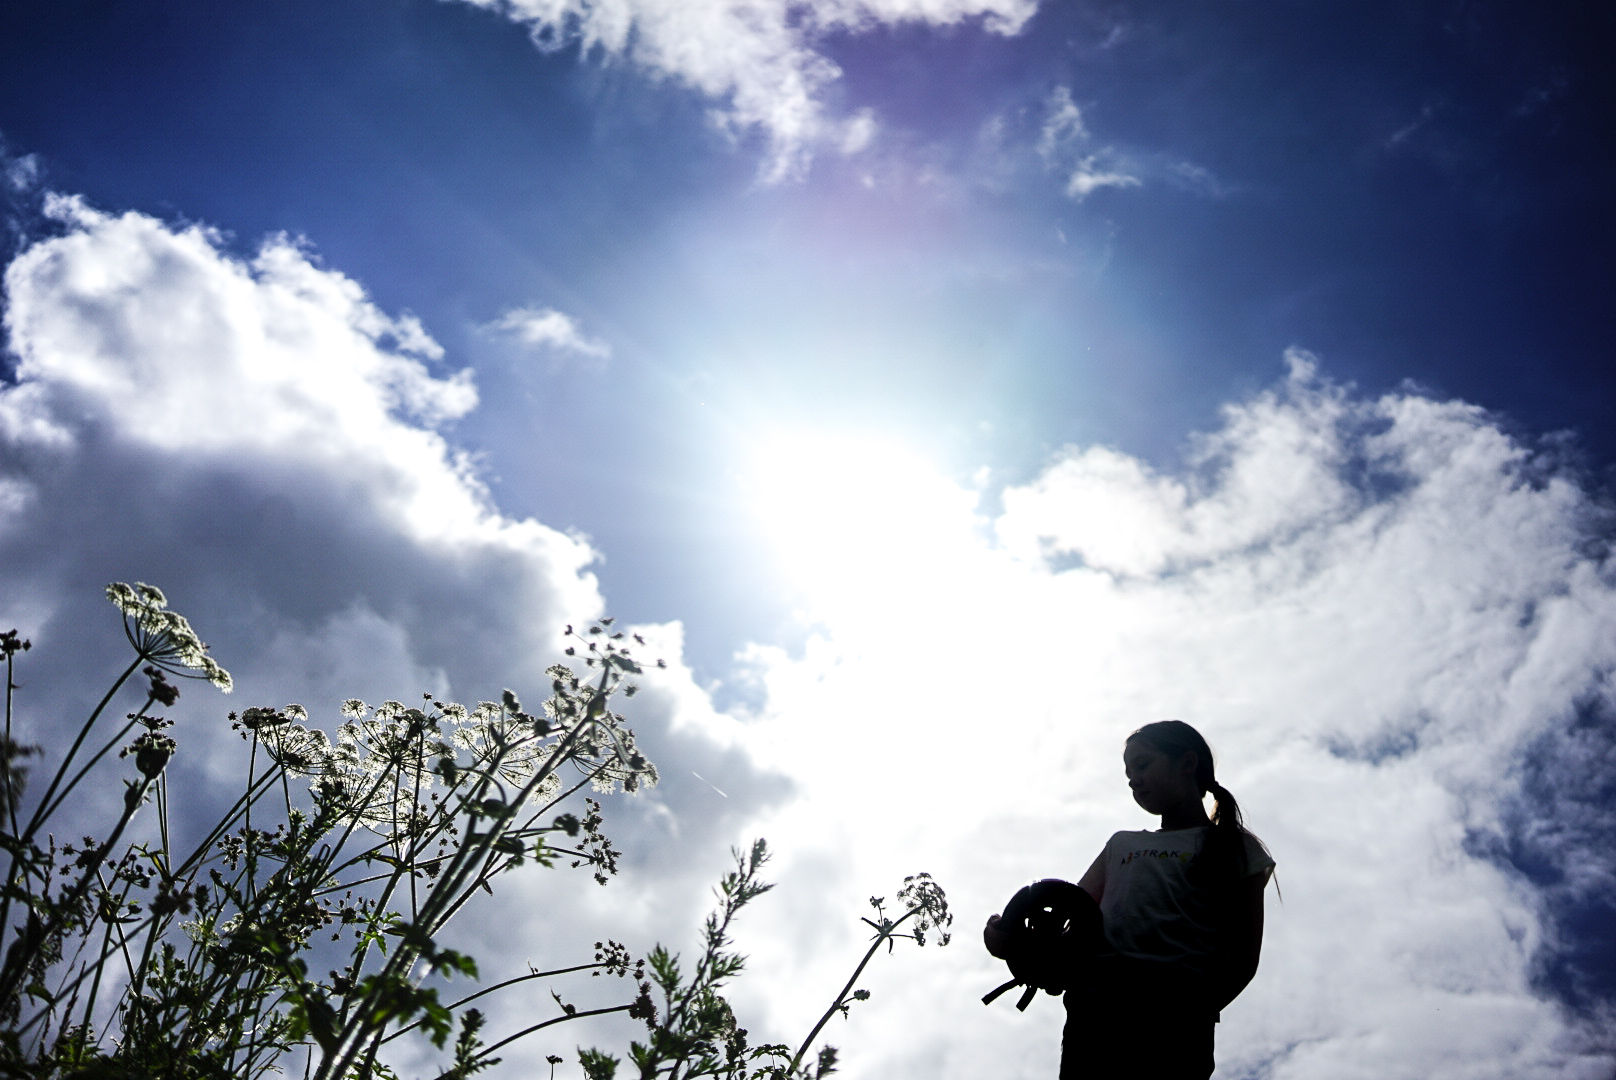
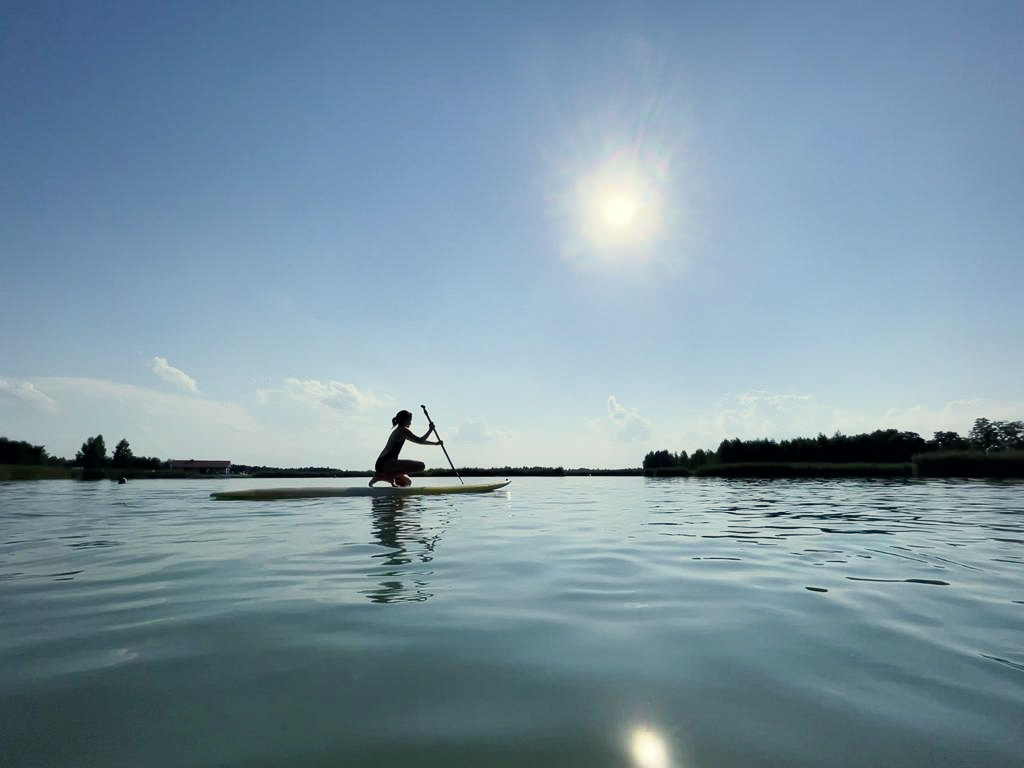
Sometimes the contrast between light and shadow is so strong that you're left with no choice but to make your peace with the fact that your subject is an unrecoverable shadow. And by unrecoverable shadow, I mean an awesome silhouette! Depending on your camera, you may need to play around with your exposure a bit to make sure your subject is properly dark ( cameras left to their own devices like to compensate for the extra dark shadows) . In that case you may need to manually override what your camera does - either by manually setting your exposure, using exposure compensation or exposure lock.
If you're on your phone, usually tapping the screen will bring up an exposure slider ( or little sun symbol) and sliding it up and down allows you to make the image darker or brighter.
Mitigating strong sunlight
1. Find a shade

Yup, if you want to avoid the effects of strong sunlight, you need to get out of it and find a shaded area. But here is the key thing - when you get yourself into the shadow or a tree or a building or whatever else you can find to shelter you a bit, try to stay on the edges of the shade and if possible ( I know it isn't always ) have your subjects facing towards the light. That way you will maximise the light but avoid the hard sunlight.
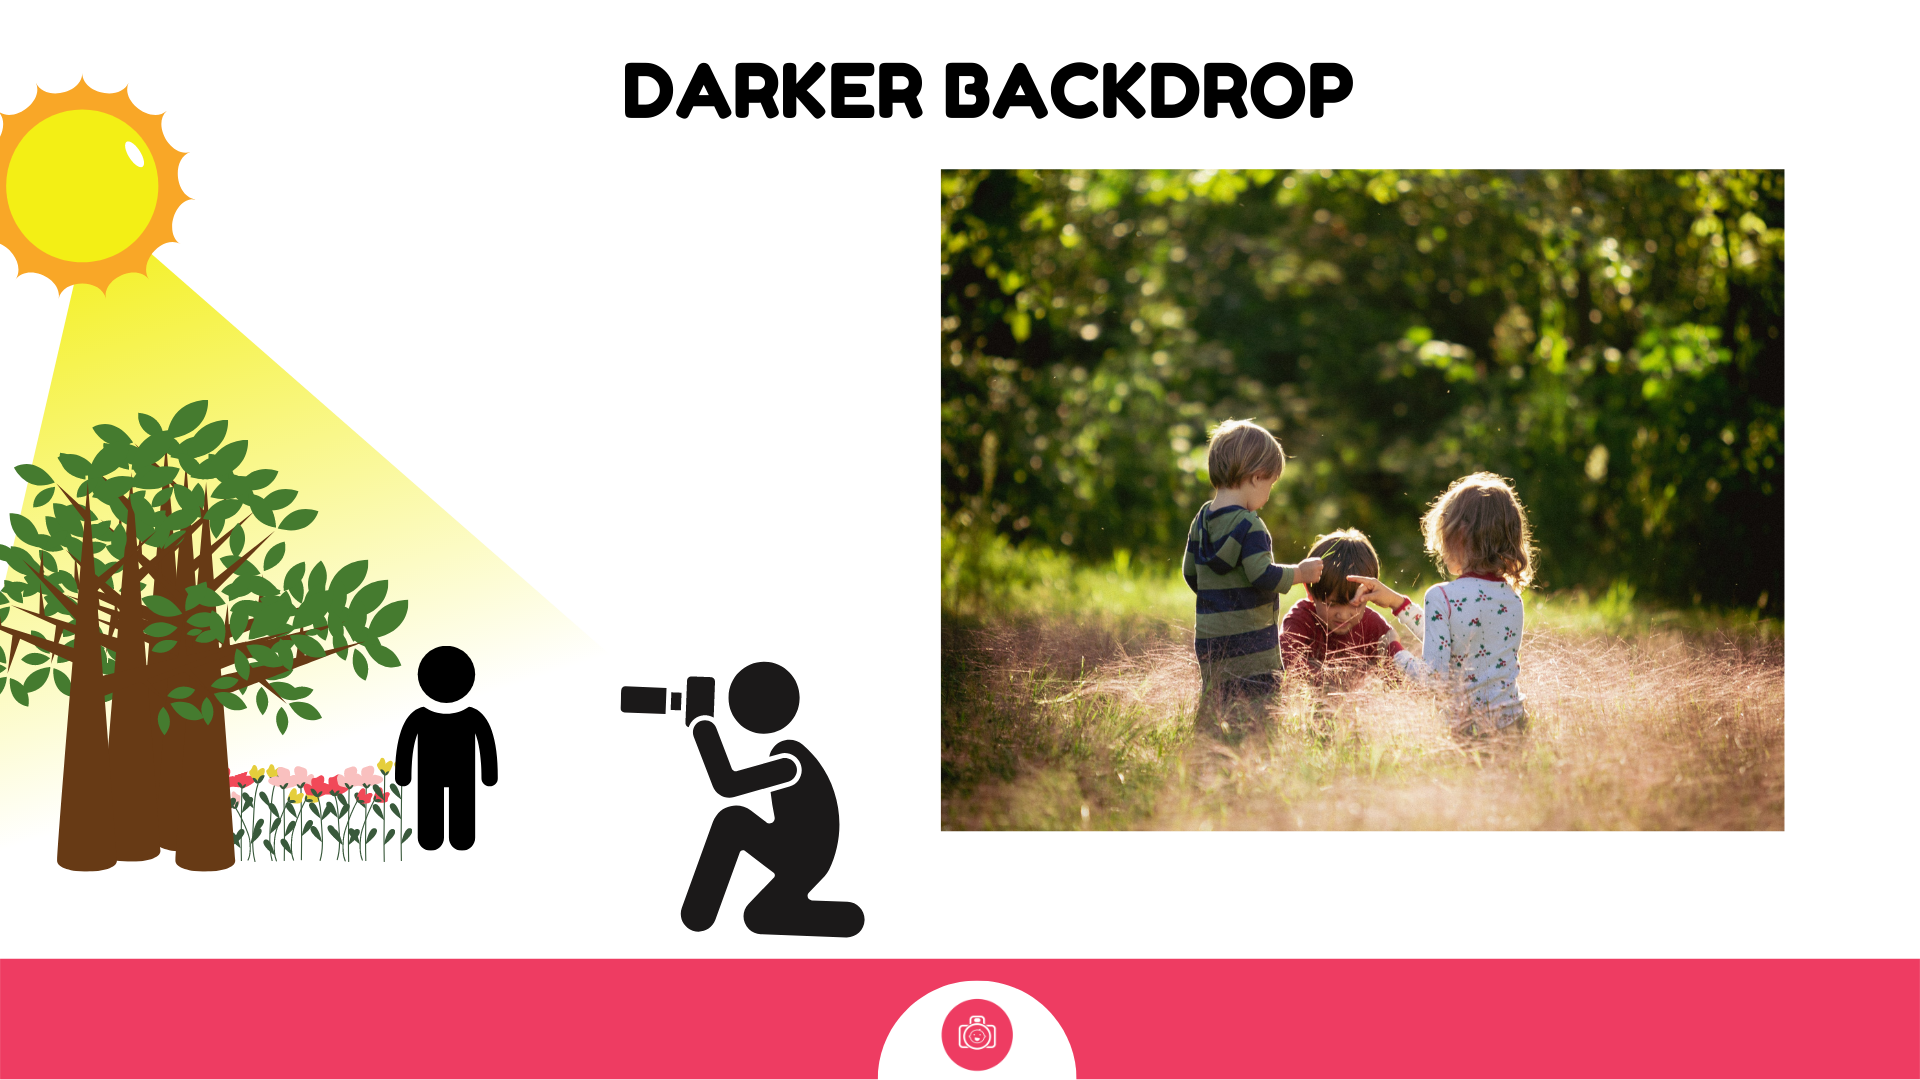
2. Find darker backdrop
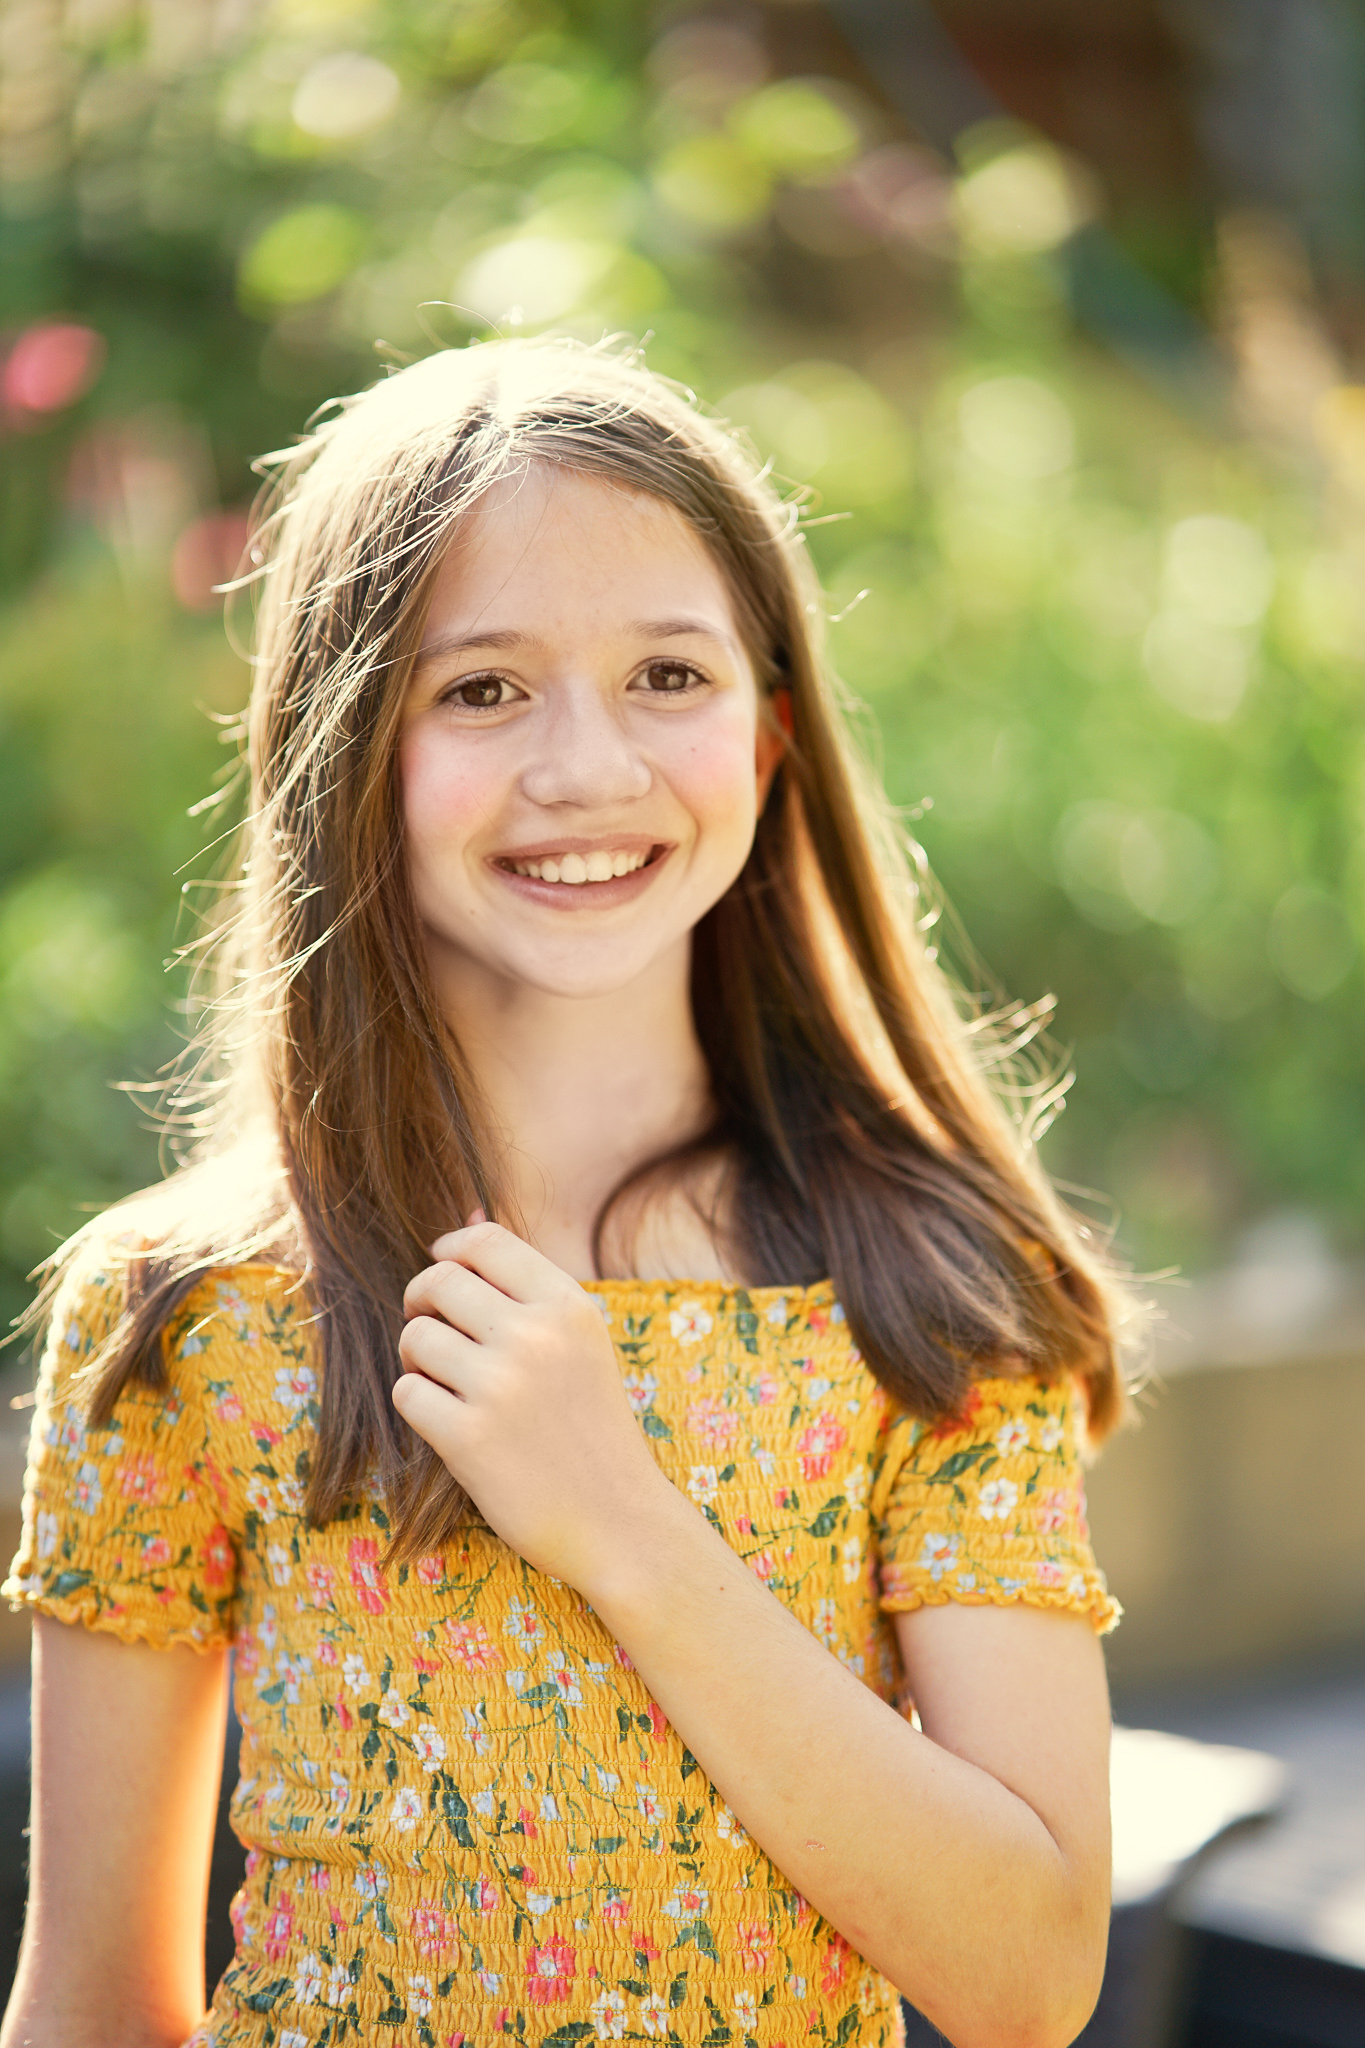
What you are trying to do here is to find a wall of trees or similar that you could make visible behind your subject that will contrast with your subject. Your subject doesn't need to be in the shadow - if the light falls on them either from the top or either of the sides, you can even see a golden halo around their heads that will look extra exciting! With the darker backdrop, they will stand out against the darker area and the light on them will be counterbalanced.
3. Find a semi - translucent backdrop that will filter the light
In the second version, you try to find a thinner wall of trees behind your subject, one that still lets some light through but without it being one masse of light if that makes sense.
And here is the best bit - when the light filters through those little gaps between branches, it creates, what we call bokeh - spots of light, that give an effect of genuinely 'sparkling' the background. I absolutely love that effect and it can really liven up an otherwise 'meh' photo. You may be able to use this technique even on a slightly overcast day!
It works best if you are able to make the background blurry - if you remember from our last lesson, two elements play a part here: wide aperture ( use portrait mode on your camera if you can't use it manually) and / or zooming in ( you focus on your subject closer to you, NOT the background)

A note about editing
I will be very straight and tell you that pretty much every single image taken in full sun which looks amazing was edited to reduce some of the undesirable effects of the harsh light. I'm not just talking about me - this is pretty much every photographer or serious hobbyist out there. Whether it's just a gentle brightening up of the shadows, or going the opposite way - calming of the highlights - they are all edited. And I want to tell you that it's not a bad thing.
Not everything can be achieved directly in camera. Especially when it comes to images taken in extremely bright light, the camera is not able to stretch the whole range - from brightest of highlights to darkest of shadows without losing some of the info. Because we end up either with highlights which are so bright that they are just pure white or shadows that lose all the detail and simply look black.
This is where photographers typically decide which of those two sides ( highlights or shadows) they want to protect ( and adjust their camera settings so that the bit they want to protect looks its best in camera) and then adjust the other one in post editing.
This is what I did with the image below - I loved the light in the sky so I adjusted my settings to protect that and despite the fact that I captured a near silhouette in camera, I was able to bring it back to life in editing.
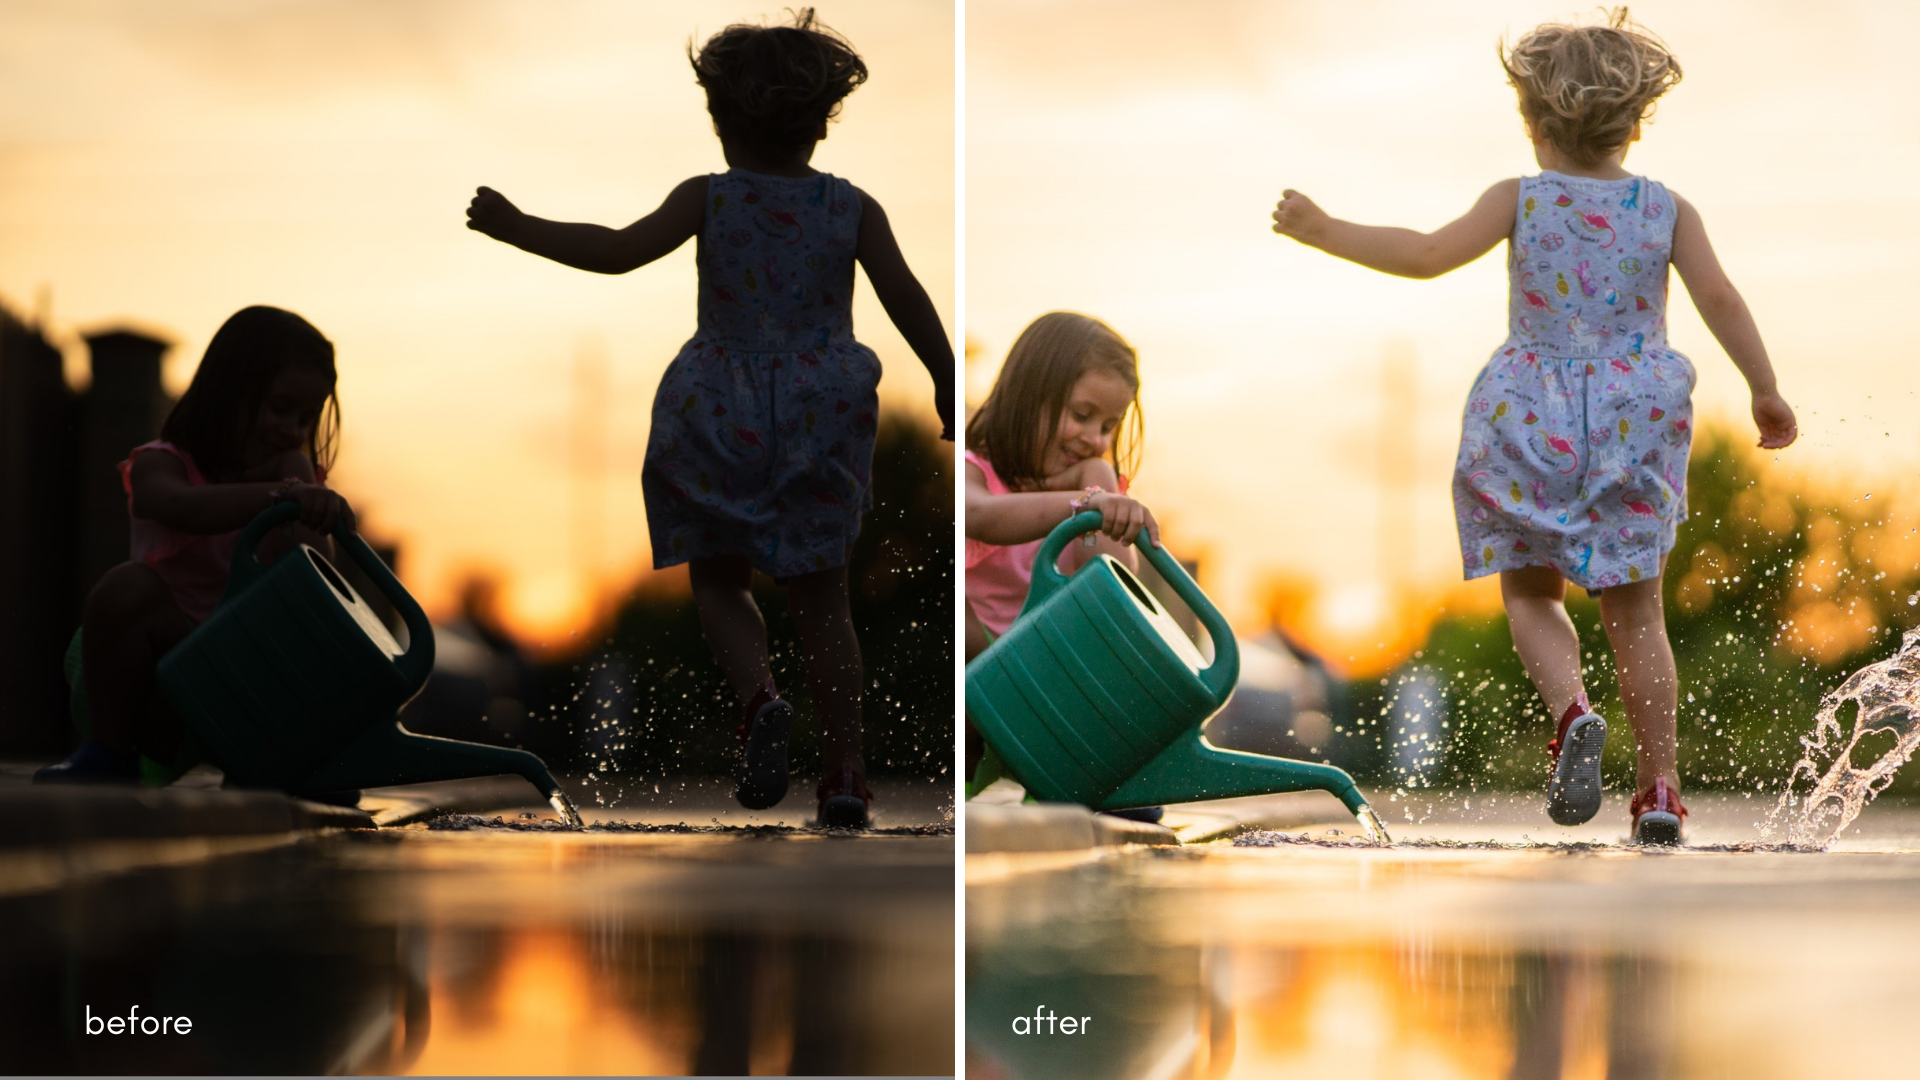
If you are not editing your images yet, I would advise you to start looking into it. I use Adobe Lightroom and Photoshop, but there are free apps which can help you get started. There is a more limited free version of Lightroom for mobile which does a good job, and I'd also recommend Snapseed. Both of these tools are free.
One more thing : How not to blow up the sky?
A few of you asked about advice on how not to blow up the sky in your summer images. And there are generally two strategies for it.
a) aim your camera towards the northern part of the sky, essentially away from the sun's positions
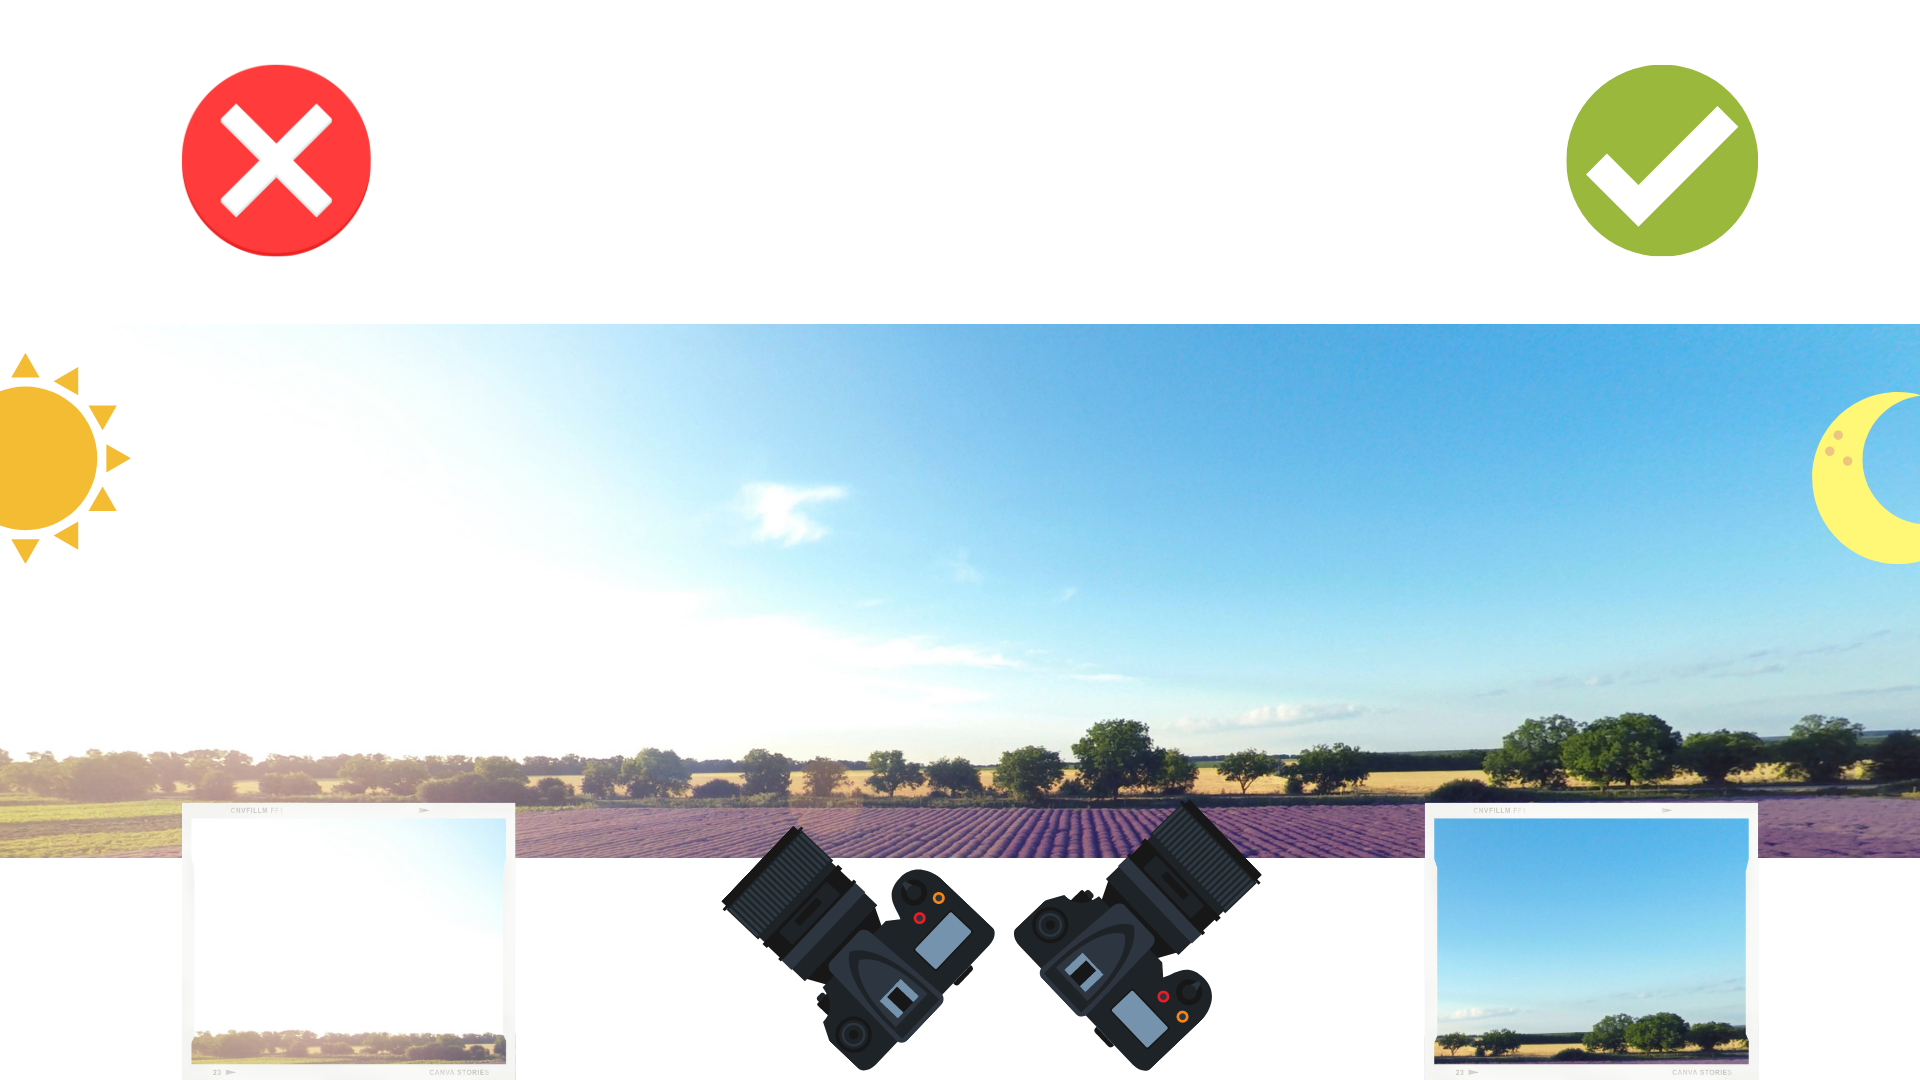
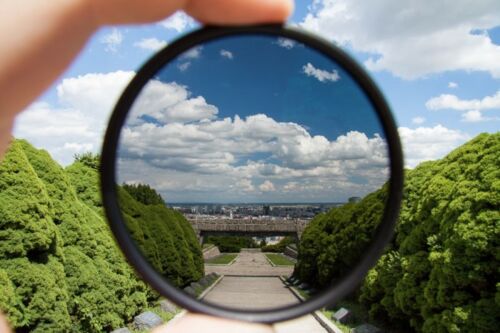
b) sometimes, when you have strong contrast, everything looks washed out, regardless of where you aim the camera. In that case, using a polarising filter on your lens will help filter out the stray light rays and bring saturation back to your colours. I always take a polarising filter with me on holidays because it helps me get bright, colourful shots in full sun with the highlights reduced.
Week 5 challenge
For this lesson I want you to capture at least 2 ( but of course you could take more) images.
The first one just capture your child doing what they're doing. But as you do that, I want you to notice the 3 key things about light we covered here - ask yourself if the light you're seeing is hard or soft/ what's its direction / what's its angle.
And then, for photo 2 - change something - move to a different side of your subject, turn them around, place them in a shade etc.
Notice how the two images compare and tell us about it in the caption when you post those photos to the group
FAQ'S - you have questions, we have the answers
Photoparents membership is a way of learning with us that is flexible, affordable and really effective! As a member you get access to the entire range of our courses that can take you step-by-step from a complete beginner to confident photographer. All the courses are available in two forms - as self paced courses that you access on your own time and at your own pace, and as Live runs - scheduled throughout the year and featuring live instructor, live classes, weekly assignments and a peer group. And on top of that you have our amazing community resources - weekly tutorials, interest groups and monthly events. If you want to learn photography and get inspired and supported, it's all here.
Yes. Even if you know nothing about your camera or photography in general, we can take you step by step so you learn and grow your skills in a way that doesn't overwhelm and doesn't confuse. If you're a complete beginner, start with the Clickstarter and build up your non-technical skills. Once you're done with that, move to the Fundamentals course and grow your essential camera know-how and core light and composition knowledge. After that you could dip your toe in photo editing with Lightroom and then move to our Advanced course which takes the same building blocks you started with in Fundamentals and expands and deepens them. After that - sky is your limit - pick a course that tickles your fancy and get learning!
You will find that our community tends to stick around for a while because there is always something new they're learning with us. If you're already confident with your camera, maybe you'd like to expand your storytelling and composition skills in our Advanced course? Or maybe learn to shoot with Flash? Or edit in Photoshop like a Pro? And that's not even including the ongoing education and resources through our community space resources! If you're not sure, just talk to us about what's on offer and we can talk you through it.
Of course! All our Live run courses have a live instructor running the group - they will answer your questions, deliver a weekly live class, provide support and encouragements.
And if you need more in depth help, we have an add-on Feedback Credit option available to purchase separately for each course - essentially a mini 1-1 mentorship where you get a private feedback space with your instructor, and where you get detailed photo-by-photo advice on your images. You can get those both as an accompaniment to a Live Run course, as well as a self-paced course and they cost between £55-£75 per course ( which believe me, is a bargain for the level of access and support you receive).
I should stress that you do not NEED this for most courses - you will still get your questions answered!. This is the extra add on!
Absolutely. That's why the self-paced option is there. If you are an ambitious overachiever who likes to speed learn, this is perfect for you, if you like to dip in and out, that option will suit you as well. Your learning, your pace. But even with that, if you have questions, there is space to ask them even in the self-paced area and still get answers.
No. You don't need a pro camera, but you do need a camera-camera, that's not just a phone. Basically, you need to be able to change your camera settings - like shutter speed or aperture - manually. That doesn't mean you need to spend a huge amount of money on the camera if you don't yet have one - I can recommend options for even very lean budgets - so you can start somewhere and go from there! When you start driving, you don't need a Ferrarri - a beaten up WV Polo will still take you where you need to be! Also, happy to advise if the camera you have is sufficient ( even if it's an ancient one! )
Not at all. You can sign up for a month or 2 or 5 and quit of you don't like what you see from one billing period to another. No minimum periods. We don't do digital hostages. Of course we want you to stay - we are commited to adding new courses to our portfolio yearly and adding regular tutorials and resources to keep you growing. But the ball is in your court - you decide.
Ah, the question everyone asks themselves when embarking on a new learning journey but no one wants to ask aloud. Let me start with this - we're not new to this game, we've been doing this for 15 years now. We have nurtured countless photographers who have carved successful photography careers or businesses and more who remained hobbyists - though are no less skilled! How well they've done can easily be seen if you check out the #pfpgrad hashtag in our FB group - they're all our current or past students! The courses have been honed and refined over the years to provide the best learning experience and ensure you have every opportunity to learn the craft. There is ALWAYS support.
But if you join, and get stuck in and you don't make any progress in 30 days, we will refund your money. Simple.