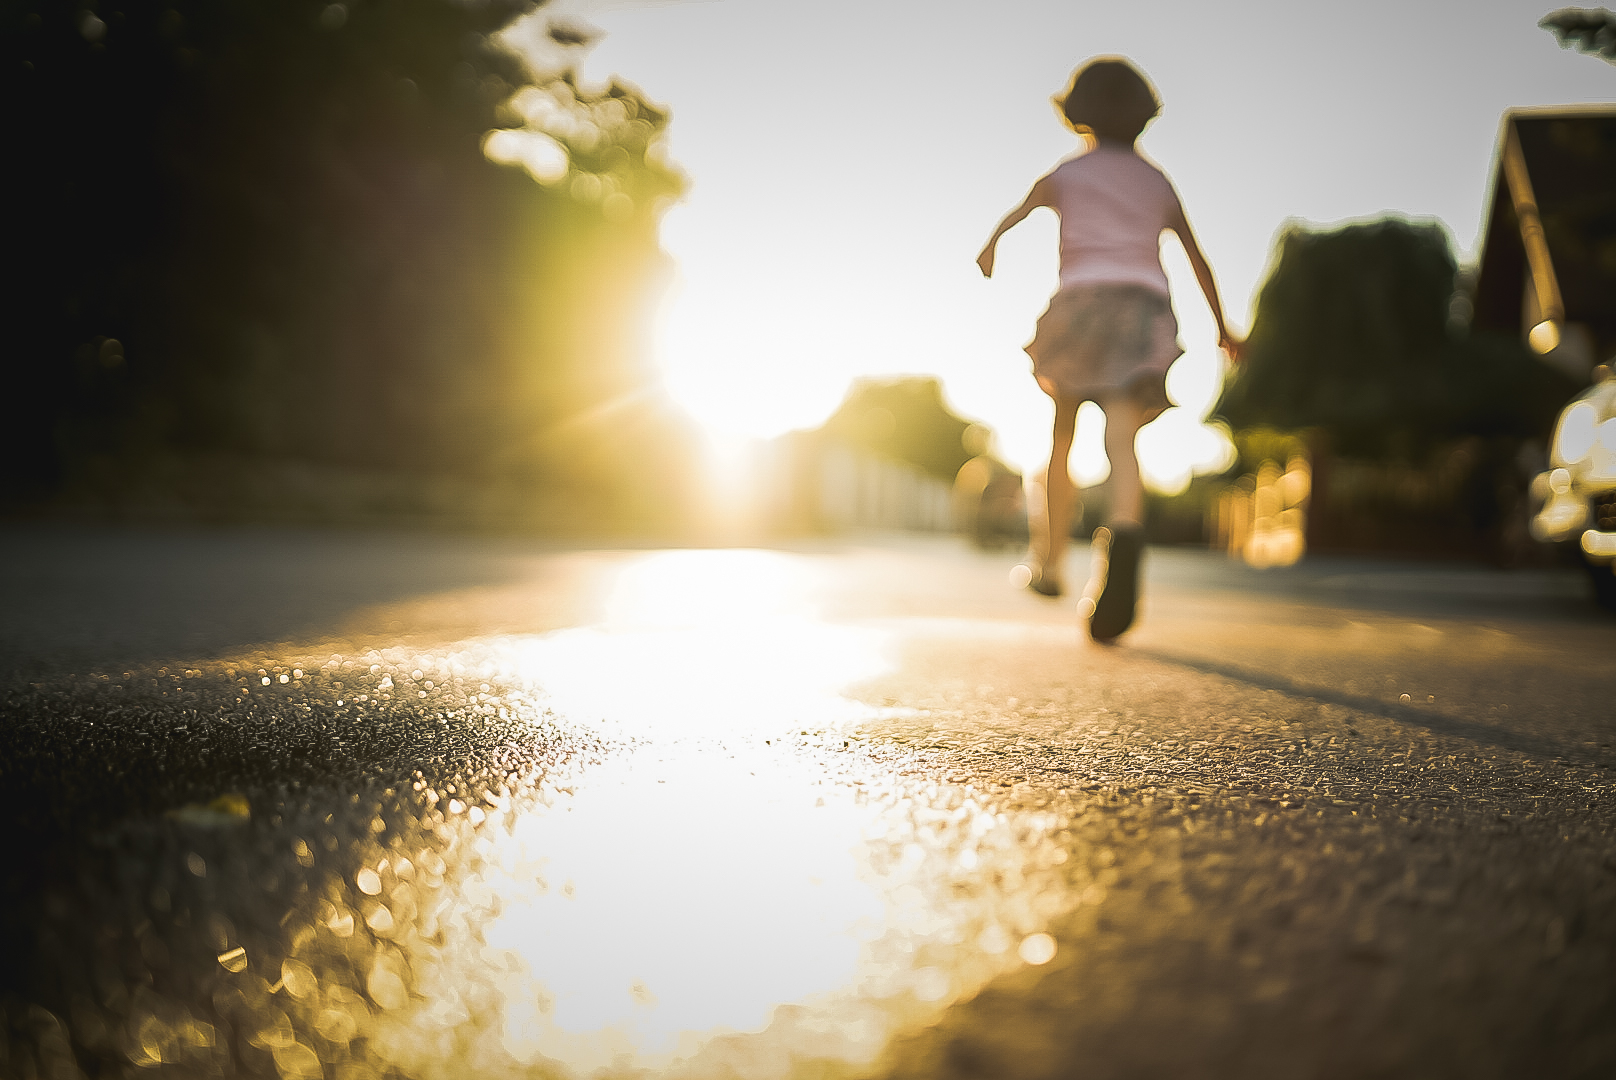
If there is one thing, a single thing that I want you to retain from this course, is to start to see light differently. Because great light - and by that I mean - a great use of light, can make an otherwise 'meh' image absolutely sing, and using light badly, can turn the best possible photo opportunity into a bit of a disaster.
We spend A LOT of time learning about light and how to spot it and use it and fix it and adjust to it - both indoors and out - in our full courses, but there isn't enough time for it here. So instead, we're going to kick you off with a little crash course into light in photography.
I want you to start seeing it, so that as the week goes on, you can start noticing what it does to your photos and how they can change with it.
And for me, autumn light is particularly amazing, for a few reasons: the angle it falls at this time of the year gives it a gorgeous golden hue - especially in the afternoons, moisture in the air gets picked up by the light particles and can create the most gorgeous, visible light beams, a lot of the autumnal foliage is thin enough to be a little translucent, which means the light can brighten it up to look like jewels.
You can achieve all of those things, but you need to learn a few key light notions first. So let's get to it!
BASICS OF LIGHT
Let’s start with the basics. Up to now, if you ever considered light, you probably thought about it as something that there may be too much or too little of. Is it sunny? Is it not sunny? But this week, we want you to push further and consider three other light’s characteristics. And those are:
- The quality of your light - harsh or gentle?
- The direction of Light - where is my light coming from?
There are more light characteristics, but those two will play the biggest part this week. And as Autumn means most often being outdoors, we will only be concerning ourselves with outdoor light. (inside light is a whole other beast).
Look around you, or even out the window. Try to pay attention to the light you see. How strong is it? Is it harsh or soft? Is it hitting your subject directly ( think ‘naked’ sunshine ) or is it filtered and diffused by something? ( like clouds). Does it create strong shadows or barely any?
Hard light
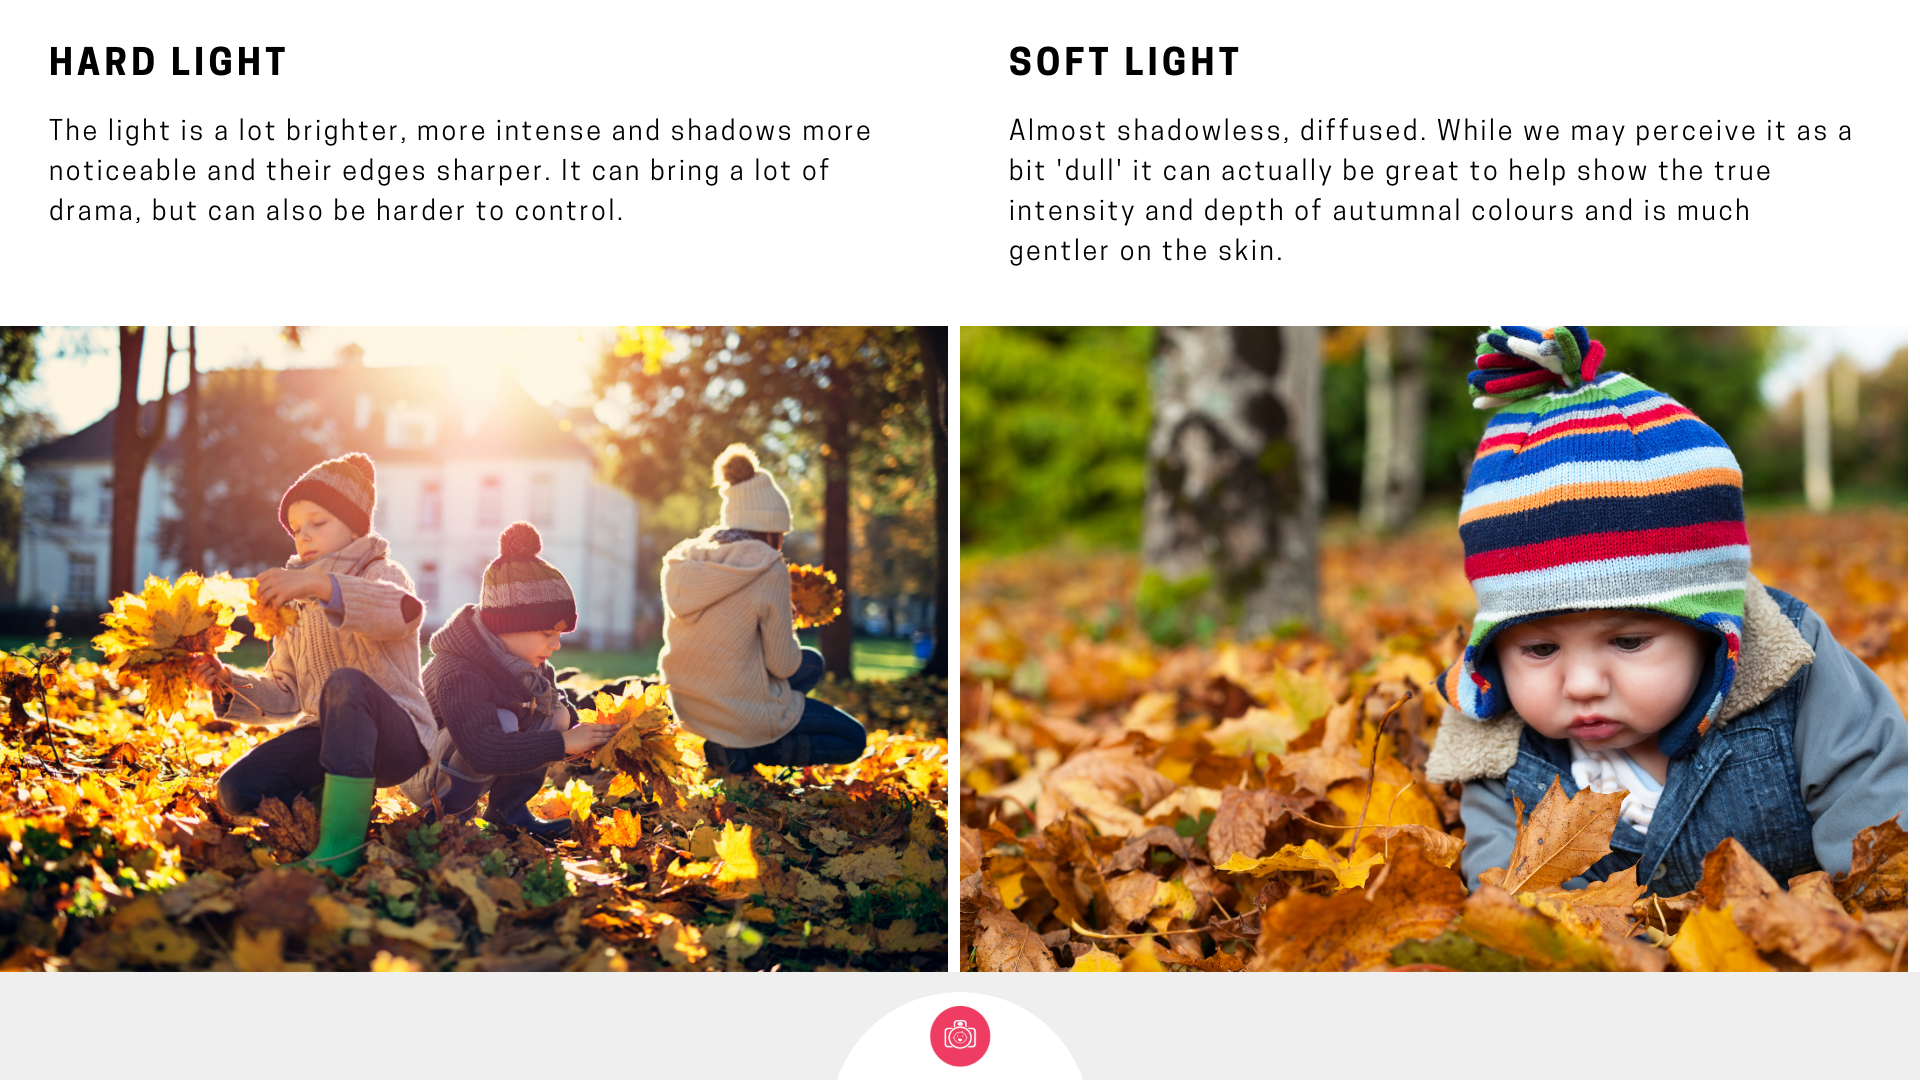
Let’s start with this infrequent phenomenon of sunny weather which often translates into hard light. Here is what’s important to recognise.
- “Naked” sunshine creates harsher, direct light which hits everything it touches with full strength. This means that when it’s bright, it’s REALLY bright. Squinty-eyes-bright. Very-bright-patches-bright.
- Bright sunshine = dark shadows. Absolutely no hiding from this. The brighter and more intense the light, the darker and denser and crisper the shadows. Now don’t get me wrong, shadows can be great, but some can be a distraction.
Hard, direct, intense light can give you fantastic results, but can also be quite challenging as it’s capable of literally ‘bleaching’ colours in your images.
So if you are out and about and enjoying the sunshine, notice, really notice how it's treating your subject - pay attention not just to the light itself, but also the shadows.
Soft light
It’s all good and nice I hear you say. But sunshine, it’s not so common here in autumn. So what if it’s overcast?
Actually, overcast weather can be beautiful in photographs too.
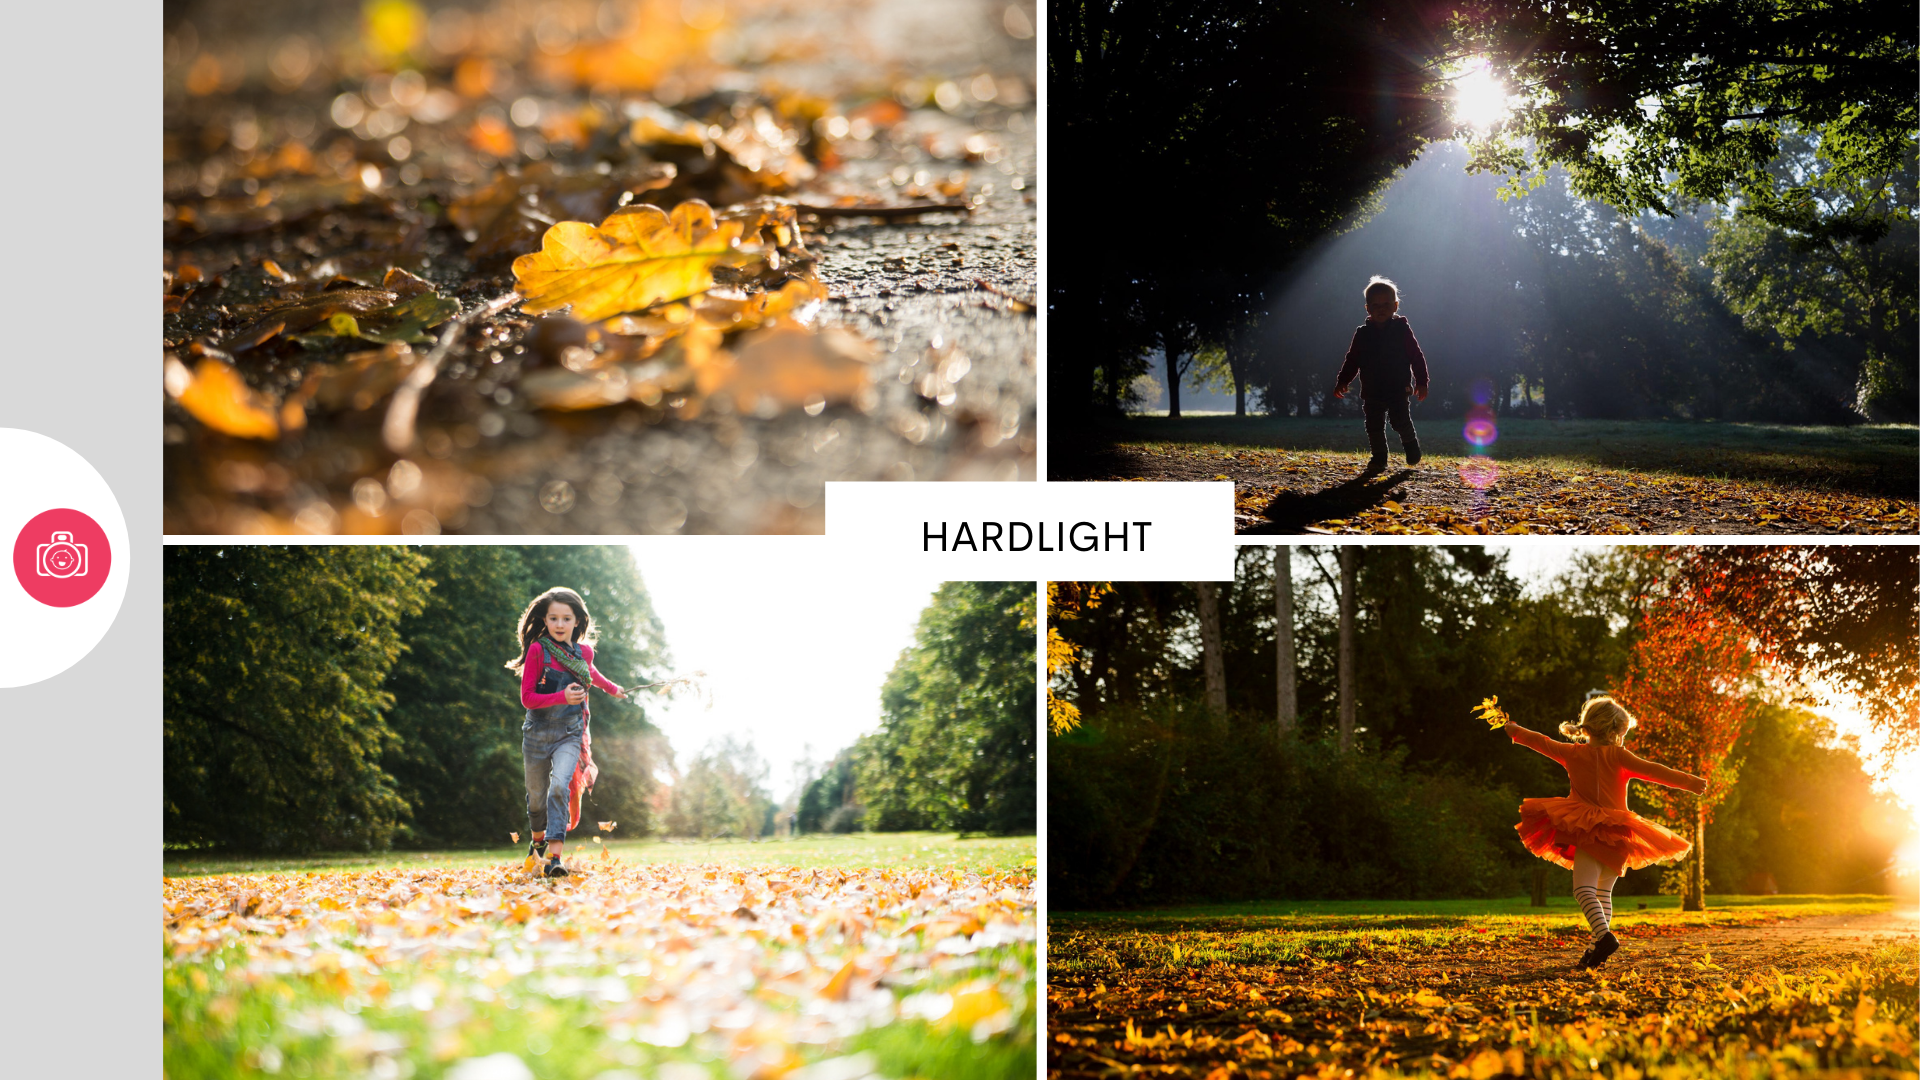
The light is softer, more even, more forgiving. With diffused, filtered light we lose the deep shadows, and instead, the light wraps around your subject more evenly. It sculpts everything gently, caressing your subjects with shadows which are just enough to hint at the three-dimensional nature of your subjects, but without the loss of detail which can happen with the deep dramatic shadows.
And the colours? The stunning ruby reds, vivid gold and still fresh greens stand out more. Where bright sunshine reflects off the bright and shiny leaves and makes the colours brighter, the softer light of overcast skies makes them deeper, richer, more saturated. Especially when contrasted against something darker. Add to that a little mist which coves the leaves with moisture and you have a surface which amplifies it, makes the vivid colour richer still.
Now that you know what KIND of light you have, the next question should be :
But where is it coming from?
And even more crucially, what does it do to my subject from one direction, and how ill it change if I change my position towards it?
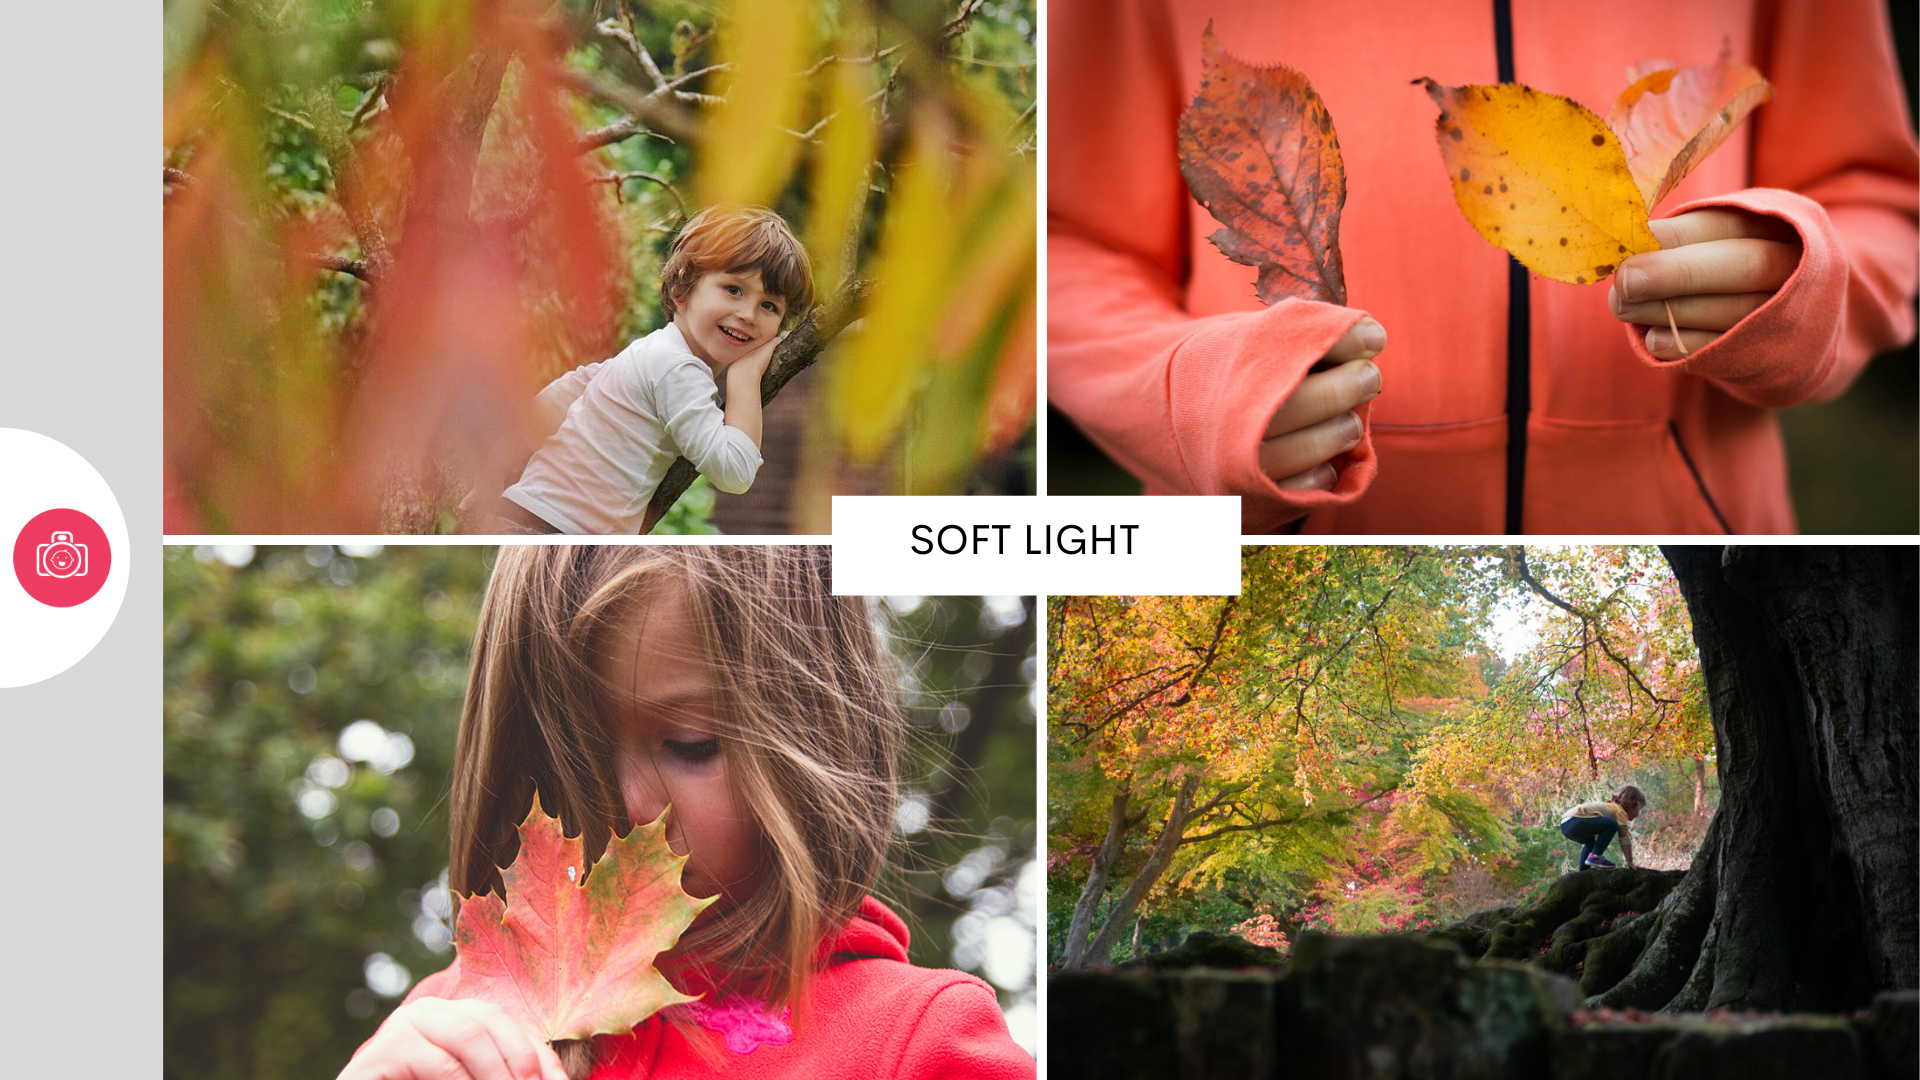
Look at the pictures below – I was walking with my daughter in our local woods. It was a gorgeous, crisp bright day, but with the light partly blocked by the trees, it wasn't looking all that. I was actually getting cross, because I was very much hoping to see and capture those gorgeous beams of light. And nothing.

And then, just as I passed a patch of light you see on the picture - BOOM! Now that's what I wanted! Same exact place, just photographed from two different sides – first, with the sun behind me, hitting the path nice and frontal. The second, with the sun in front of me, shining through the mist

In the second image, the moisture in the air got backlit by the sun - imagine all those tiny droplets in the air, suddenly having a giant torch shone through them, turning them in the process into thousands of teeny, tiny lightbulbs. That's how you make those beams visible.
( Side note, just know that whenever you see those beams of light in the films, a light technician would be there beforehand with a smoke or mist machine, filling the space with something that the light can shine through. )
I just want a nice portrait of my kid set against some lovely autumnal background. The sun is shining, where do I position my child?

This is a great question and the answer depends a bit on how proficient you are with your camera.
First things first - if you place your subject facing towards direct, unobstructed sun - you will end up with a squinting child and an image full of harsh shadows and highlights. 1/10, would not recommend.

So do you do the opposite? Do you place the sun behind your subject?
Well, you could, and you could even get great results, BUT a lot will depend on your camera, on how good you are controlling it, and your background.
Our cameras, left to their own devices ( aka AUTO) will often not deal great with light coming from behind your subject ( it's fine for those wider, sweeping shots, but less so for portraits). Sometimes it will assume that with all that great light coming from behind your subject, surely, that's plenty and you end up with your subject with a face in the shadow.
If you know what to do with your camera, you could negate that - by using Exposure Compensation settings ( or if you're on your mobile, tapping on your subject and raising brightness in your image until you get to the right level) or by bringing more light in with flash. There is not enough time or space in this course to fully explain either of these options, but I just wanted to signpost them here in case you were already aware of them. In the image below I increased the brightness in my camera, simply by manually adjusting my exposure. Notice though, that her face is still a little shadowy ( I didn't edit this image to fix that) and the background is a bit too bright.
*( psst, I actually quite like the backlit look, so I would typically use a bit of editing to bring up the light in her face and reduce the highlights in the background - just saying!)

But there is another way, which actually makes it a lot easier on you - especially if you're not very familiar with your camera, and that's to use a bit of open shade to help reduce brightness on your subject but at the same time, benefit from the light and keep a glorious bright background.
In the image below, I positioned my daughter so that she faced the light, but placed her just on the edge of a shadow. Just enough to hide the bright light, but shallow enough so that the fringes of light still catch her. Now that's better!

I recorded a little video shooting these 3 images for you and showing you my and my daughter's positioning vs the sun. Please excuse the wonky camerawork - I didn't have my tripod and shooting camera with one hand and phone with the other is..,challenging.
But what if you have an overcast day? Let's not kid ourselves, that's a lot more common than this brilliant sunshine. And overcast light is much easier because the light that is coming to your subject is already softened, and you would typically not see much by way of deep shadows.
But here is one pro tip that makes all the difference - even with an overcast sky, there is still a difference in the amount of light your subject gets depending on whether they're facing towards or away from it. In this case, because the light is softer, we want your subject to face in the direction of the light ( that's hidden behind the clouds). Even with pretty solid cloud cover, you can usually still find where the sun is hiding. By pointing your subject that way, you ensure they get plenty of lovely soft light on their face and in their eyes. You're welcome!

Lesson 2 Challenge
Take a couple of photos of your child / children - I want you to try and vary where the light is in relation to them.
If you have sunny weather ( lucky you!) - try placing the sun behind your child in one image and in front, but with your child in an open shade - in the other.
If you have overcast weather - do the same, just omit the shade part.
If you're indoors and maybe isolating or maybe it's raining, look out for a bonus video tomorrow on our Fb group on how to make good use of your window.
Advanced challenge - incorporate natural bokeh in your light practice today!
What else is there to learn about light?
So, so very much :
- how to find good light indoors
- how to create gorgeous catchligts in a person's eyes
- how to create silhouettes
- how to create gorgeous rim light around your subject
- how to make your camera work harder with poor light
- how to create beautiful starburst and blown out bokeh
- how to use shadows to sculp and shape
- how to add flash for creative effects or to make your photos look so natural, you could never tell flash was used,
- how to work light in editing - raising it, adding it, tempering and shaping it
The list goes on and on. Light makes photography. We learn to use it and bend it across our courses. Because if you know good light, you can take amazing photos with the simplest of cameras. Will you join us?
