Over the last 2 days we gave you a lot to chew on. We got you thinking about light , we got you thinking about the story, today I want us all to have a bit of fun.
Today, I have a feeling will be your kids favourite day of the bootcamp, because today we will be encouraging them to to kick, throw and run through leaves! What child can say no to that!
As much as I love a nice landscape and a civilised walk, let's face it - that's not high on your average kid's agenda. So why not embrace it. Let them PLAY with autumn! Trust me, your photos will be better for it.
BUT, capturing the leaves flying, and doing it well, requires a little thought. There are 5 elements which can make it a success or make it look like a pile of dirt flying in the air.
And we're here to give you a plan on how to do it BETTER.
Making the leaves fly - 5 step plan
The key to successful flying leaves photos is visual separation - or in layman's terms - you want to make sure that the leaves can stand out against the background. We can do that in a few different ways. I have outlined 5 steps which I would normally mentally go through ( second nature by now) to ensure I get the right shot.
Step 1 : Your angle
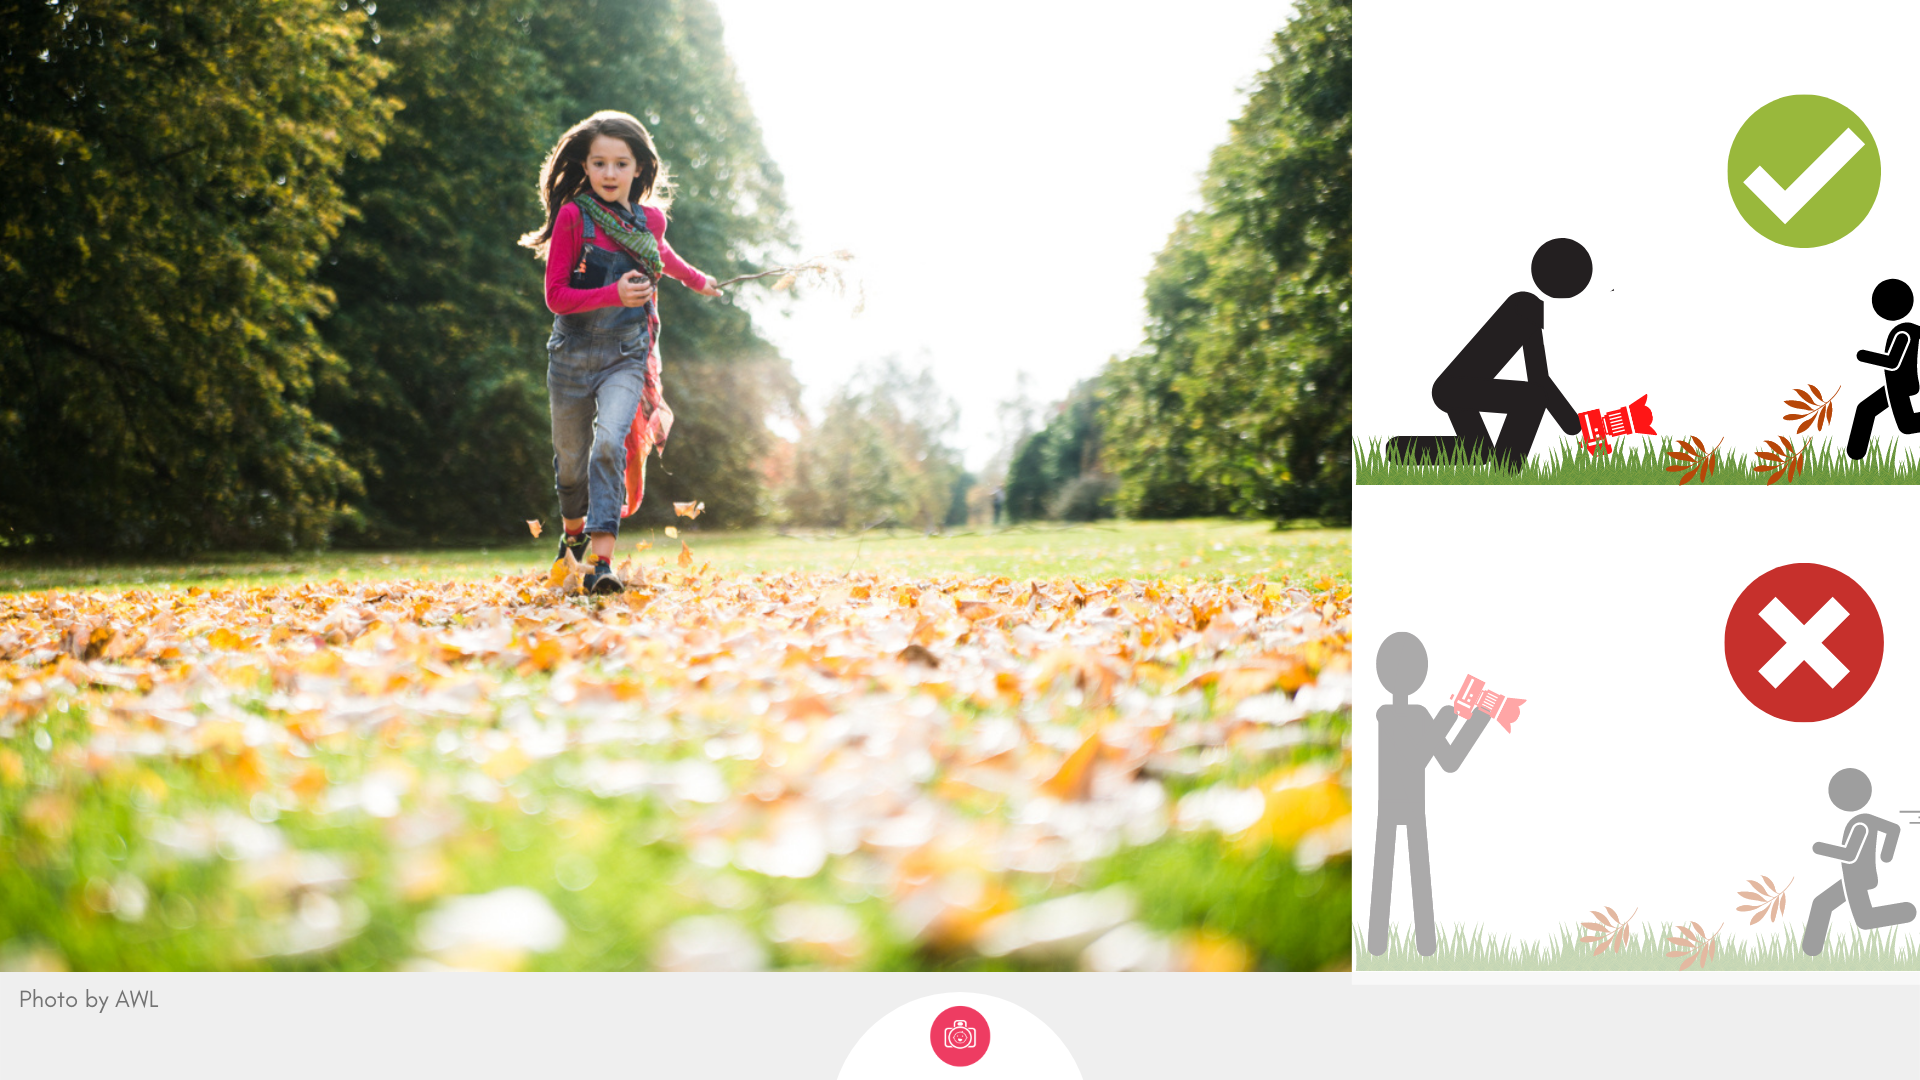
If you do what most adults do and simple stand tall and point your camera at your child from standing position, you are moistly pointing it towards the ground ( since your child is likely to be smaller) which means the flying leaves are never visually 'separated' from the ground and just don't look as good. Instead get to your child's eye level or lower and shoot either at an angle parallel to the ground or slightly tilted upwards. If they're kicking the leaves up, I'm sorry, but you're going to have to get yourself or your camera right down on the ground!
Step 2 : Your background
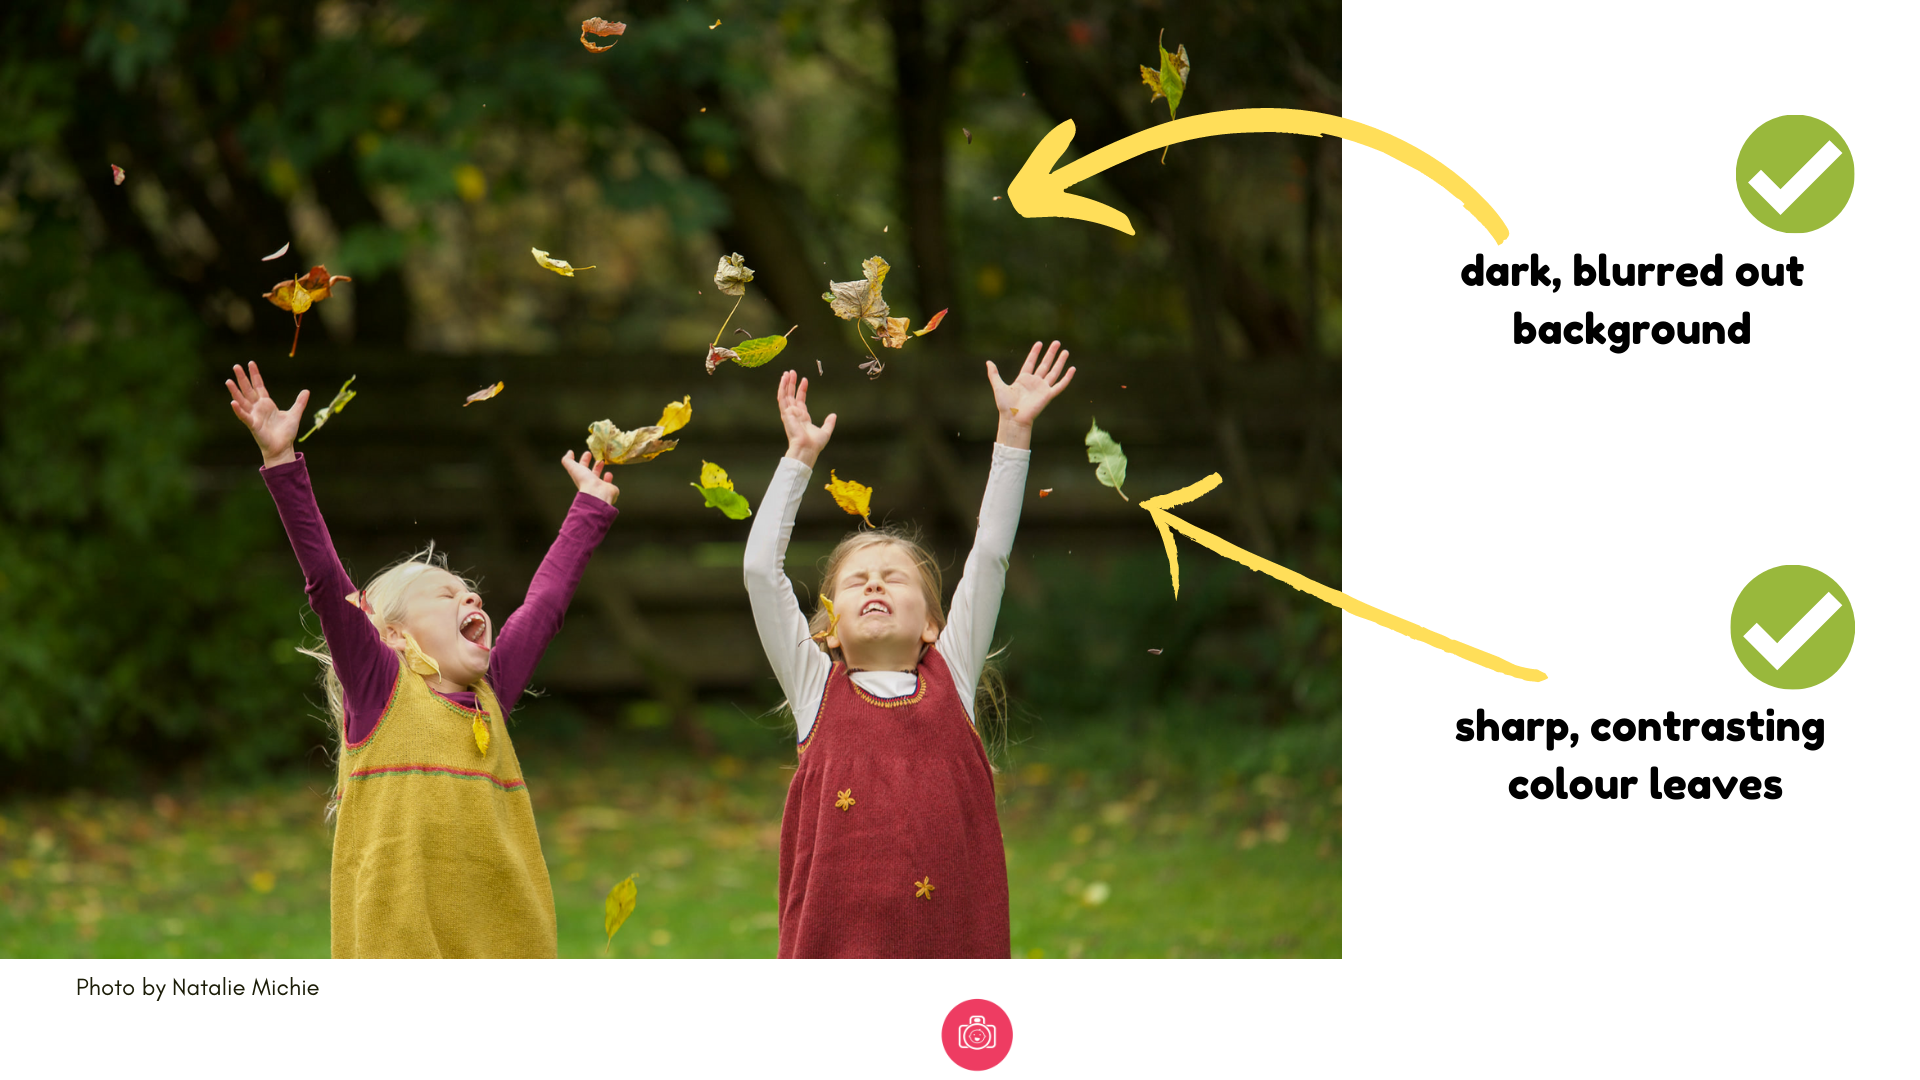
In step 1 we were separating the leaves from the ground by changing our angle, now we need to maximise their visibility. We do so through our choice of background. Here is the thing - you want to pick a background that will allow YOUR flying leaves to stand out the most. Brown leaves against brown background - no no. Yellow leaves against a brown background? Better. Yellow leaves against a darker green background - now we're talking.
You're looking for contrast - first and foremost. To find the right background, you may need to move around a bit, and you may need to try a few angles ( a little lower / a little higher, but not towards the ground! ) and take a few test shots.
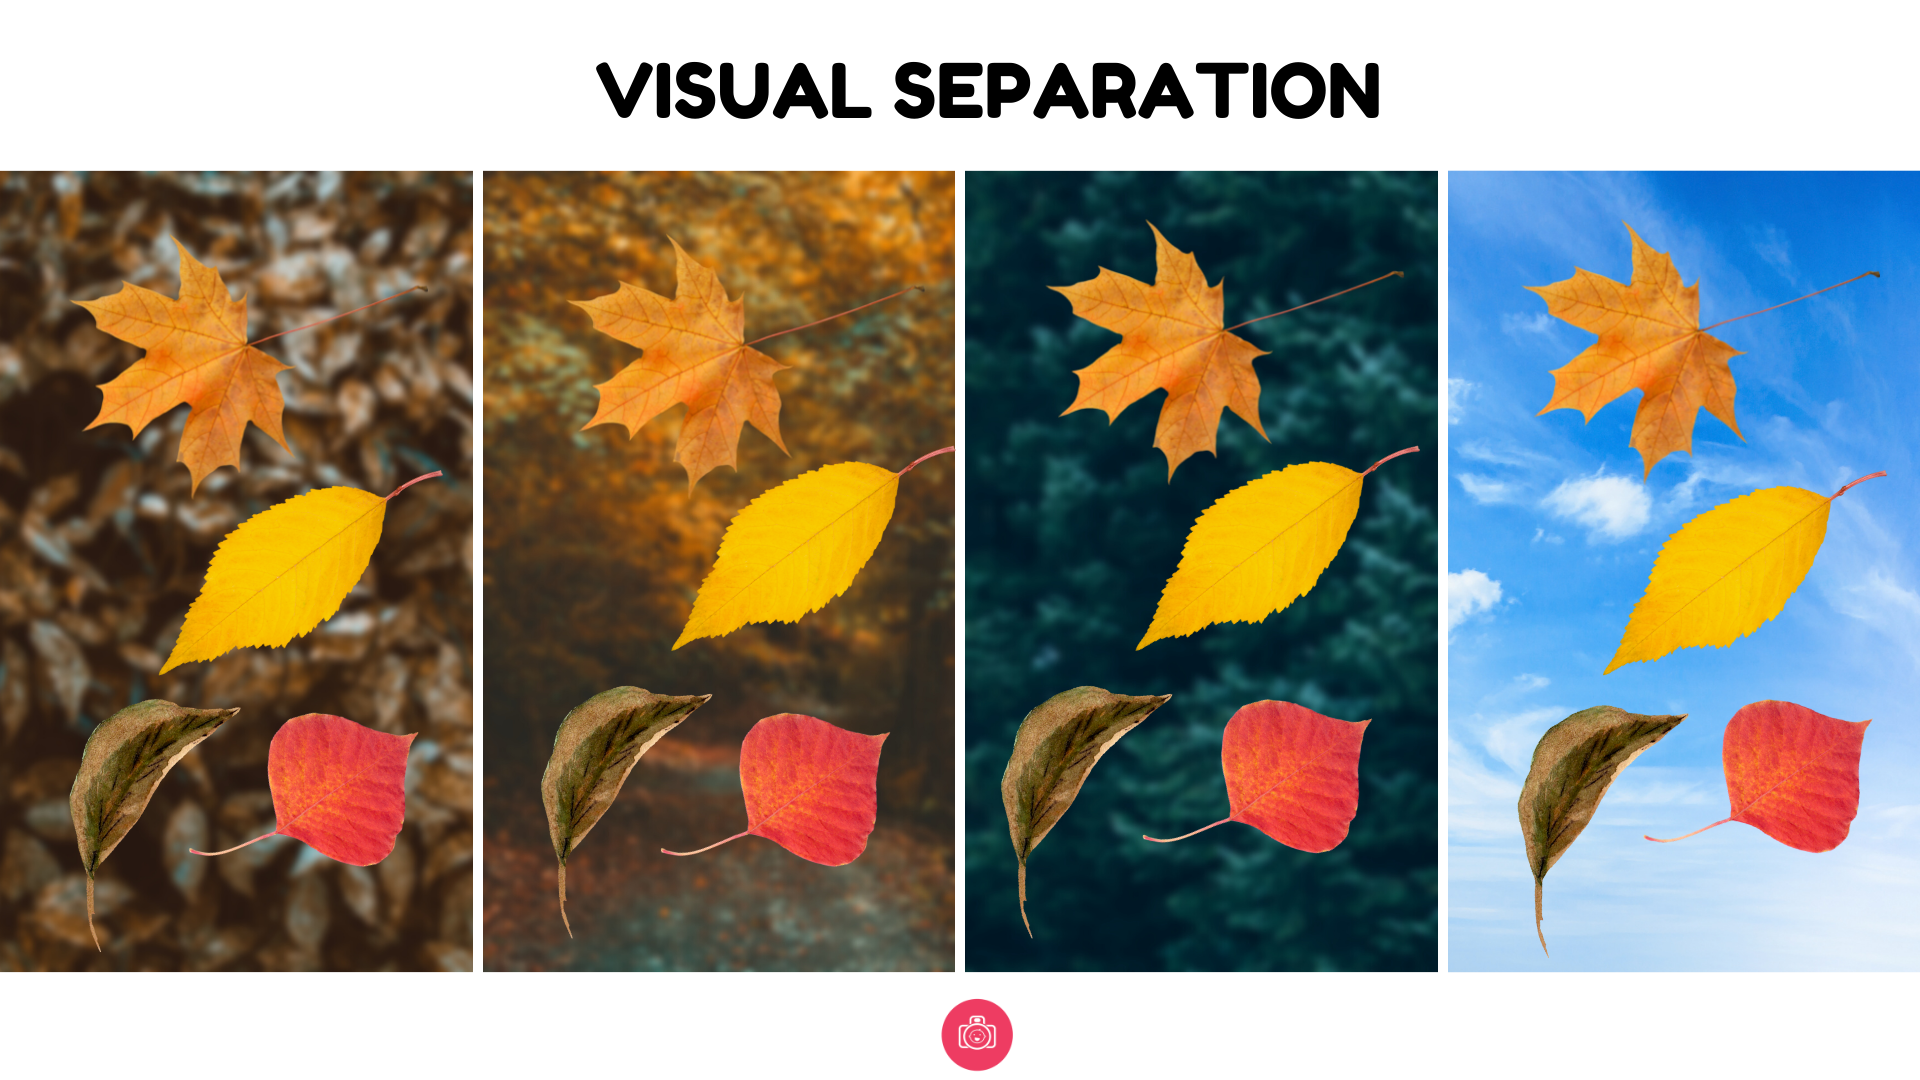
Most backgrounds you're likely to have will not be very uniform - to make them more uniform, you can use your depth of field to make the background more blurry. In order to do that. ideally you want a wide aperture lens ( I will be sending you a bonus lesson on Lenses and Cameras later so look out for that! ) and the ability to set your camera aperture setting to the lowest available number.
There are other methods of helping with achieving this soft background, but I don't want to get bogged down in it, because a) I promised you a non technical course, b) I don't want to get too stuck on that, and would rather you pay attention to the flying leaves. There are quite a few variables in creating those blurry backgrounds ( we spend a week exploring that in our Fundamentals course) so for now, we're moving on.
An alternative to green / brown busy backgrounds? The sky!
Well of course - uniform, definitely different colour than your leaves - perfect!
BUT - if you're using the sky, make sure that you re aiming your camera at the part of the sky that's opposite to the sun - that's the part which will be the most saturated with blue and will look the nicest. Shooting directly against a sun, will leave you with sad, dark looking shapes, rather than anything more vibrant.
Step 3 : Your light
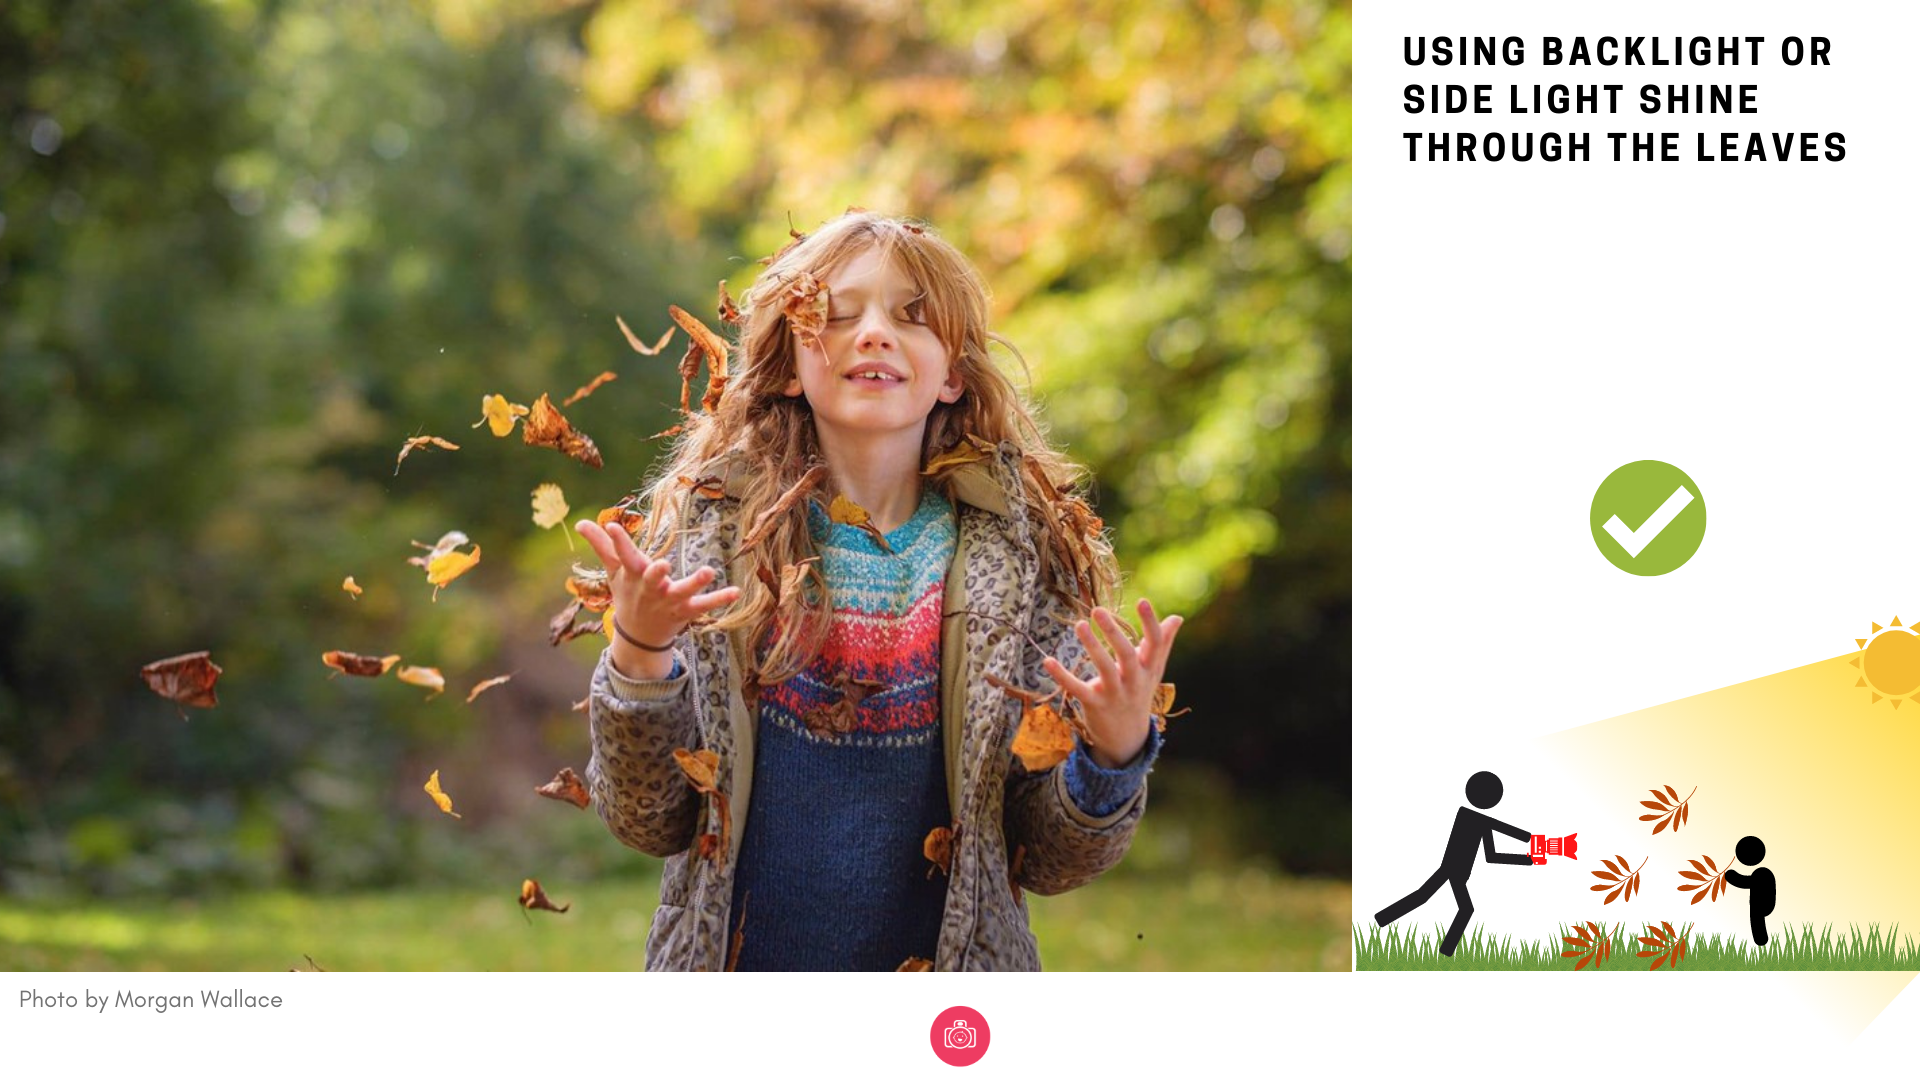
Consider your leaves. If they are the semi translucent, not fully dried out yet and you have good strong light, consider positioning yourself so that the sun is either in front of you, backlighting your leaves or to the side ( still illuminating the leaves). This will really help bring their colour out. IMPORTANT : you will need to have nice dark background to make them stand out in that way! Won't work if you try to use sky as a background!
If you're dealing with the fully dried out, brown variety and you have overcast light ( or at the very least no strong light) try to position yourself so that the light ( yes even the overcast) is coming from behind you and towards your child.
Step 4 : Your speed
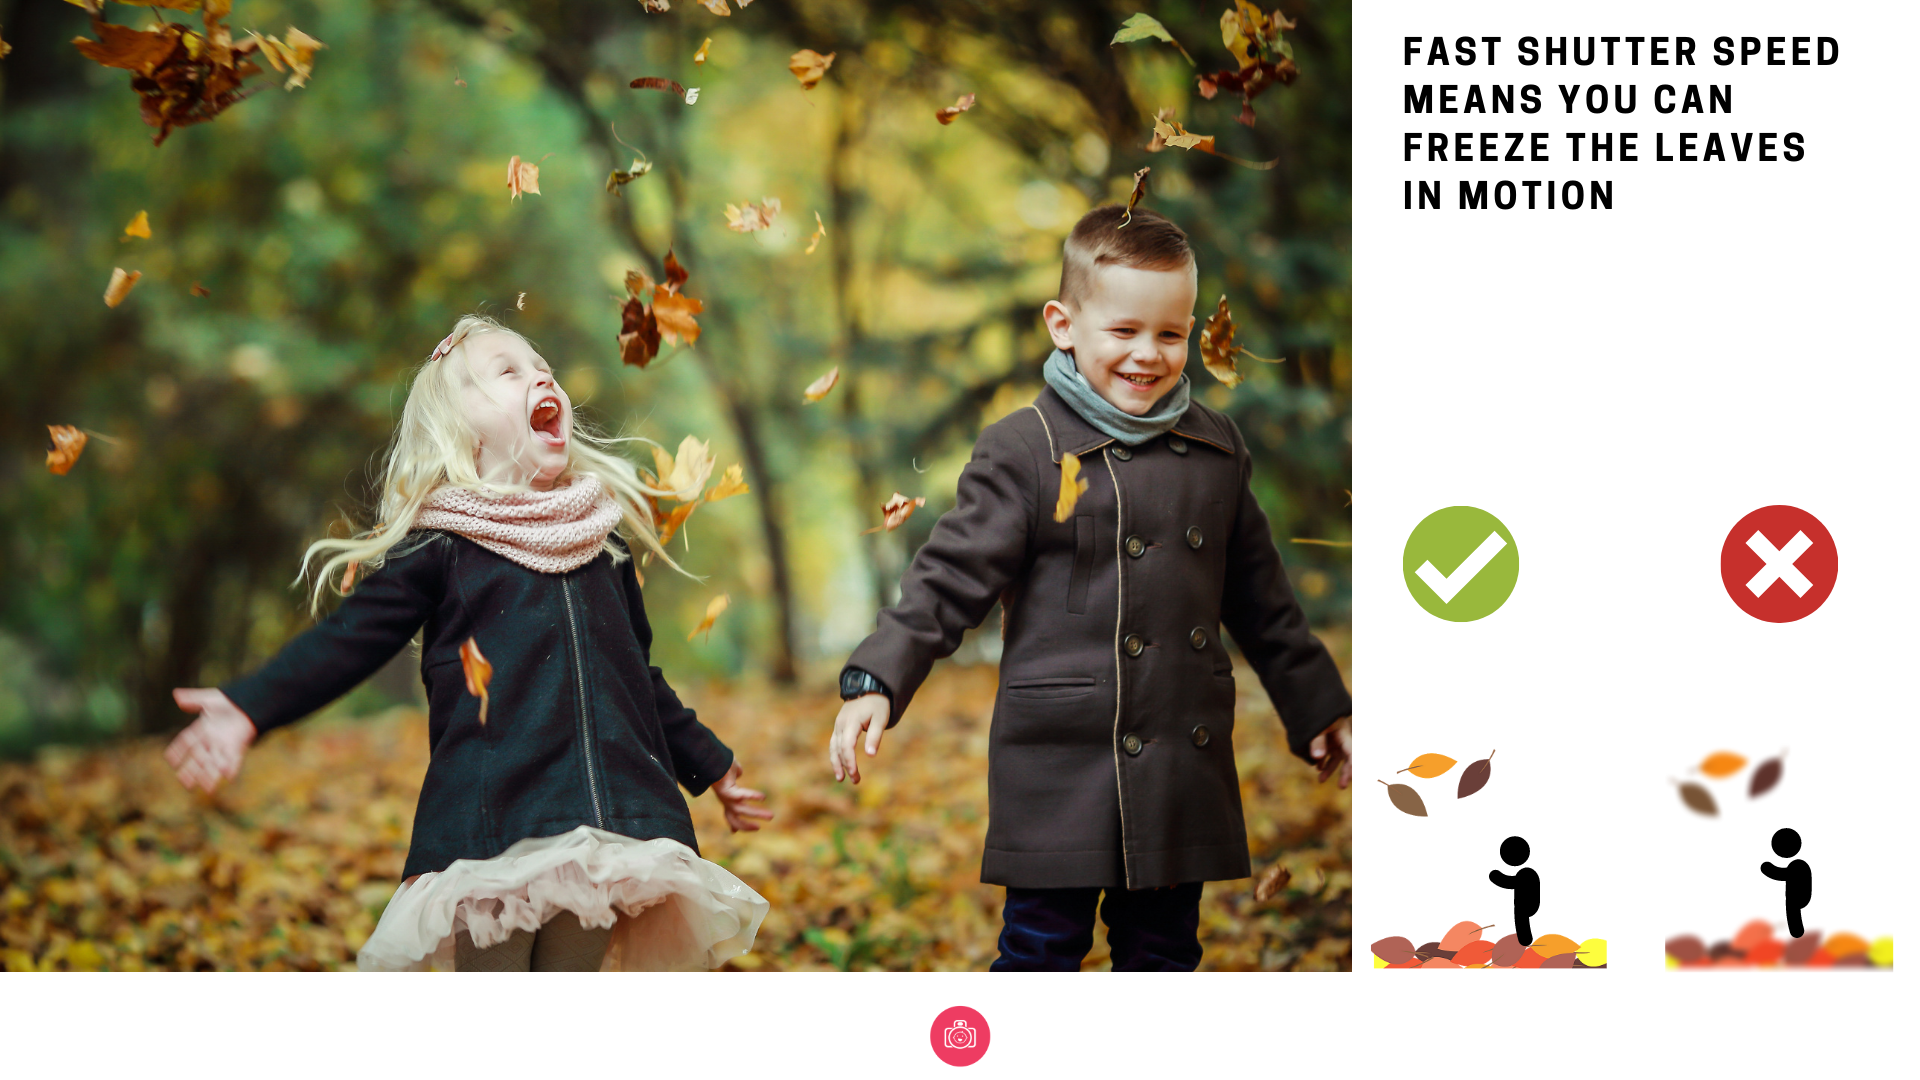
This is the only bit here that we need to get a little bit technical. If you want your child and your flying leaves to be nice and sharp, you need to make sure your camera is fast enough to capture them sharp. If your camera is slower, you will see a little motion blur on your leaves and possibly your child ( they will look a little bit on a blurry side).
The setting which determines how fast your camera is is called shutter speed but think of it more as 'exposure time' = time for your camera to start and complete the photo. The shorter that exposure time is - the less change you have oa a photo with motion blur.
If you are shooting in manual or priority modes ( like shutter priority) - make sure that your shutter speed is at least 1/250s or faster to get all those things sharp. It will help if you are somewhere with plenty of light. Things will be harder if you're in the woods for instance.
If you are shooting on auto, or on the phone, you have less control over these things as the camera will be in charge of your settings. On a phone, try to just make sure you're attempting the photos somewhere with plenty of light - plenty of light equals faster photos - always and for all cameras so you give yourself a better chance. If you are shooting on a camera-camera - try switching to a Sports or equivalent setting instead as those are designed to prioritise speed over other things.
Step 5 : Direction of movement
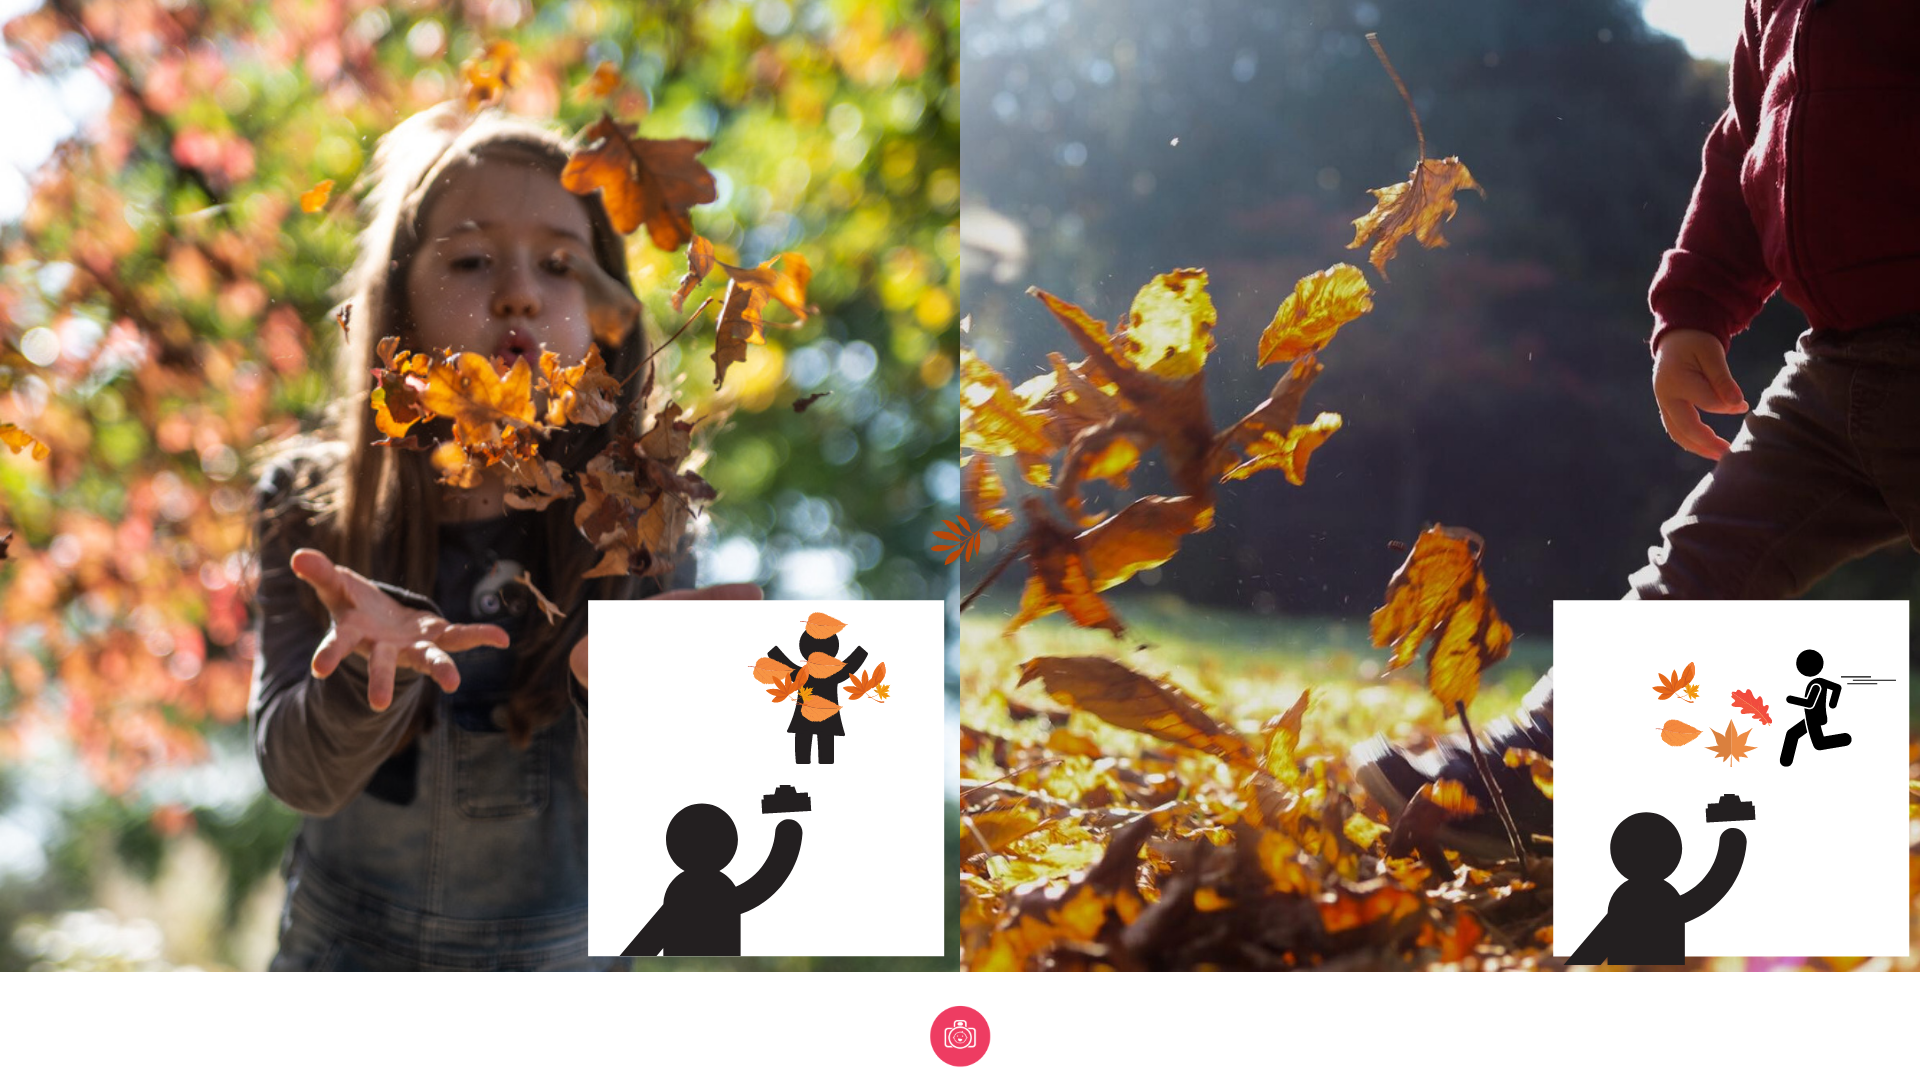
You will need to decide whether you want to capture those flying leaves as they fly towards you ( harder though possibly more dynamic) or observe it from the side ( which may be easier to clearly capture the leaves up and not lose focus on your child. Here is why this choice matters: if your child is doing the kicking, throwing leaves towards you, they are creating a an element between them and the camera which can make it harder for the camera to know what it needs to focus on. So you might end up with focus on the leaves when you wanted it on your child's face or the other way round.
Secondly, as they move to kick/throw the leaves, they are changing their distance between you and the camera and that can be hard for your camera to maintain focus. Whereas if you are shooting from the side, you may be able to focus on your subject more easily - no distractions and if your subject is moving, they are more likely to move across your field of view rather than towards / away from you.
Angle
background
light
speed
direction
Simple, right? You already know what the challenge for today is:
Day 3 Challenge
Make those leaves fly! Get your child to kick, throw, run through leaves and send them flying and capture the fun.
I can't wait to see your photos!
So it your course just a collection of tutorials?
In the era of the internet, you could find a tutorial for nearly everything out there. For free. Why would you even consider paying for a course?
To put it simply, because that's not learning a skill works.
You can watch a tutorial on how to set the shutter speed on your camera, but that won't necessarily mean you now can take a beautiful photo of something in motion. You only learned a fragment of a skill. You didn't consider all the other elements that make a difference. It's not how we teach.
To give you an example - we have a whole module dedicated to capturing movement.
We teach about shutter speed of course. But you also learn :
- how to make your focus follow your subject on the move,
- how to compose your photo to best illustrate the speed,
- whether to make your subject tack sharp or introduce a degree of blur to highlight the speed
- and how to apply it in common child-centred scenarios - swings, running etc .
And then you go and try all this out and we give you feedback and advice on how to make things better, what you may have missed and to praise your efforts.
You don't get that from a random tutorial. YOU LEARN SO MUCH MORE
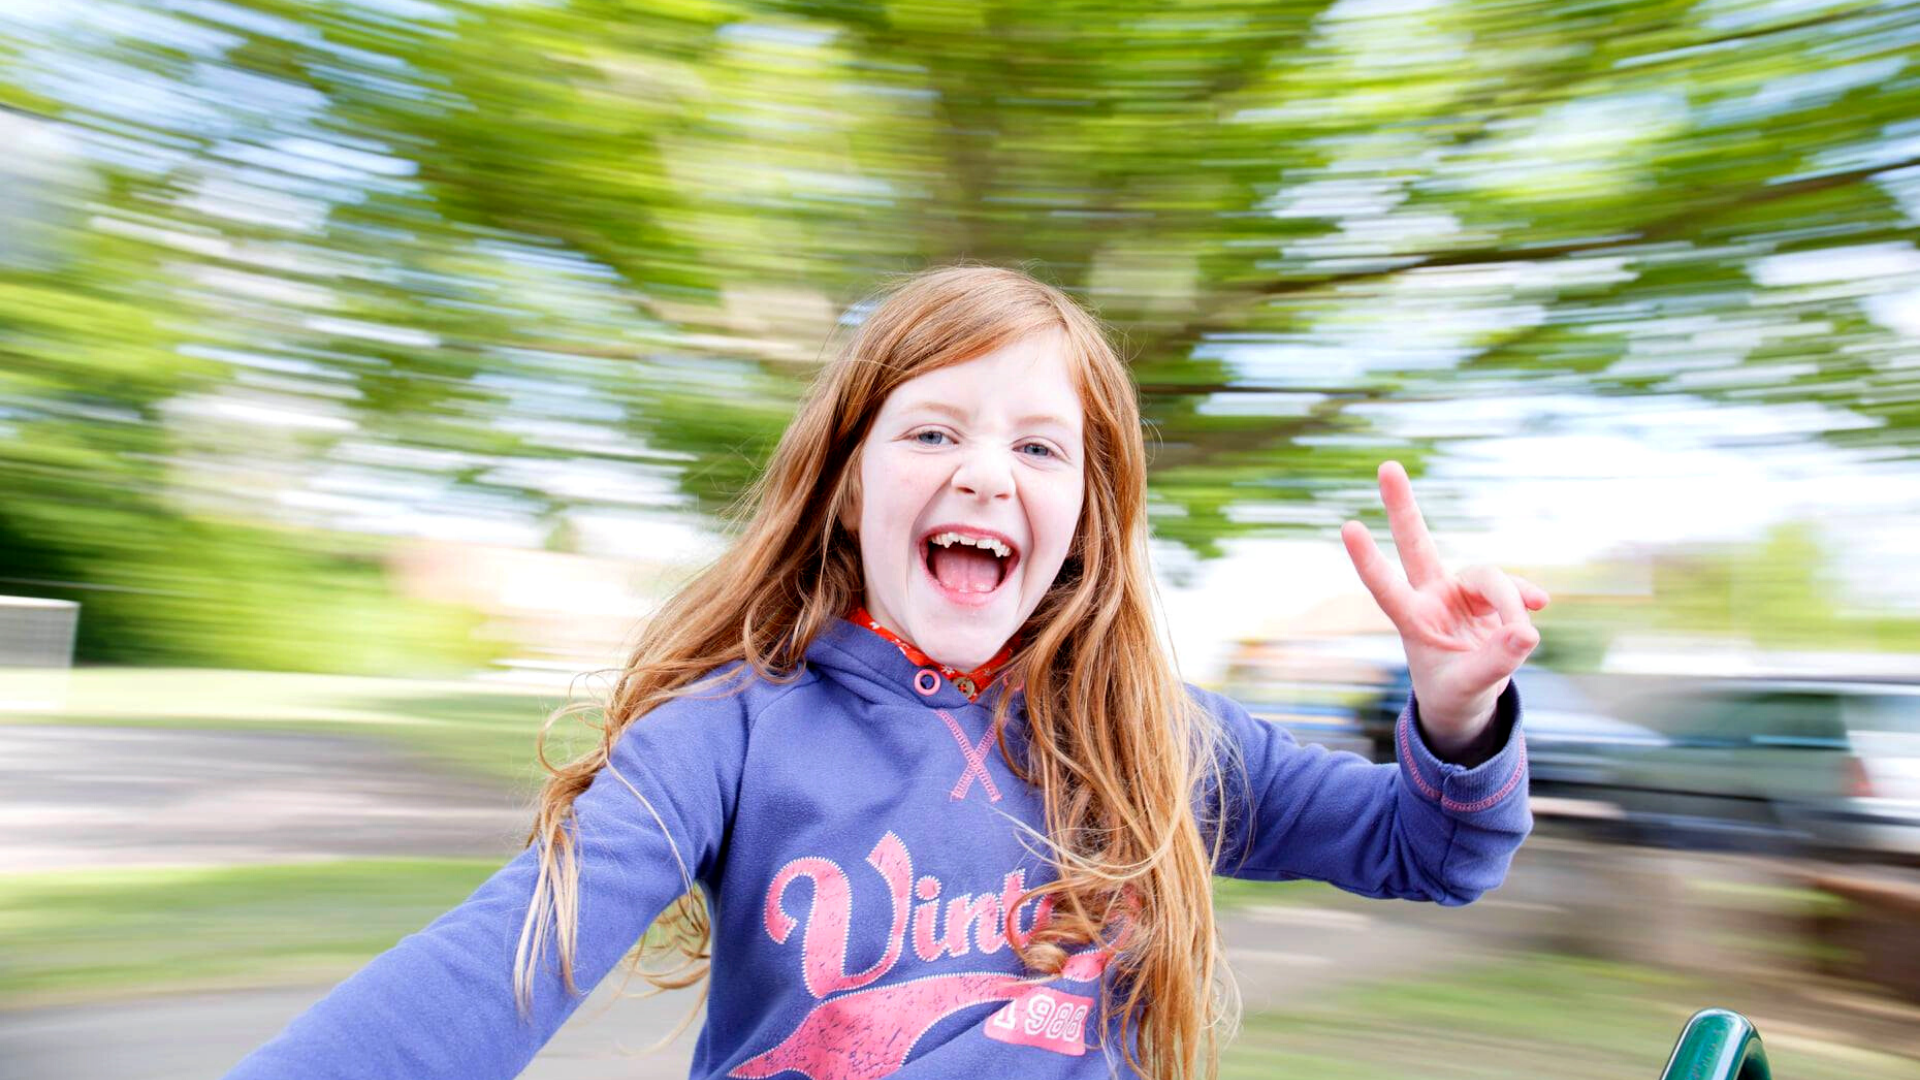
Photo by our grad Sarah Honey