Today is going to be short and sweet, because after 3 lessons where we made you think about why you shoot, how you compose your image to make it stronger, today will be consolidating those two a bit and getting a slightly bigger story that examines your subject from two sides.
We're doing a Diptych!
I know, I know, WHUT?
Let me explain:
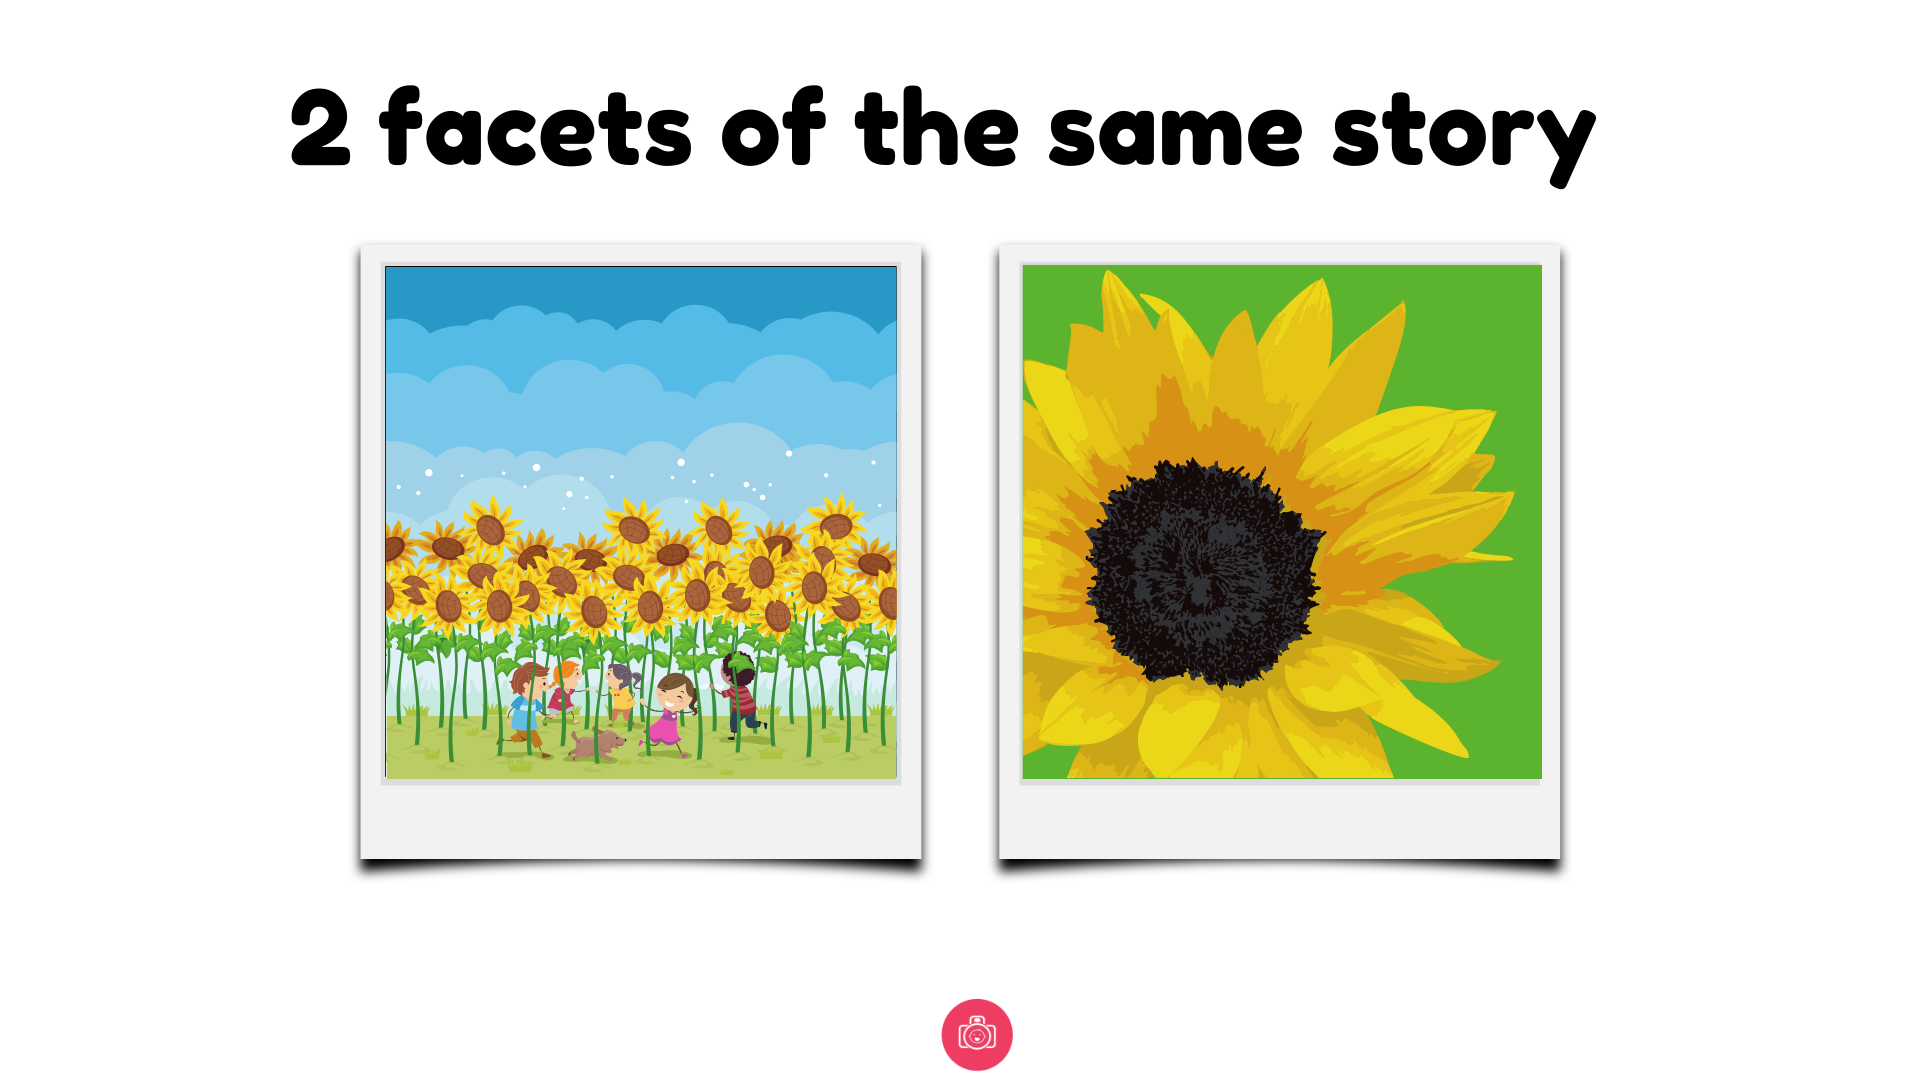
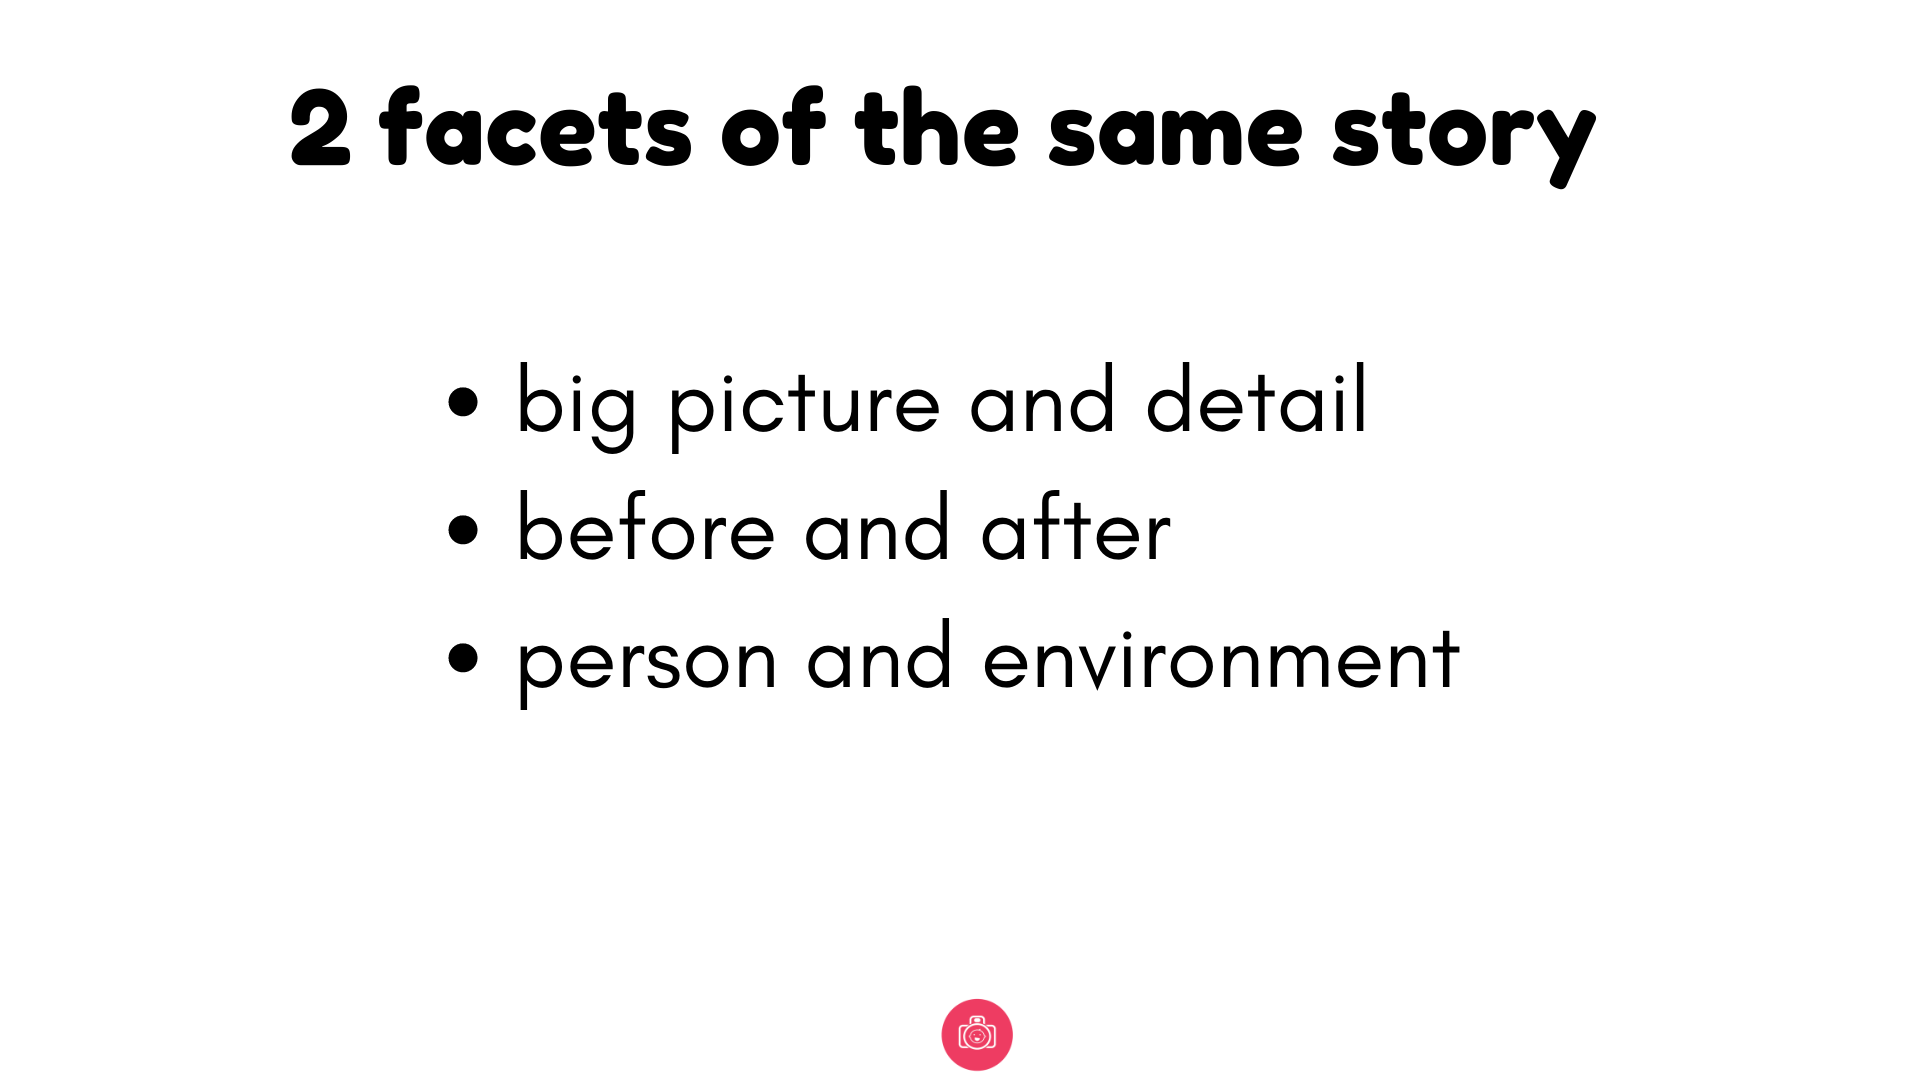
This is a diptych. It's bringing together two images that are connected in some way and presented together as a pair. As individual photos - they stand out fine. As a pair, they tell a story.


The connection may be a place, a theme, a colour, the same subject taken at different angles or perspectives, a shift of focus, cause and effect, same subject -different time of the day, etc etc - the possibilities are endless.


I love a diptych because it forces you to think about your images a little differently, and often makes you switch from micro to macro view, from person to environment, from action to outcome.


If you're shooting with a diptych in mind, you shoot more diverse images and your photography gets all the better for it. With a diptych you pay attention to storytelling, you pause on the details that you may have otherwise left uncaptured. But equally, you pay attention to the wider scene and how your subject might interact with it.

Day 4 Challenge
So that's what I want you to do today. To create a Photo Diptych. But not just ANY Diptych.
Here are 3 concepts I want you to choose from :
- big picture and detail
- before and after
- person and environment
Think carefully about WHAT you want to capture and why. And I don't want to just see two images at slightly different angles. Make them separate. But make them come together.