Today is the last day of our Autumn Photo Bootcamp. And given the date and the fact that Halloween is nearly upon us, I thought we'd dedicate our last day to all things spooky and Halloween related.
This lesson is coming to you in 2 parts : Part 1 with advice on how to capture the Halloween fun in a non scary way, Part 2 - getting spooky photos!
Enjoy! and Beware!
Part 1 : 5 Tips for Halloween themed photos
1. Start Early
If you're taking photos of your kids costume, start early - before dark to get the best of light. Find a background that's simple and inobtrusive ( a nice hedge or similar tends to work well) or a simple bit of a wall. Adding a couple of Halloween accents - a carved pumpkin, some ghostly bunting will help create a bit of an atmosphere. When taking photos of your child always try to get down to the same level as your child, rather than standing and pointing your camera down. You get a much more natural looking perspective that way. Standing back a little and zooming in will help you create a little blur in your background ( unless your child is standing right with their back to the wall) which will help your subject stand out.
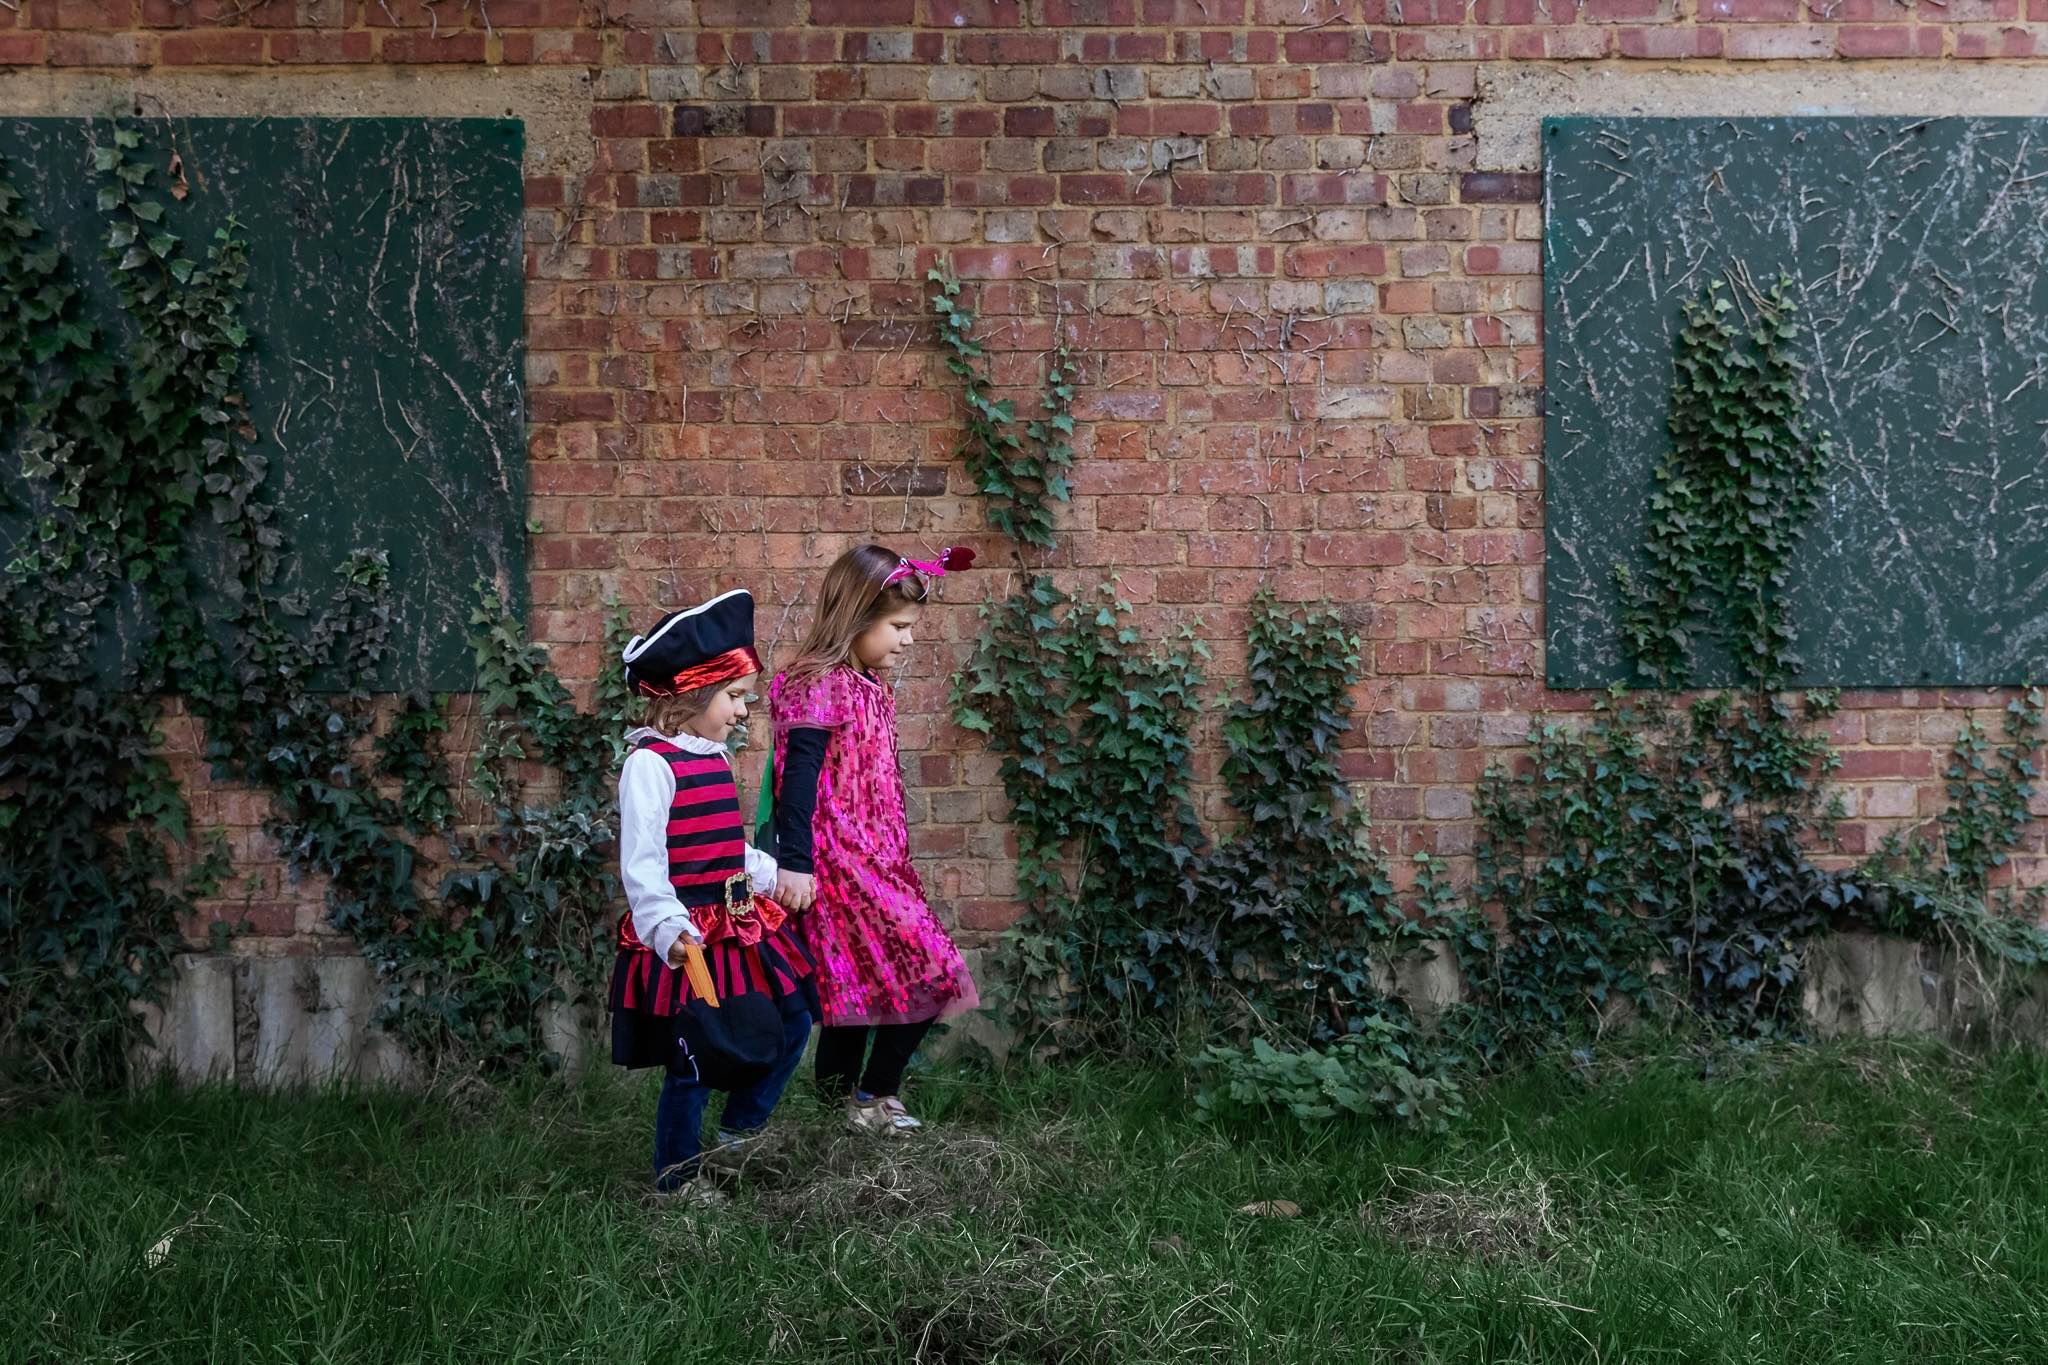
Photo by Jen Thomas
2. Use dusk to your advantage.
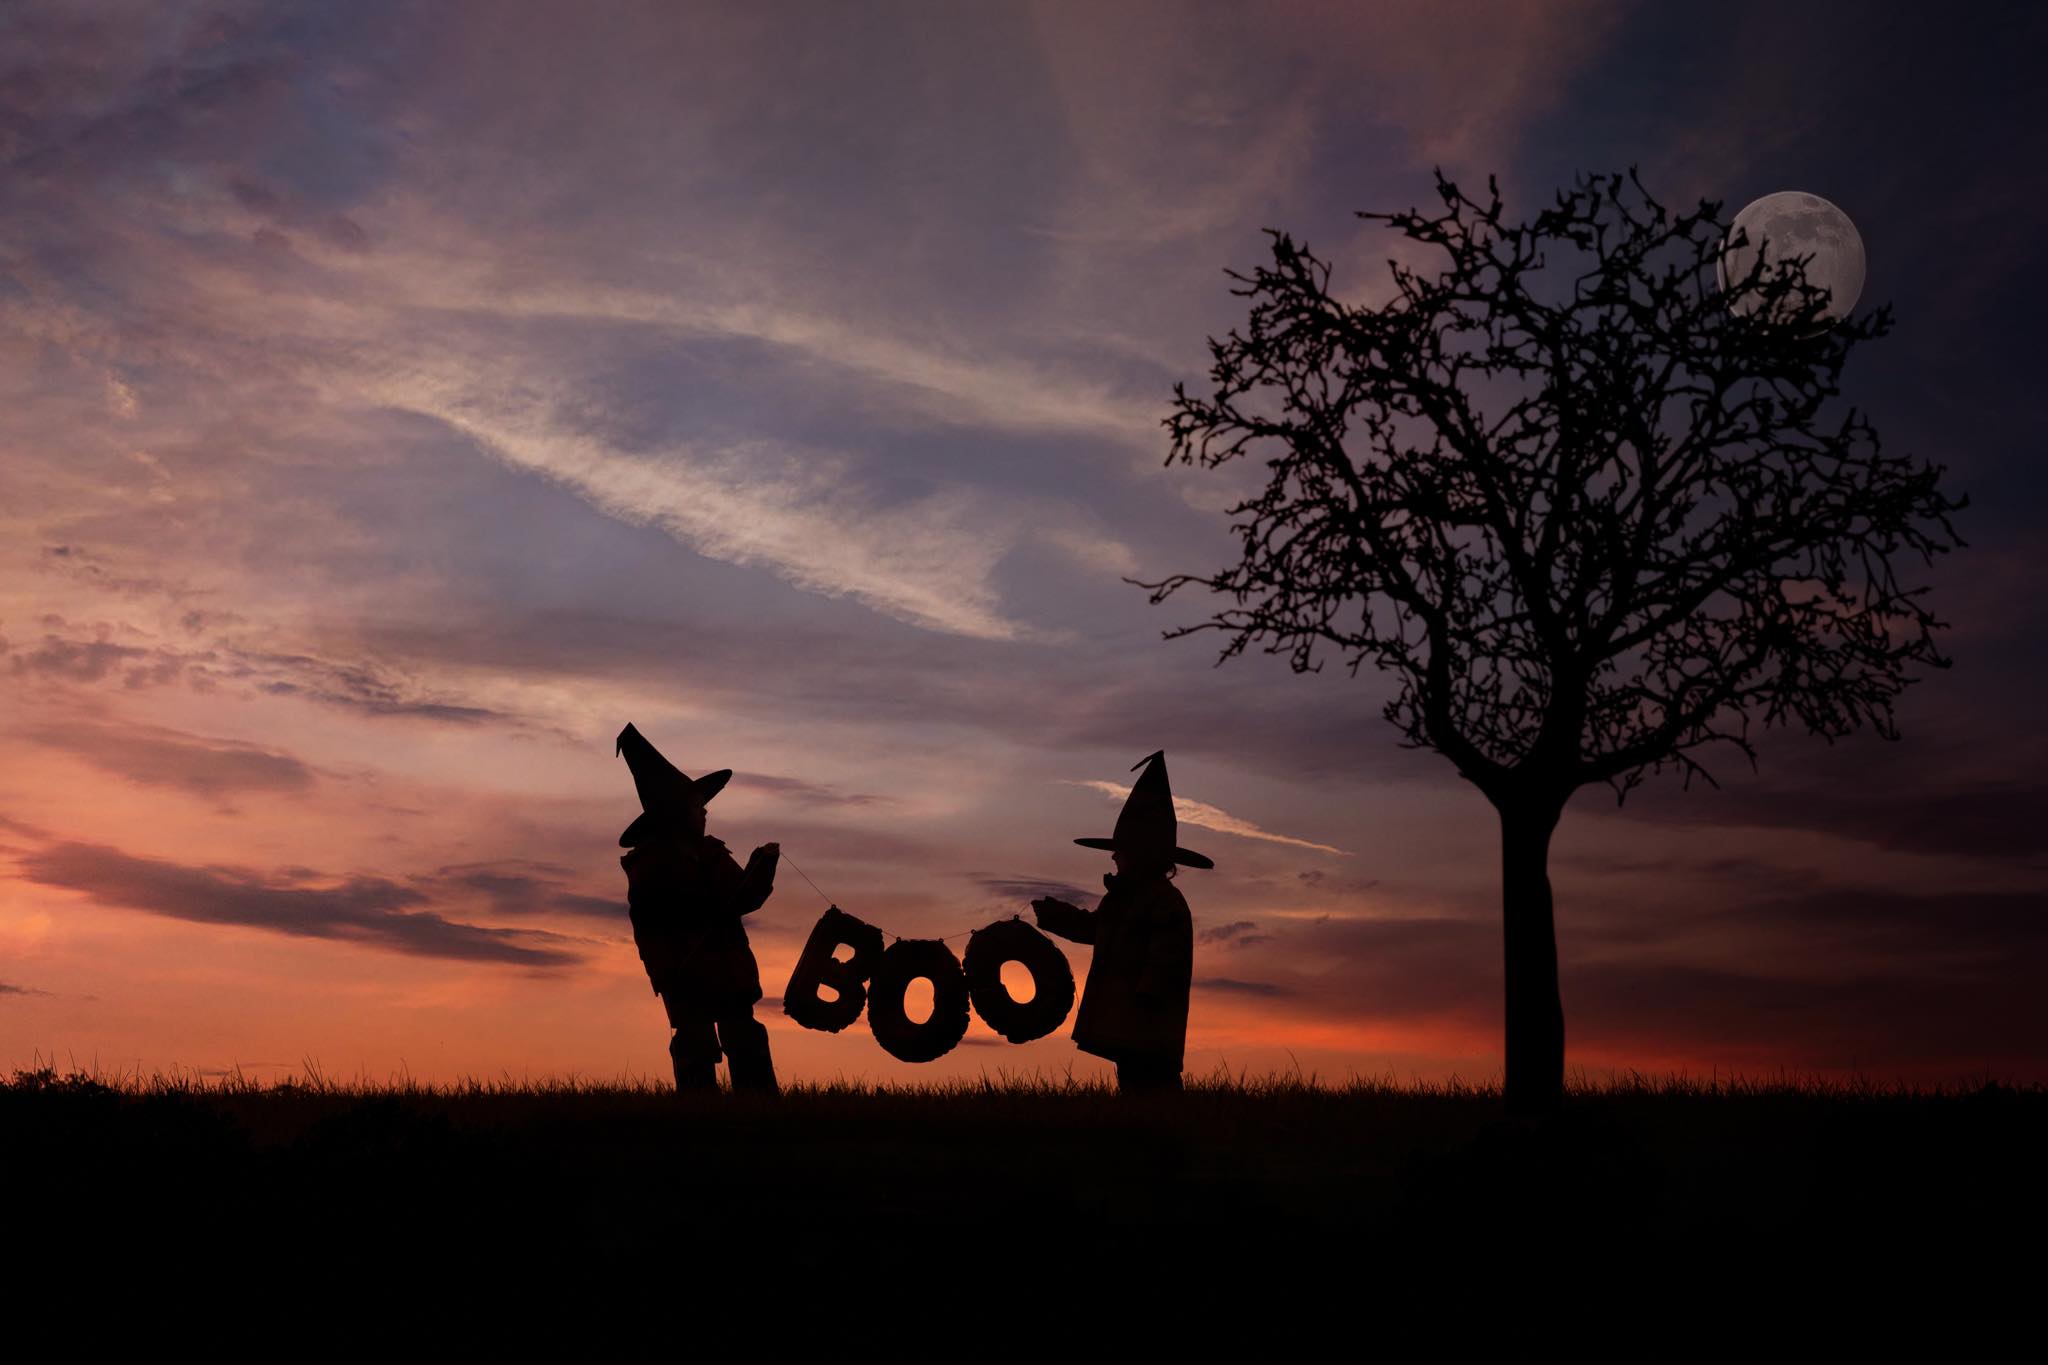
The sunset sky provides a great opportunity for silhouettes and getting creative with shadows. Look at this fabulous image that one of our grads Jen Thomas captured! It's the cutest BOO! I have seen! To capture a silhouette, turn towards the brighter part of the dusk sky and try to focus your camera on the sky so that the camera knows to use that as a benchmark for exposure. If you're shooting on a camera-camera, you can use exposure compensation or exposure lock to help you get to the balance of light and shadow you want. If you're on a phone, tap on the brighter part of the image and adjust brightness if need be.
3. Let things GLOW
At night, look out for pools of light to bring brightness to your subjects but don't be afraid to bring your own too! Glowsticks, lanterns with artificial lights inside ( no fire please! ) will help illuminate your kids against the night.
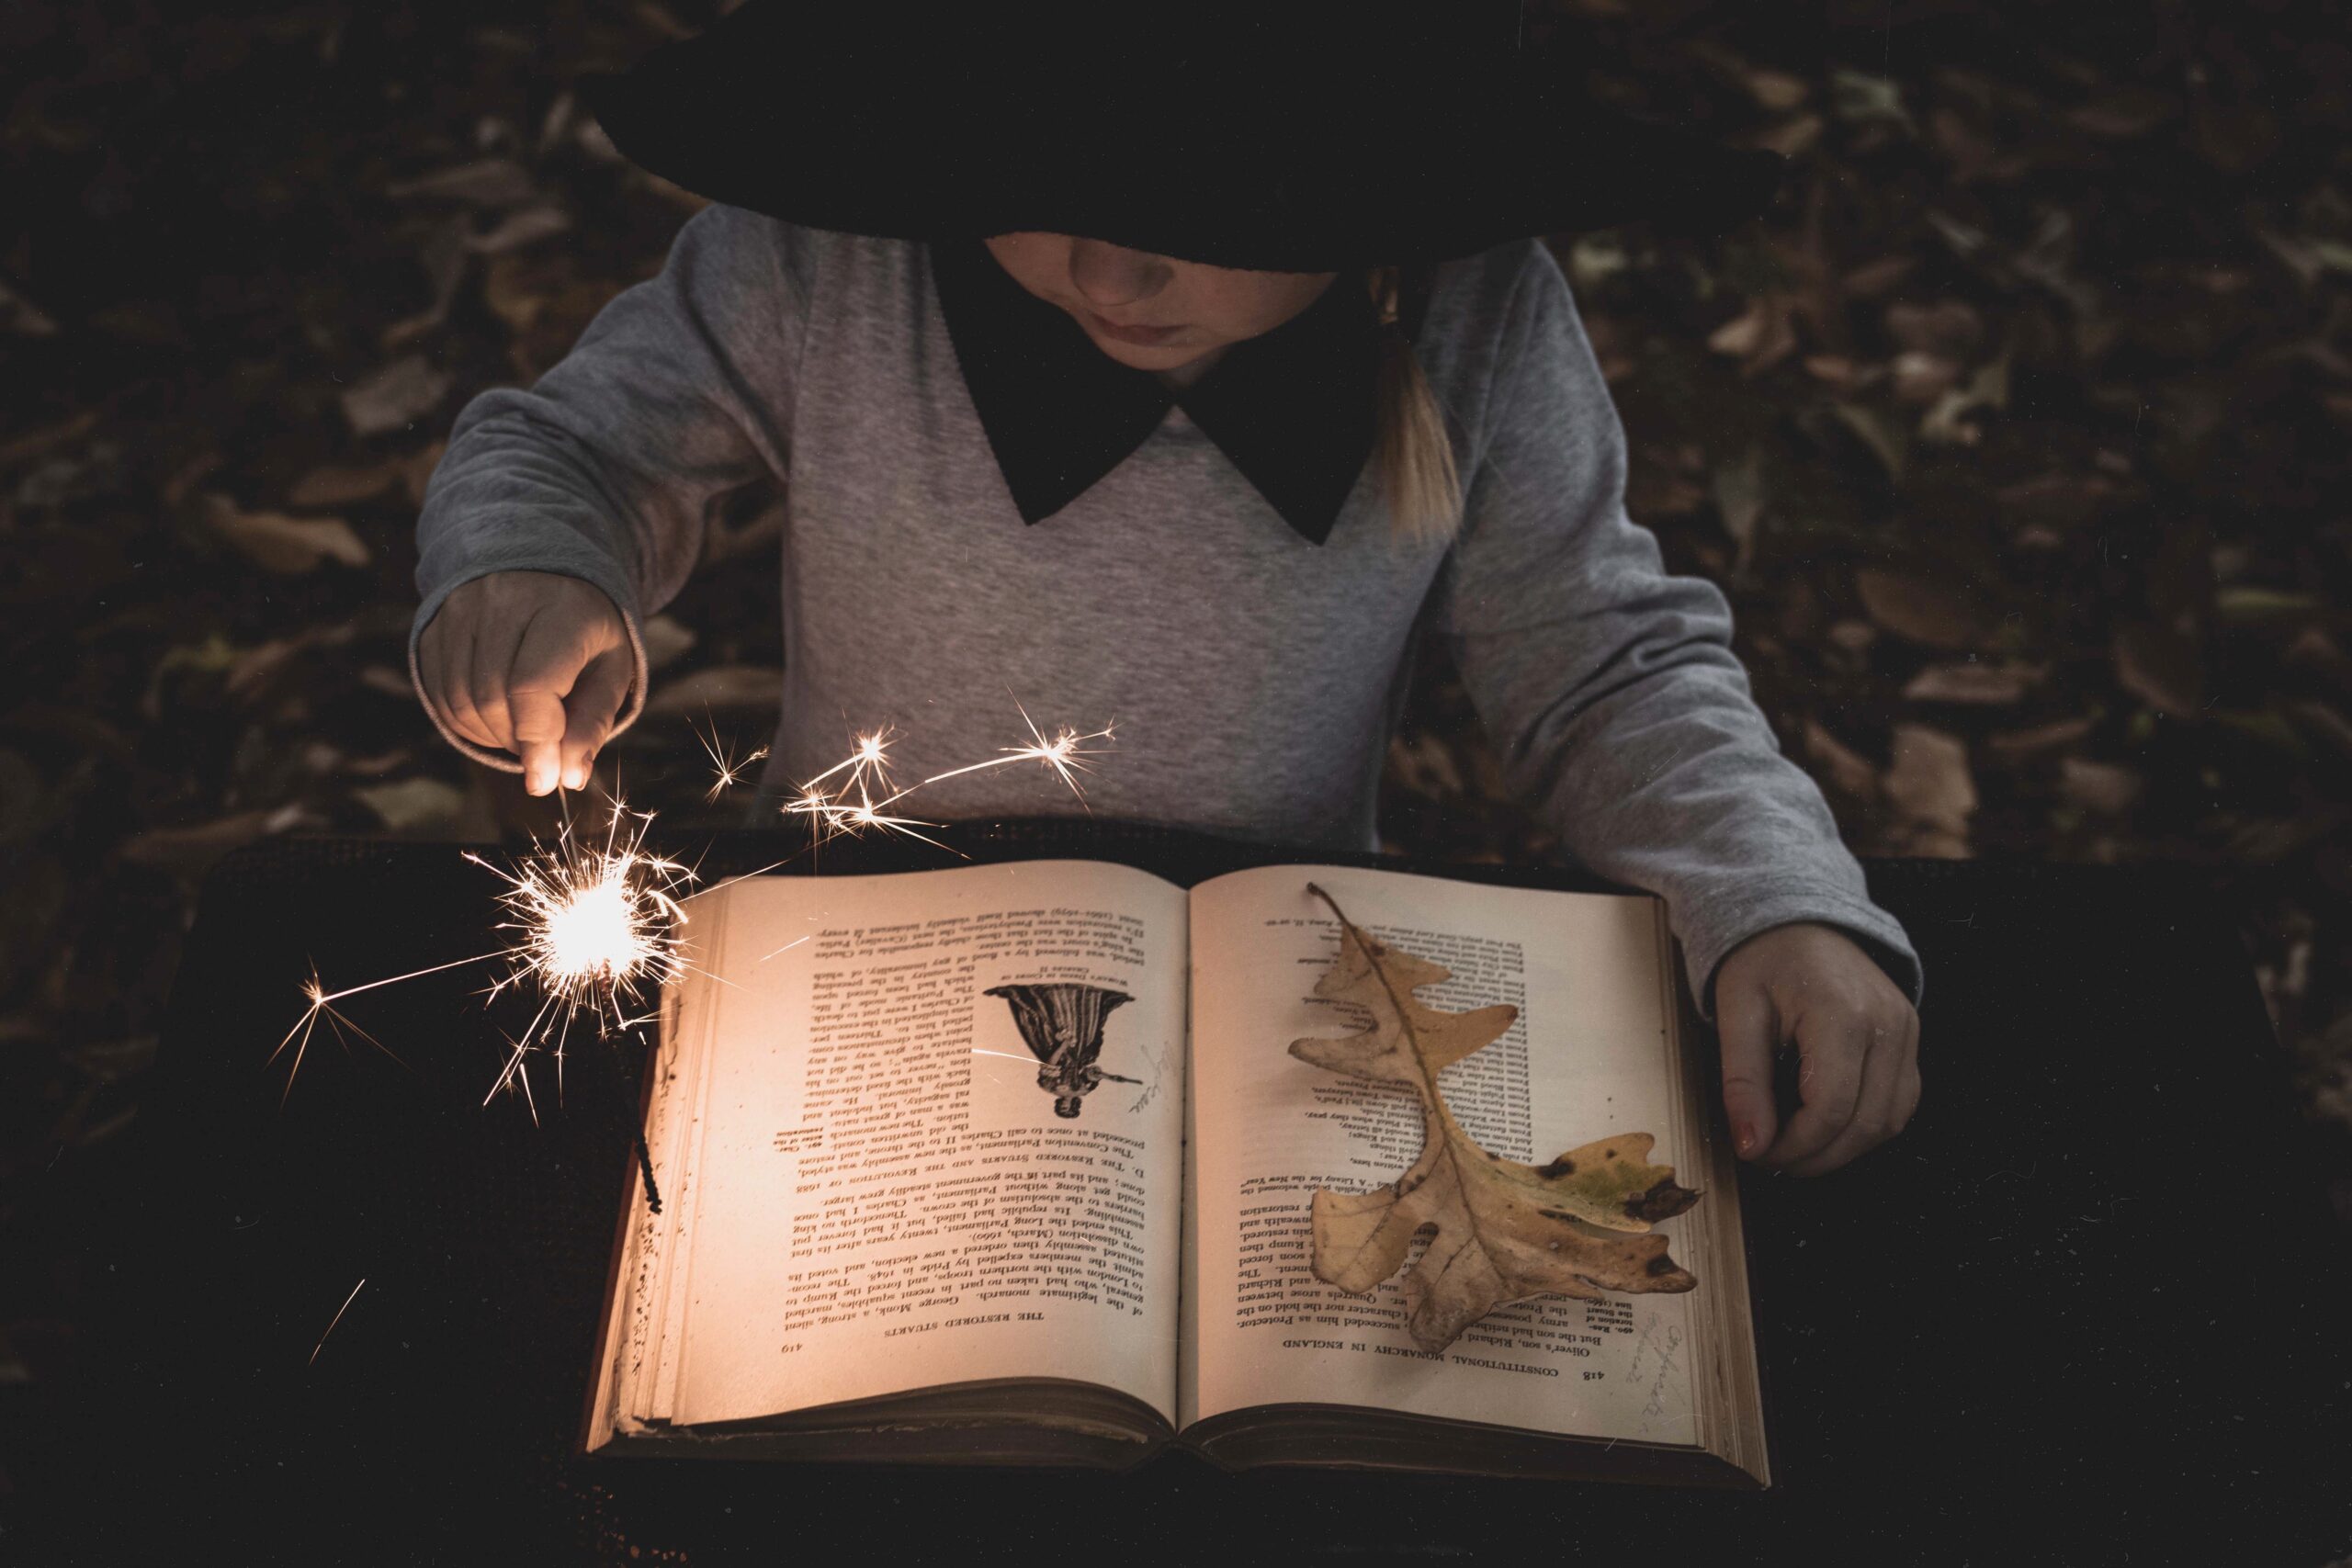
But if you are a little more skilled with your camera and can set it up on manual, try capturing some light writing with sparklers or just a torch! Adding flash to the image will allow you to have your subject sharp and bright and still capture the writing!
4. Pumpkin carving
If you are carving pumpkins and would like to document that process, ideally place your subjects somewhere near a good light and think about storytelling. Our lesson number 1 from this week should come in handy here - use the 1-2-3 process to tell the story. Have a look at what your kids are doing, who they're doing it with, how engage they are, the little details and the big picture. And of course the outcome!
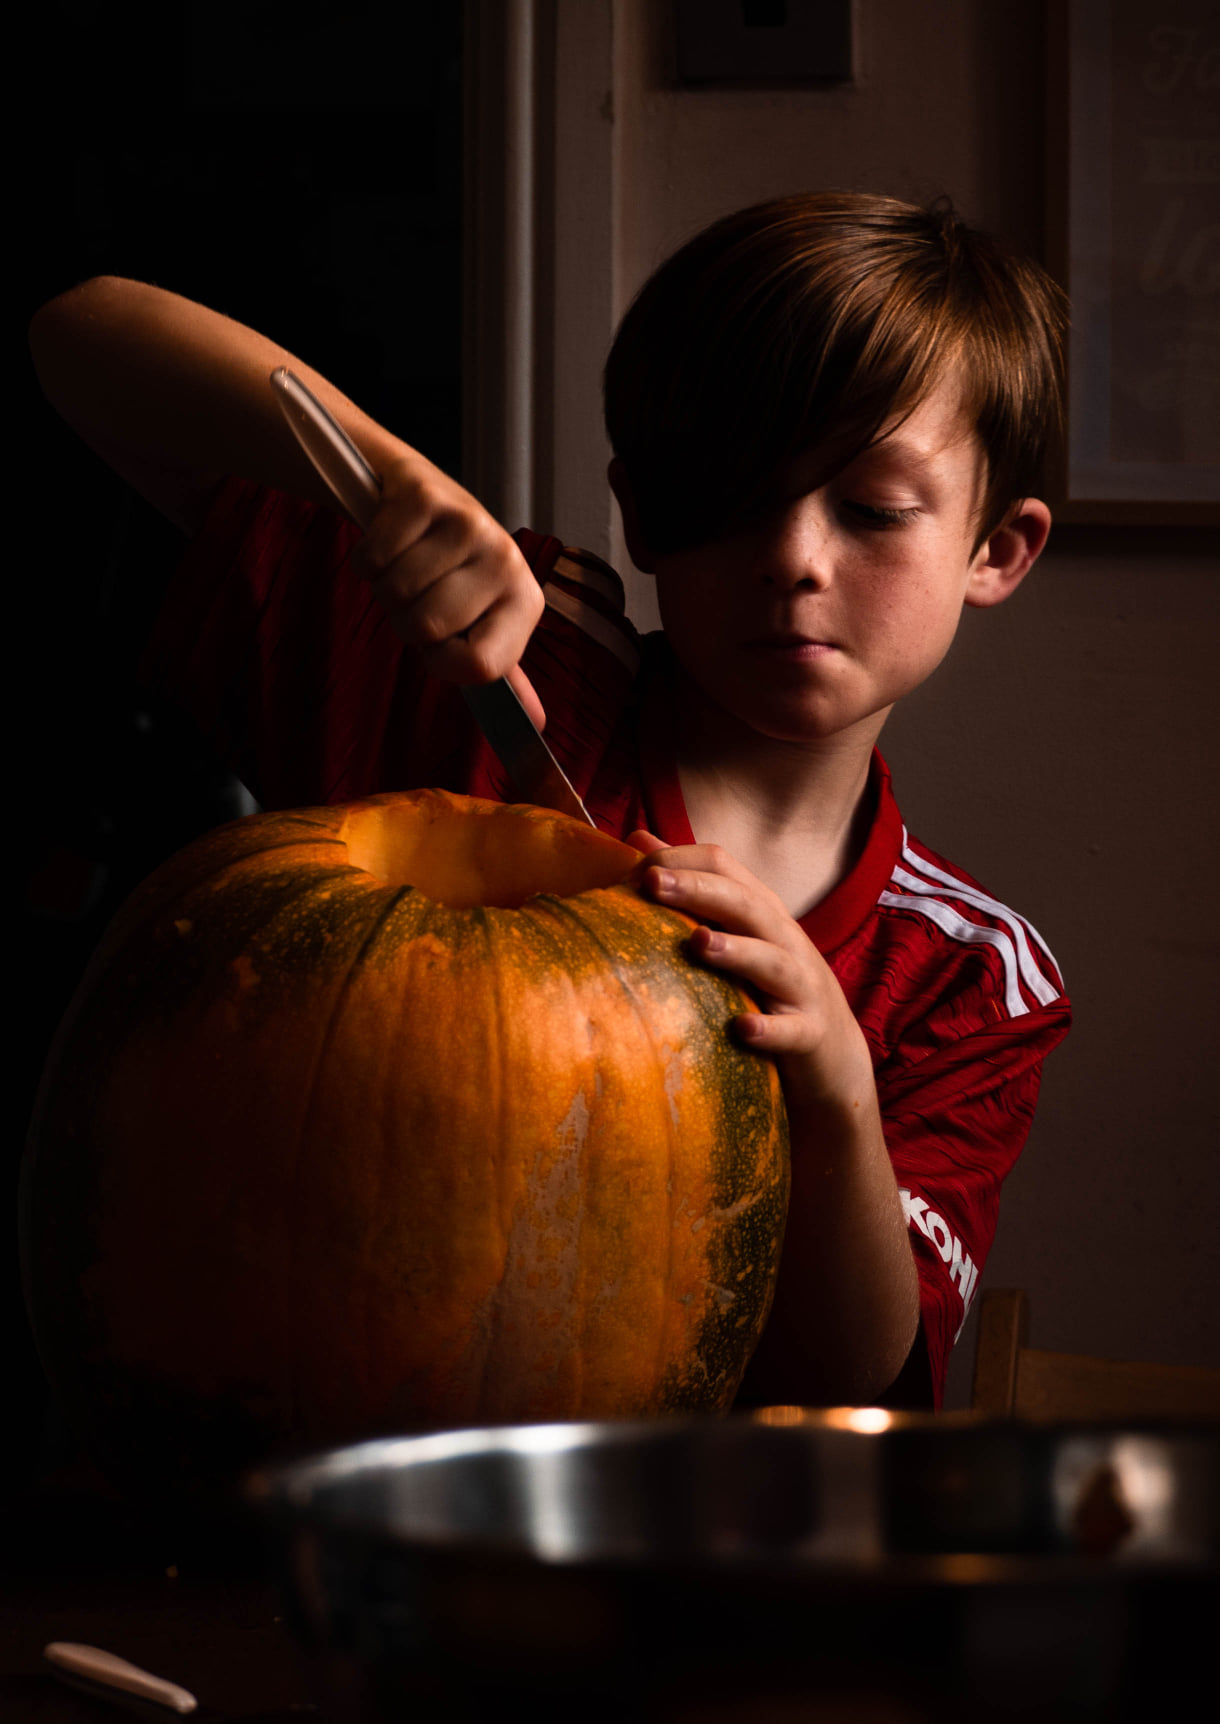
Photo by Charlotte Gage
5. Glowing pumpkins
If you want to capture the glowing pumpkin, restrict all other light, stready your camera and point it at the glowing face of the pumpkin. If you focus on the brightest bit, your camera should darken the surrounds and let the glowing inside shine. An alternative to that, you could place your child really close to the pumpkin, looking in, and take the photo from the side, with the pumpkin light illuminating their face.
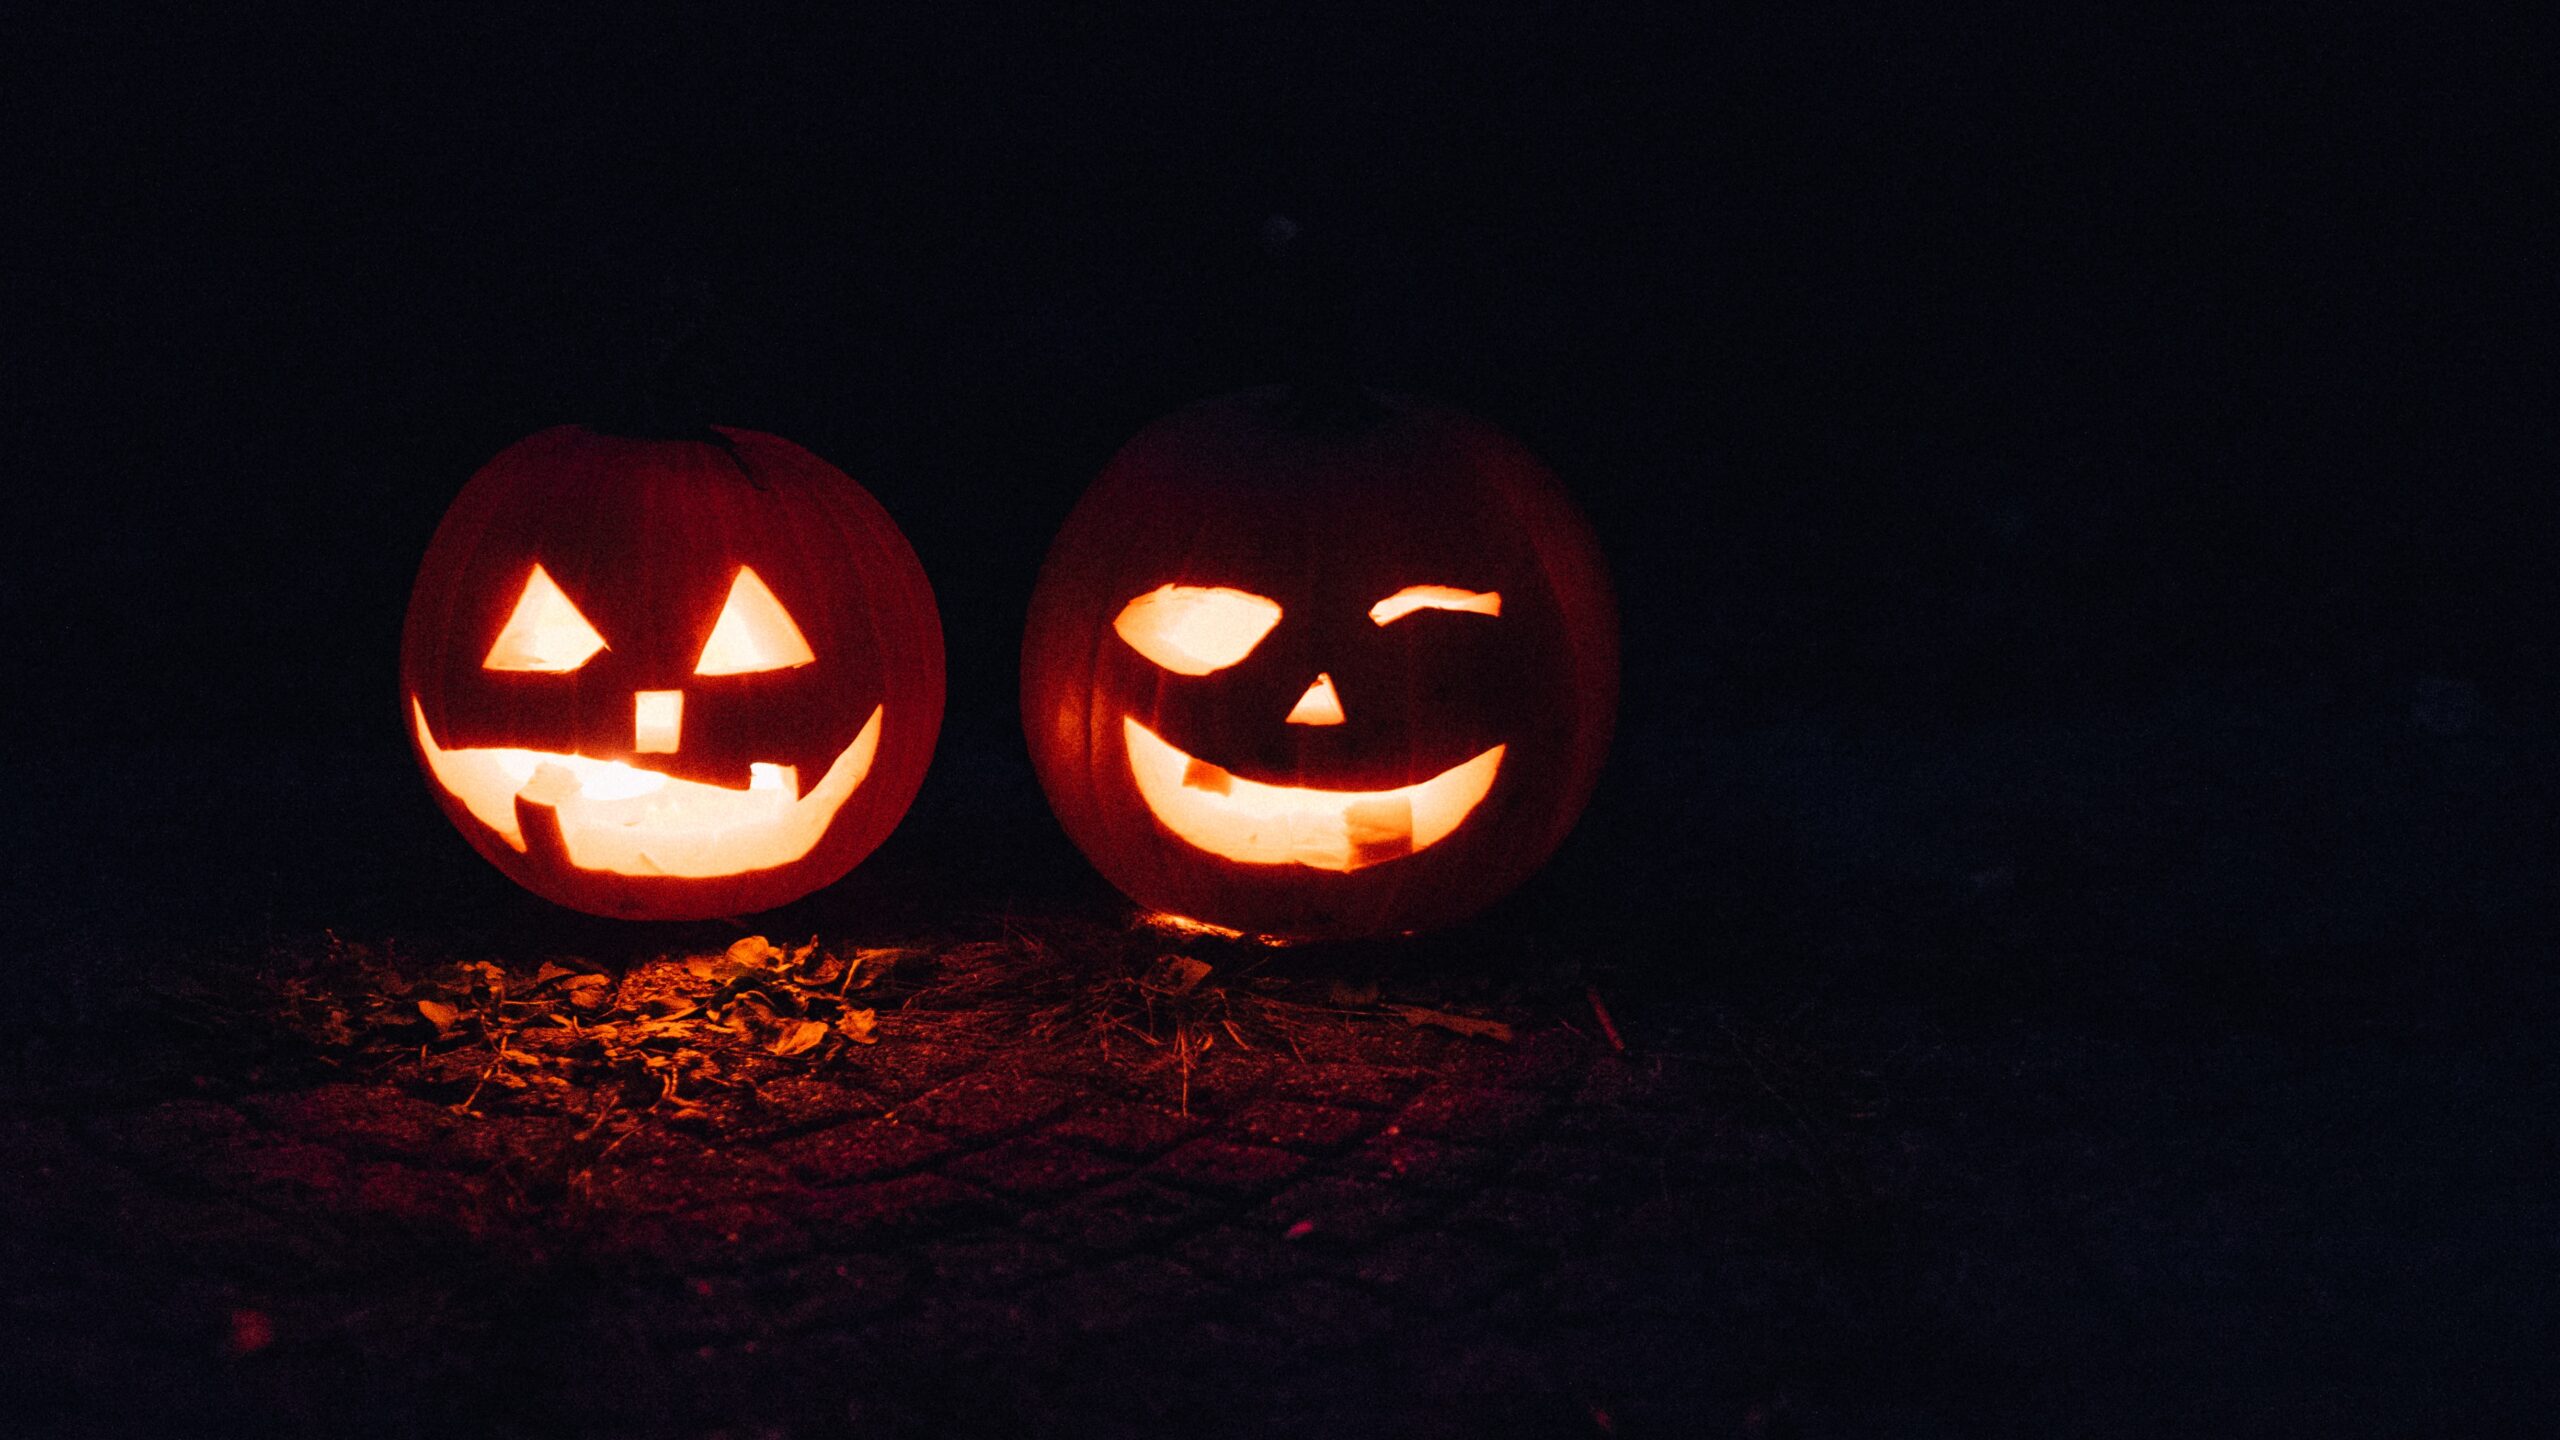
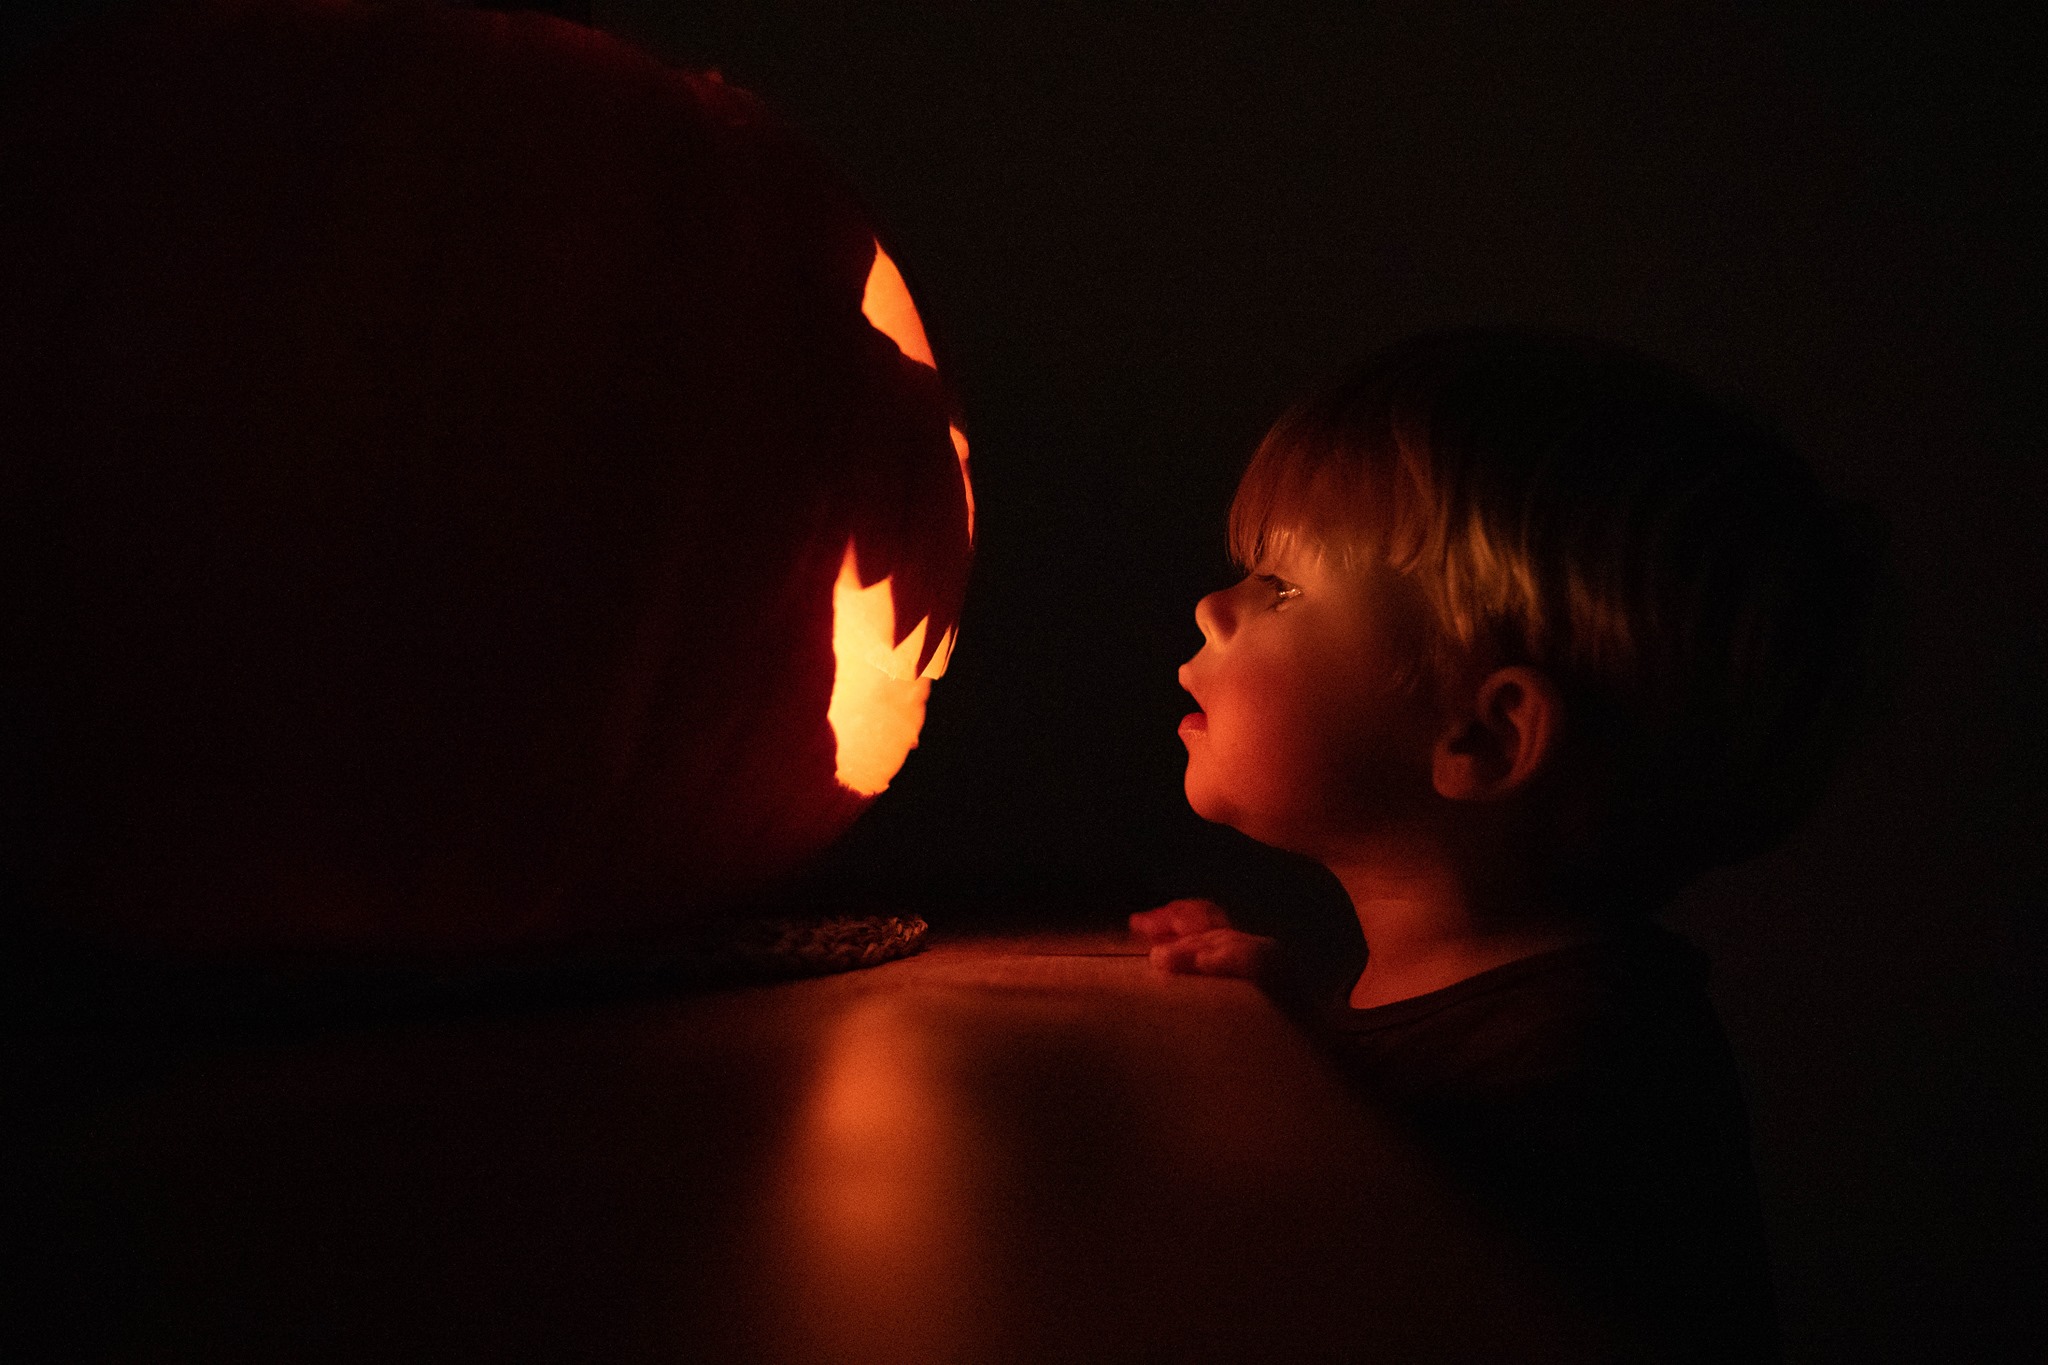
Photo by Gemma Holmes
I hope you enjoy taking some Halloween themed photos! Now if you want to have a go at something more spooky, click through to the next page.