Over the last 2 days we gave you a lot threw a lot to chew on. We got you thinking about light and colour, we got you thinking about the story, today I want us all to have a bit of fun. Outdoors and in.
Today, we'll be thinking about how to use all these wonderful gifts of autumn and how they can help make our images better.
As much as I love a nice landscape and a civilised walk, let's face it. That's not hight on your average kid's agenda. So why not embrace it. Let them PLAY with autumn! Trust me, your photos will be better for it.
I would love for you to treat it as a creative assignment and think – what can you do with the humble leaf and conker that would also be fun? A lot of the images I’ve seen you already submit into the group should give you plenty of inspiration but we thought we’d give you a few ideas with some pointers on what to consider as you go.
Things to do with autumnal treasures while with camera…
1. Making the leaves fly : kicking them up, throwing them high, leaf fight
A complete no brainer - an all time favourite of all the kids I know. It's fun, can look spectacular, and what kid can resist a leaf fight. But, it's surprisingly easy to get wrong and rather than golden leaves flying high, you can end up with a few brown, barely noticeable bits of dirt up in the air. But we have the solutions.
Step 1 : Your Background
If you do what most adults do and simple stand tall and point your camera at your child from standing position, you are moistly pointing it towards the ground ( since your child is likely to be smaller) which means the flying leaves are never visually 'separated' from the ground and just don;t look as good. Instead get to your child's eye level or lower and shoot either at an angle parallel to the ground or tilted upwards. If they're kicking the leaves up, I'm sorry, but you're going to have to get yourself or your camera right down on the ground!
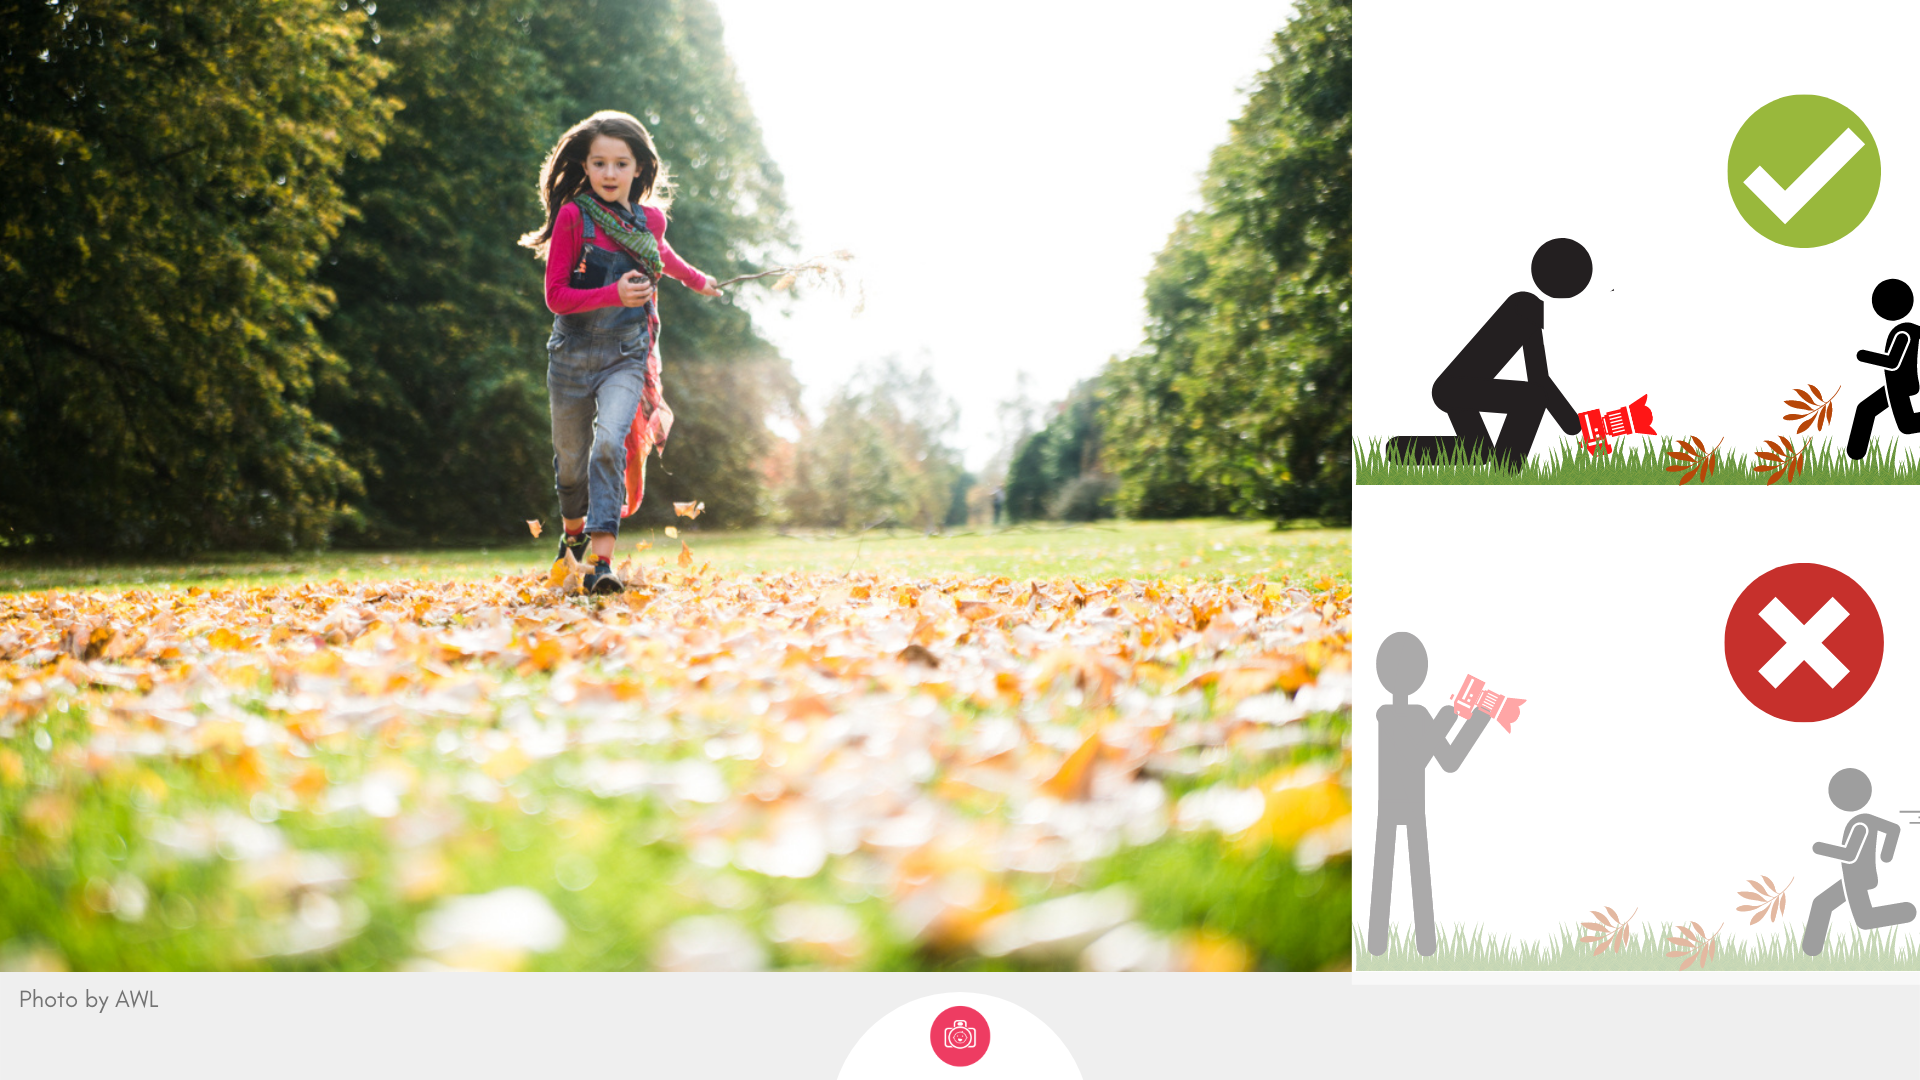
Step 2 : Your light
Consider your leaves. If they are the semi translucent, not fully dried out yet and you have good strong light, consider positioning yourself so that the sun is either in front of you, backlighting your leaves or to the side ( still illuminating the leaves). This will really help bring their colour out.
If you're dealing with the fully dried out, brown variety and you have overcast light ( or at the very least no strong light) try to position yourself so that the light ( yes even the overcast) is coming from behind you and towards your child.
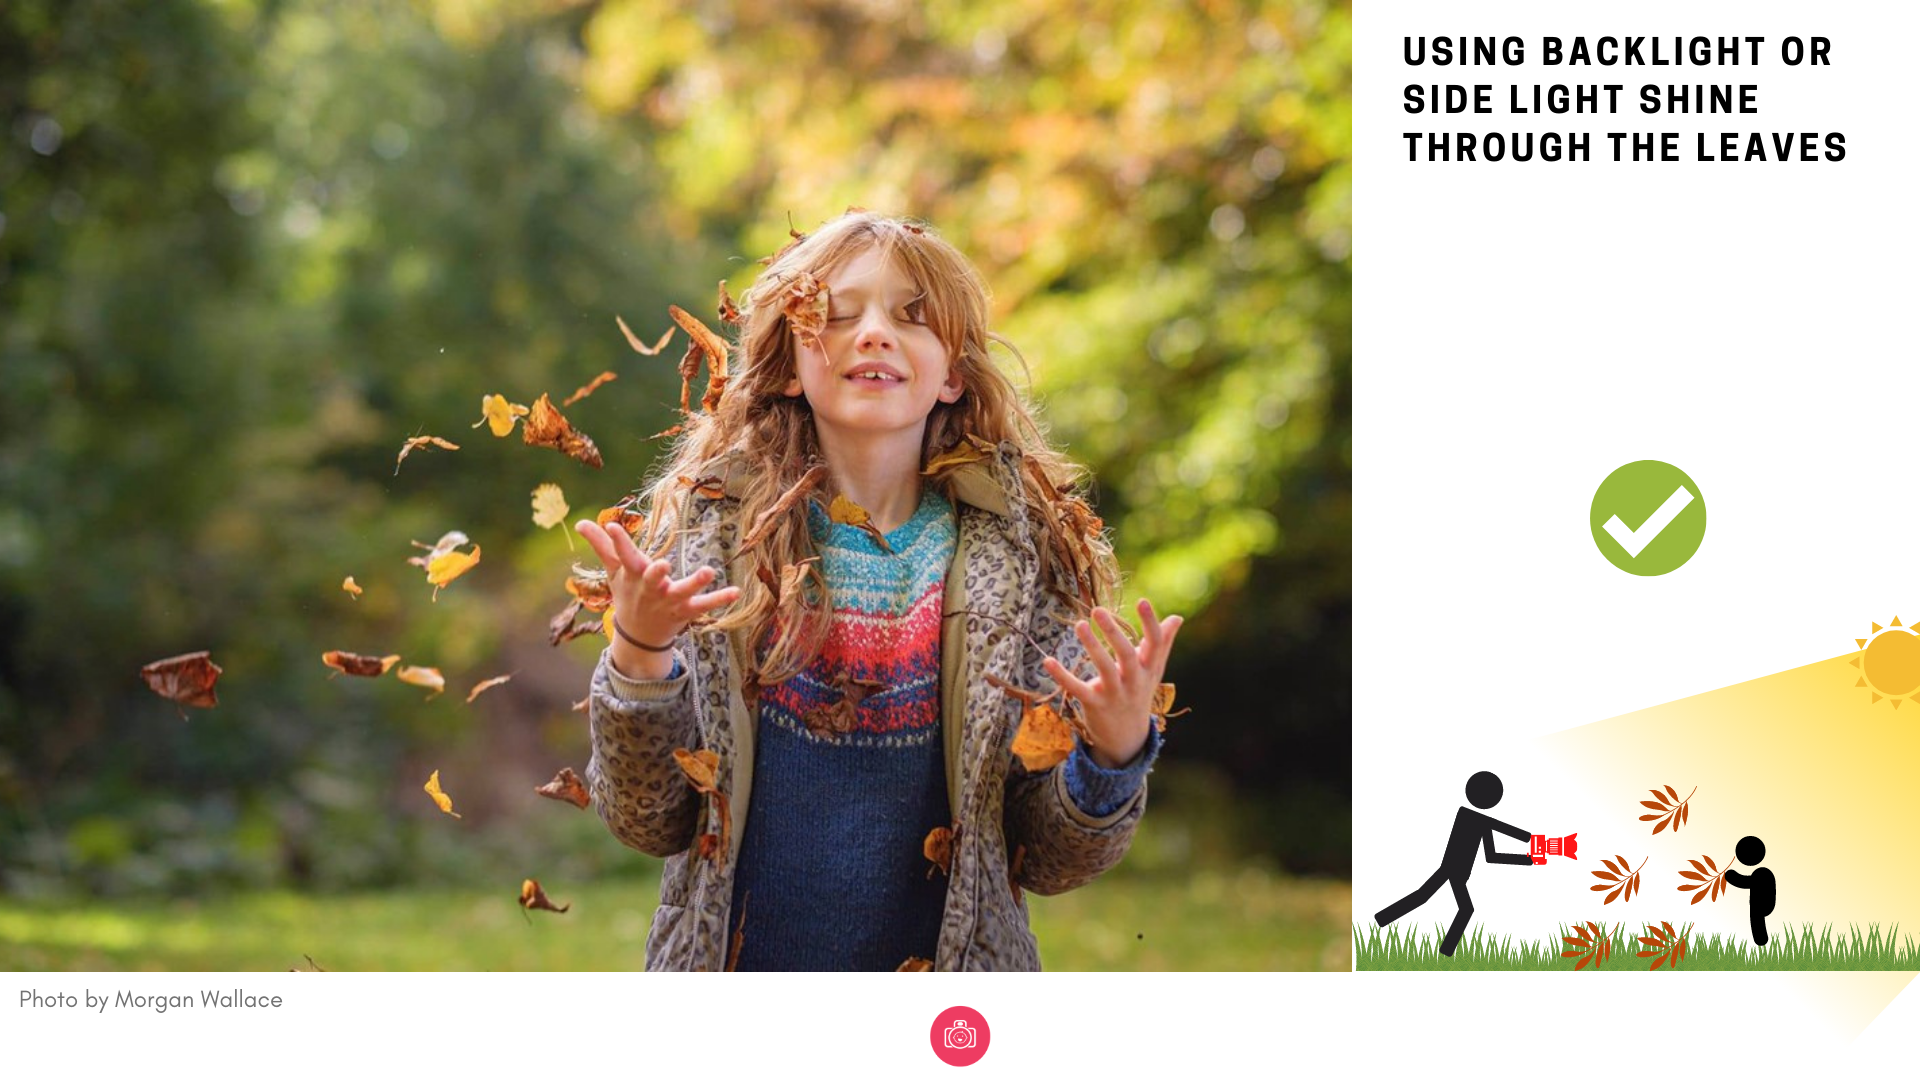
Step 3 : Your speed
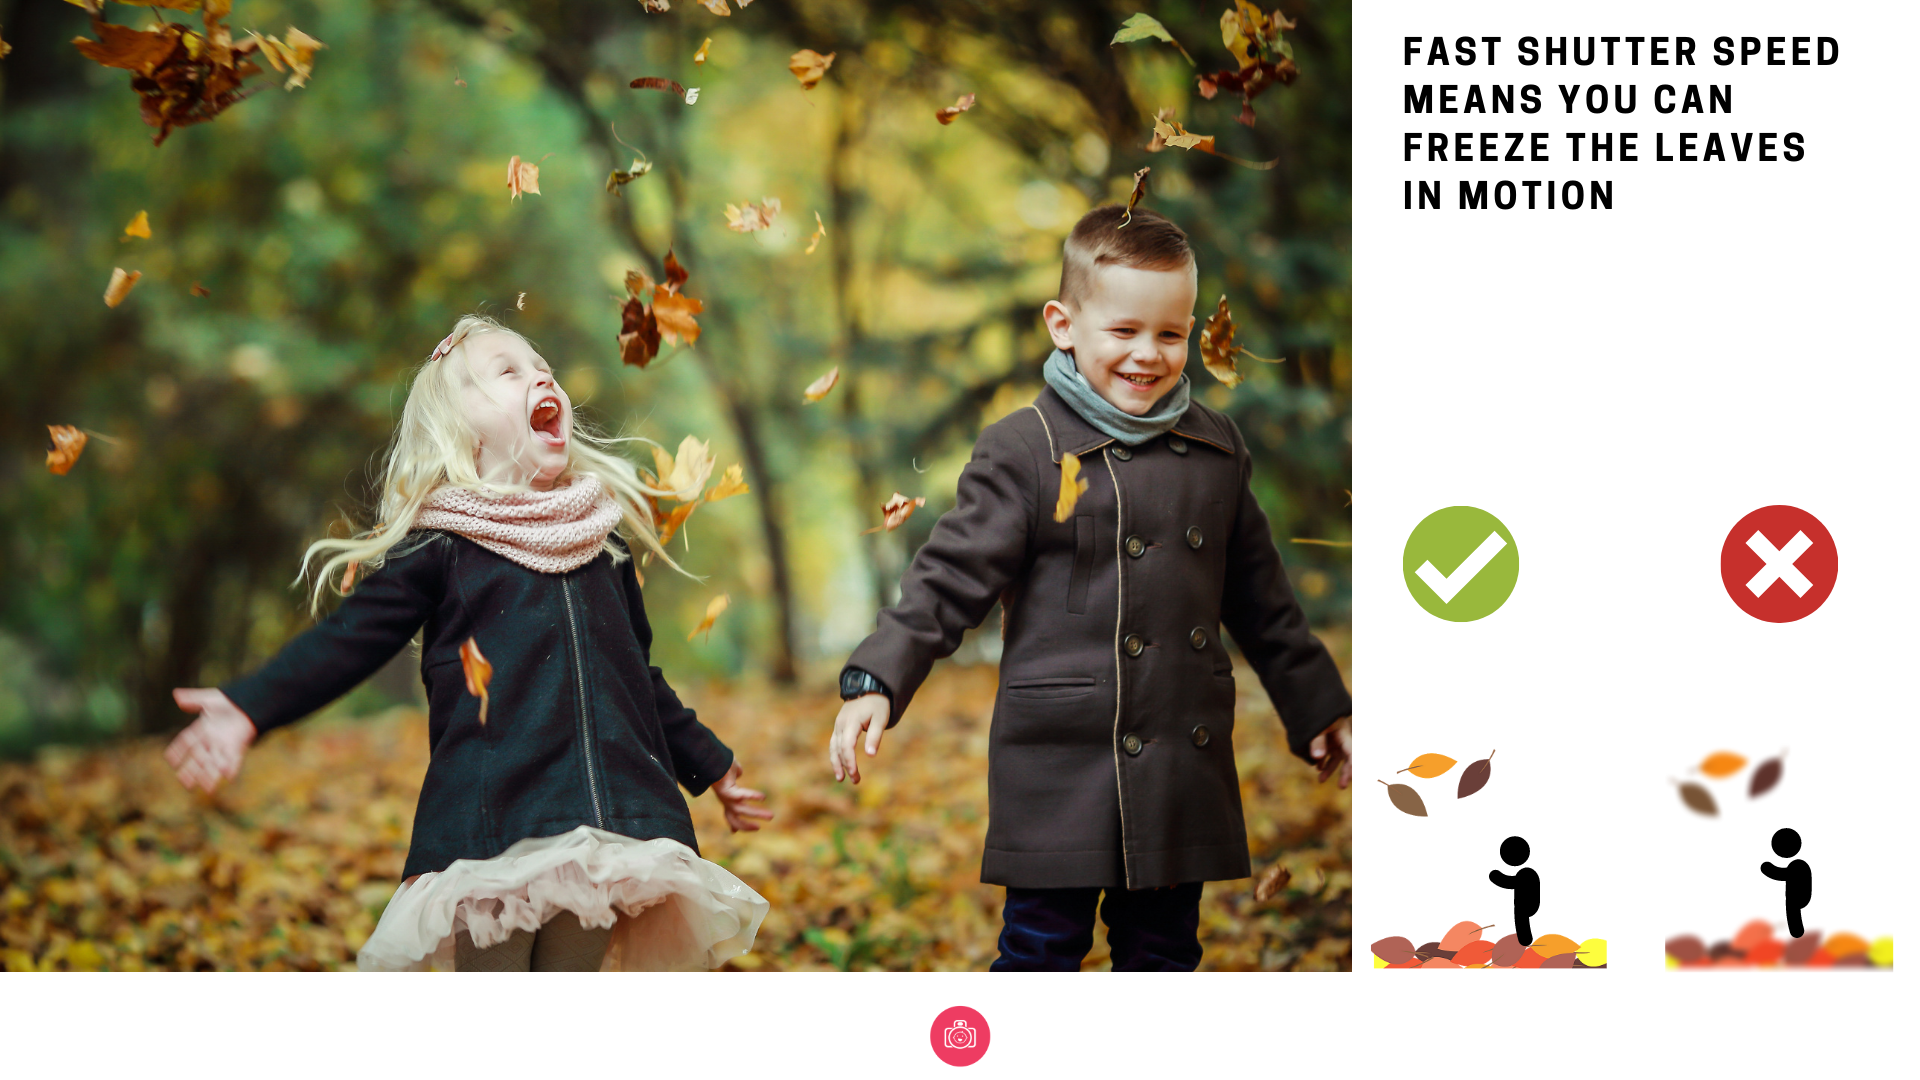
This is the only bit here that we need to get a little bit technical. If you want your child and your flying leaves to be nice and sharp, you need to make sure your camera is fast enough to capture them sharp. If your camera is slower, you will see a little motion blur on your leaves and possibly your child ( they will look a little bit on a blurry side).
The setting which determines how fast your camera is is called shutter speed but think of it more as 'exposure time' = time for your camera to start and complete the photo. The shorter that exposure time is - the less change you have oa a photo with motion blur.
If you are shooting in manual or priority modes ( like shutter priority) - make sure that your shutter speed is at least 1/250s or faster to get all those things sharp. It will help if you are somewhere with plenty of light. Things will be harder if you're in the woods for instance.
If you are shooting on auto, or on the phone, you have less control over these things as the camera will be in charge of your settings. On a phone, try to just make sure you're attempting the photos somewhere with plenty of light - plenty of light equals faster photos - always and for all cameras so you give yourself a better chance. If you are shooting on a camera-camera - try switching to a Sports or equivalent setting instead as those are designed to prioritise speed over other things.
Step 4 : Direction of movement
You will need to decide whether you want to capture those flying leaves as they fly towards you ( harder though possibly more dynamic) or observe it from the side ( which may be easier to clearly capture the leaves up and not lose focus on your child. Here is why this choice matters: if your child is doing the kicking, throwing leaves towards you, they are creating a an element between them and the camera which can make it harder for the camera to know what it needs to focus on. So you might end up with focus on the leaves when you wanted it on your child's face or the orther way round. Secondly, as they move to kick/throw the leaves, they are changing their distance between you and the camera and that can be hard for your camera to maintain focus. Whereas if you are shooting from the side, you may be able to focus on your subject more easily - no distractions and if your subject is moving, they are more likely to move across your field of view rather than towards / away from you.
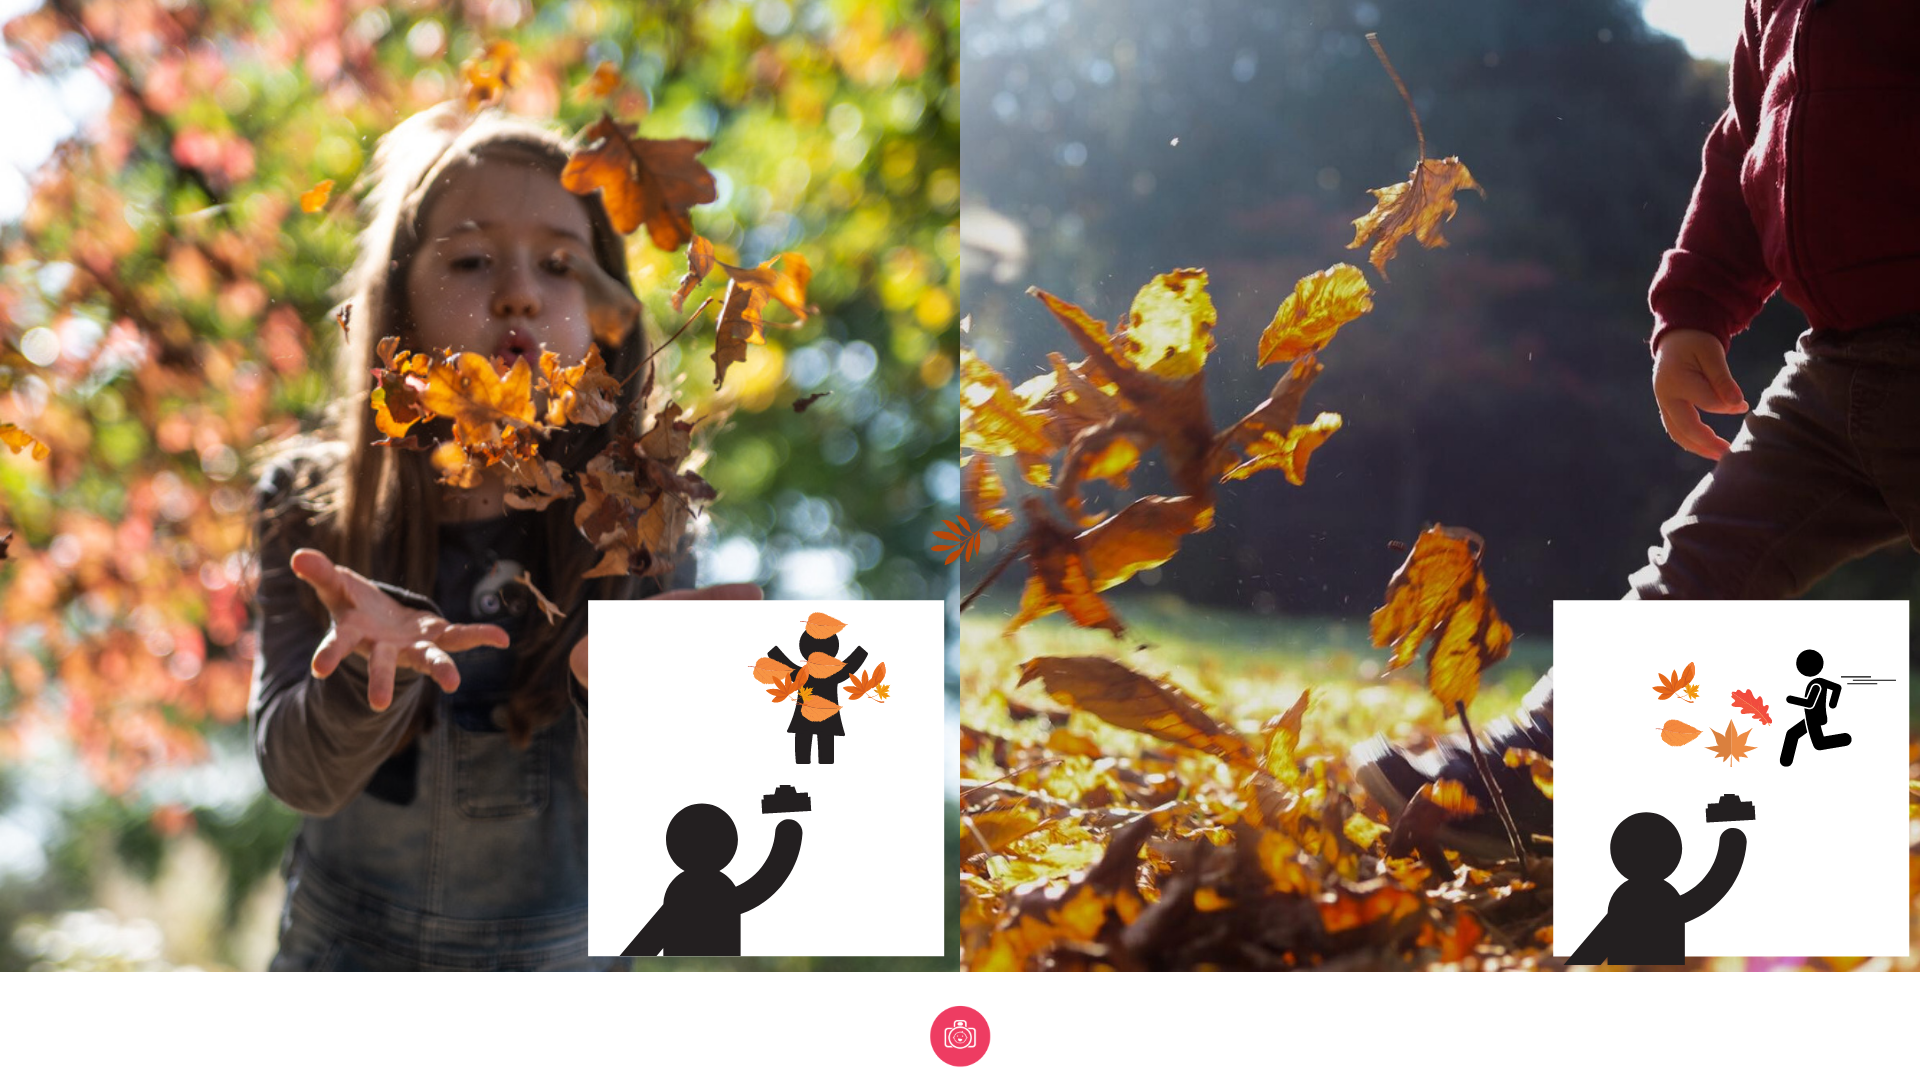
2. Use the leaves as a colourful backdrop
This is a good option for both when your child is too young to be on the move yet ( babies etc) but also with older kids for a bit of variety. You have two ways you can work with it here:
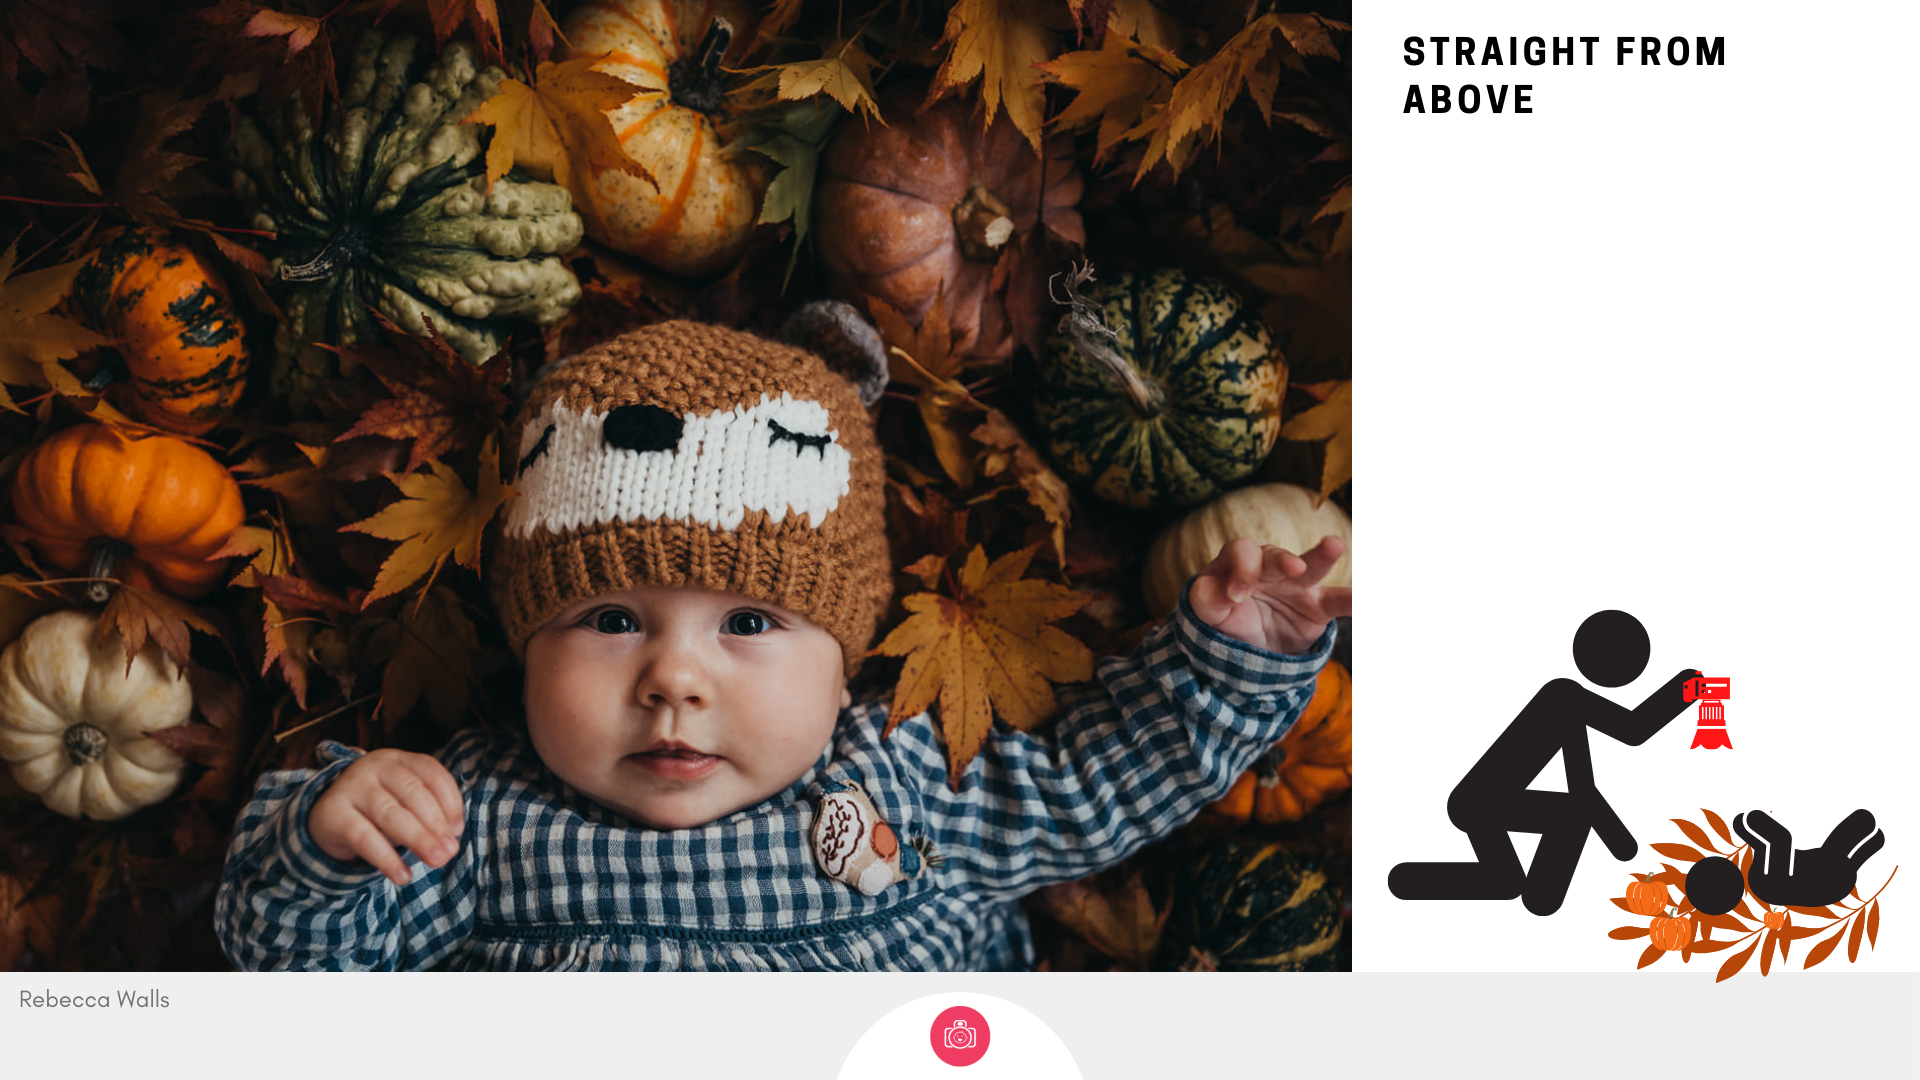
1. shoot directly from above - use the leaves as a colourful carpet against which your children can stand out
This one is pretty straightforward. A couple of pointers - make sure that when you shoot above, you shoot straight down ( 90 degrees angle) and pay attention to the shadows. If you find you are casting a shadow on your subject , change position and move to the opposite side of them. If the light is bright, your kids are likely to squint as well, or refuse to look up altogether - consider moving into an open shade then to make things easier on their eyes. If your kids are still still struggling to keep their eyes open, play a game with them where you ask them to keep their eyes shut until you tell them. You could either make it on 1,2,3 or go for some bonus giggles and insert a silly word when you’re meant to say three.
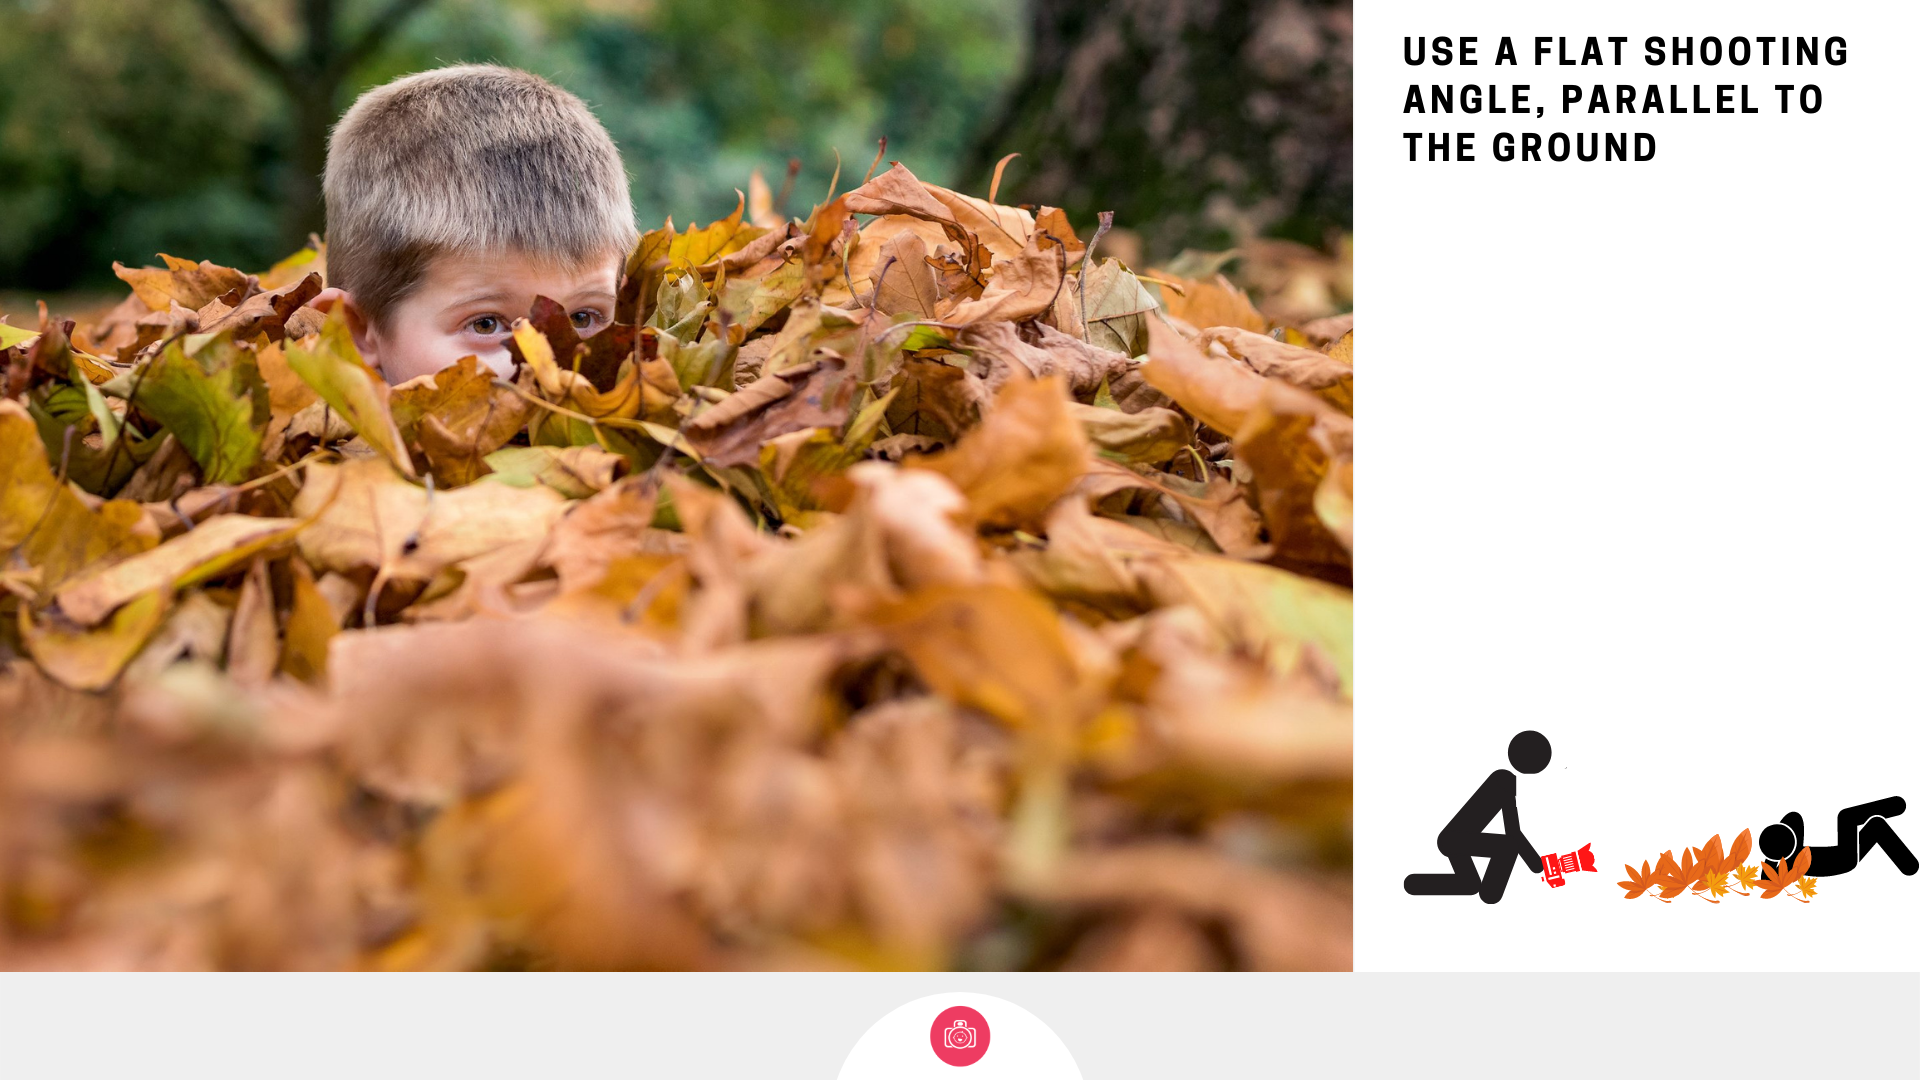
2. shoot from the ground, next to your kids - use the leaves and grass to create a little texture and depth in your images.
This is another good option that still allows you to explore the leaves and your child in them, but the angle changes the way it looks. I really like it because it helps create textureal variations and by using this flat shooting angle, you can create more depth in your image. One thing though - when I say shoot low from the ground, I mean really low. Your camera needs to be roughly at the same level as your child's head, and shooting parallel to the ground. Again, pay attention to where the light is coming from and have them face towards and not away from the light.
4. Get the kids to hide behind them ( or accessorise with)
A little interaction with any prop out there, goes a LOOOONG way. Just having your child stand there and hold something is not likely to take you very far. I like to encourage my kids to use the leaves as props - hide behind or under them, pretend they are feathers that will make them fly, Fashion them into pretend head dresses, camouflage, moustaches etc, challenge them to find a leaf as large as they can to hide begind or the smallest, perfectly formed and coloured leaf.
Things to think about:
- what light will work best? Direct or soft? Light from the front, or behind
- should you have them keep the leaf close to their face or further away in front of them for a more varied depth of field effect - with the props close to their faces, they are more likely to be in focus as well as the leaf. WIth the props being held a bit further away, you may find that you will need to choose whether to focus on your child or the leaf/prop. Both could work, just a matter of preference.
- Colours? Ones that will complement or contrast with what they’re wearing?

4. Kids not willing to play ball? Single out a beautiful leaf and photograph it from different angles and against different backgrounds.
Light will have a huge impact on the way the leaf will look depending on the kind of light you have ( direct and intense or soft and diffuse) but also where it’s coming from – front, side or back light?
You have a lot of options when it comes to backgrounds – place it against a similar colour background or go for contrast – both colour and textural, keep it ‘in nature’ or take it home with you
Play with camera angles – it doesn’t have to be just ‘from above’ – unless it’s been flattened like a pancake, it should have a little curl to it which could help you show off its texture.
Experiment with different placements within the frame, go for both vertical and horizontal, crop in to it or leave a generous amount of negative space
For some extra challenge, have someone drop it from a height and try to capture it mid flight

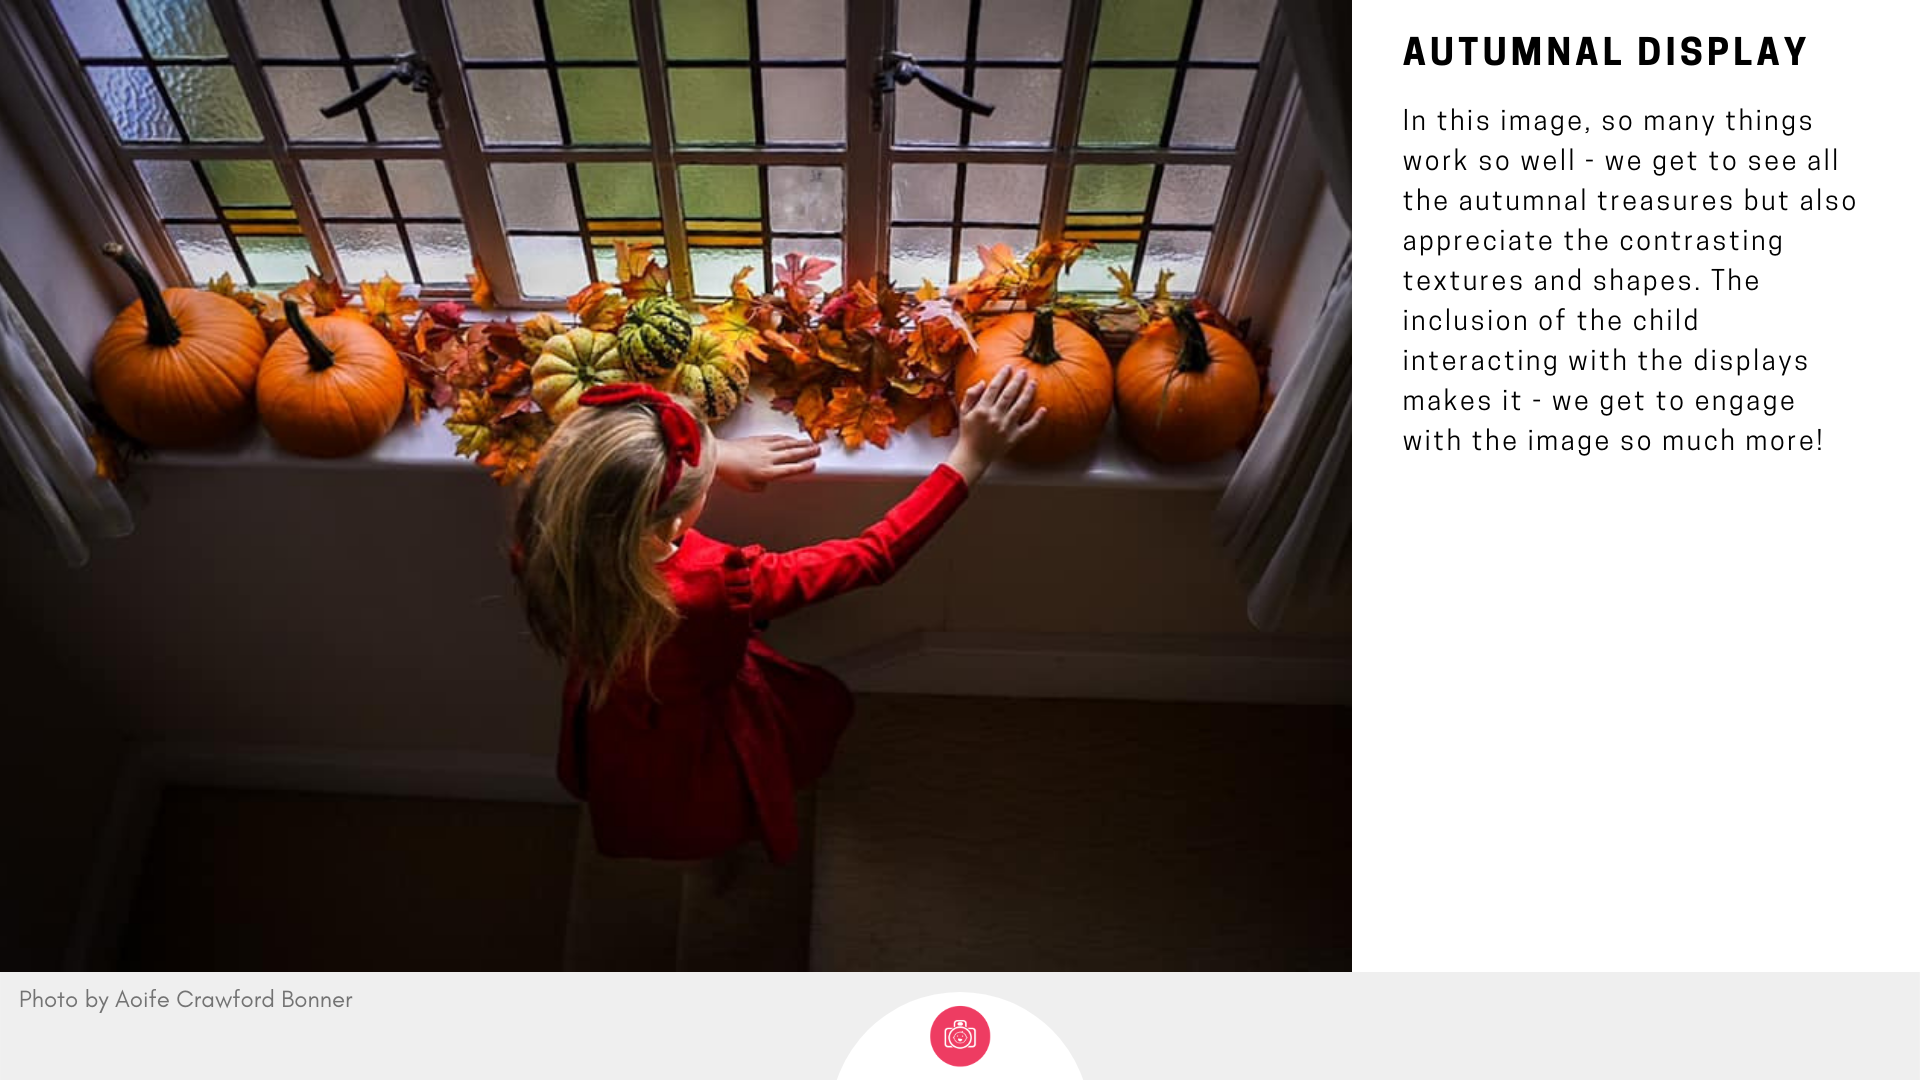
5. Using your autumnal treasures as props or self-standing autumnal display
All that glorious autumnal bounty should just be left outside ( I'm sure your kids wouldn't let you anyway!) Use them to either create a way to display and capture the items themselves ( making them the hero of the story) or as secondary player, designed to accessorise what you're doing.
This is where you can choose to either focus on your bounty itself, or use it to provide context for other activities ( painting, baking etc). Remember how we were talking about context clues in our last storytelling lesson - including some autumnal elements in your background or having your kids interact with them, will firmly place your image in time and will help them pass the 'Nan test'
This may be a rainy day project or simply a fun indoor project - use the leaves or other autumnal treasures you collected with your kids to create a bit of art and capture it.
Ask yourself whether you are going to include anyone into your composition. A simple thing like including a child's hands into the composition can make a big difference to how it's perceived and take your image from 'that's nice' to 'that's interesting'. Our brains often look for that 'human connection' so bringing a hint of it here can really help.
A few things to consider:
- Think of a theme or concept for your display – perhaps the same leaf type with different colours, or same colour, different shapes?
- Decide if you are going to 'hero' a single item and focus your creative attention on it, or whether you go for the cornucopia option and cram lots of items with multiple textures, colours etc into one space to create a sense of 'plenty'
- Think about how you will use the space – will you fill the frame or leave a good amount of space?
Lesson 3 Challenge
Today I want you to capture some images ( and post at least 1 to our Facebook group) where your child interacts with the autumnal treasures ( leaves, pumpkins, conkers etc) or where those treasures feature as the main 'hero' of the image ( like a single leaf, examined from multiple sides)
G for some action shots if the kids and weather permit, or something more sedate if that's more attainable.
Happy 10th birthday to us!
We recently celebrated our 10th anniversary which was a brilliant occasion to go back to our students and ask them what they thought of us. Our community is so important to us - we are not one of those online courses that sell you on a programme and leave you to your own devices - we support and nurture even beyond the courses are fully over through our alumni photo groups,local meetups and more!
Check out what our students had to say about us! ( full feature with oh so many more photos here)


