1. Overcast light
Let's start easy! ( and let's face it - realistic for Britain).

Pros of Overcast light
Soft looking light, gentle shadows, no dramatic differences to how the whole of your environment and your subject is lit. Less likely to make your camera confused. Less likely to end up being under or over exposed.
Cons of overcast light
For all it's gentleness, it can look a bit flat.
How to work with it?
The great thing about overcast light is that it's really really easy to work with because the light remains more or less constant throughout. I would still keep an eye out for where the light is coming from ( even with overcast skies, there is always a part that's brighter than the rest) and if you're taking portraits, I would make sure my subject is facing that way, but otherwise you can just go ahead and concentrate on the shooting, because the light is less likely to make a difference.
If you find that the images are looking a little flat, look for contrast elsewhere - you will need to rely on other factors to bring some contrast to the images - such as placing a brighter subject against a darker background or using colours and textures to make the subject pop.
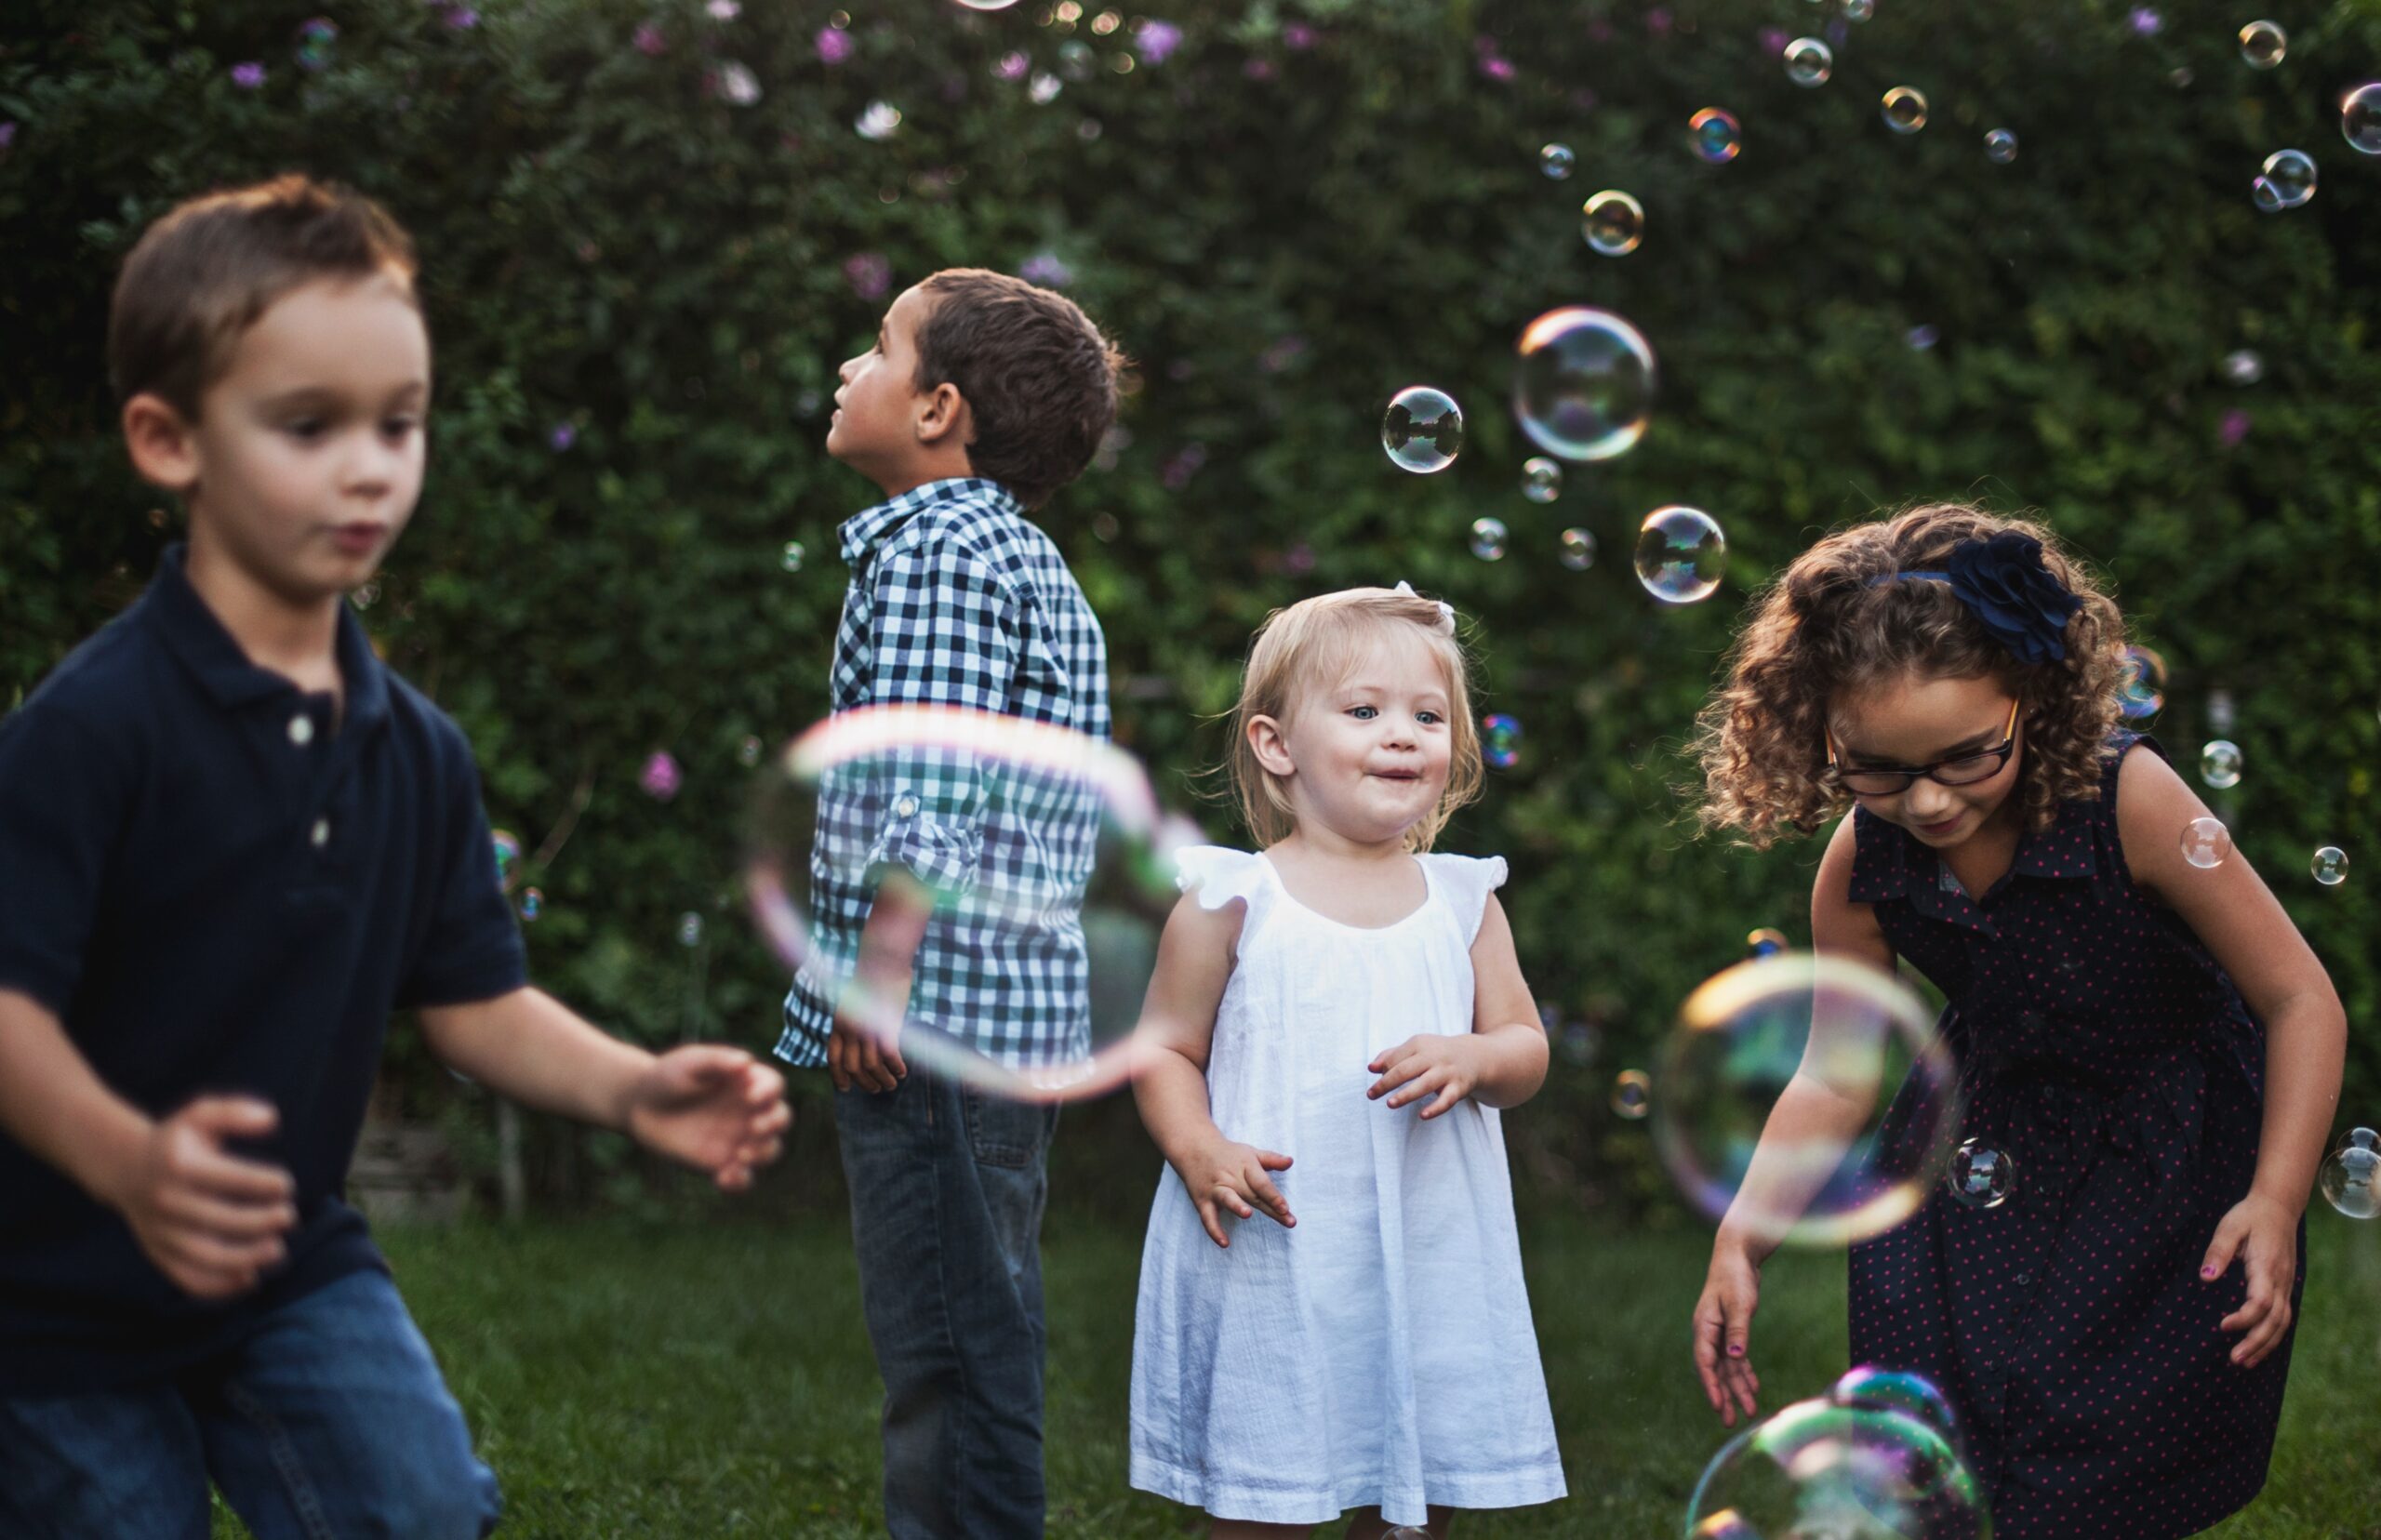
Photo by Katherine Hanlon
What is it good for? - portraits, storytelling, making colours look more rich, images that inspire calm in general.
Not so good for: dramatic images where light features as a composition element rather than something that brightens up the scene.
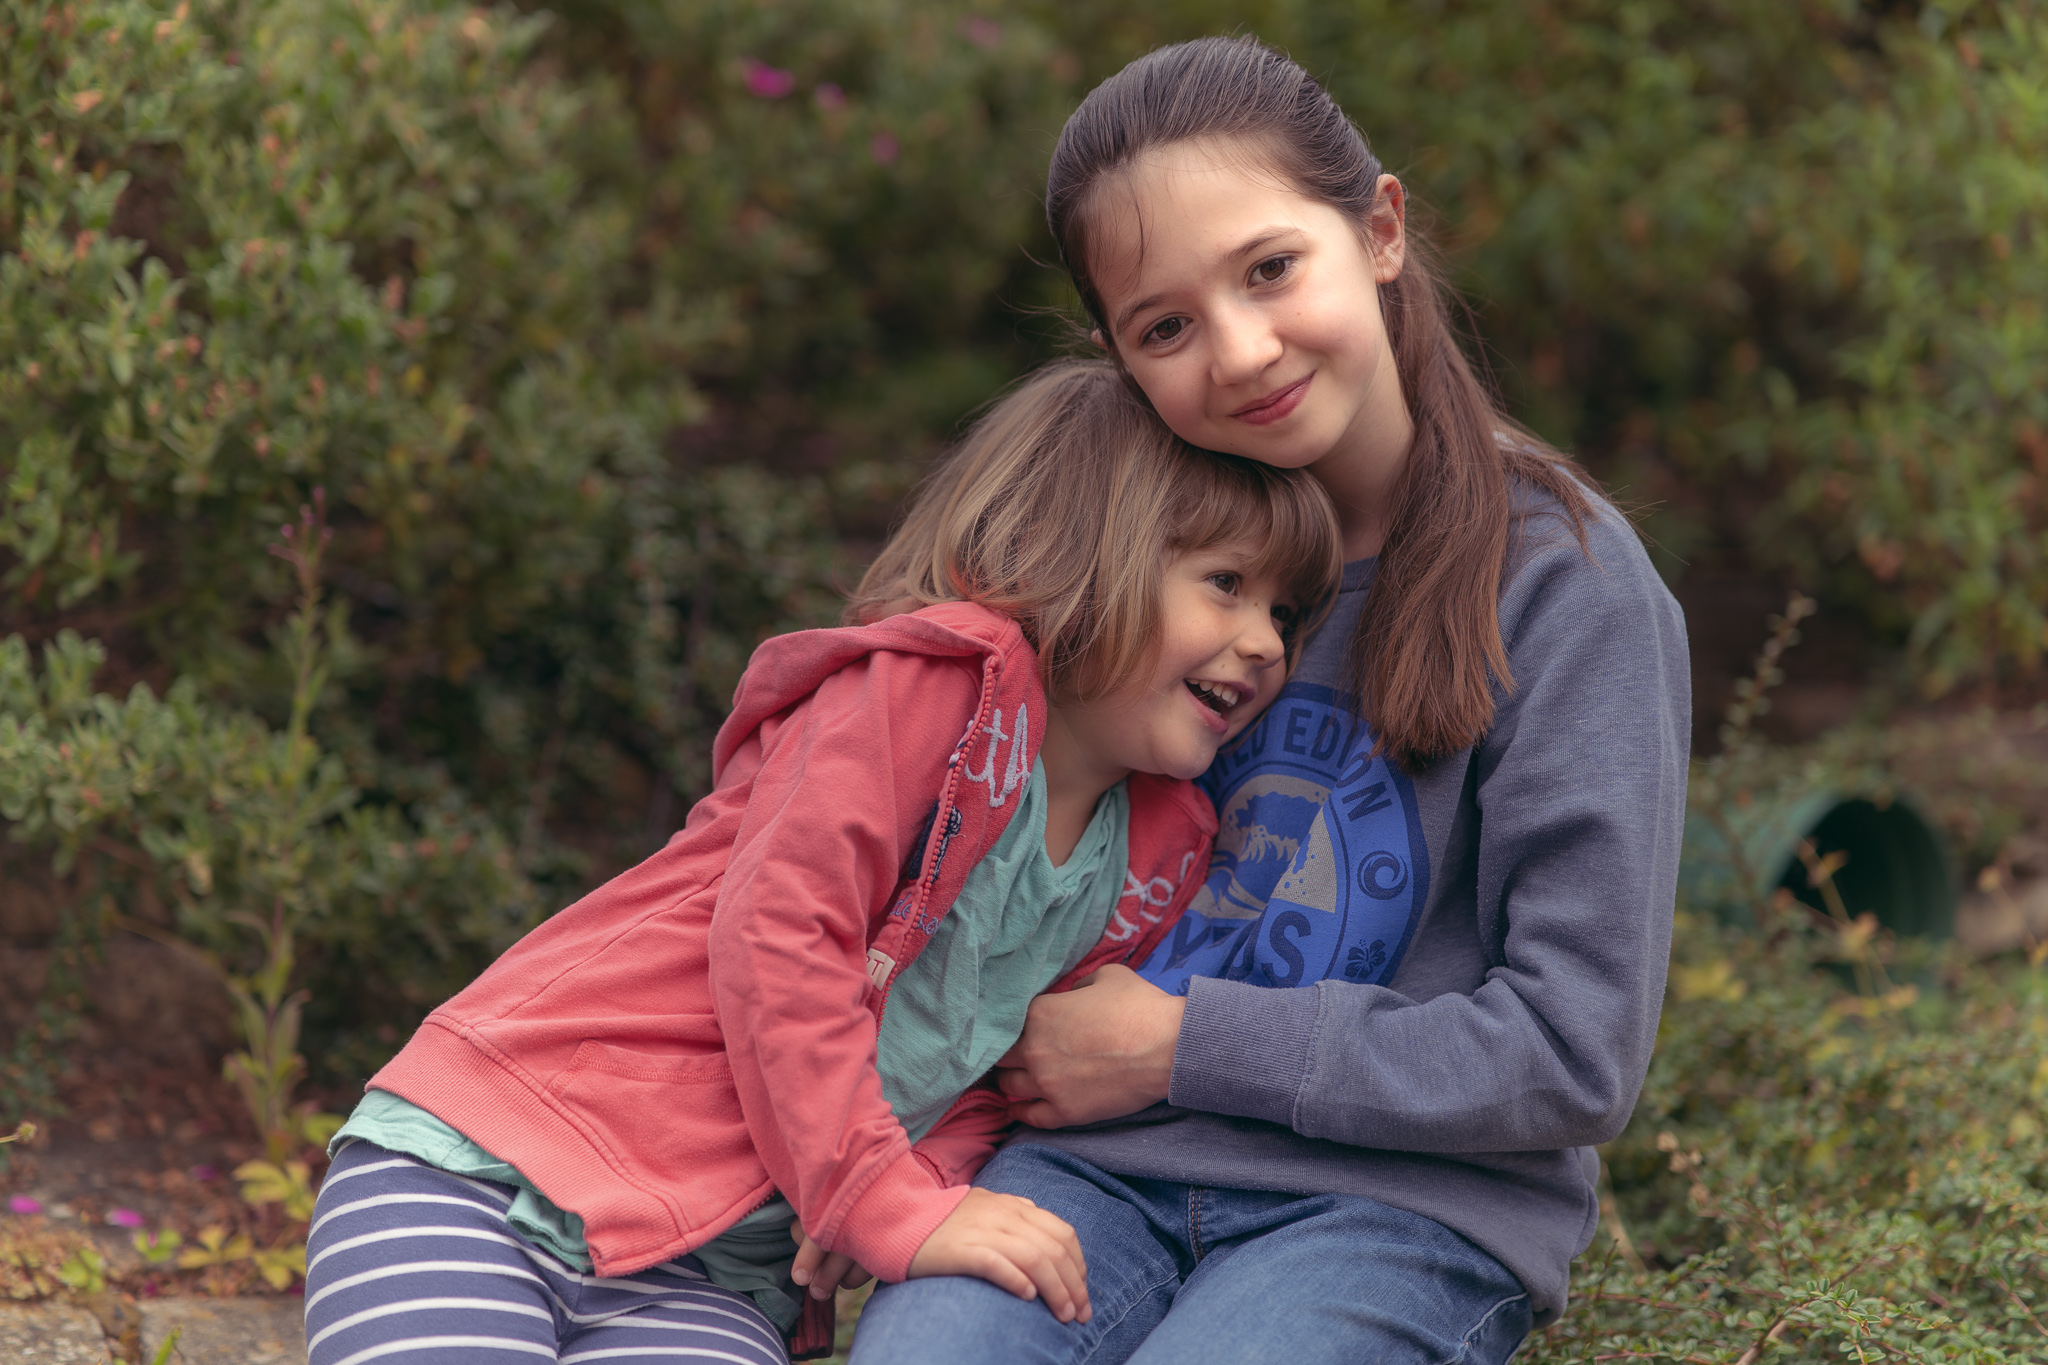
Strong Sunshine
First of all, everybody keeps your fingers crossed we actually get any sunshine this summer!
Secondly, can we please give up on the idea that all strong light is bad and that you should avoid it at all cost! It's challenging - yes. But it can produce stunning images where the light shimmers and sizzles and really makes the image. So let's consider how best can we work with it.
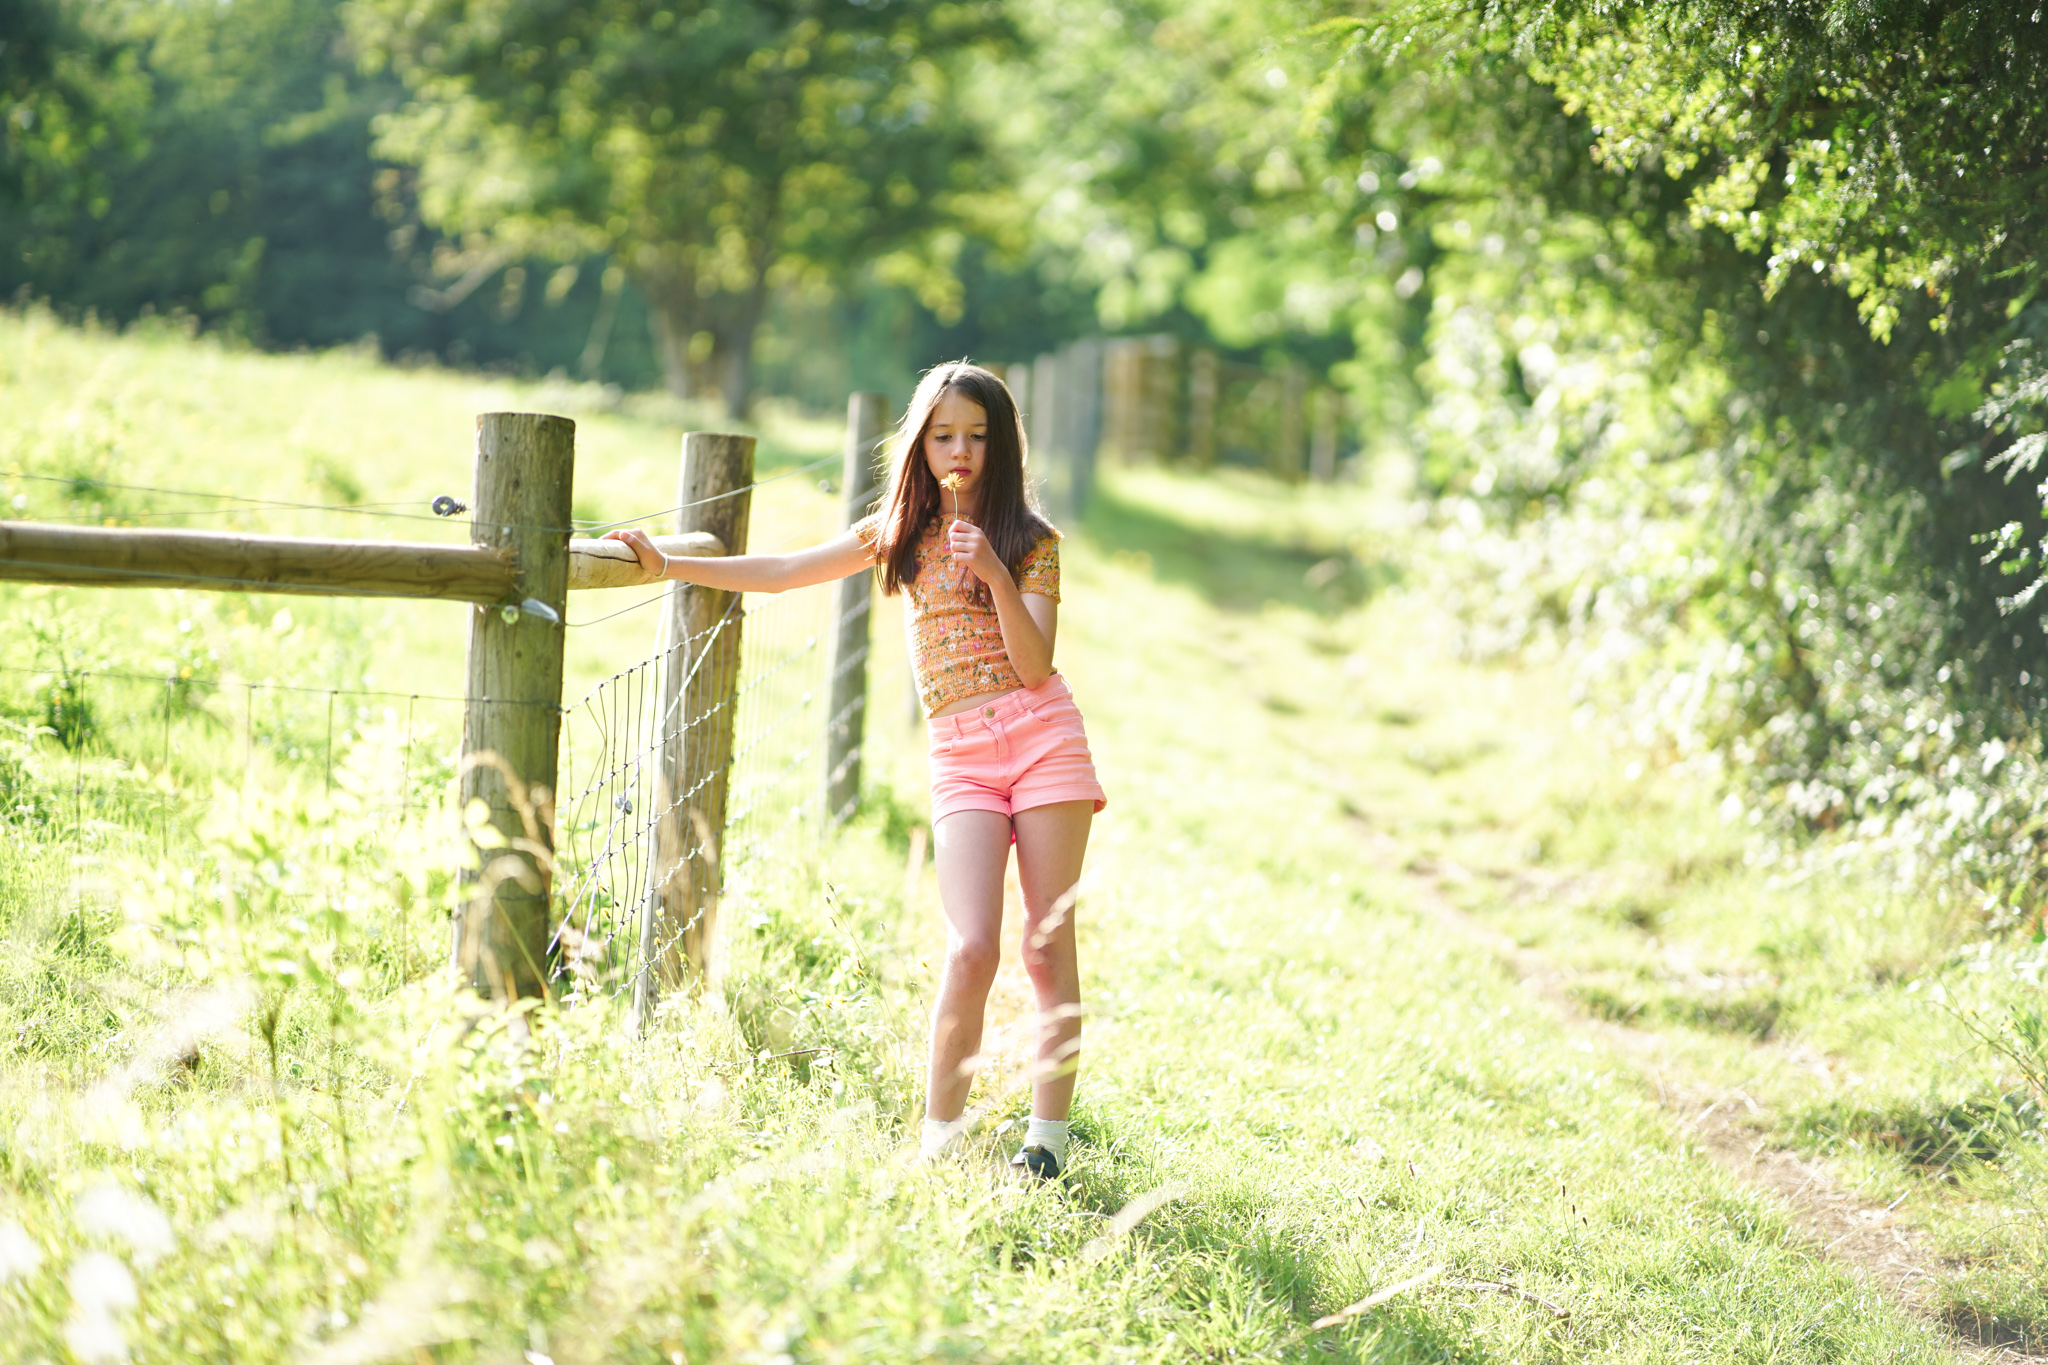
Pros of strong, unfiltered light
LOTS of light( as in quantity) - which means that you will not be struggling with capturing movement ( which likes to have plenty of light), ability to use the contrast between light and shadows to hide things in the shadows. Can be featured in images to make them visually stronger.
Cons of strong unfiltered light
It's easier to under- or overexpose things, there is always a risk of deep shadows (remember: bright light = dark shadows!) that can fall in the wrong places or be distracting and are harder to manage with kids on the move, it lacks the subtlety of soft filtered light.
How to work with it?
You basically have two lines of approach here:
You either embrace the harsh light with all its pros and cons and use it for images that will make good use of it or at least won't be spoiled by it.
OR
You find ways to mitigate it.
Let's first consider option 1, because sometimes, even with the best intentions we won't be able to do much about the light and change or soften it, and yet you will still want to take photos. So what then?
EMBRACING THE HARSH LIGHT
1. Give up on portraits or close up shots till you are somewhere you can get better light and take wider, more storytelling shots instead
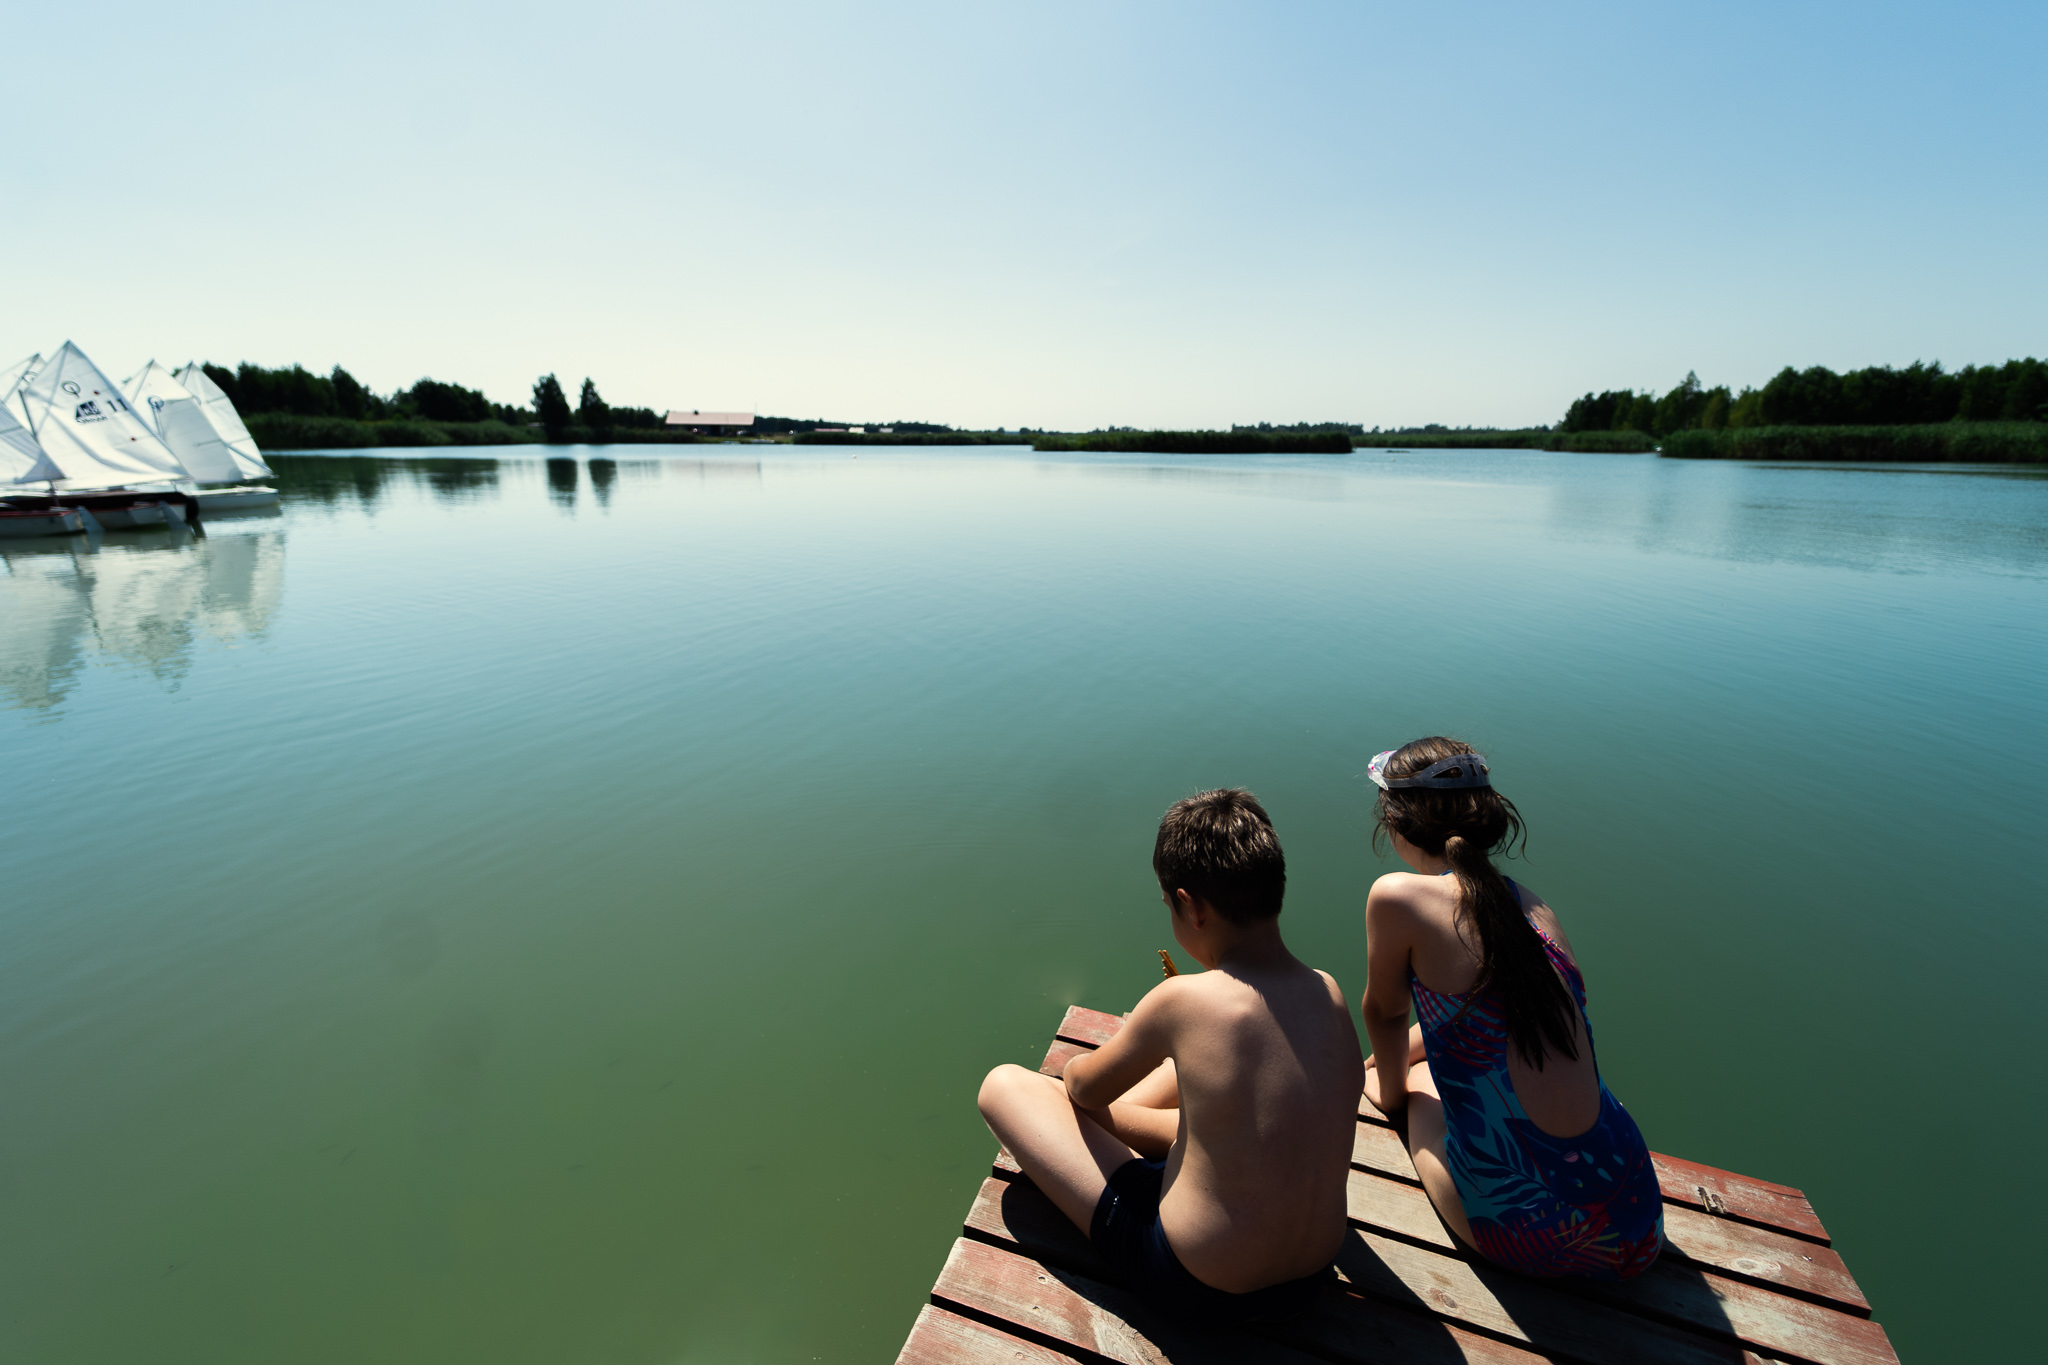
Why? with storytelling shots you tend to give more space in the frame to the environment, and the finer features on a person's face, are either non visible ( because they are more likely to be facing away from you) or are small enough that the shadows and highlights don't tend to make a difference that much. So aim for your subject to take up no more that 1/5th of space in the frame ( or less).
2.Use backlight
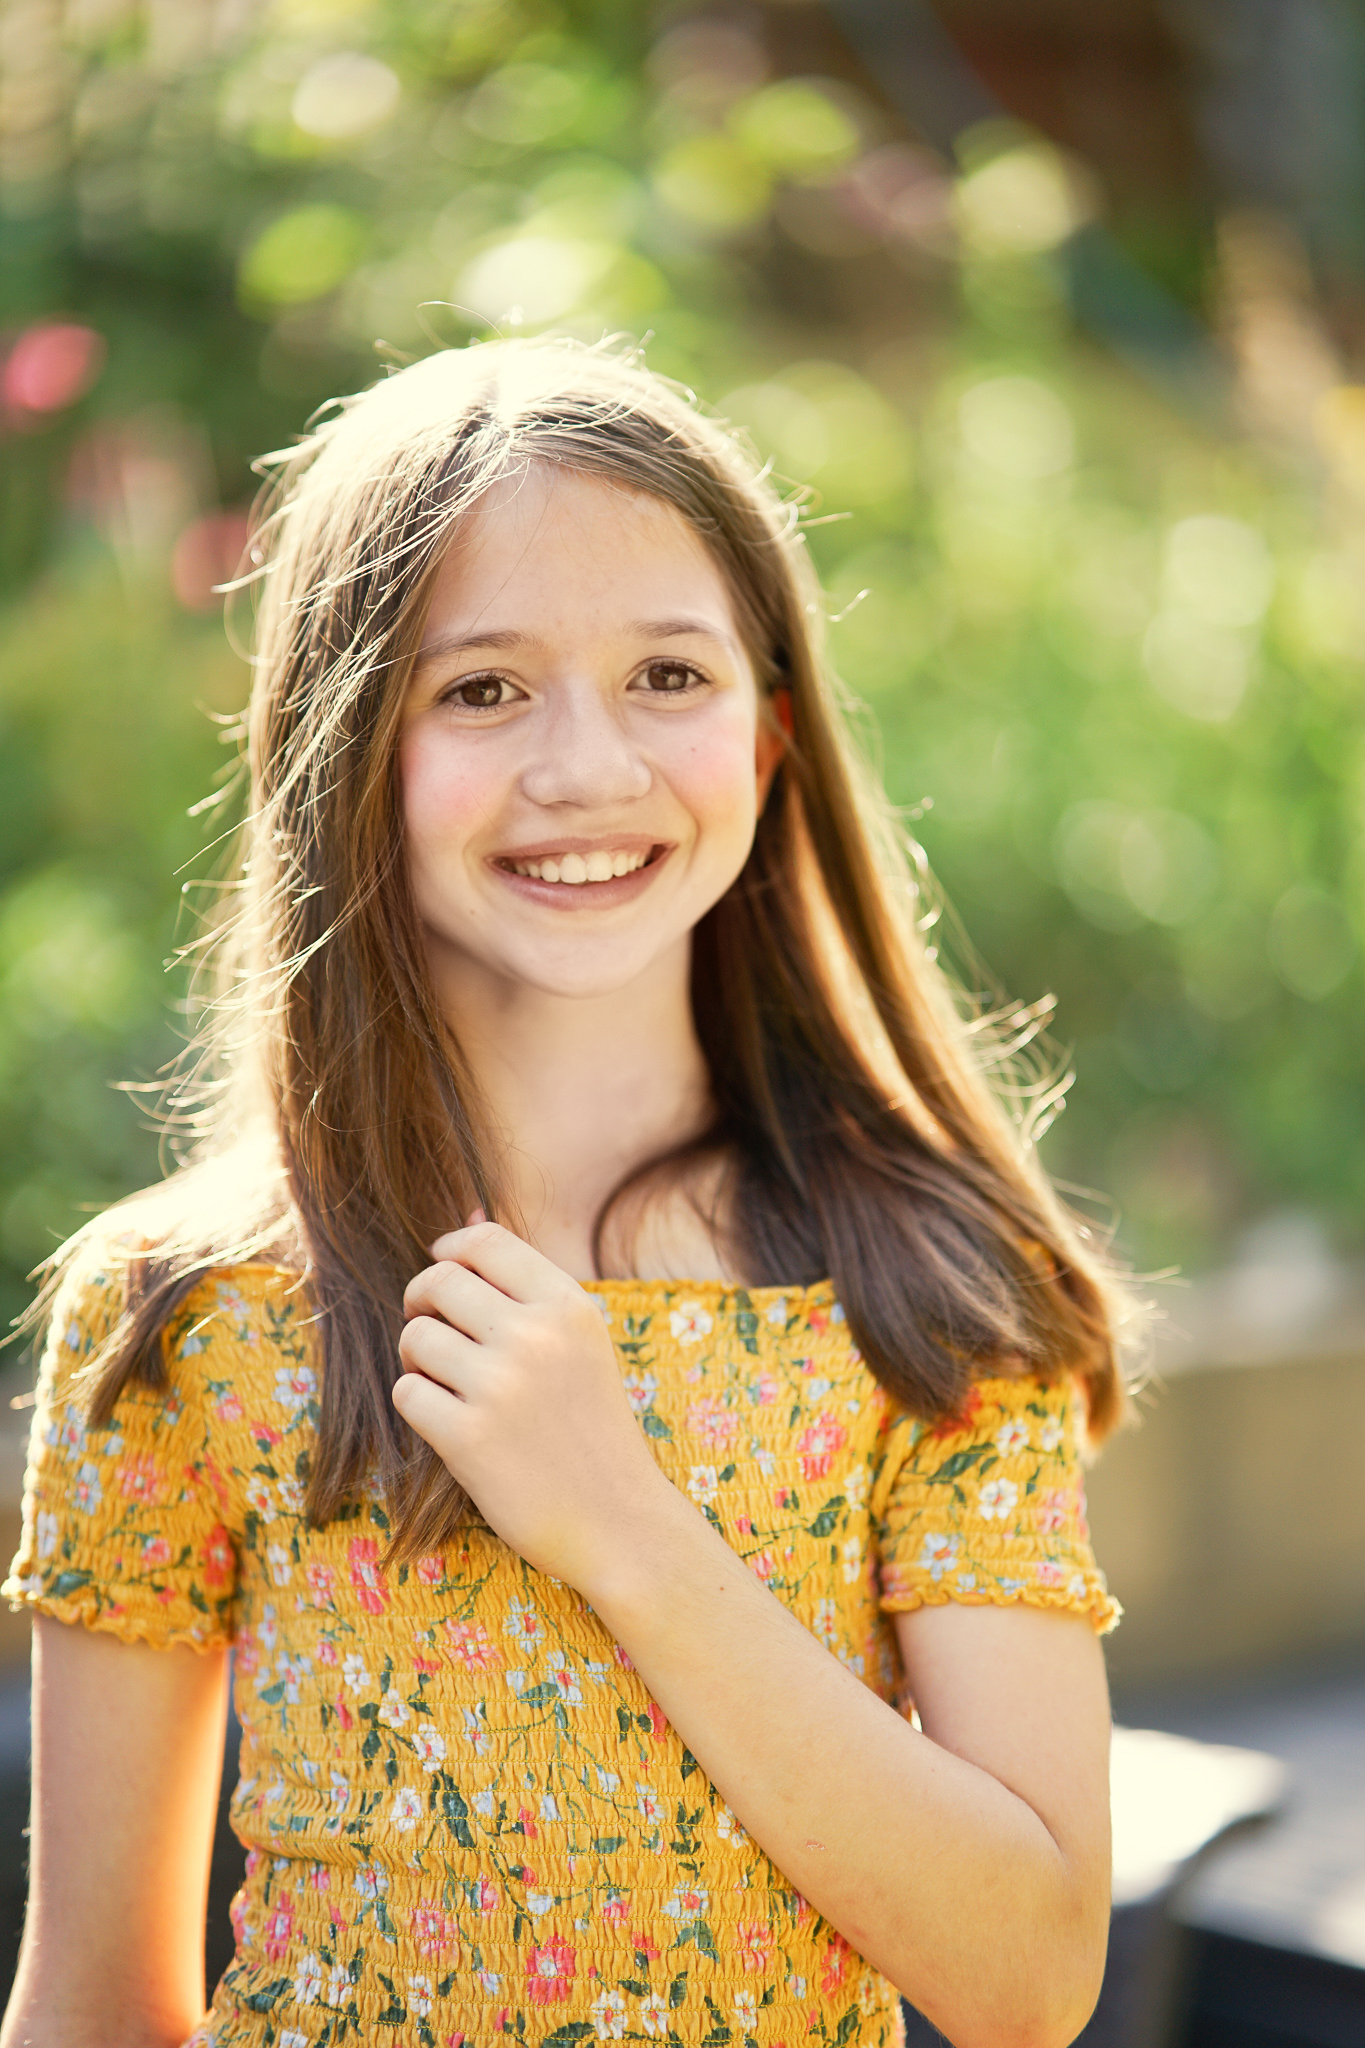
If the strong sunlight is not right above your subject and falls at your subject at an angle, try to position yourself so that the sun is in front of you and behind your subject. When the light falls on them from behind, it creates a shadow over their face - BUT although there is less light there, it will be gentle. To ensure your subject is bright enough you can do a few things, depending on your level of photography knowledge :
- if you're familiar with shooting in manual - spot meter from the face and overexpose a little to compensate for the darker light. I like to warm up my white balance a little too - either in camera or in post-editing.
- if you are shooting in auto or priority modes, you can use your Exposure compensation button and nudge it towards overexposure ( +1, or +2 depending on how strong a light you have). Again, setting your white balance to shade or cloudy will help from the person looking less grey.
- Use your flash ( yes flash - even the pop up variety) - as flash has a shorter reach and adapts its strength depending on how much light there is in front of it, you will get a pulse of light that's gentle enough to just brighten up your subject's face but not strong enough to affect the rest of the scene
3. Use the strong shadows to your advantage!
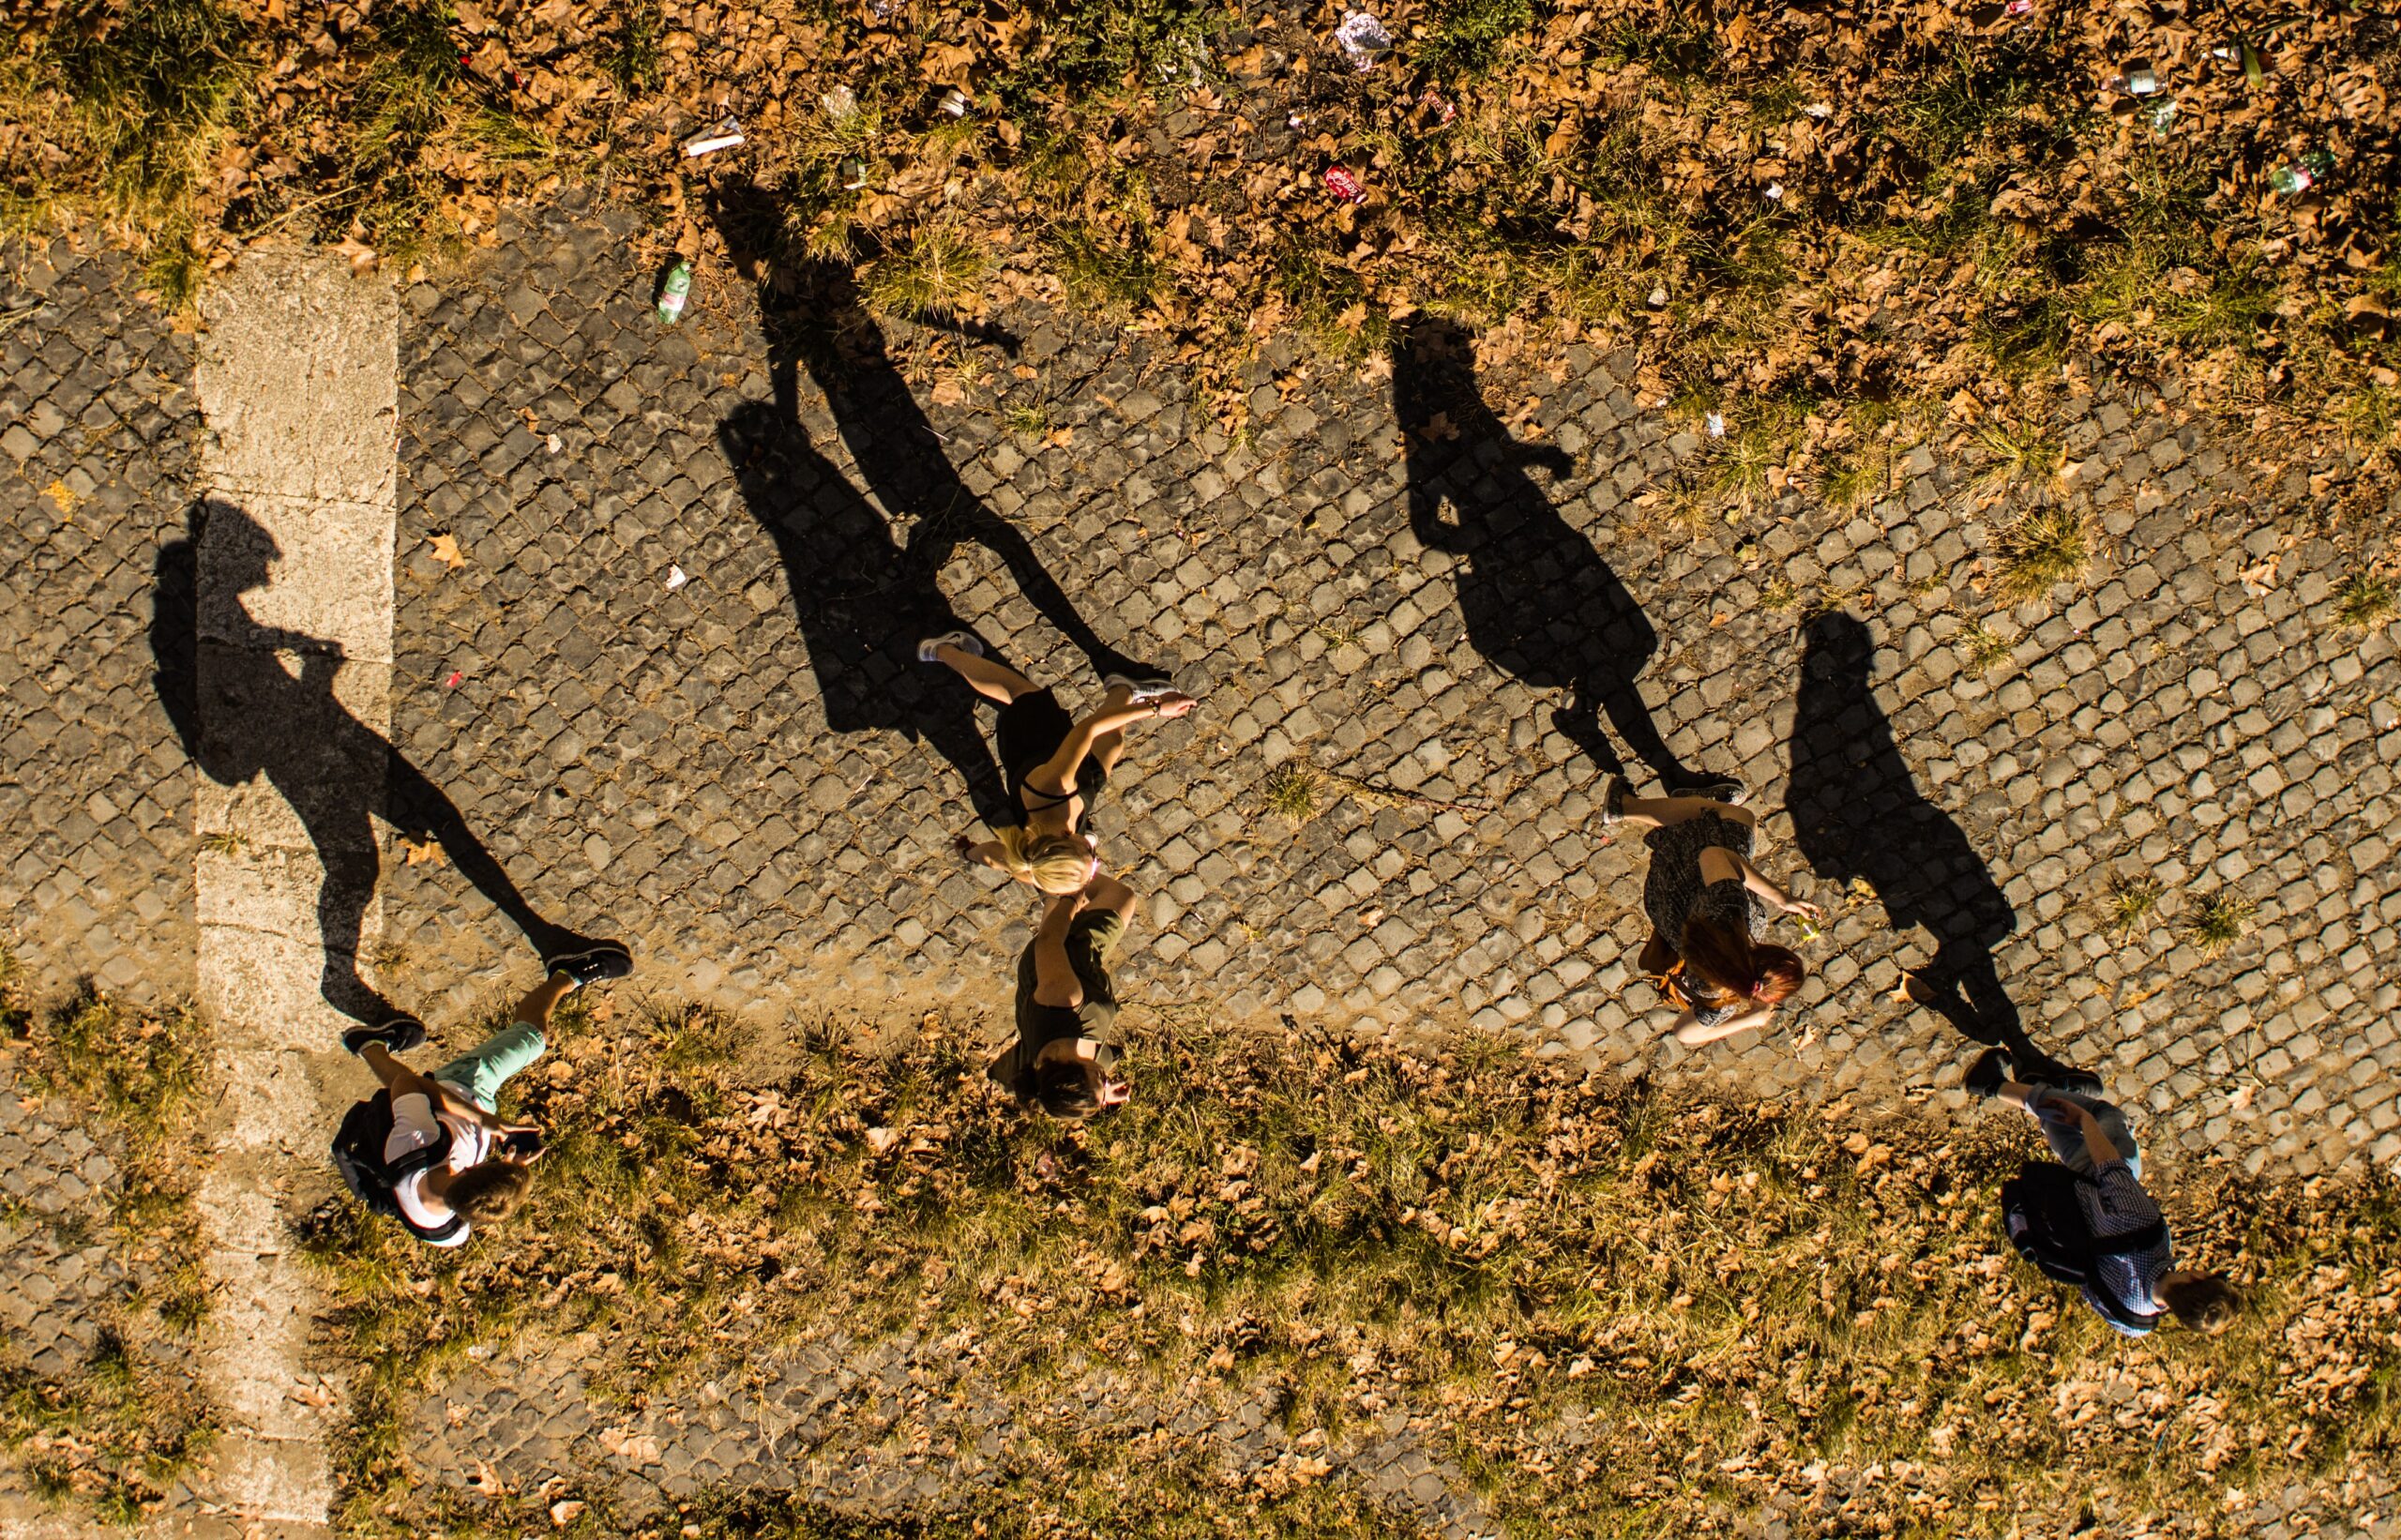
You can get really creative with shadows! Both by focusing on the shadows themselves and capturing those, but also by hiding things in the shadows and using highlights to isolate your subject. I would say that this second option is a bit more of an advanced technique, because metering from highlights and shadows can be tricky if you're not sure what you're doing. We have a week dedicated to it in our Advanced course!
Top tip - if you see your own shadow in the image and you don't want to, change your position so that you face the light and your shadow will end up behind you, safely away from your subject.
4. Feature the light!
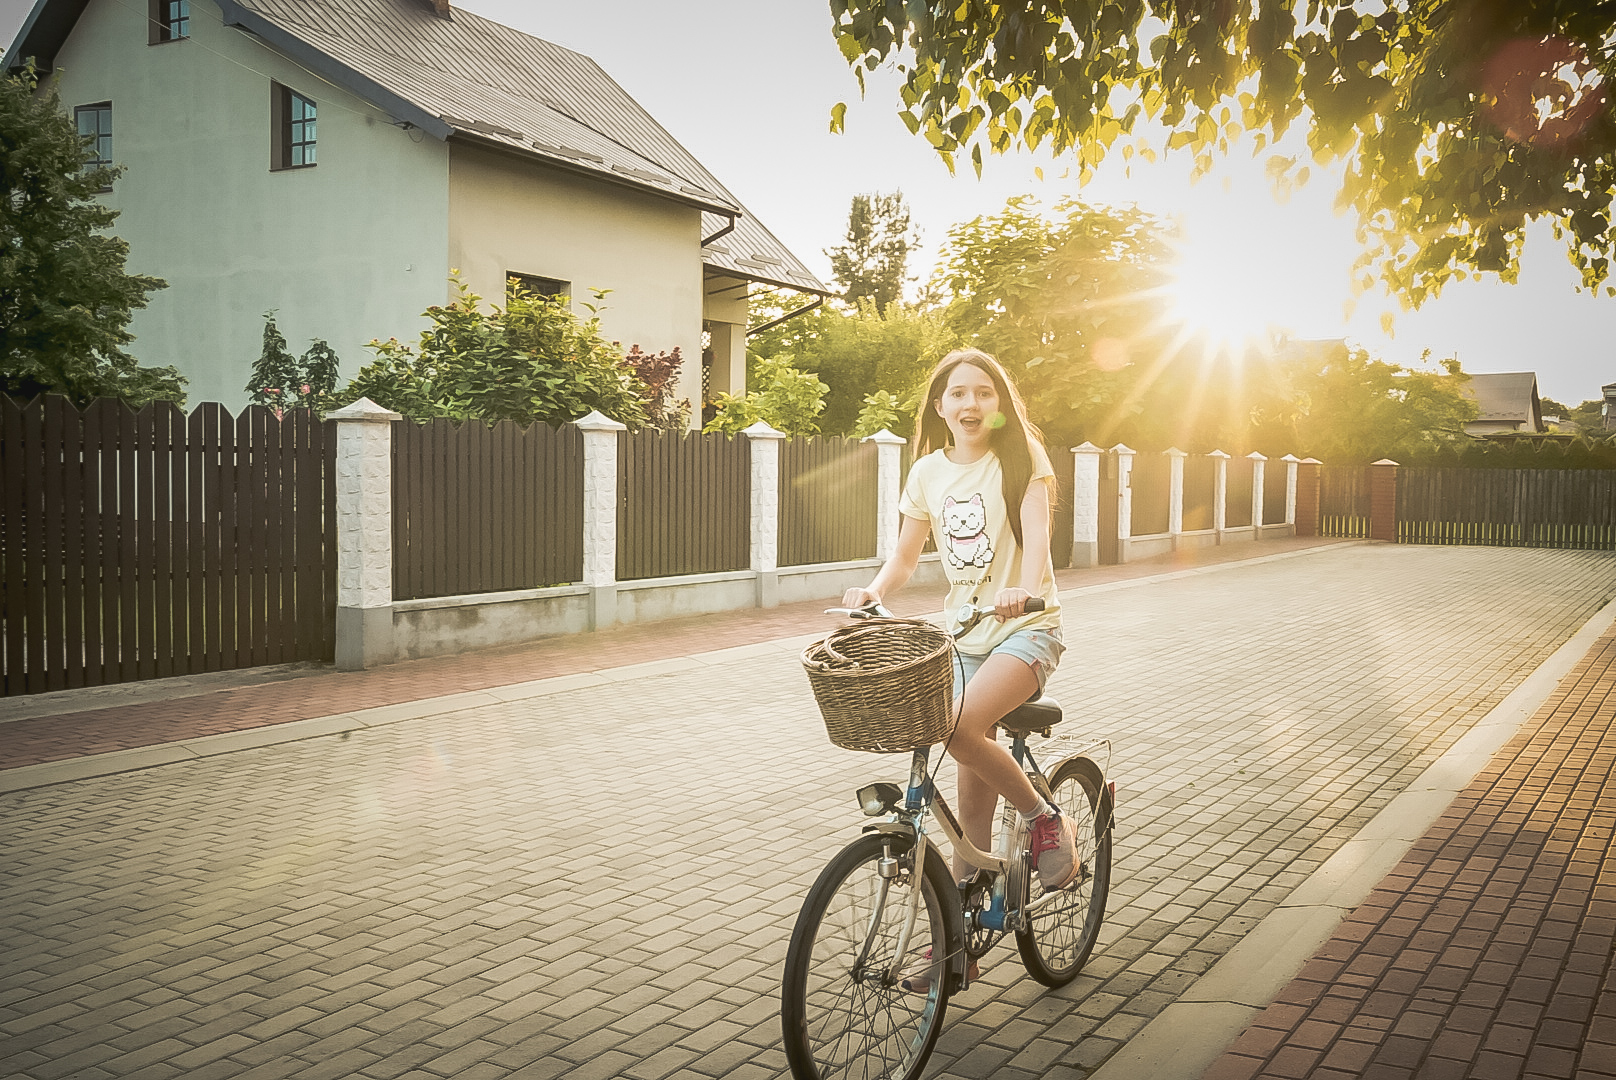
If I have strong light, I get excited because that means I can feature it in a number of ways. I love partly hiding it behind things and creating starbursts or paying attention to how it illuminates and reflects from the various elements in your environment, Top tip - if you're near the water, there will almost ALWAYS be a direction where the reflected light will look like pure silver or gold. Make sure you capture that!
5. Capture silhouettes
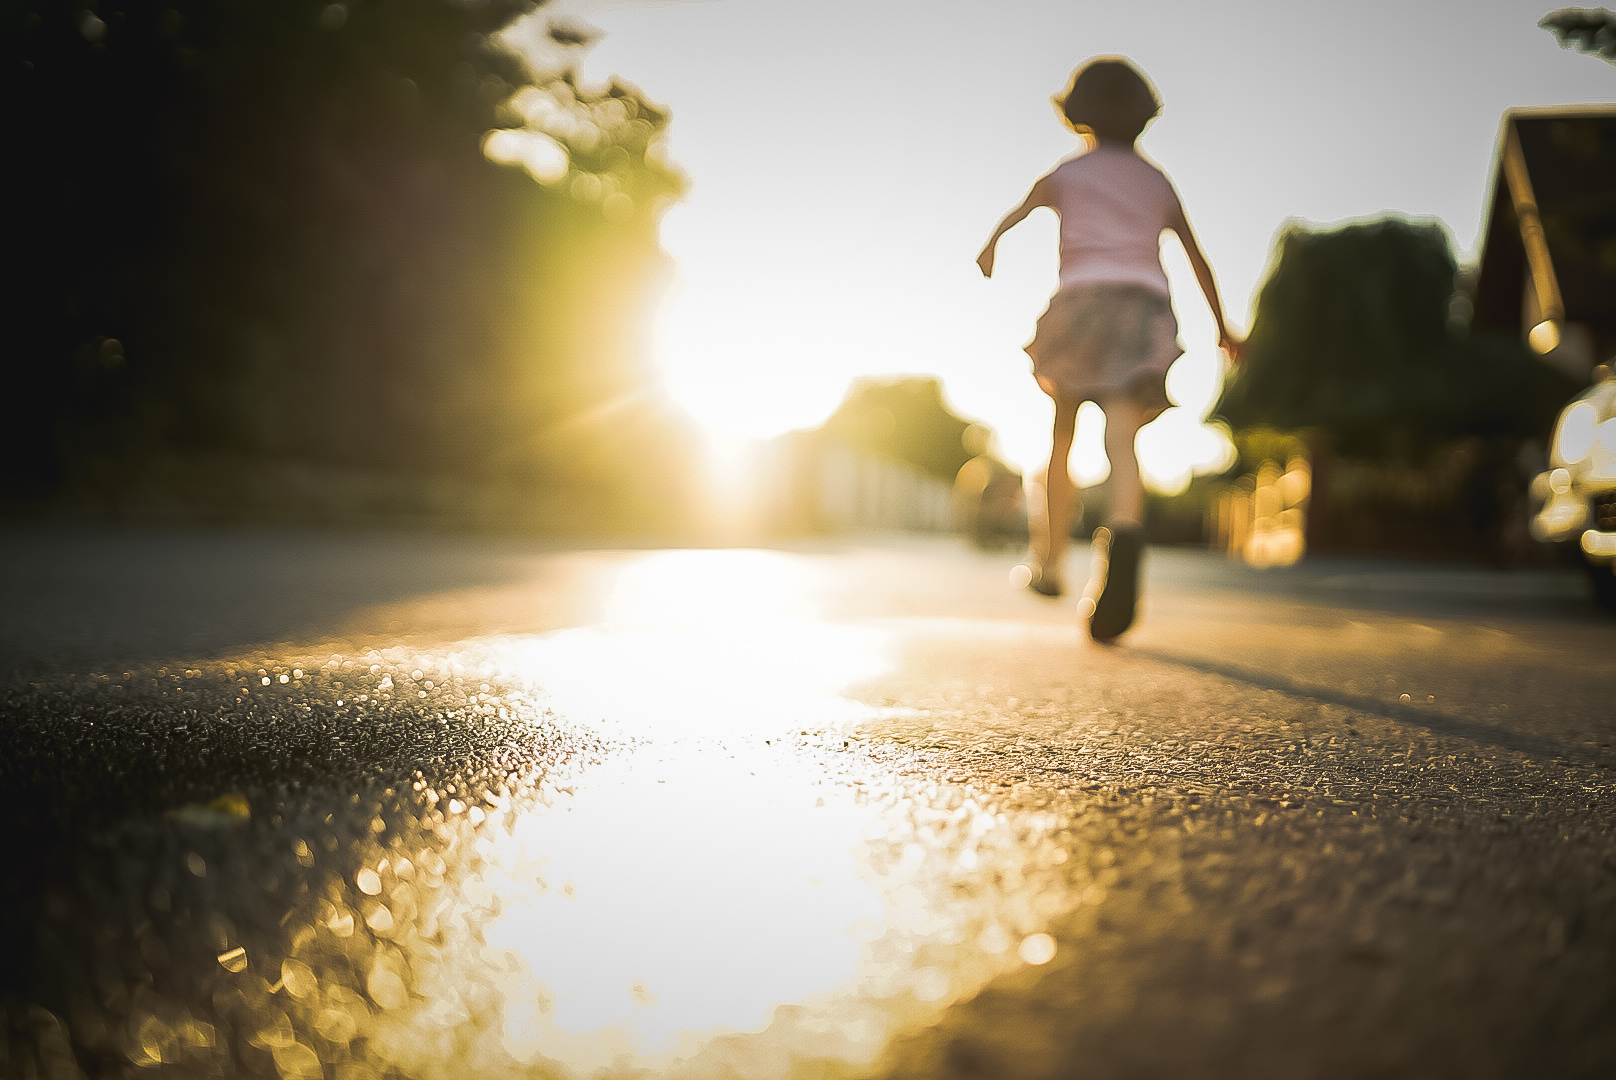
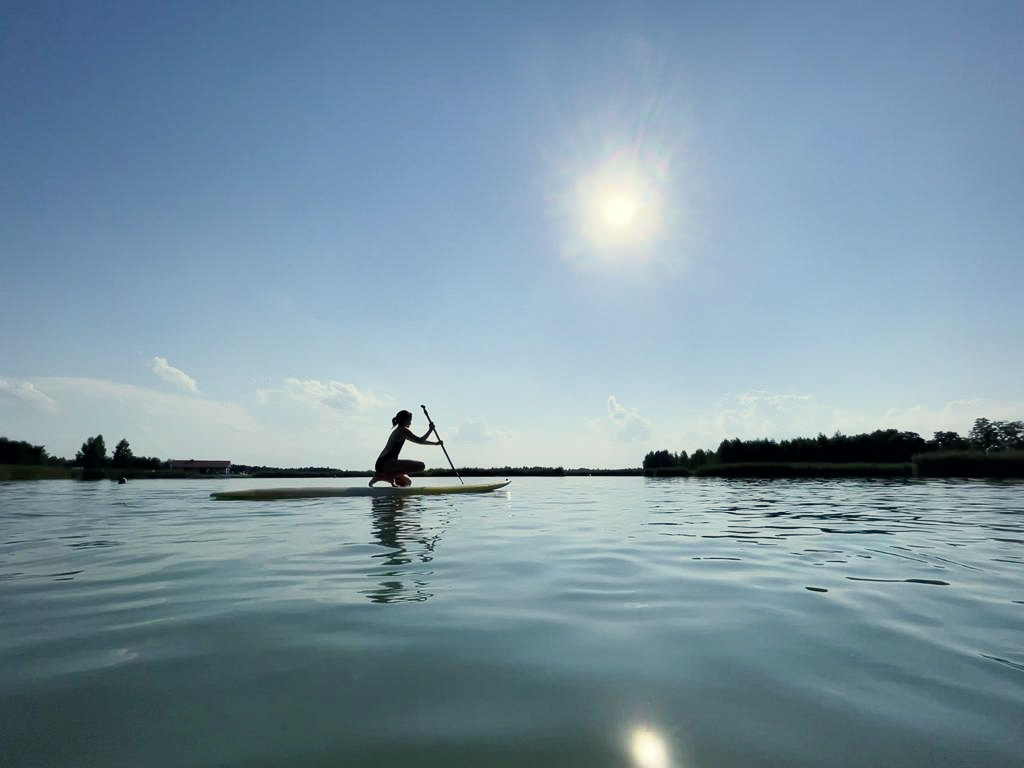
Sometimes the contrast between light and shadow is so strong that you're left with no choice but to make your peace with the fact that your subject is an unrecoverable shadow. And by unrecoverable shadow, I mean an awesome silhouette! Depending on your camera, you may need to play around with your exposure a bit to make sure your subject is properly dark ( cameras left to their own devices like to compensate for the extra dark shadows) . In that case you may need to manually override what your camera does - either by manually setting your exposure, using exposure compensation or exposure lock.
If you're on your phone, usually tapping the screen will bring up an exposure slider ( or little sun symbol) and sliding it up and down allows you to make the image darker or brighter.
Mitigating strong sunlight
1. Find a shade

Yup, if you want to avoid the effects of strong sunlight, you need to get out of it and find a shaded area. But here is the key thing - when you get yourself into the shadow or a tree or a building or whatever else you can find to shelter you a bit, try to stay on the edges of the shade and if possible ( I know it isn't always ) have your subjects facing towards the light. That way you will maximise the light but avoid the hard sunlight.
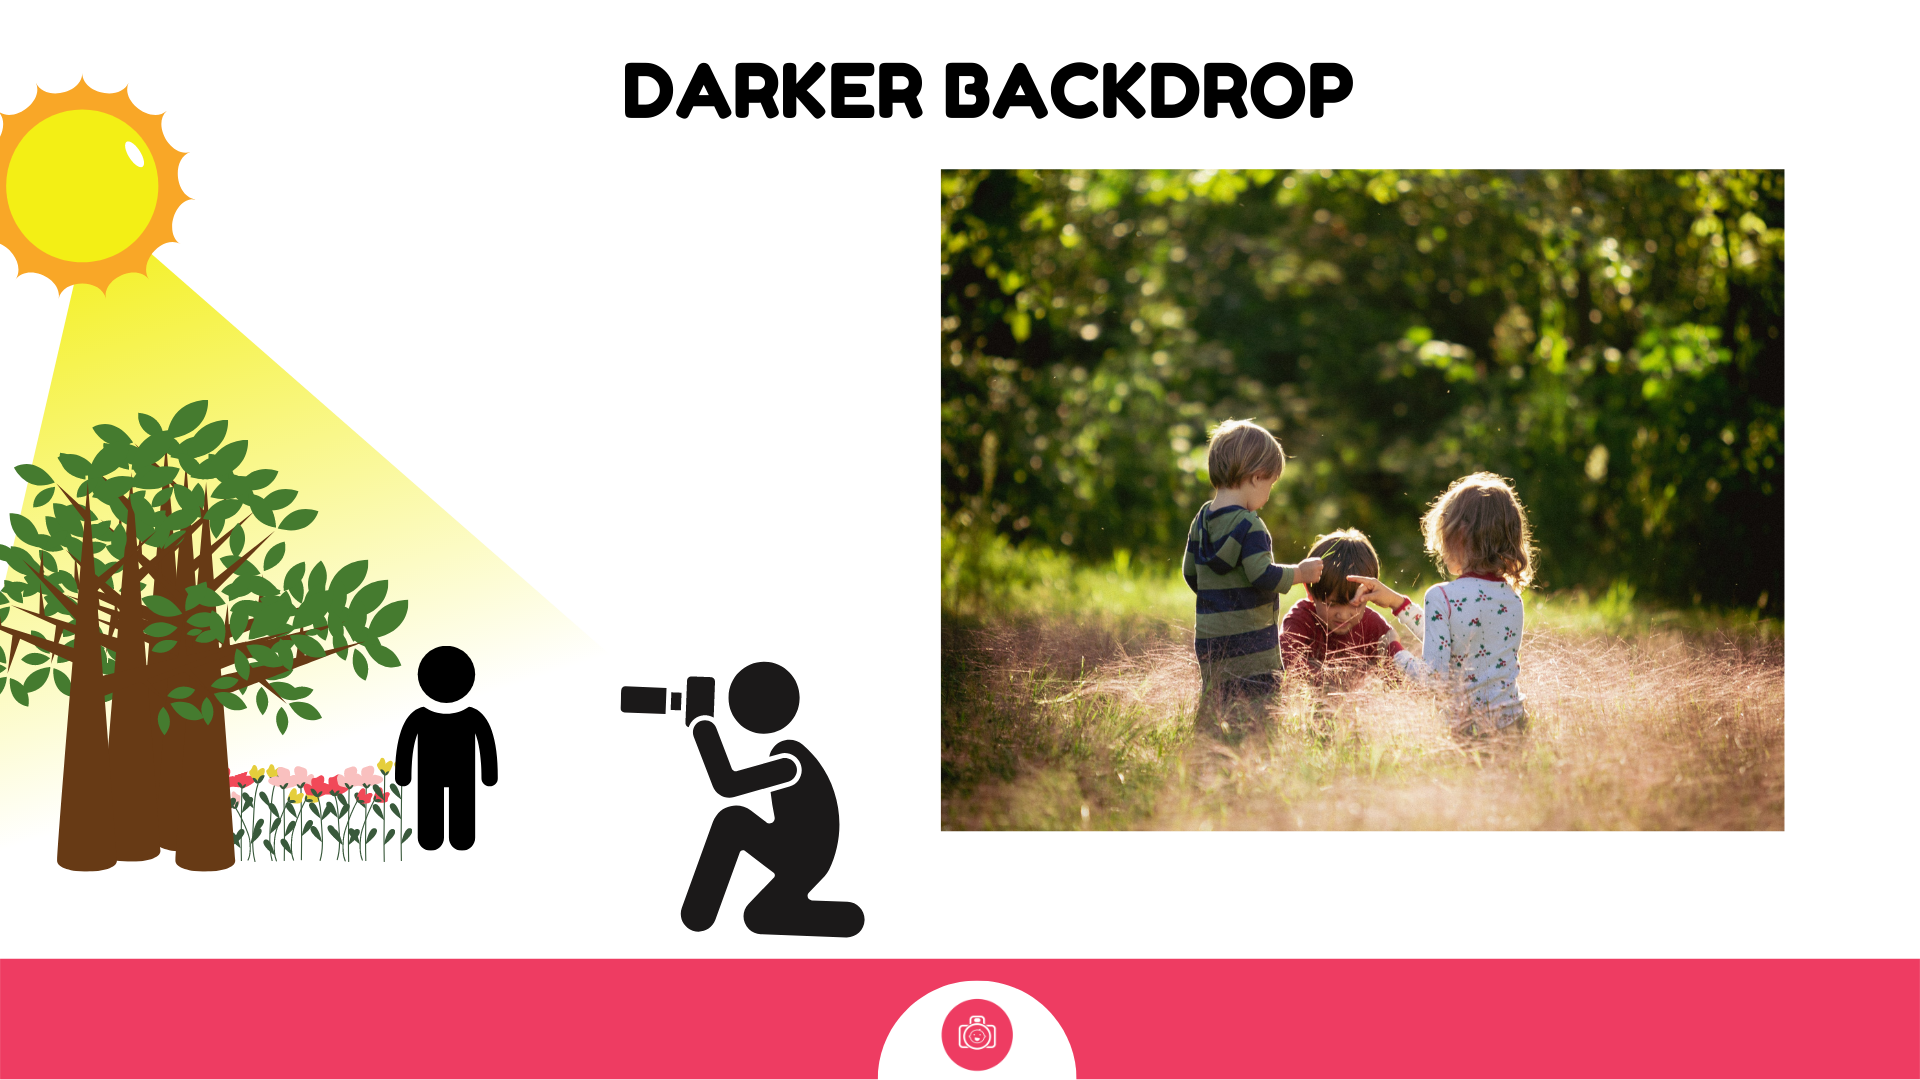
2. Find darker backdrop
What you are trying to do here is to find a wall of trees or similar that you could make visible behind your subject that will contrast with your subject. Your subject doesn't need to be in the shadow - if the light falls on them either from the top or either of the sides, you can even see a golden halo around their heads that will look extra exciting! With the darker backdrop, they will stand out against the darker area and the light on them will be counterbalanced.
3. Find a semi - translucent backdrop that will filter the light
In the second version, you try to find a thinner wall of trees behind your subject, one that still lets some light through but without it being one masse of light if that makes sense.
And here is the best bit - when the light filters through those little gaps between branches, it creates, what we call bokeh - spots of light, that give an effect of genuinely 'sparkling' the background. I absolutely love that effect and it can really liven up an otherwise 'meh' photo. You may be able to use this technique even on a slightly overcast day!
It works best if you are able to make the background blurry - if you remember from our last lesson, two elements play a part here: wide aperture ( use portrait mode on your camera if you can't use it manually) and / or zooming in ( you focus on your subject closer to you, NOT the background)

A note about editing
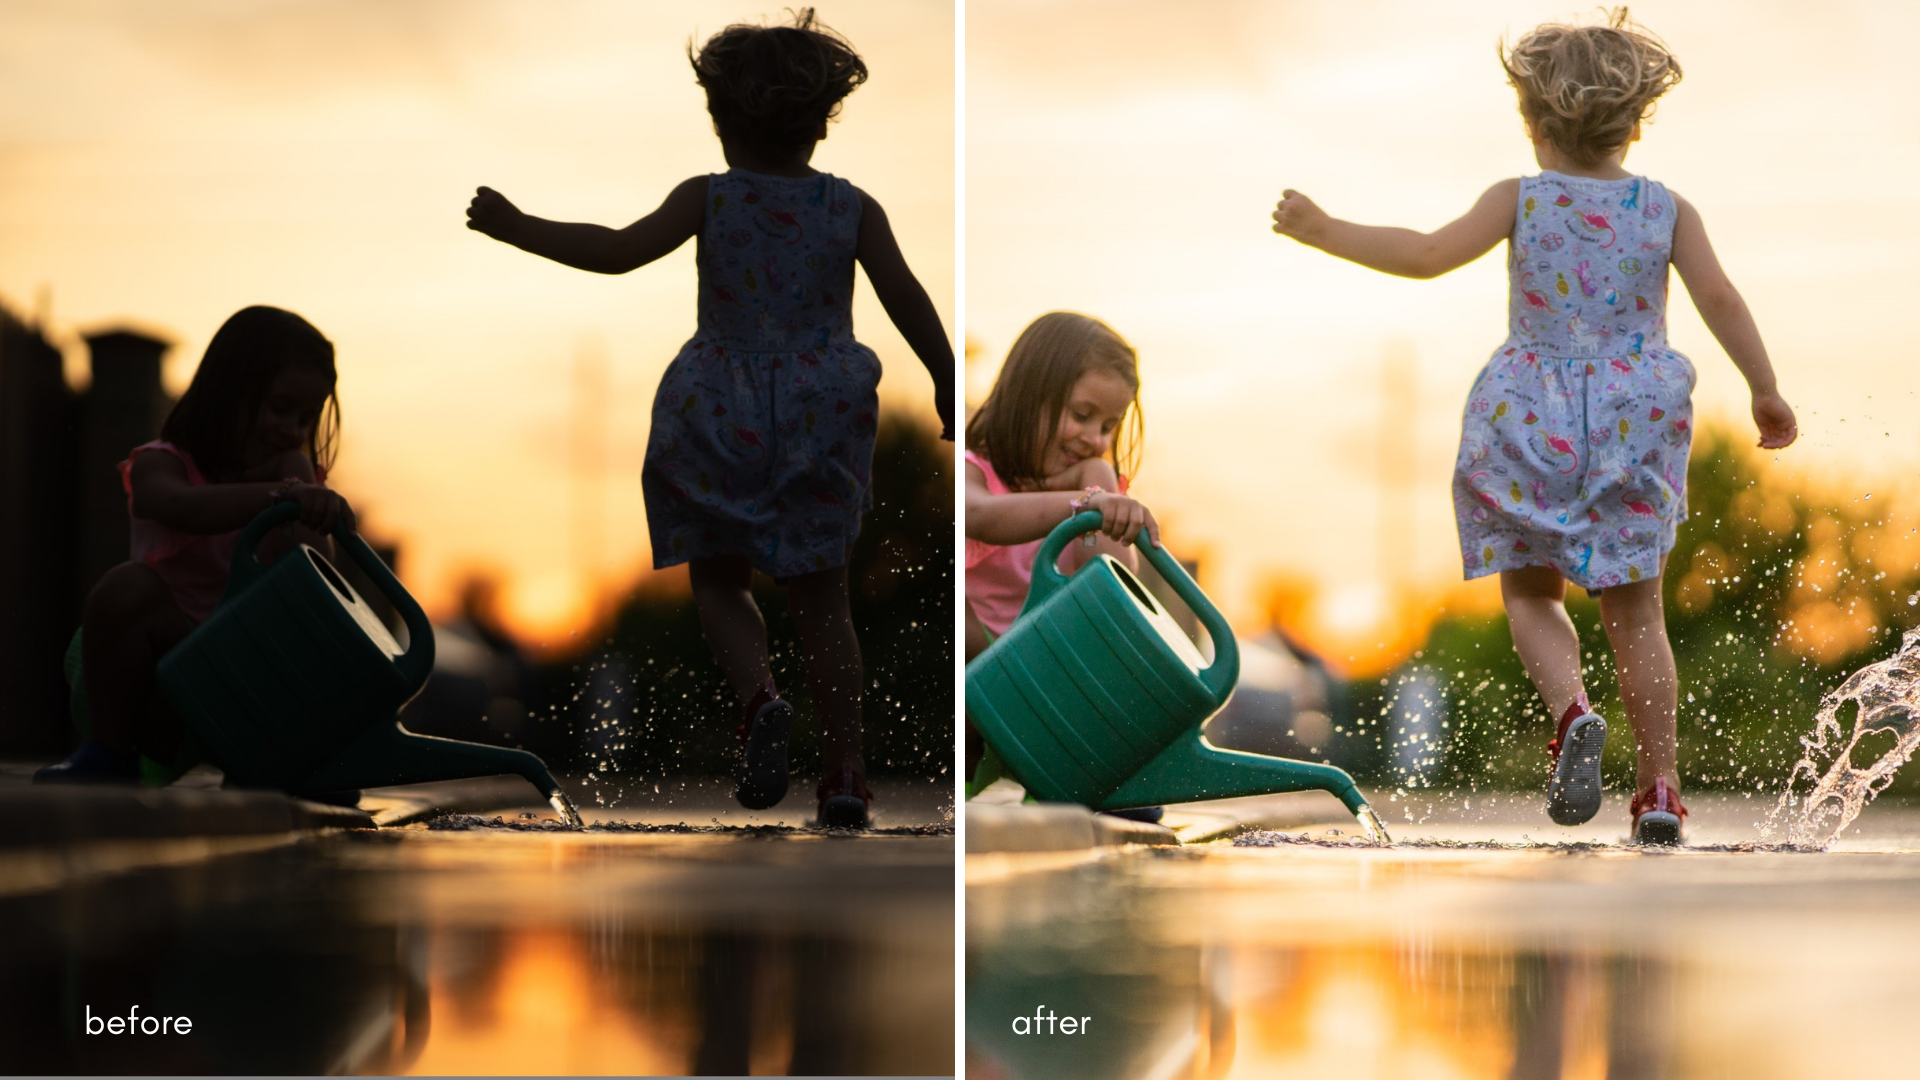
I will be very straight and tell you that pretty much every single image taken in full sun which looks amazing was edited to reduce some of the undesirable effects of the harsh light. I'm not just talking about me - this is pretty much every photographer or serious hobbyist out there. Whether it's just a gentle brightening up of the shadows, or going the opposite way - calming of the highlights - they are all edited. And I want to tell you that it's not a bad thing.
Not everything can be achieved directly in camera. Especially when it comes to images taken in extremely bright light, the camera is not able to stretch the whole range - from brightest of highlights to darkest of shadows without losing some of the info. Because we end up either with highlights which are so bright that they are just pure white or shadows that lose all the detail and simply look black.
This is where photographers typically decide which of those two sides ( highlights or shadows) they want to protect ( and adjust their camera settings so that the bit they want to protect looks its best in camera) and then adjust the other one in post editing.
This is what I did with the image below - I loved the light in the sky so I adjusted my settings to protect that and despite the fact that I captured a near silhouette in camera, I was able to bring it back to life in editing.
If you are not editing your images yet, I would advise you to start looking into it. I use Adobe Lightroom and Photoshop, but there are free apps which can help you get started. There is a more limited free version of Lightroom for mobile which does a good job, and I'd also recommend Snapseed. Both of these tools are free.
One more thing : How not to blow up the sky?
A few of you asked about advice on how not to blow up the sky in your summer images. And there are generally two strategies for it.
a) aim your camera towards the northern part of the sky, essentially away from the sun's positions
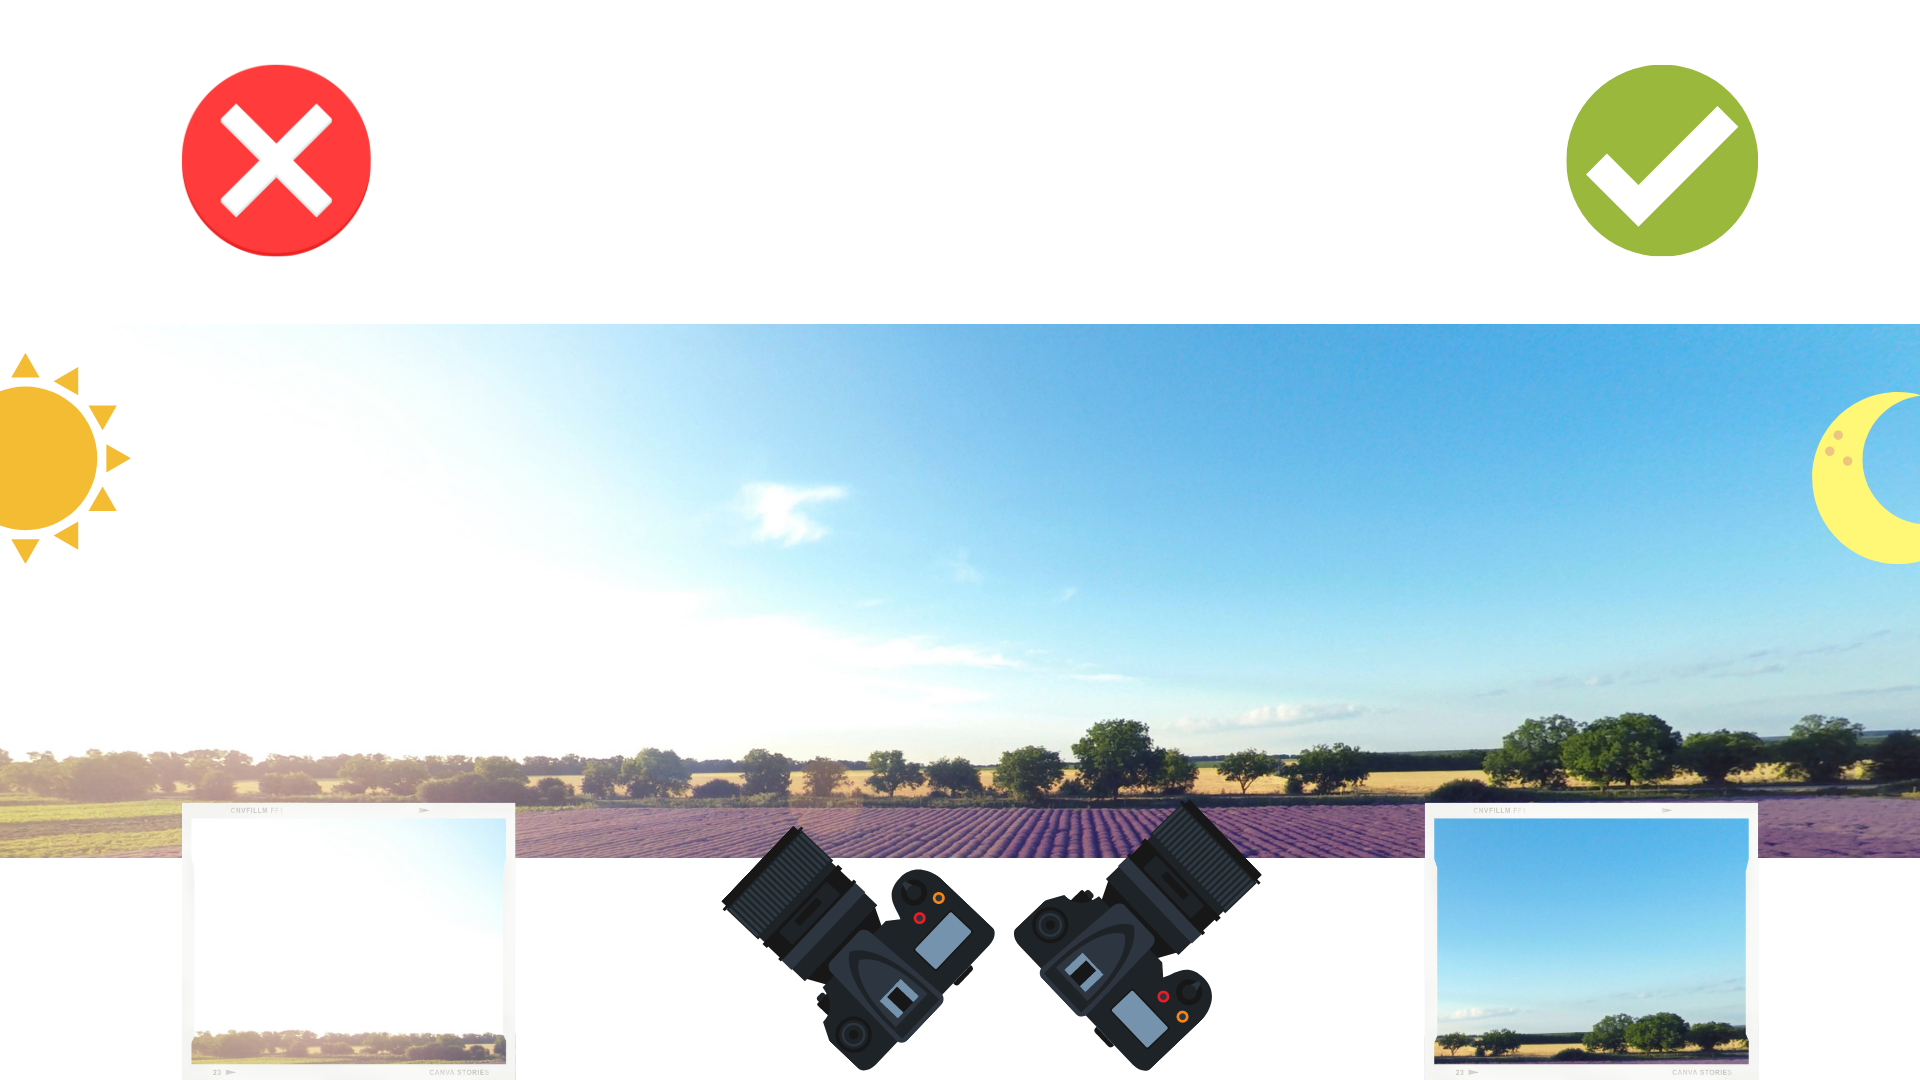
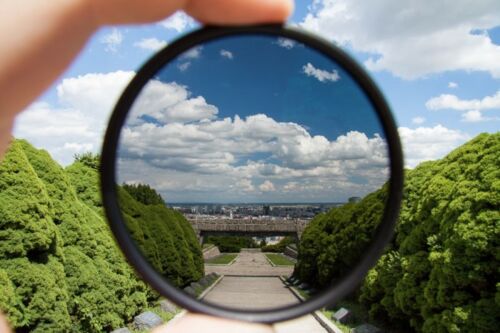
b) sometimes, when you have strong contrast, everything looks washed out, regardless of where you aim the camera. In that case, using a polarising filter on your lens will help filter out the stray light rays and bring saturation back to your colours. I always take a polarising filter with me on holidays because it helps me get bright, colourful shots in full sun with the highlights reduced.
And all of this brings me to your challenge for today.
Lesson 2 Challenge
I can't really predict what the light is going to be where you are. And as much as I'd love to challenge and stretch you on this and get you to play with some hard light, I just can't make sunshine happen.
But I would very much like to make sure you are paying attention to light, so your challenge for lesson 2 is this:
Take an image trying to be mindful of where the light falls from on your subject and adjust accordingly. I'm not being prescriptive here because I want you to look and notice where your light is and what it is doing to your subject. When you post your photos, I want you to tell us about the light - for example, 'light from behind, filtered by the trees', or 'light from the front, using the shade to shelter', or 'light from the top, but it's OK, it's a storytelling image and we're fine with the shadows! Bonus challenge - try to take the same image from two different sides and notice how the light affects it!