I think it's pretty clear that the list of summery activities is loooong, and will also depend on your family's interests, your kids ages and your living situation ( urban dwellers will have fewer garden opportunities for instance )
But I wanted to give you some direction in how you might want to approach those - whatever they are - so I picked two activities - among the most popular ones which we covered in last year's Photography for Parents Summer Project to get you started.
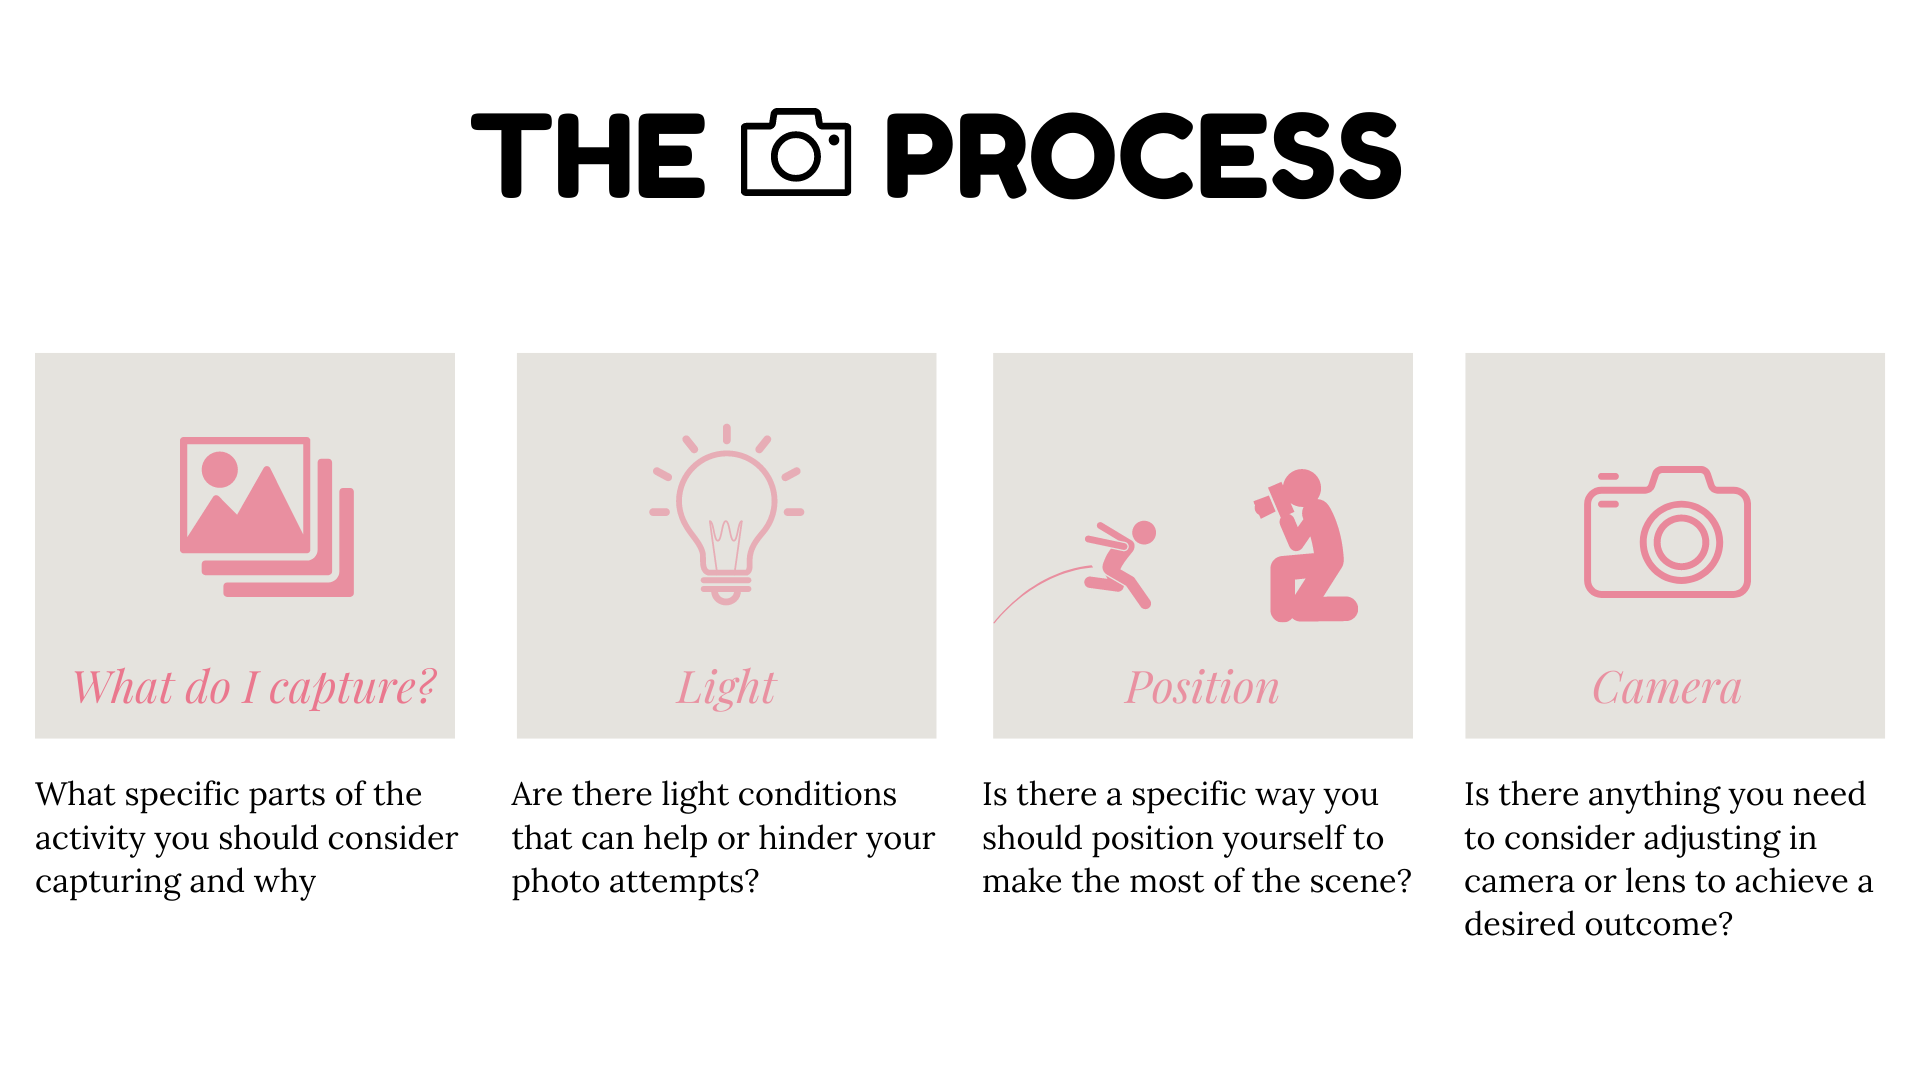
For both of these activities I encourage our students to follow a structured process which includes consideration of 4 elements :
BY THE WAY - BIG NEWS :
We are bringing out The Complete guide to capturing summer which will include these as well as many other activities with specific instructions on how to capture them, what to look out for and what not to do! PLUS an Pocket guide with simplified instructions perfect for your phone screen so you can quickly refer to them on the go!
Keep an eye out for the announcement in the Facebook group and on email!
1. Playing with chalks
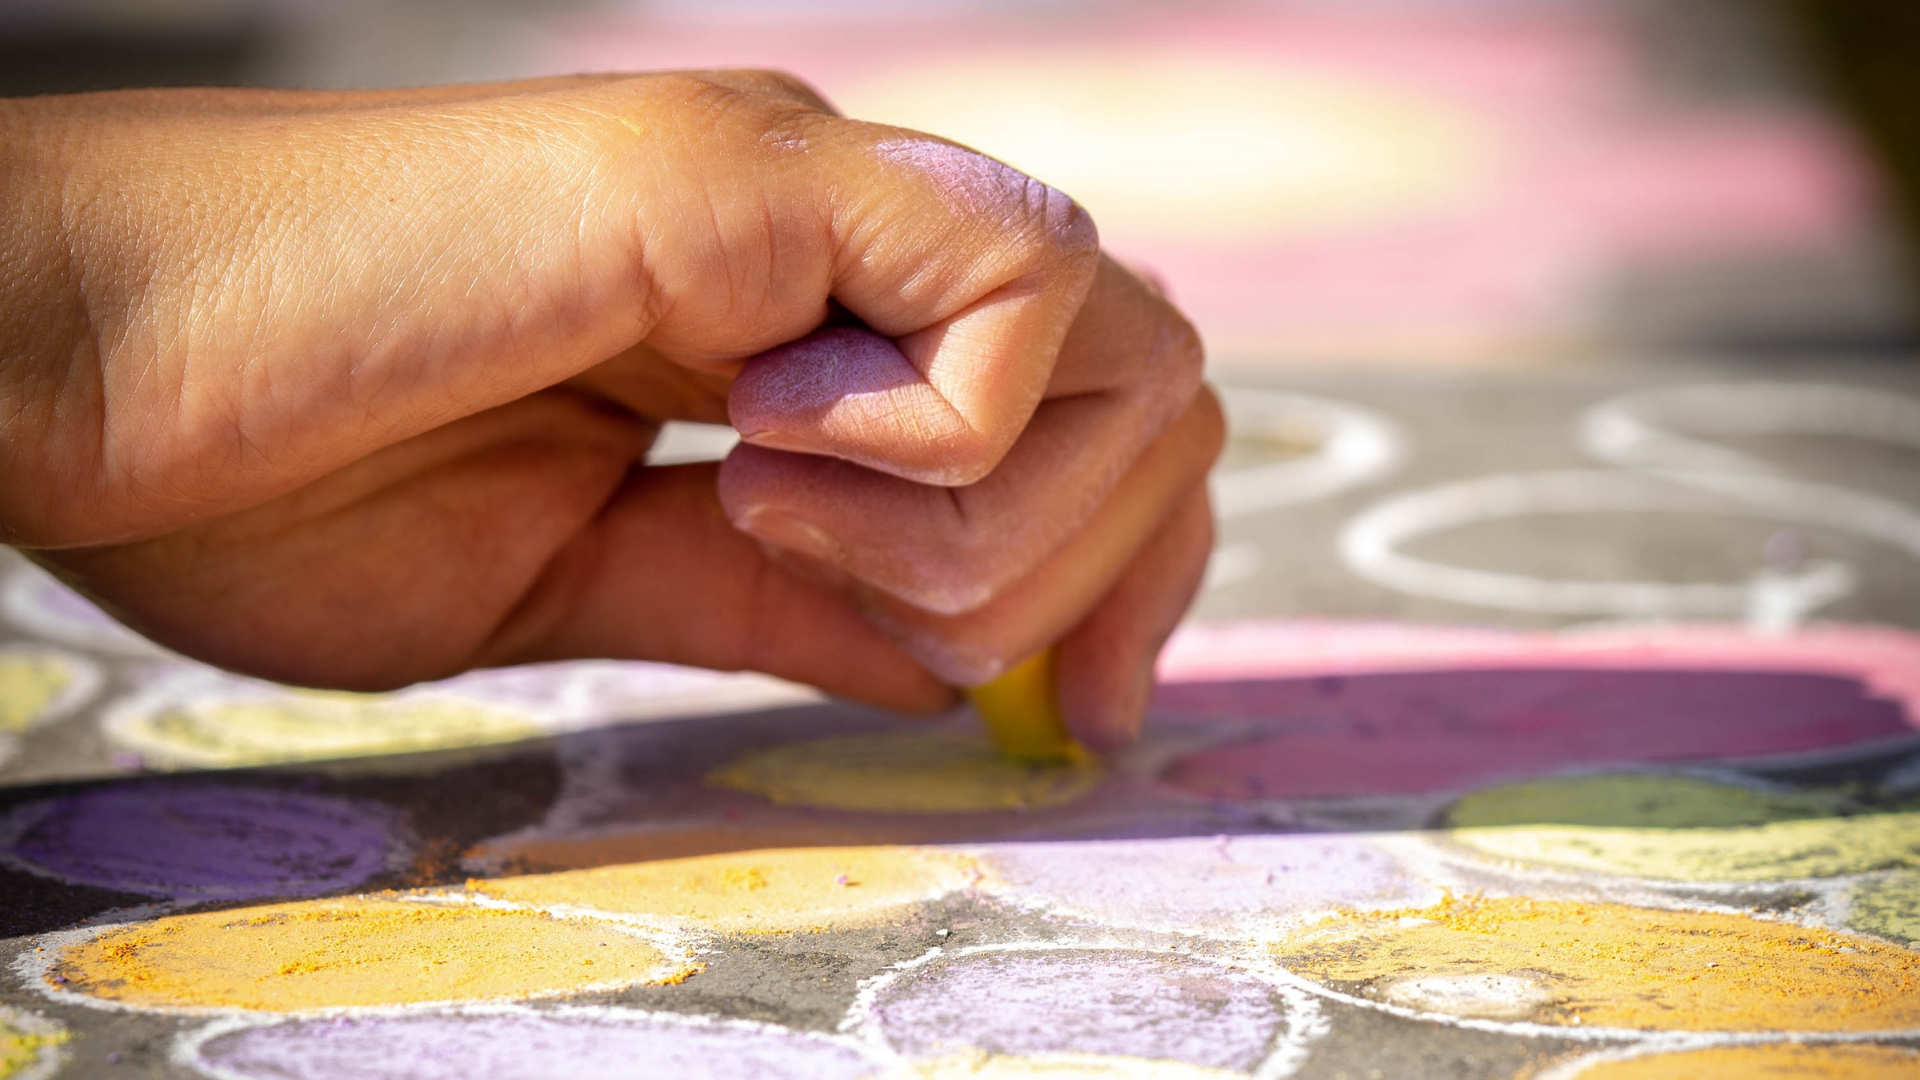
I picked this activity, because whether your child is 2 or 12, whether you have some pavement on your driveway or on the public pavement, your kids can do this and have fun with it and all it's going to cost you will be the £3 for a box of chalks.
BONUS - it also looks great in photos!
What to capture :
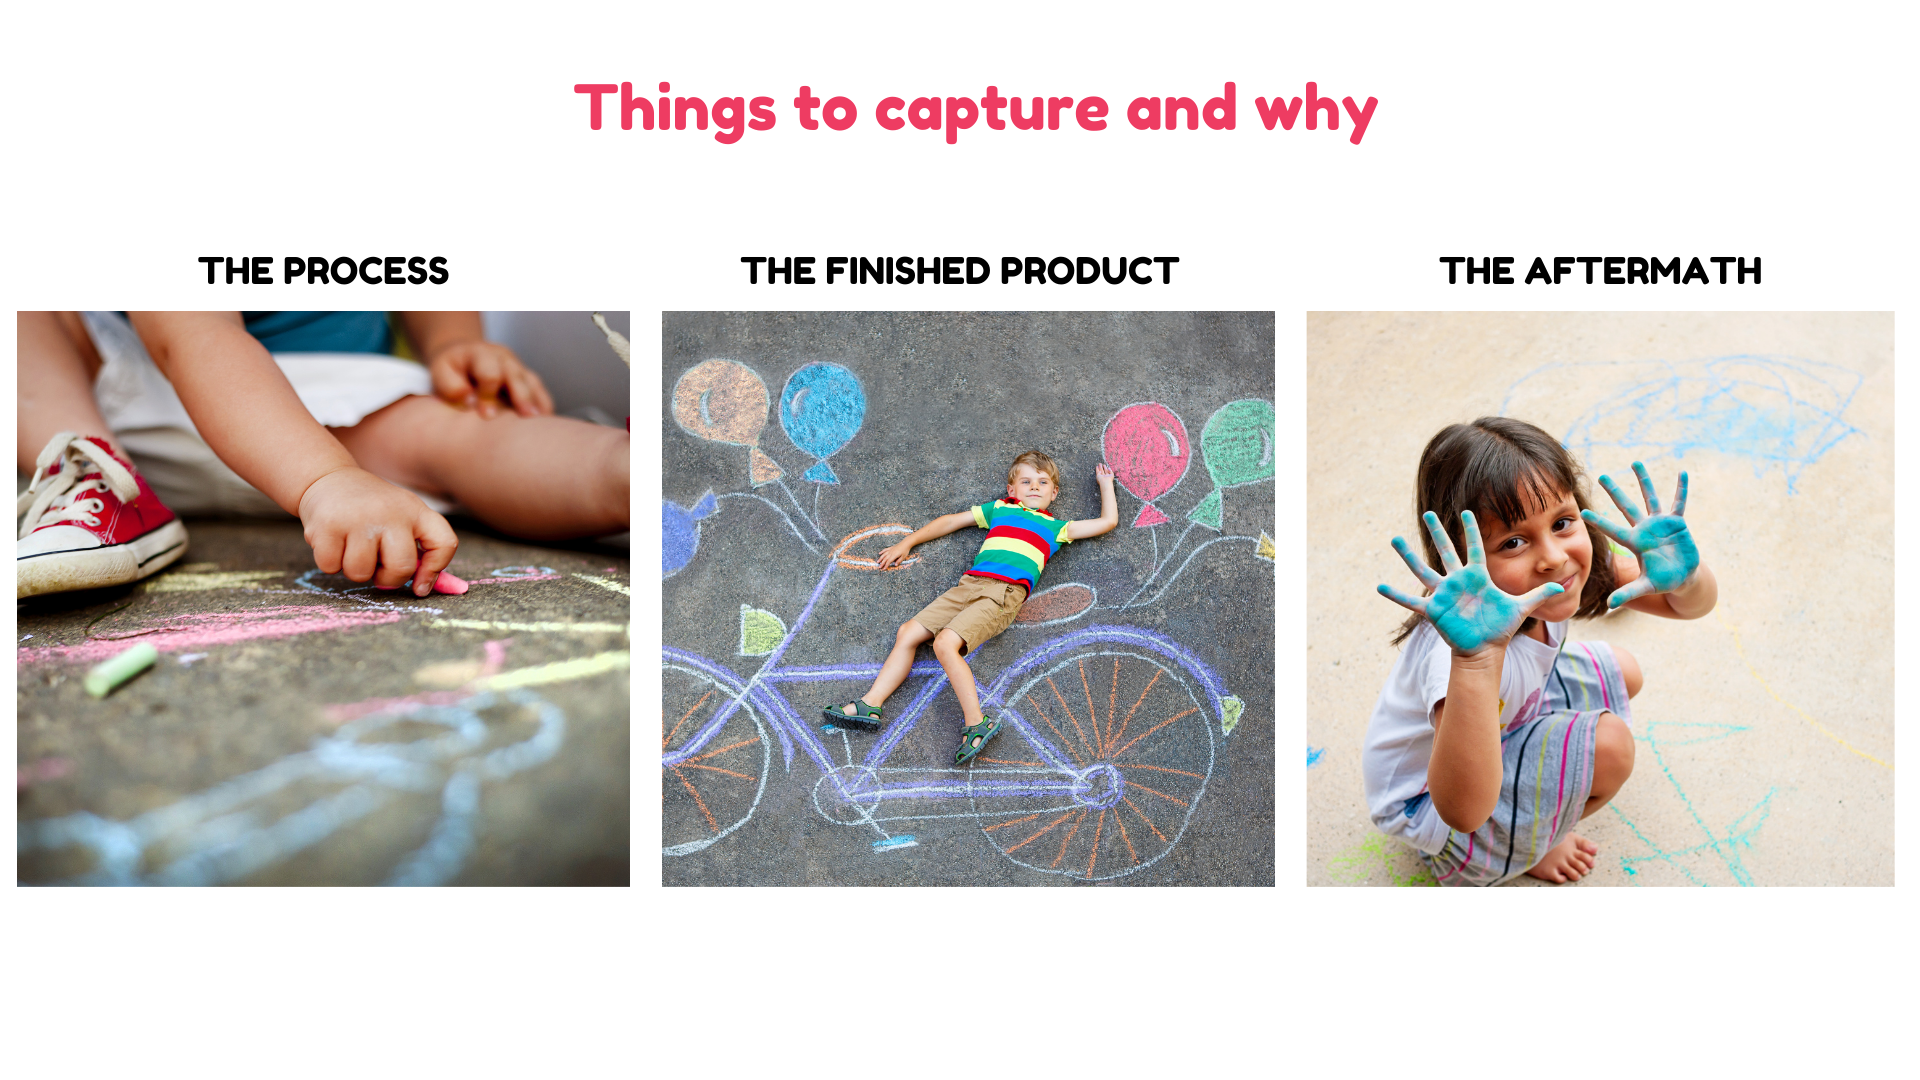
From a photographer’s perspective, capturing your children and their chalking is about three things: the process, the finished article, and possibly the 'aftermath'. Each of those requires a little bit of a different approach from you and they come with slightly different challenges.
The process:
This is about your child getting down to the ground and chalking. You want to see their eyes fixed on the ground, their little hands already covered with the chalky residue, the first lines being drawn. This may be more about the detail than a big picture, but it’s good to be able to show both, especially for a larger project.
The finished product
Considering what your ‘canvas’ is - you will likely be wanting to see it from a perspective that doesn’t distort the image and helps you see the whole of it. Make sure to capture both the artwork itself, as well as the way your kids are interacting with it - whether it’s to show it of, to play with / in it (like with hopscotch) or just being a part of the scene.
The Aftermath
Chalky hands and feet, crushed up chalk on the pavement, the chalky art being washed away by rain
Consider your light
When it comes to an activity such as chalking, there are two reasons to pay attention to the light
- the shadows that can be cast by you standing around and taking photos or your kids doing the chalking,
- the richness of colour of the chalks themselves (and we know they're not that vibrant to begin with)
Taking care of shadows
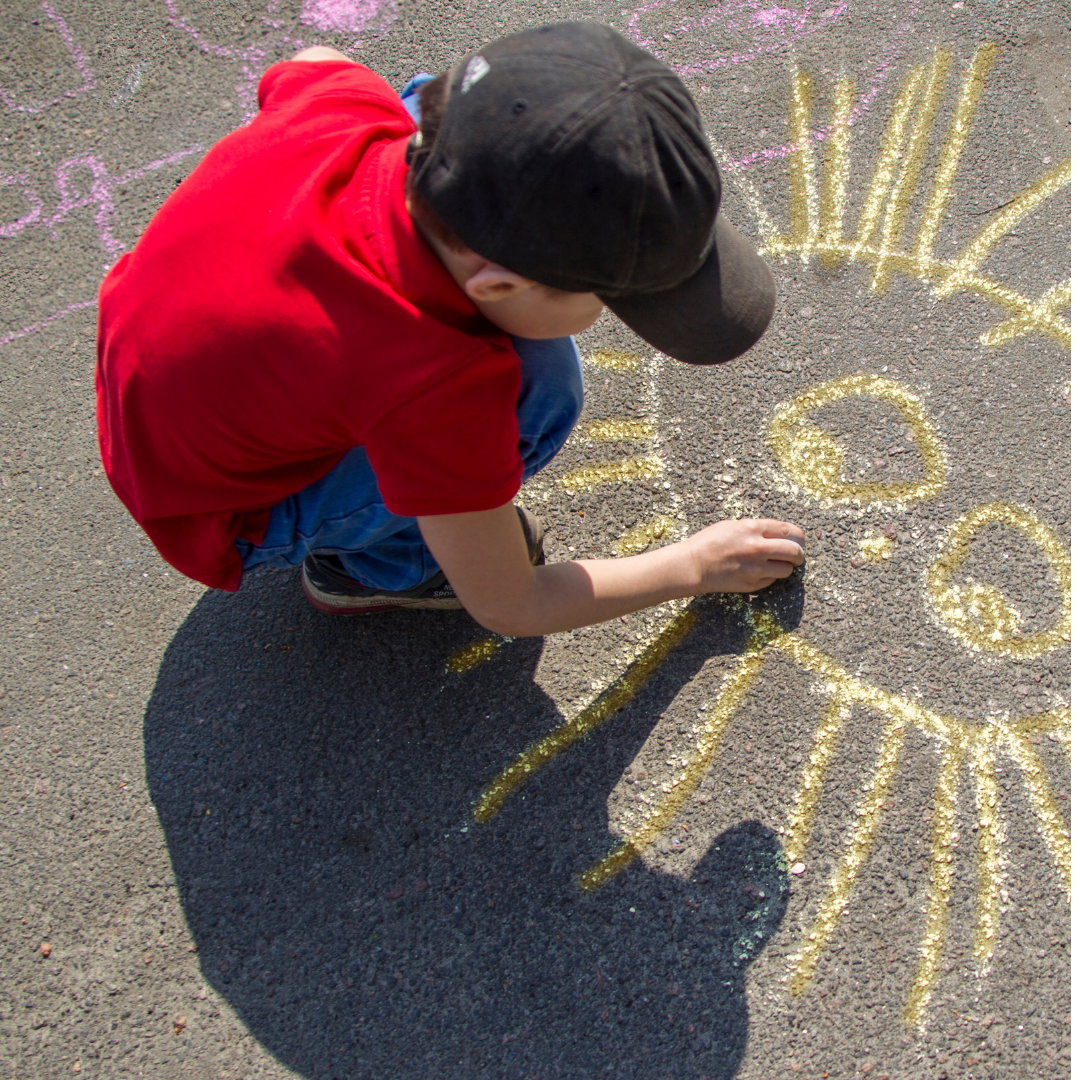
If you are to remember one thing about light from this tutorial, it's this: strong light, such as a midday sun = strong shadows. The stronger the light, the deeper the shadow. The more soft and diffuse the light - like on an overcast day - the lighter the shadows. So if you want to avoid shadows - picking a lightly overcast day or placing your kids in open shade will do the trick.
Obviously we can't control the weather, so if strong light is all you have, at the very least pay attention to where the light is coming from so that your own shadow does not show up in the image - if you can see your shadow, that’s a clear sign you should move to face the sun, so that your shadow shows up behind you instead.
Positioning and angles
Two main options here :
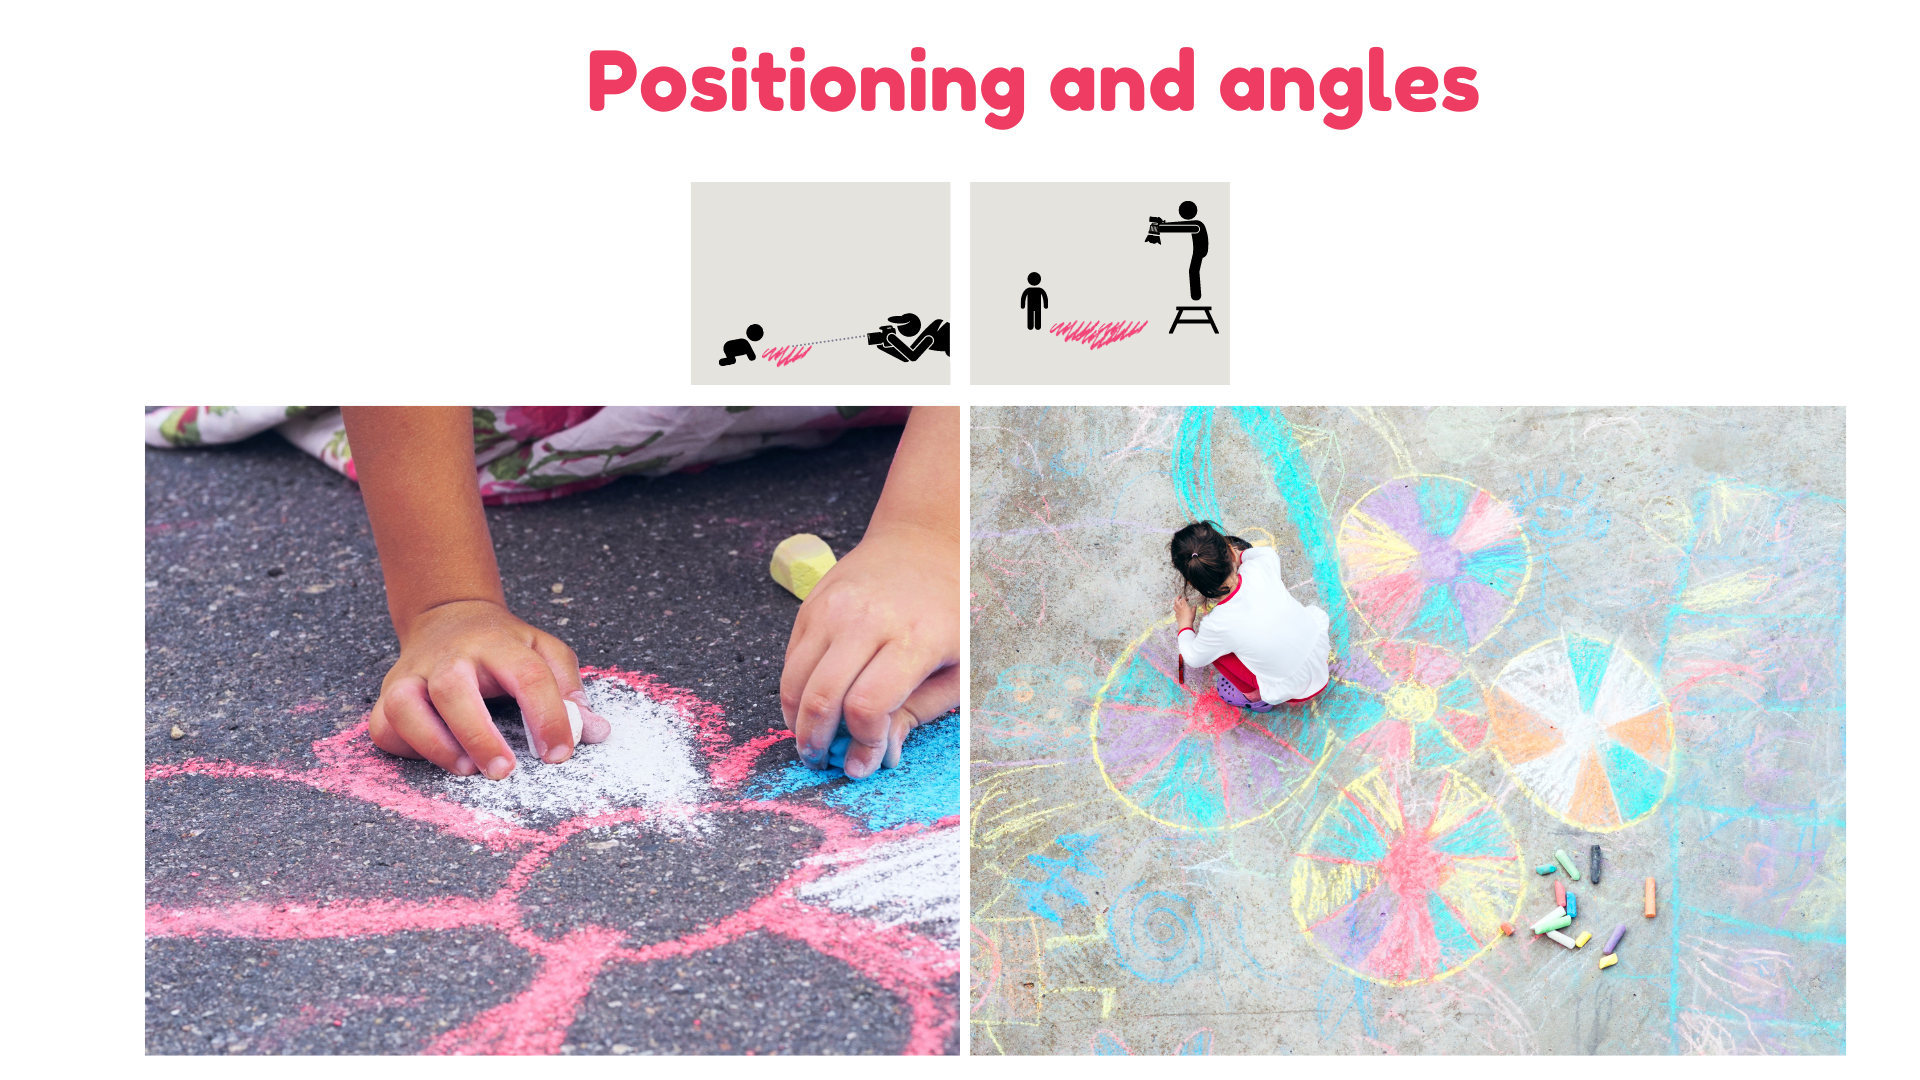
- for the ‘process’ images, you want to pay attention to your children, and that means getting down onto their level and into their world. And when I say get down, I actually mean, PROPERLY down, almost belly flat on the ground. You want your camera to be shooting ALMOST parallel to the ground - I say ‘almost’ because you still want to be able to capture some of the artwork. Can you find a leading line on the ground that would take you to your subject? Use it. Alternate between wider and more detail oriented close-ups.
- To show off the finished article - this is where you want to get up above the artwork and shoot directly down. Shooting at an angle is likely to distort the shapes a little bit, so getting up and high (a stool, or a small step ladder can be useful here!) and shooting at 90 degrees angle to the ground.
Camera and Lenses
Lens choices:
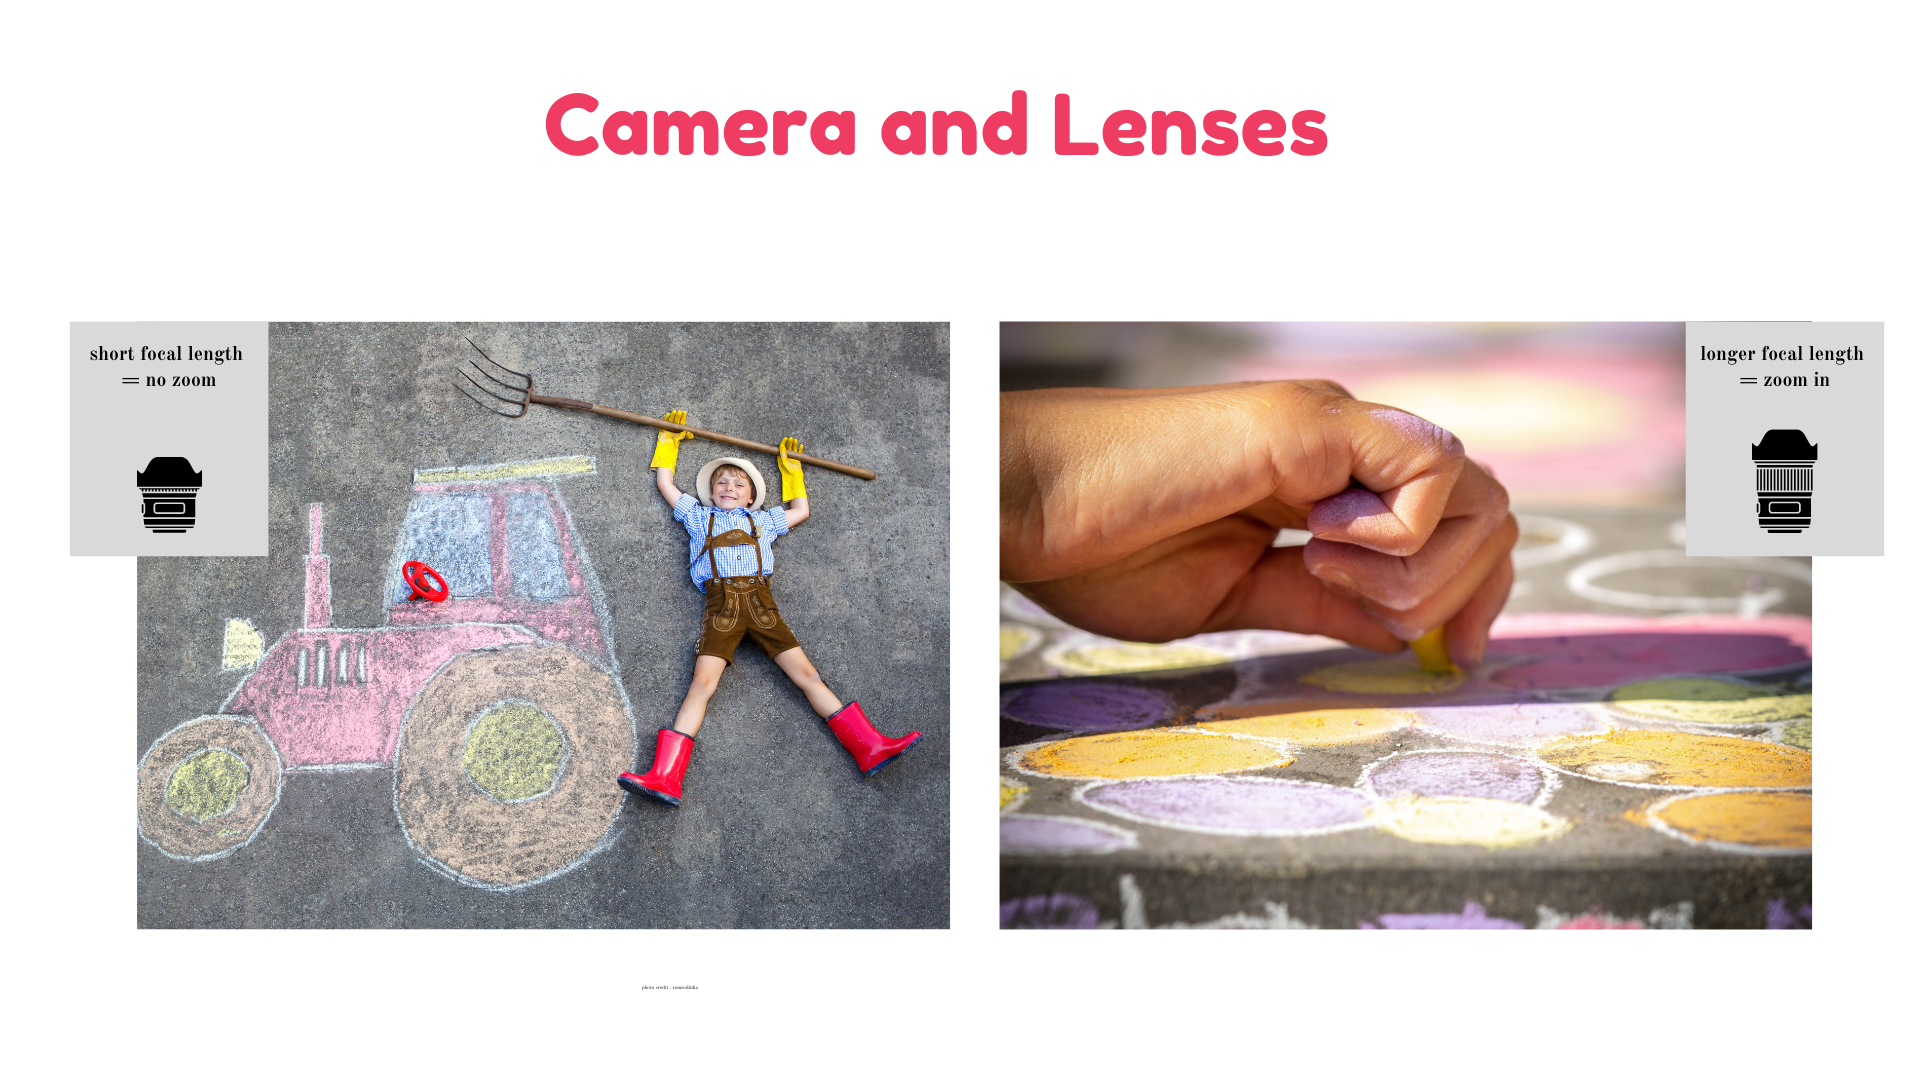
Your lens choice for the ‘process’ photos is probably less important here - longer zoom ( = longer focal length) will help you achieve more separation between your sharp subject and a blurry rest of the scene. A shorter zoom is a more storytelling lens - it can help you capture more of the interaction and overall storytelling. More elements are in sharp focus and it makes for a very different kind of photo. Think 24-35mm focal length (aka not much zoom if any) for this kind of photo.
When you’re photographing the finished article and are shooting down from a higher position, a very short focal length (aka NO zoom at all) will be your best friend - it is capable of grabbing a wider area and therefore makes it easier to capture something larger (as chalk drawings often are) more effortlessly.
2. Playing with Bubbles:
Show me a child that doesn't like bubbles and ... well, I will be very surprised. I'm yet to meet one. Even the sulkiest of teenagers ( who may swear blind they hate bubbles) will secretly smile ( on the inside - street cred to maintain) when one pops on their nose. There is ALWAYS a bottle of bubble solution in my camera bag when I go to meet a client with kids - it's really easy to get a shy child to come out of their shell with a little blizzard of those little beauties.
Things to capture and why
Bubbles give your images ephemeral beauty as well as movement, texture and sparkle. You can highlight those through different activities. Depending on what age your kids are and how they like to play, some of the following suggestions may be more suitable than others, but worth at least a try.
Blowing the bubbles
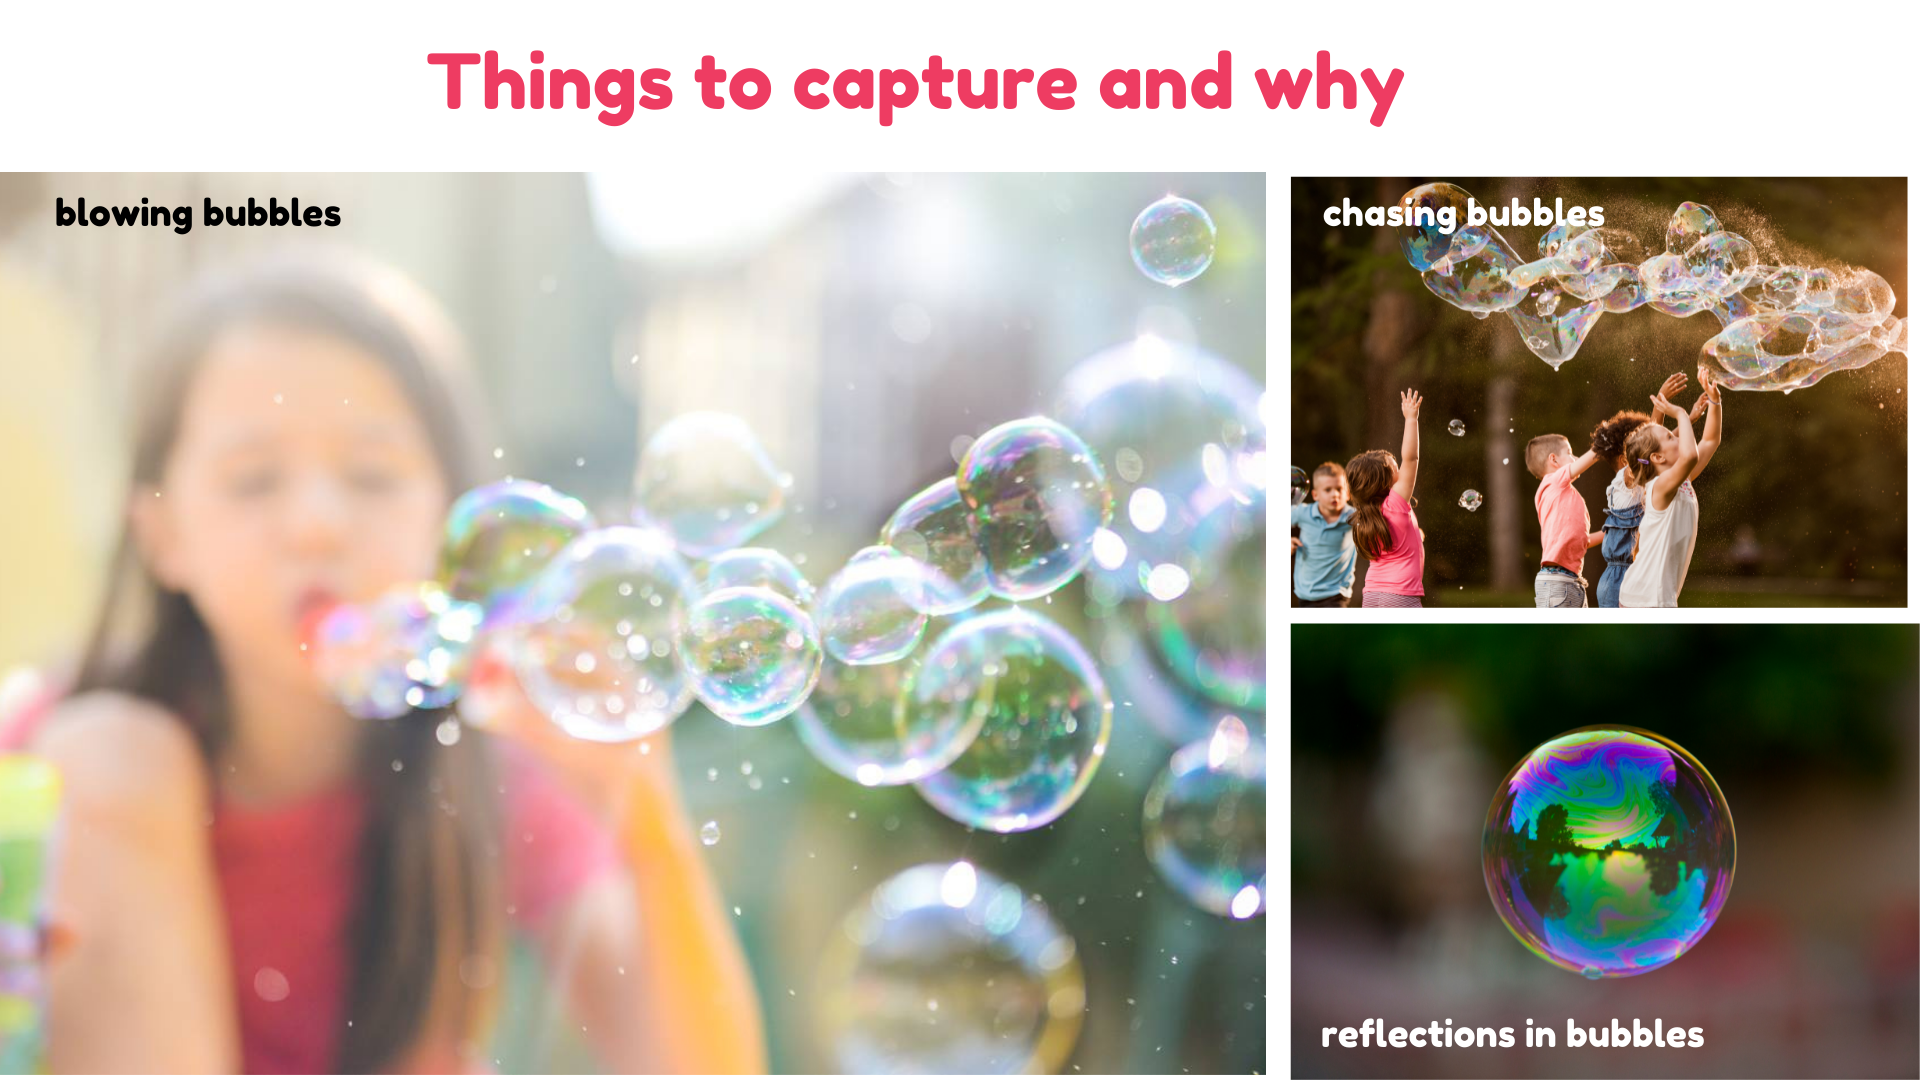
Capture your kids in the process of creating the bubbles. The thing to capture here is the expression on your child's face and the way their mouth is shaped when they blow. You want to go fairly close, so that you can concentrate on their features. If you capture them face on, chances are their mouth may be obscured by the bubblewand, but on the other hand you may get an interesting effect and capture their eyes on the bubble. Alternatively, capture them from a profile then you may be able to capture the bubble emerging from the wand as well.
Chasing bubbles
This is obviously the very reason for the bubbles' existence - to be chased and popped! One of the key things to consider here is space and movement. Because of the flyaway nature of the bubbles, and the speed of the kids, you need to make sure you give yourself enough space to actually capture them and your child. If you zoom in too much, you may get too tight a frame that won't show the bubble blizzard and where you will struggle to frame your subject and the bubbles well.
Reflections in bubbles
This may be a fun thing to do with your older children who can resist the urge to instantly pop a bubble. You will want a larger bubble and you want little wind so you're not trying to chase it around the garden. Light and background are two keay elements here - more on that in the next pages
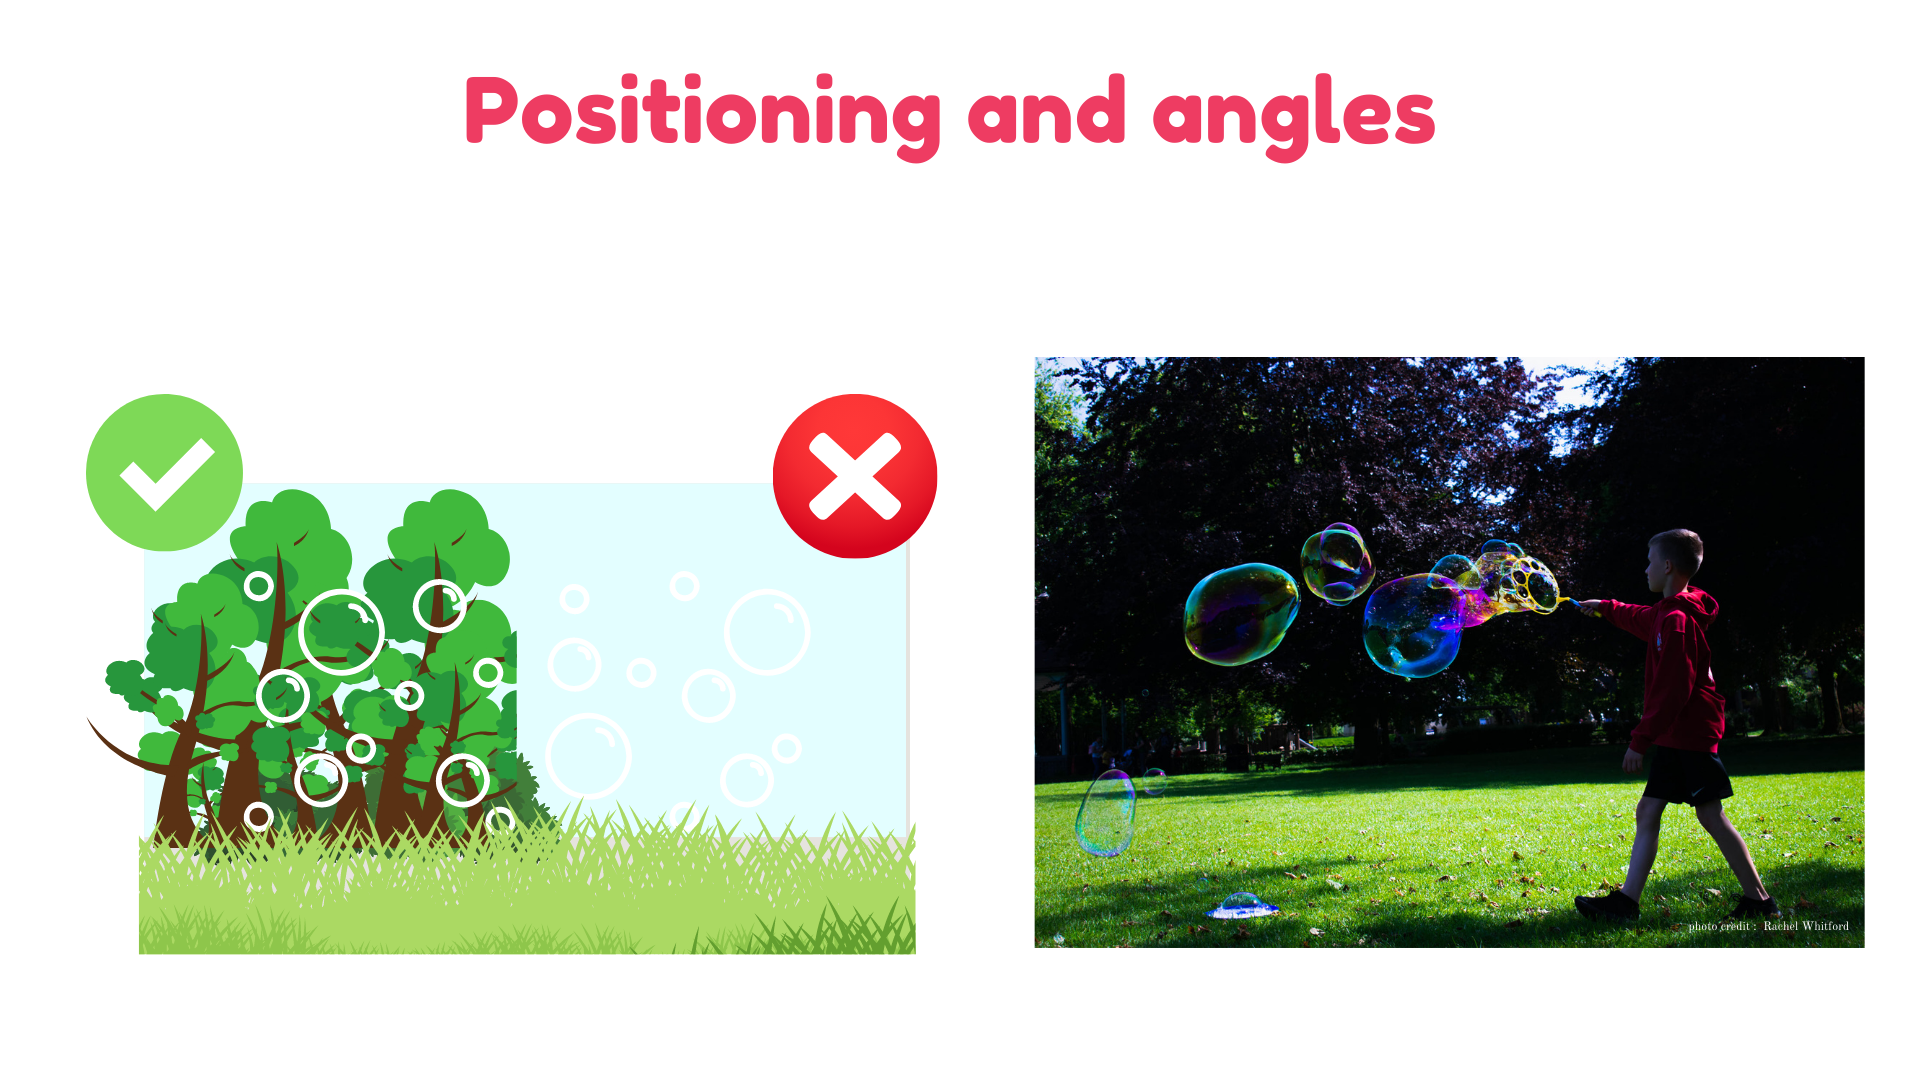
Positioning and angles
With Something as fleeting as bubbles, there is not a lot of pre-planning that you can do, but there is one thing which will make all the difference ; your background
About the background
Because of the transparent nature of the bubbles, and how light travels through it as well as reflecting off the edges, THE MOST IMPORTANT thing to take care of is the background - if you attempt to photograph your kids against a bright sky, white walls or very busy background - you will barely be able to see them.
You want to ensure that your background is reasonably dark and uniform - a line of trees, shrubbery, a more shadowy part of the garden will all work well.
In some instances setting the bubbles against the sky will work too, but you want to avoid the very bright parts - a strong saturated blue sky or sunset sky can actually be pretty spectacular
Consider your light
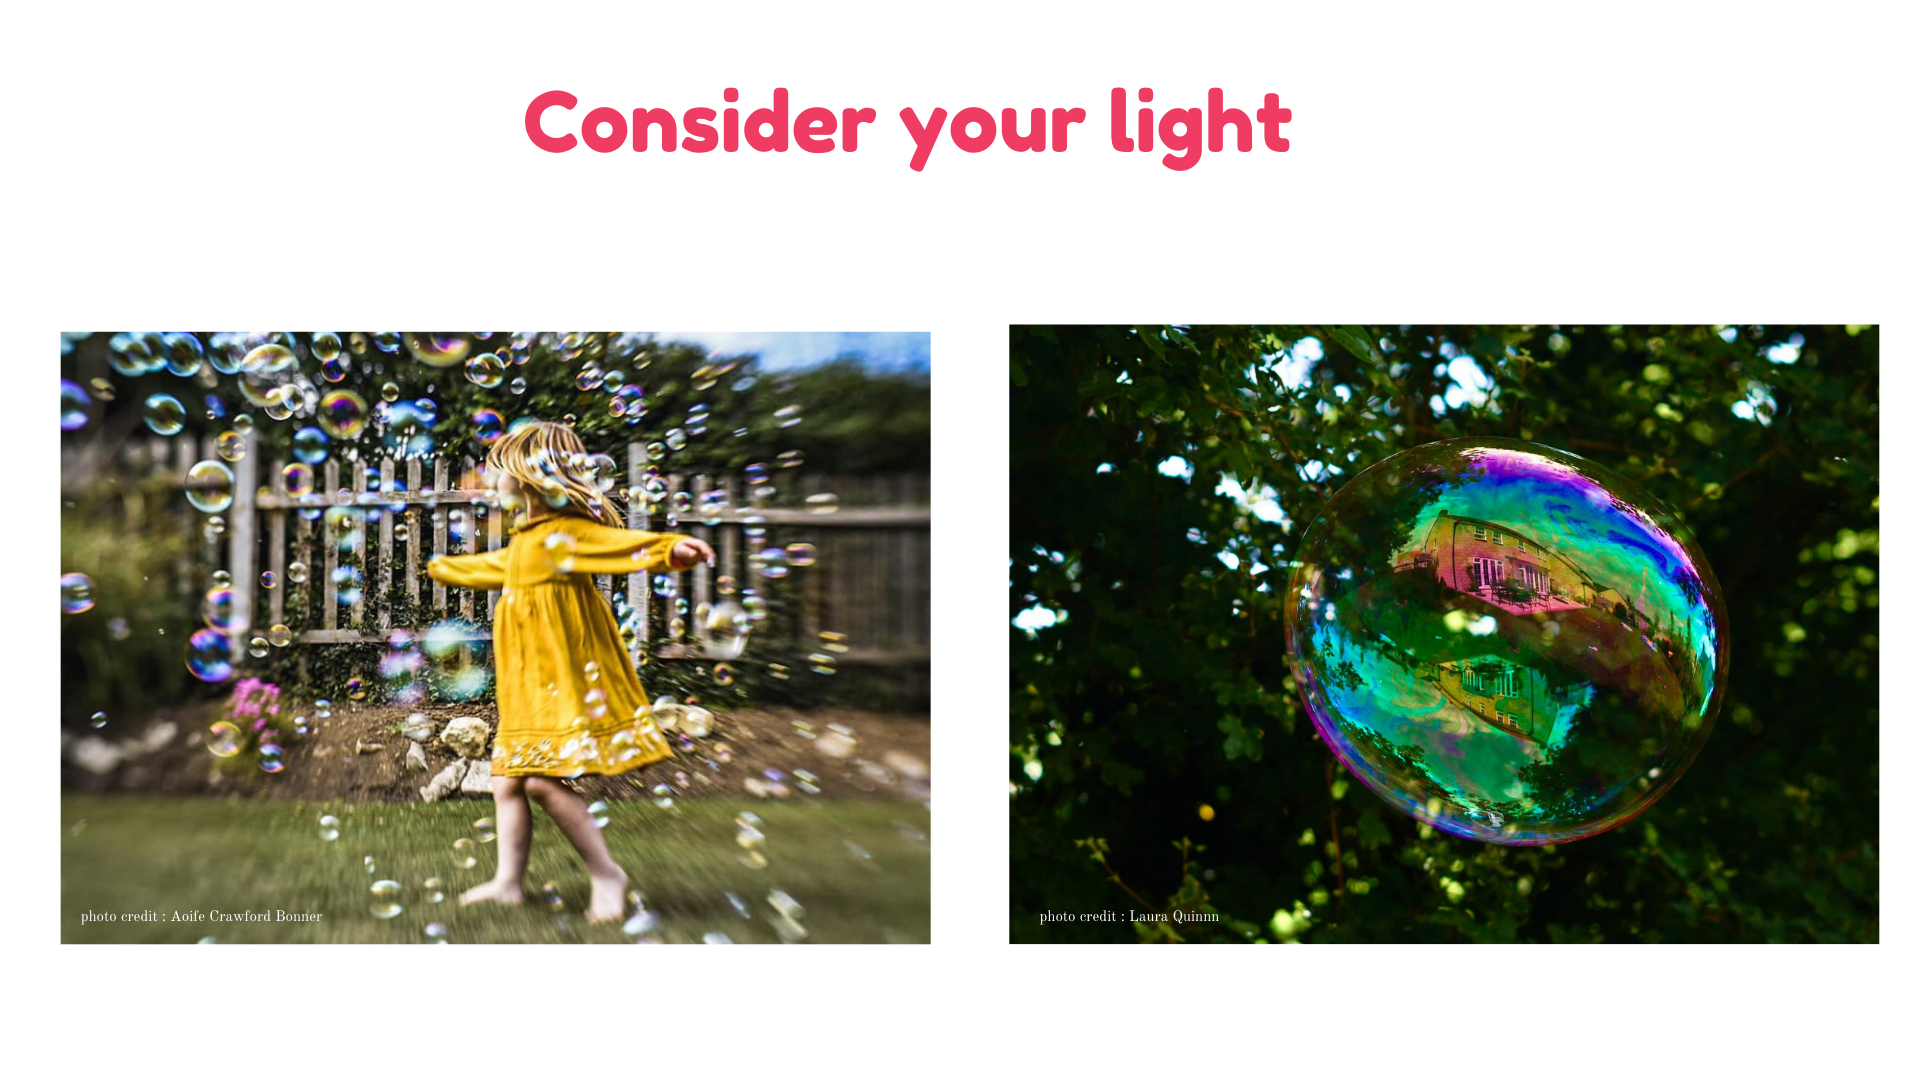
After background, it's the quality fo your light that is likely to make a big difference to your photos.
The light
SInce our bubbles are all round and reflective from every side, the direction of light does not matter as much as for some other types of photography - if your bubbles are set against a darker background, backlight, side light and front light will all work. The quality of light can make more of a difference with stronger light able to help produce more vibrant colours on the bubbles and stronger shine than what you might have in overcast weather - but if your light is really harsh, it may be best to be in open shade with bubbles reflecting the brightly lit surroundings.
Reflections
If you're trying your hand at reflections, good strong light will produce more visible reflections - you will notice that on an overcast, dull day, the colours in your bubbles are are not as vibrant as they would be otherwise. Again, setting your bubble against a darker background is key.
Day 4 Challenge
This one is very simple - pick your weapon - chalks or bubbles and capture something wonderful!