It’s nearly time. You’ve been preparing for it for the whole Bootcamp. You’re ready to photograph your Christmas beautifully.
You’ve done the prep work, learned how to shoot the individual ingredients, and you’re ready to put this all together.
I’m about to give you some final suggestions on how to photograph your Christmas Morning and your family Christmas Lunch. But before I do – let me just say – thanks guys for being such an active and creative bunch! You’ve done so well – my Facebook feed has been ablaze with some great Christmas imagery!
Whether you choose to continue learning with us (and if you’ve got a camera but you’re not quite sure what you’re doing with it- you really should!) or it was just a one time thing – thanks for being here!
HOW TO PHOTOGRAPH CHRISTMAS MORNING
Photographing Christmas morning is one part strategy, one part skill, one part luck and one part giving up on perfection. The perfection is just not going to happen, you will not get every single shot, precisely the way you like it so you might as well become at peace with it. Done? OK, let’s move on.
Shooting your children’s Christmas morning actually starts the day before. I’m assuming you have of course done the prep we laid out earlier, but there is a little more to it. Think first about the scenario for the event:
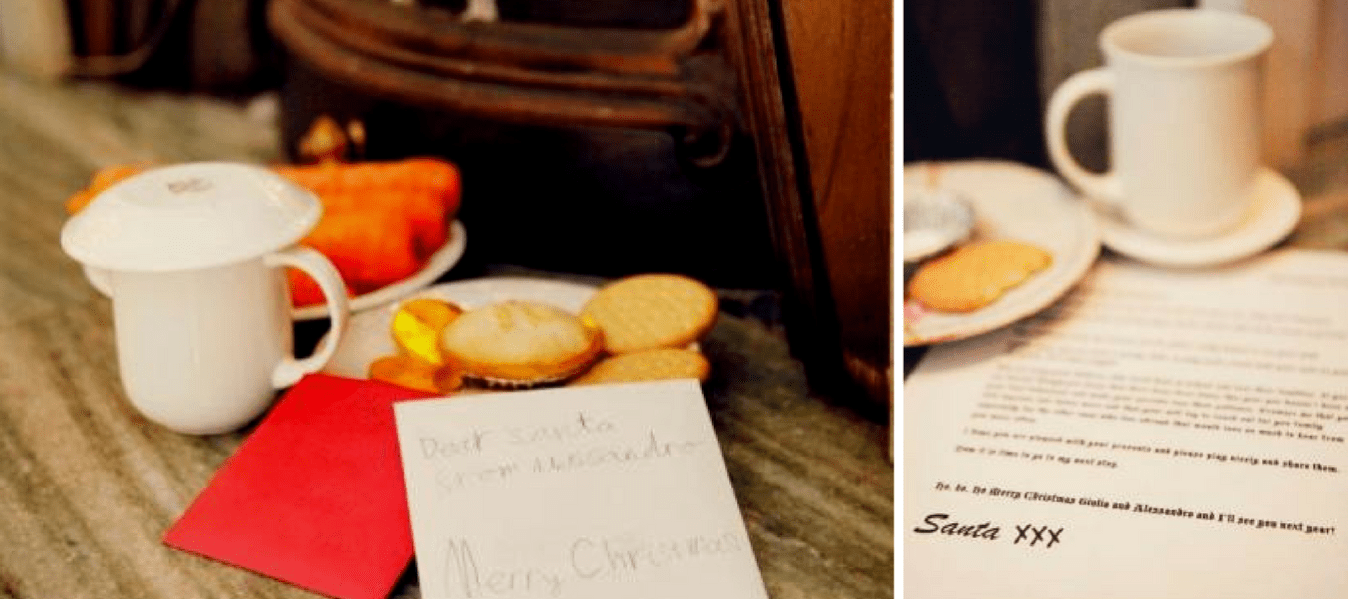
Step 1: Kids go to bed, having left Santa some treats:
What you need to do is start even before that. Do the kids have any special PJs you’d like to photograph on that morning? Make sure you like what they will be wearing because it will live on in your photos.
Step 2: Santa (ehem) visits, eats cookies, drinks milk brandy, drops the presents under the tree, leaves without being seen :
This is obviously the part where the kids are asleep so you can do what you want. You could capture some ‘before’ images – the cookies and milk on the little plate. You could also try ‘creating’ a little magic and “catch Santa” in the act – a slightly blurry boot with red and white trim trousers leaving the scene is just one idea!
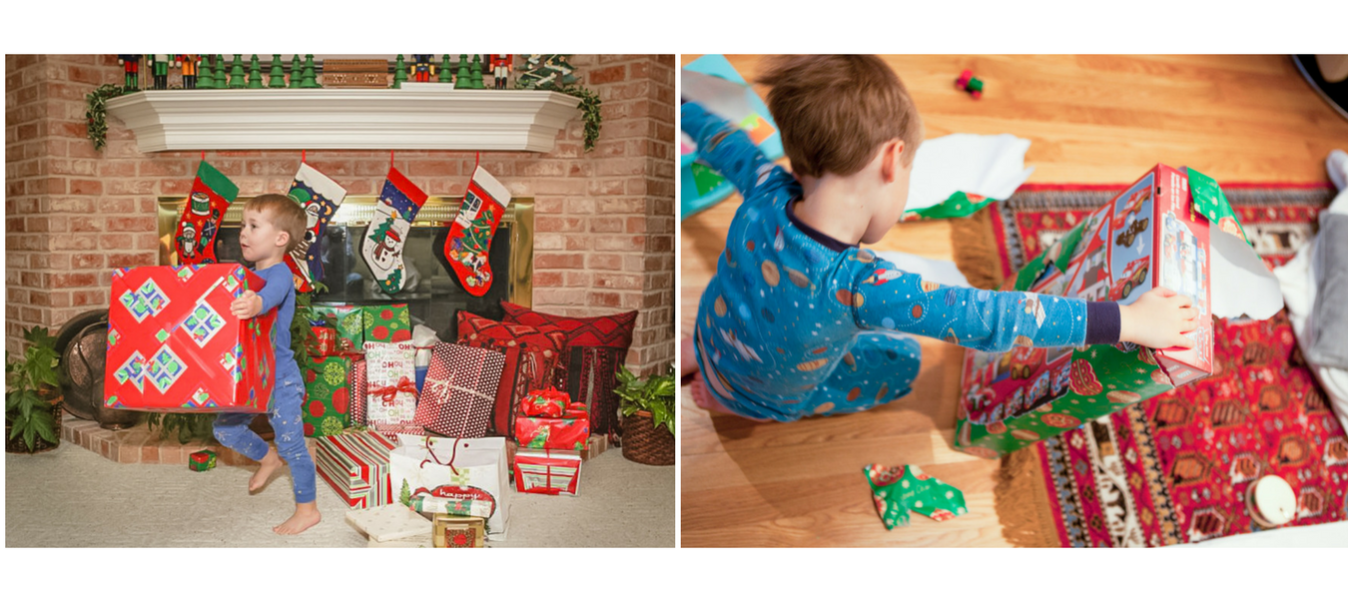
Step 3: Children wake up earlier than normal ( of course they do) and run to the tree to see if “Santa has been” :
Be prepared, be very prepared, because from this point onwards is going to get full on. Try and make sure that kids don’t start tearing up the wrapping paper without you there.
Step 4: Children excitedly tear into presents:
The energy is palpable and wrapping paper flies everywhere: try to interfere as little as possible and simply document the process.
Get someone to clear the packaging and the excess of the wrapping paper out of the way ( you may want some to stay in the shot – it provides context to the pictures).
Get the kids to show what they got and if there are any adults there who (ahem) helped Santa, try to capture the look on their faces too.
Don’t just shoot the images of the kids too – look for other elements that tell the story and bring the focus on them, with or without the kids in the background. Get some wider shots as well as the tight frames and keep in mind the whole picture.
If you’re taking a picture of your child being excited about a toy – don’t just take a tight crop of their little excited face – make sure to include in the frame the source of that enthusiasm as well.
Vary your shooting angles – try an ‘aerial’ shoot – with your camera’s zoomed out as much as possible ( shortest FL) and positioned directly above the kids; shoot from the floor level, taking in all the unwrapping debris along the way.
Think about your first, second and third plans at all times. Get yourself in on the photos – pass the camera along to someone else or set it up on a tripod. Even if the photos end up less than perfect, they’ll still be a cherished memory.
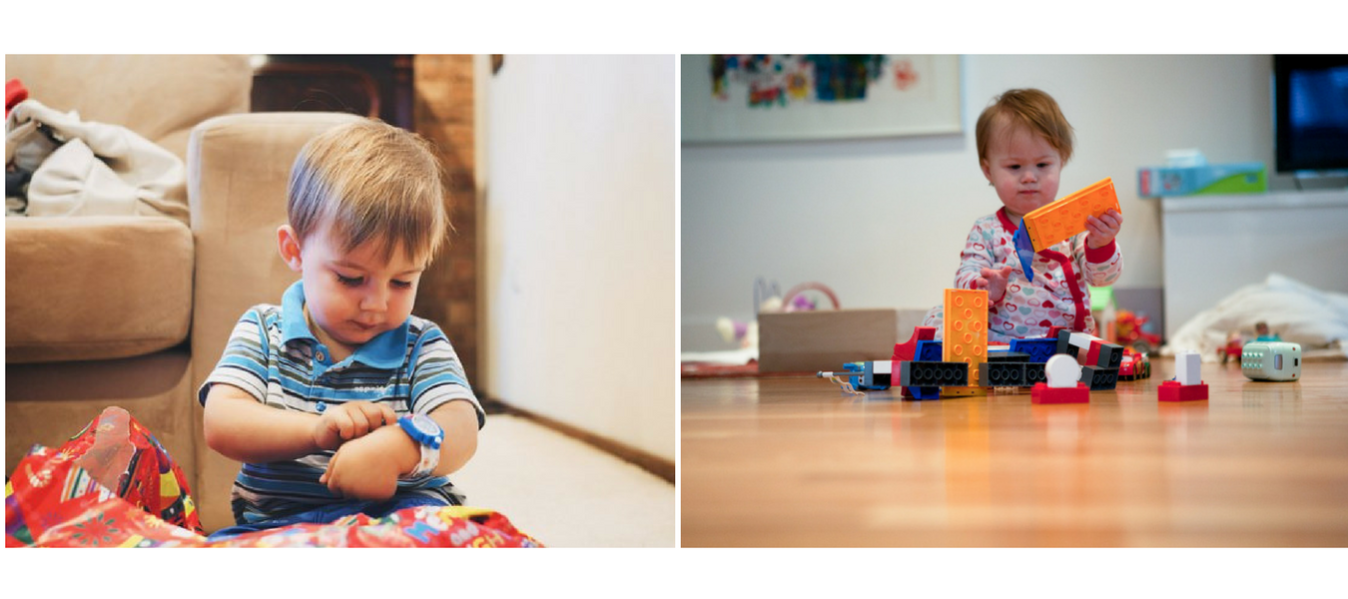
Step 5: Children calm down and play with the toys:
You can take a bit of a breather now, the key elements are captured and you can now relax a bit. Don’t put your camera away completely yet – get at least a few of the calmer, fully immersed in play images – they tell the story as much as frantic, opening ones. If other members of the family are present and are interacting with the children, make sure to get those images too – we come together for Christmas not just for presents after all, but to cultivate, celebrate and nourish our family ties. Get them into your camera too.
Your camera settings:
YOU WILL MOST LIKELY NEED FLASH. Unless you live somewhere with a lot of light, all this fast paced action will require a fast shutter. And at this time of the year, in this climate, unless you have a fast lens with a wide aperture and hike your ISO up high, that’s just not going to happen. So try the flash hacks we mentioned earlier – diffuse your flash, bounce the light off another surface, decrease the flash power to create less intrusive images.
For that Flash enabled part of the shoot, keep you aperture wide, ISO around 400, shutter at 1/180(ish)
Once the kids have calmed down and are simply playing with the toys without racing back and forth at the speed of light, you can try to turn the flash off and try to increase your ISO, max your aperture and turn your shutter down to around 1/100s instead. Test it and see if the images are coming out sharp. Don’t trust your LCD screen on the back of the camera completely though – zoom in on the images after you’ve taken ( look for the magnifying glass symbol on your camera body – that should enable you to do that) to verify they are not suffering from the dreaded camera shake.
HOW TO PHOTOGRAPH CHRISTMAS LUNCH / DINNER
Christmas dinner is one of my favourite times of the year – I love the laughter, the food, the silly hats and the chance to catch up with relatives who seldom appear in our lives at other times of the year. But from a photography point of view, it can be a challenging exercise.
The challenges
The Light
The light is going to be tough – that’s a given. Unless you have a fast lens ( a prime lens with a wide aperture such as F1.4 or F1.8) you have no chance of capturing the events with natural light only. If you do have one of those, crank your ISO up until your shutter speed reaches at least 1/60s ( though higher is better and will give you better chance to catch it sharp) and shoot away.
If you’re using your camera on auto and with just a standard lens, you will need to rely on your flash. Ideally, you’d like a detachable flash with a swivel head which you will be able to point towards a ceiling or a wall – bouncing the light disperses it and gives a much more natural effect.
If you don’t have a detachable flash, you can still hack it by muting your flash or softening it ( or both).
The subjects:
You may have trained your family to ignore your big camera, but your other relatives might find it off-putting to be at the receiving end of your lens. If you pre-empty it by saying that you want to get just a few pictures of everyone to create a Christmas photo album that you’ll send to everyone you may get more cooperation. Try to get everyone to be included in at least one photo, but don’t go crazy.
The space:
If your house and your family is anything like mine, you know it will be cramped. There will be little space to move around, let alone manoeuvrings with your camera. Just accept that it will not be the time to get these creative, multi-angle shoots and instead get clever with selective focus and shooting between people and objects. Best to go for a candid approach, simply taking unobtrusive snaps when people are engaged in chatting or laughing.
The settings:
If you want to take the least obtrusive approach and you use your fast lens, make sure you choose a wide aperture and high ISO. If you’re shooting with flash, you can lower your ISO. When you’re taking photos of groups, to make sure you get everyone in sharp focus, up your aperture – the rule of thumb is to set your aperture number to be around the same as the number of people you’re photographing but that can cause some issues bearing in mind your light situation. Instead select a short Focal length and an aperture no higher than around F5.6- that should be perfectly sufficient for what you need.
What to photograph
The prep stages:
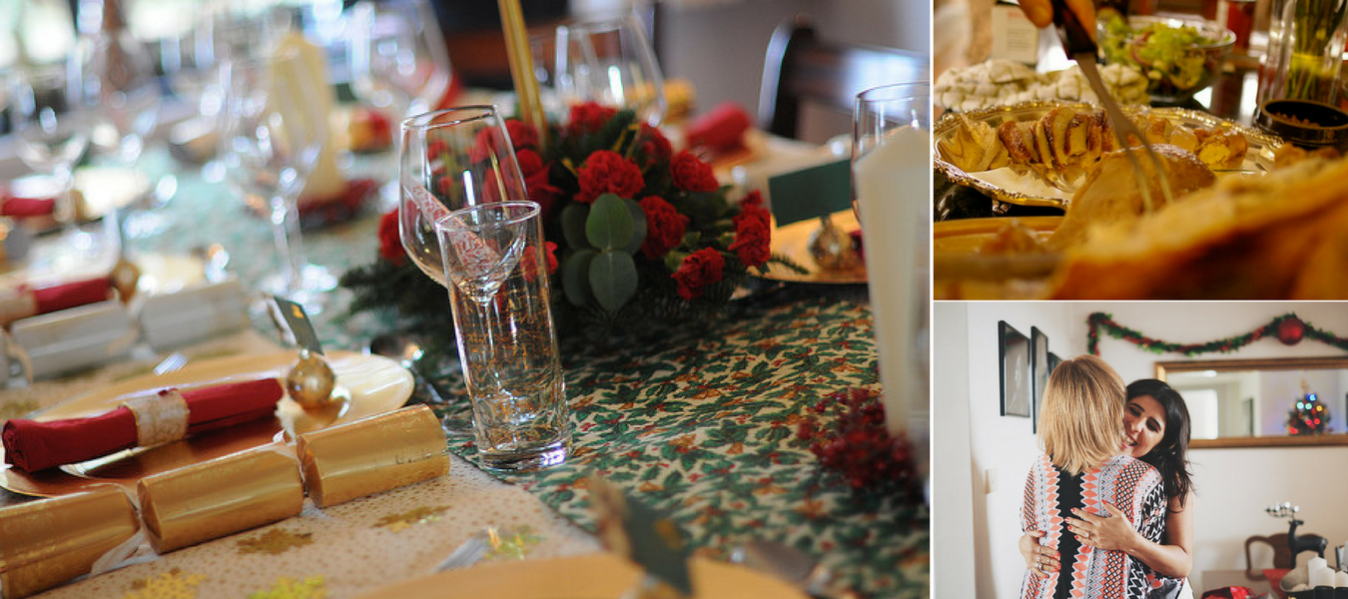
All that delicious dinner certainly did not cook itself. Especially if kids are involved, try to make sure to include a few shots to memorise it. Don’t forget to capture the beautifully set out dining table before everyone sits down. Use a wide aperture to bring focus to festive details and relatively flat shooting angles to create depth in your images. I would highly recommend that you add some twinkling fairy lights in the background to add to the festive feel.
The Dinner itself: Get in there early, before the food gets portioned up and devoured. Get the picture of the cook with their proudest meal element. Certainly put your camera down though when everyone starts eating – there is simply no way of looking presentable with a mouth full. Capture the fun of pulling open the Christmas crackers, making sure to capture people’s reactions to their Christmas crackers surprises. If you set the Christmas pudding alight, dim the lights before and crank your ISO up – that’s definitely not a flash moment. Get people to raise their glasses for you.
Think about context clues in your images – is it obvious these are images of Christmas foods? Can you add something in to make that clearer – use your foreground and your background to bring the context clues in, but a couple of holly leaves or festive napkins will bring it in as well. Include other dishes in your background too – preferably in soft focus.
Get in there quickly – there is nothing as appetising as images of food with the steam still rising and nothing more infuriating than seeing your food go cold because somebody is fiddling with their camera
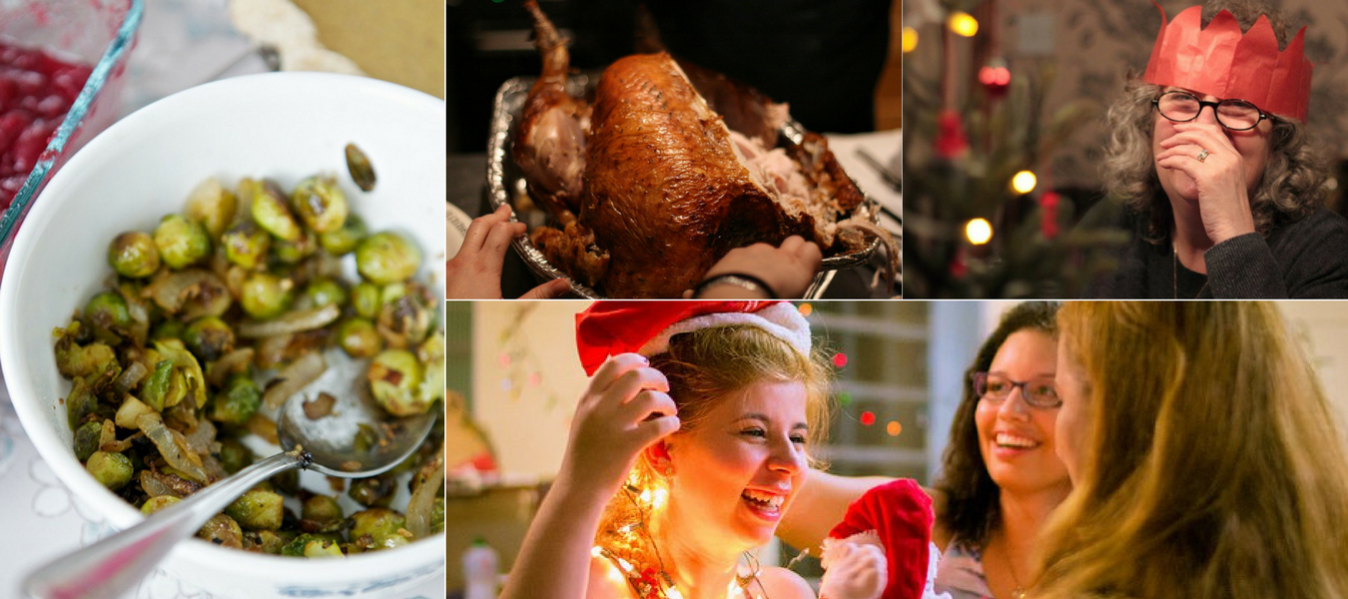
The social interactions and post-dinner fun:
Make sure to try and capture the fun and enjoyment of the social gathering – complete with the silly hats and novelty Christmas jumpers. If people are exchanging gifts, make sure to capture a few of those moments, but don’t shoot every single present and every single person – not only will it get tedious and nobody will want to look through it later, but you will miss all the fun of actually being present in the moment.
If you’re taking photos of people relaxing afterwards ( and you should!), Try to avoid taking images of people slumped on the sofas – this creates multiple chins and a posture which adds on at least a few pounds ( and who wants to see that after just indulging in a large dinner) – just getting them to lean forward a little will make for much better photos which they are less likely to hate.
PUTTING YOUR CAMERA DOWN
The last thing to cover is really the one element that goes against everything we just discussed – and that is – to put away your camera, get your mind out of the ‘photographer mode’ and simply enjoy the holiday and your family’s time. Yes, it’s great to capture the memories ‘in camera’ but it’s even better to be a part of them, create them and etch them in your heart.
That “shot list” you wrote – half it or bring it down to just a few key shots. You will thank yourself in years to come.
And with that, we’re closing this Christmas Photography Bootcamp.
We hope it will help you create wonderful memories and take some of the stress from photographing the Holidays away.
Merry Christmas from the Photography for Parents Team.
NEXT : everything you could learn from our Fundamentals course