Today is about that 1 object that has a special Christmas significance to you.
The gem in the sea of identikit shiny plastic baubles.
The old – and slightly dented decoration you made when you were 5, the clumsy angel your kids made in preschool, the blown glass intricate star which has been in your family for some time or a decoration dedicated to someone special in your family.
Whatever it is, you always make space for it in your tree or your mantelpiece and once the season is over, carefully put it away till next year.
We all have those. And today’s challenge is about celebrating and really featuring that special object – or objects.
And here are our 10 ways of capturing that one object so that it really shines.
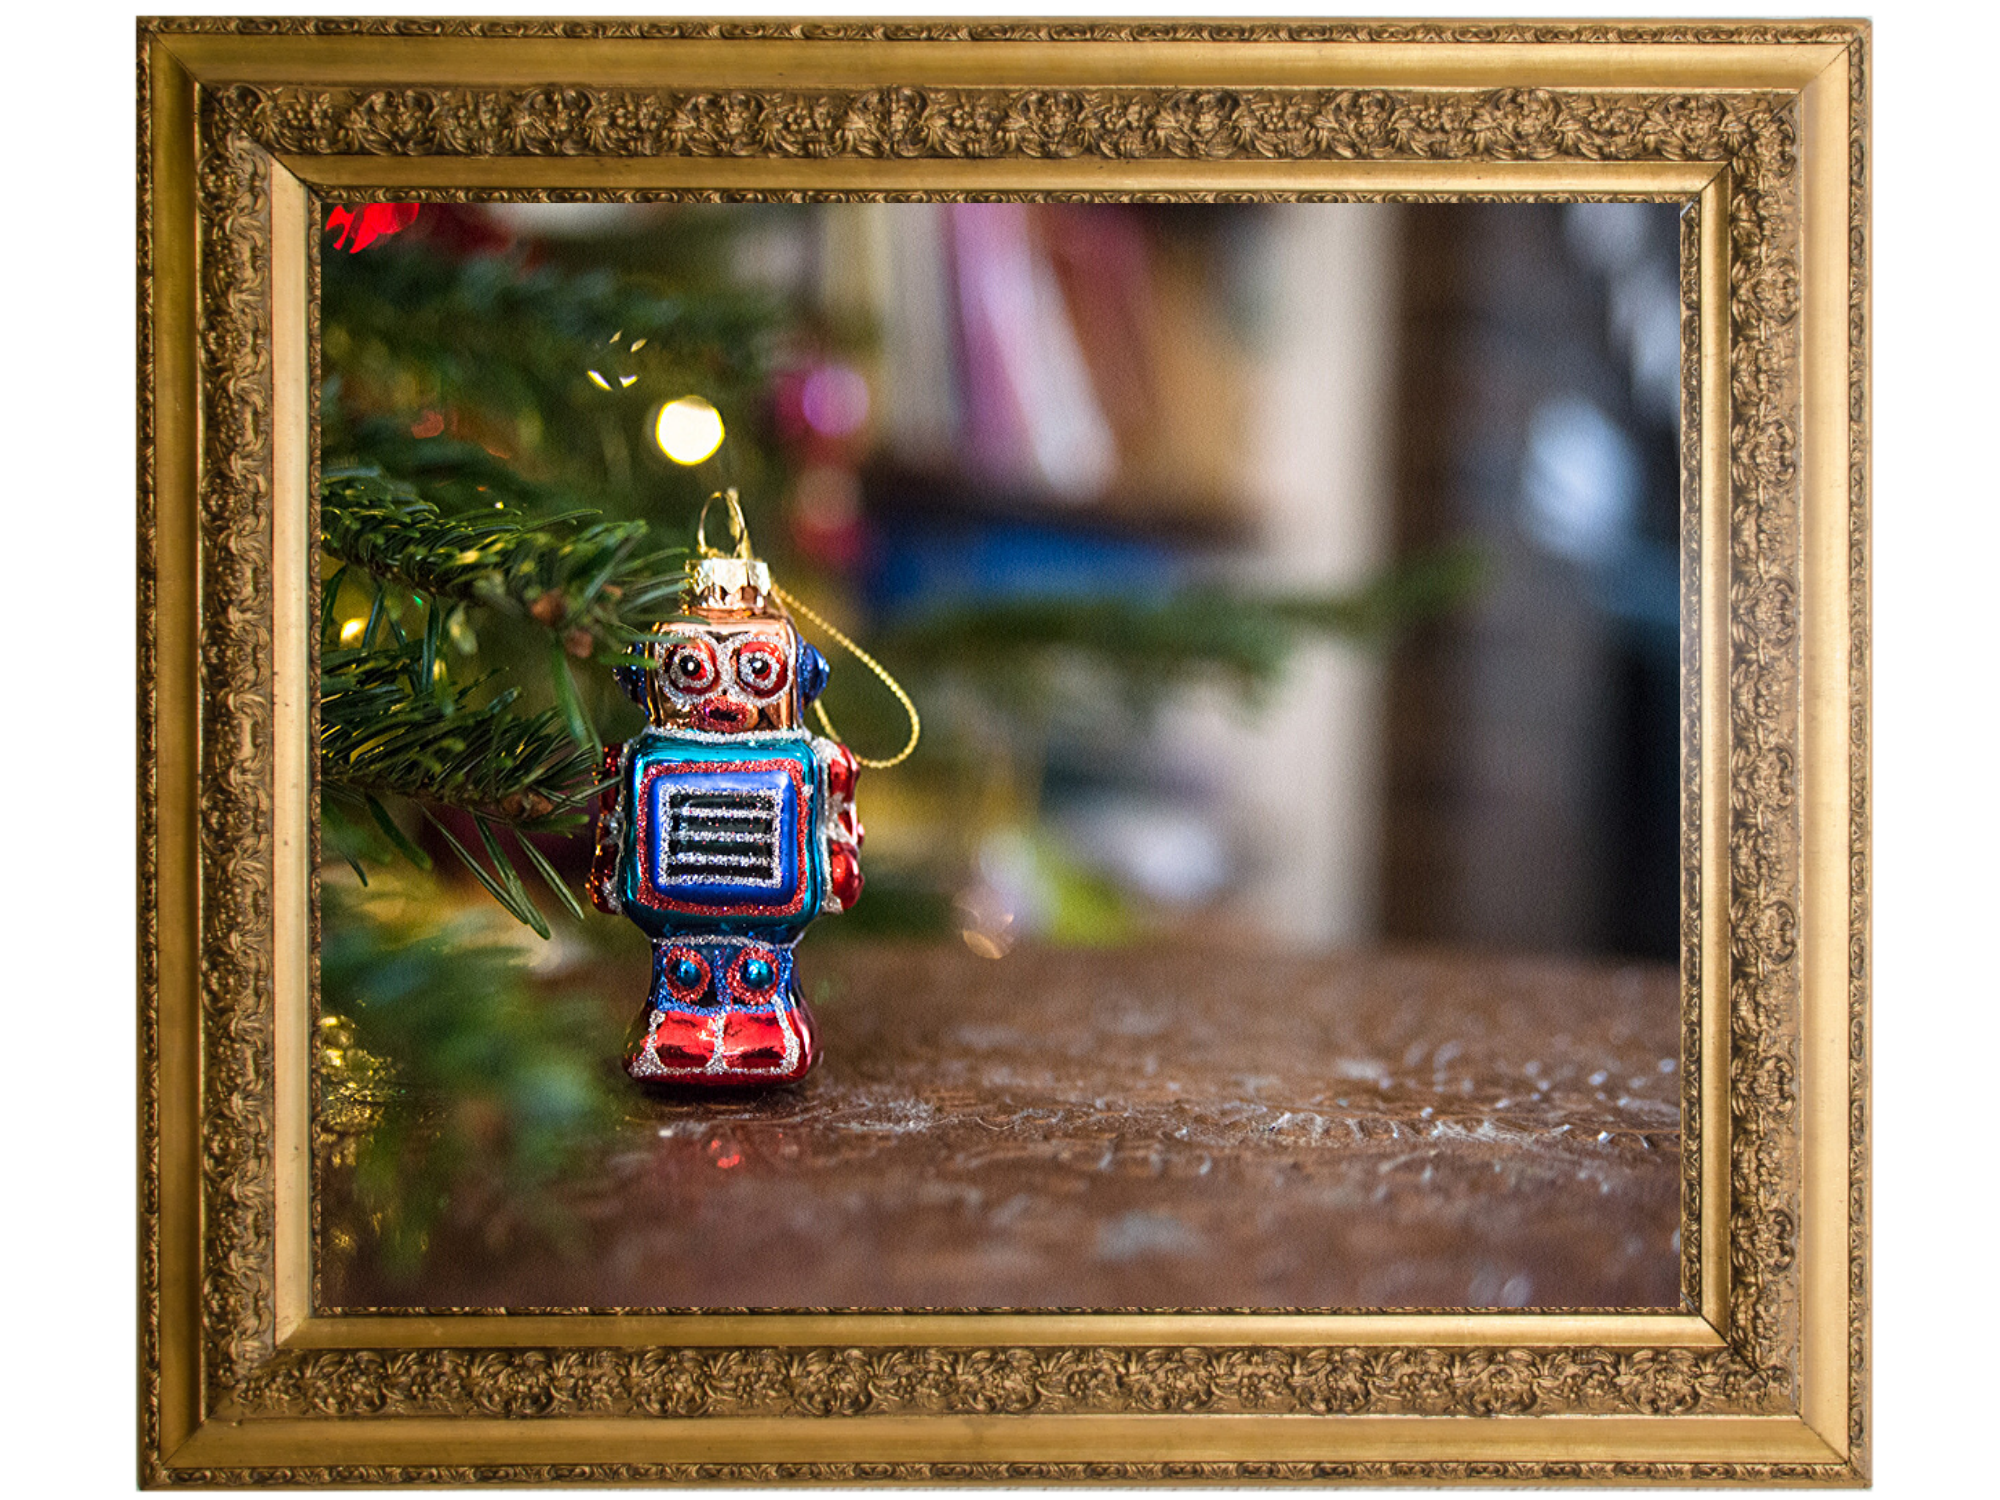
1. Make it stand out against a blurrier background
That decoration – it’s special, it’s unique, it’s unlike all the others. Which is why, your key focus should be on making it stand out in the frame. It should be the first thing the viewer’s eye will go to.
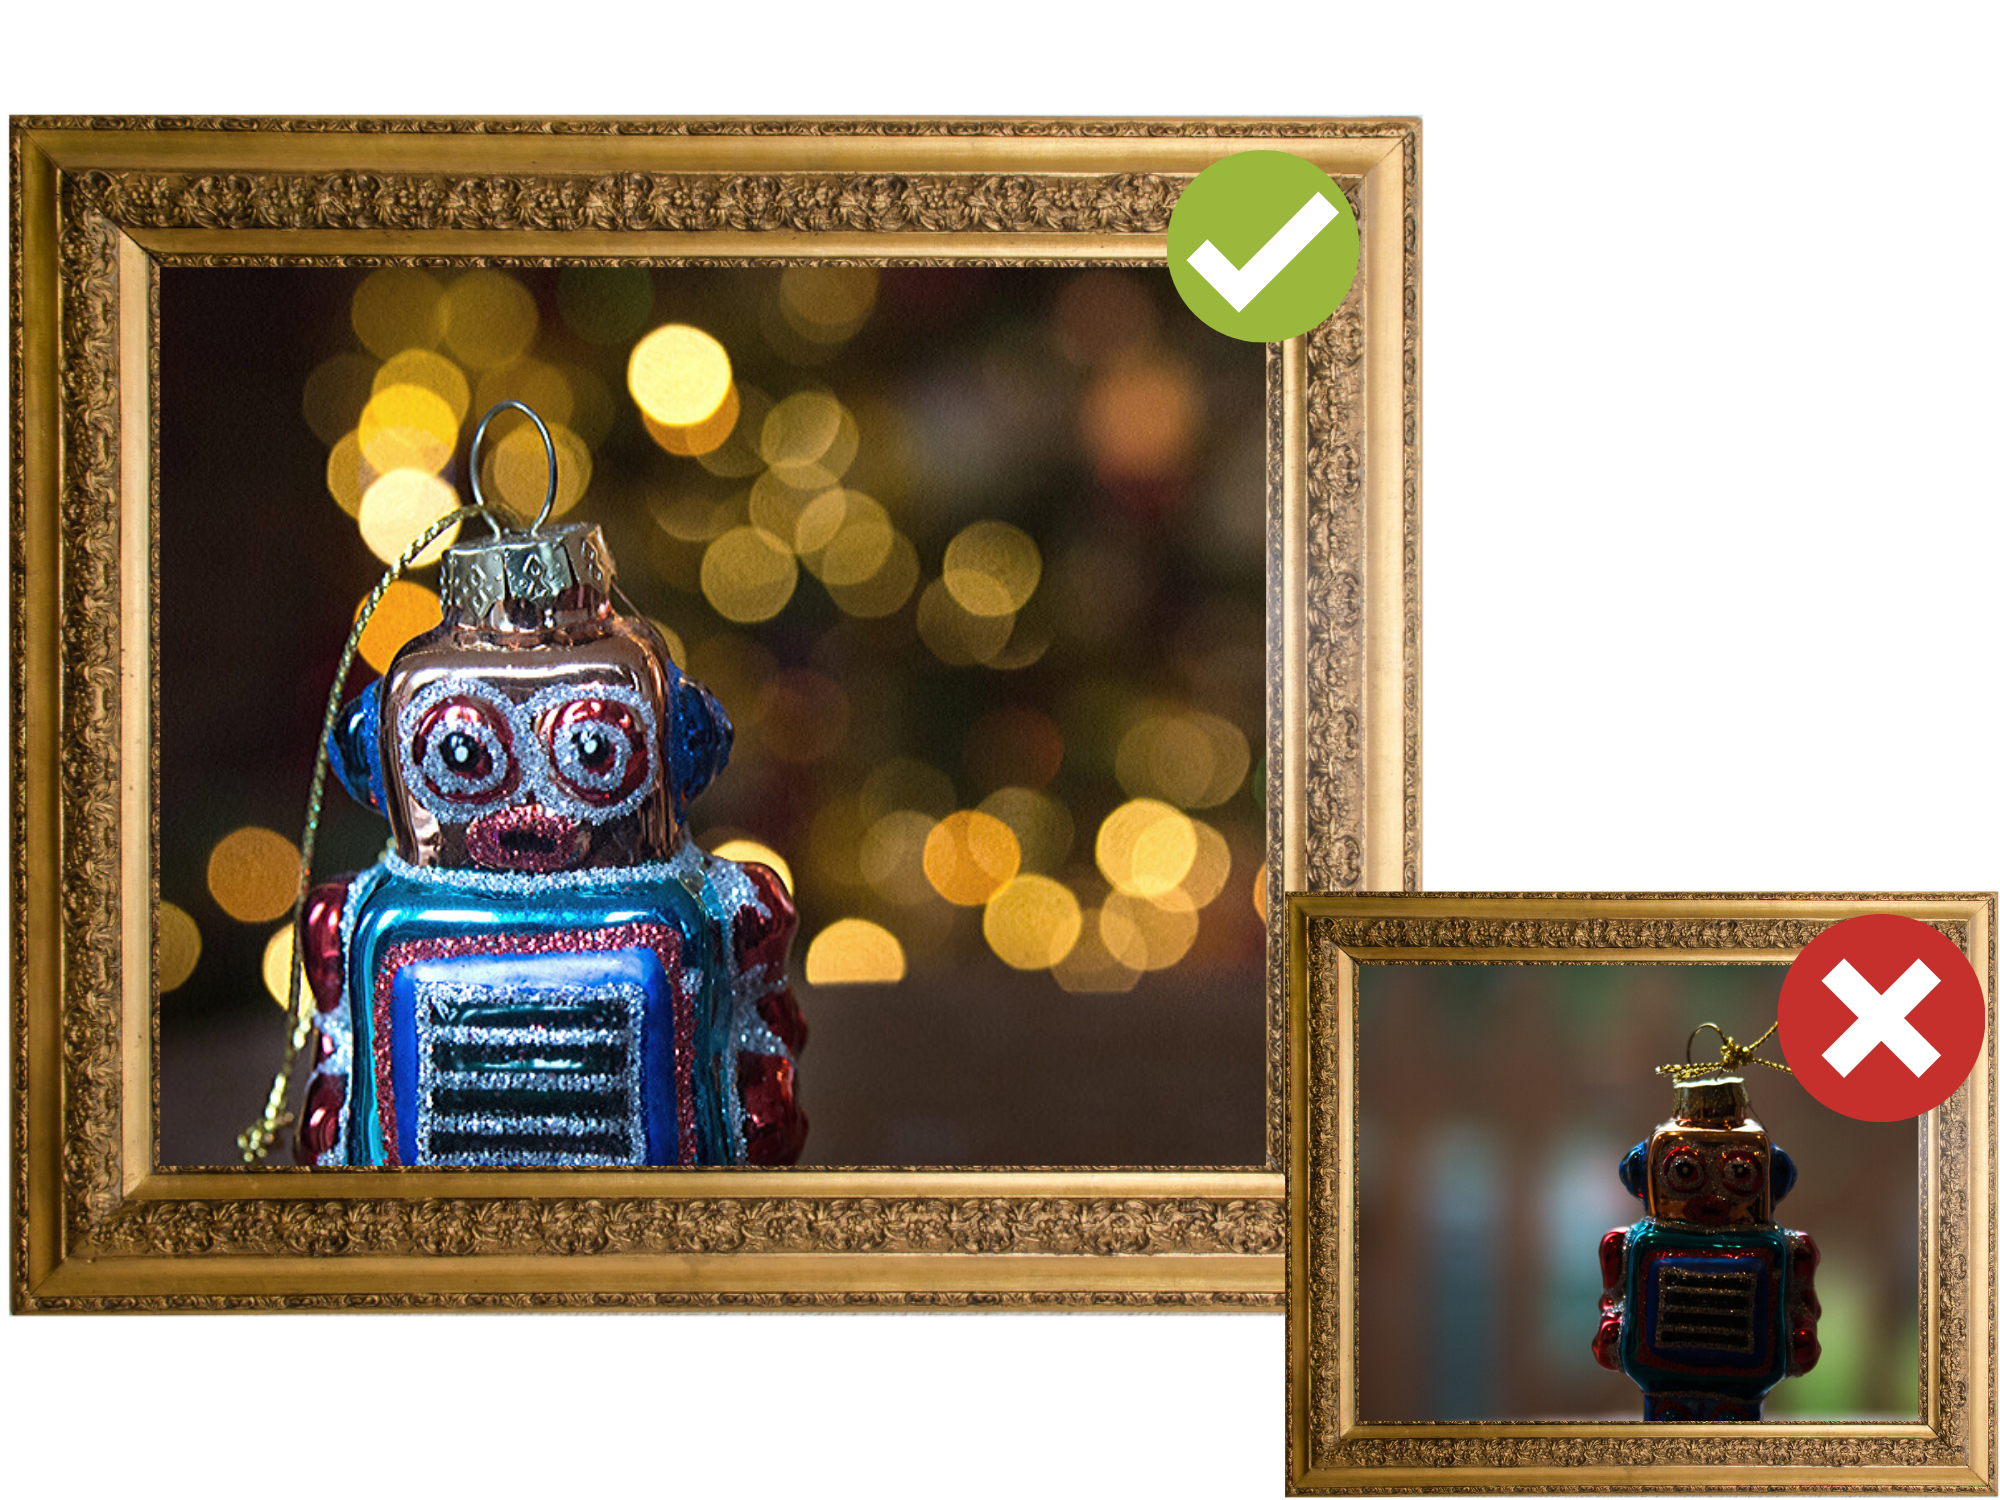
Sharp vs blurry – shallow depth of field.
Our eyes are conditioned to always go to what’s sharp in an image so setting your sharp object against a blurry foreground and background is one of the best and easiest ways of making it stand out. If you have a lens with a wide aperture like F1.8 of F2.8 – set the aperture nice and wide and in a priority or manual mode and you’ll be sorted. If you don’t have one and are using your camera on auto, you’ll have to cheat a little : use the longest zoom you have, make sure that your object is a fair distance from the background, get physically close to the object with your camera and shoot at a flat angle, with your camera at the same level as your object, parallel to the floor. It's the same principles as with creating bokeh that we learned in the last lesson.
2. Create light, colour or textural contrast
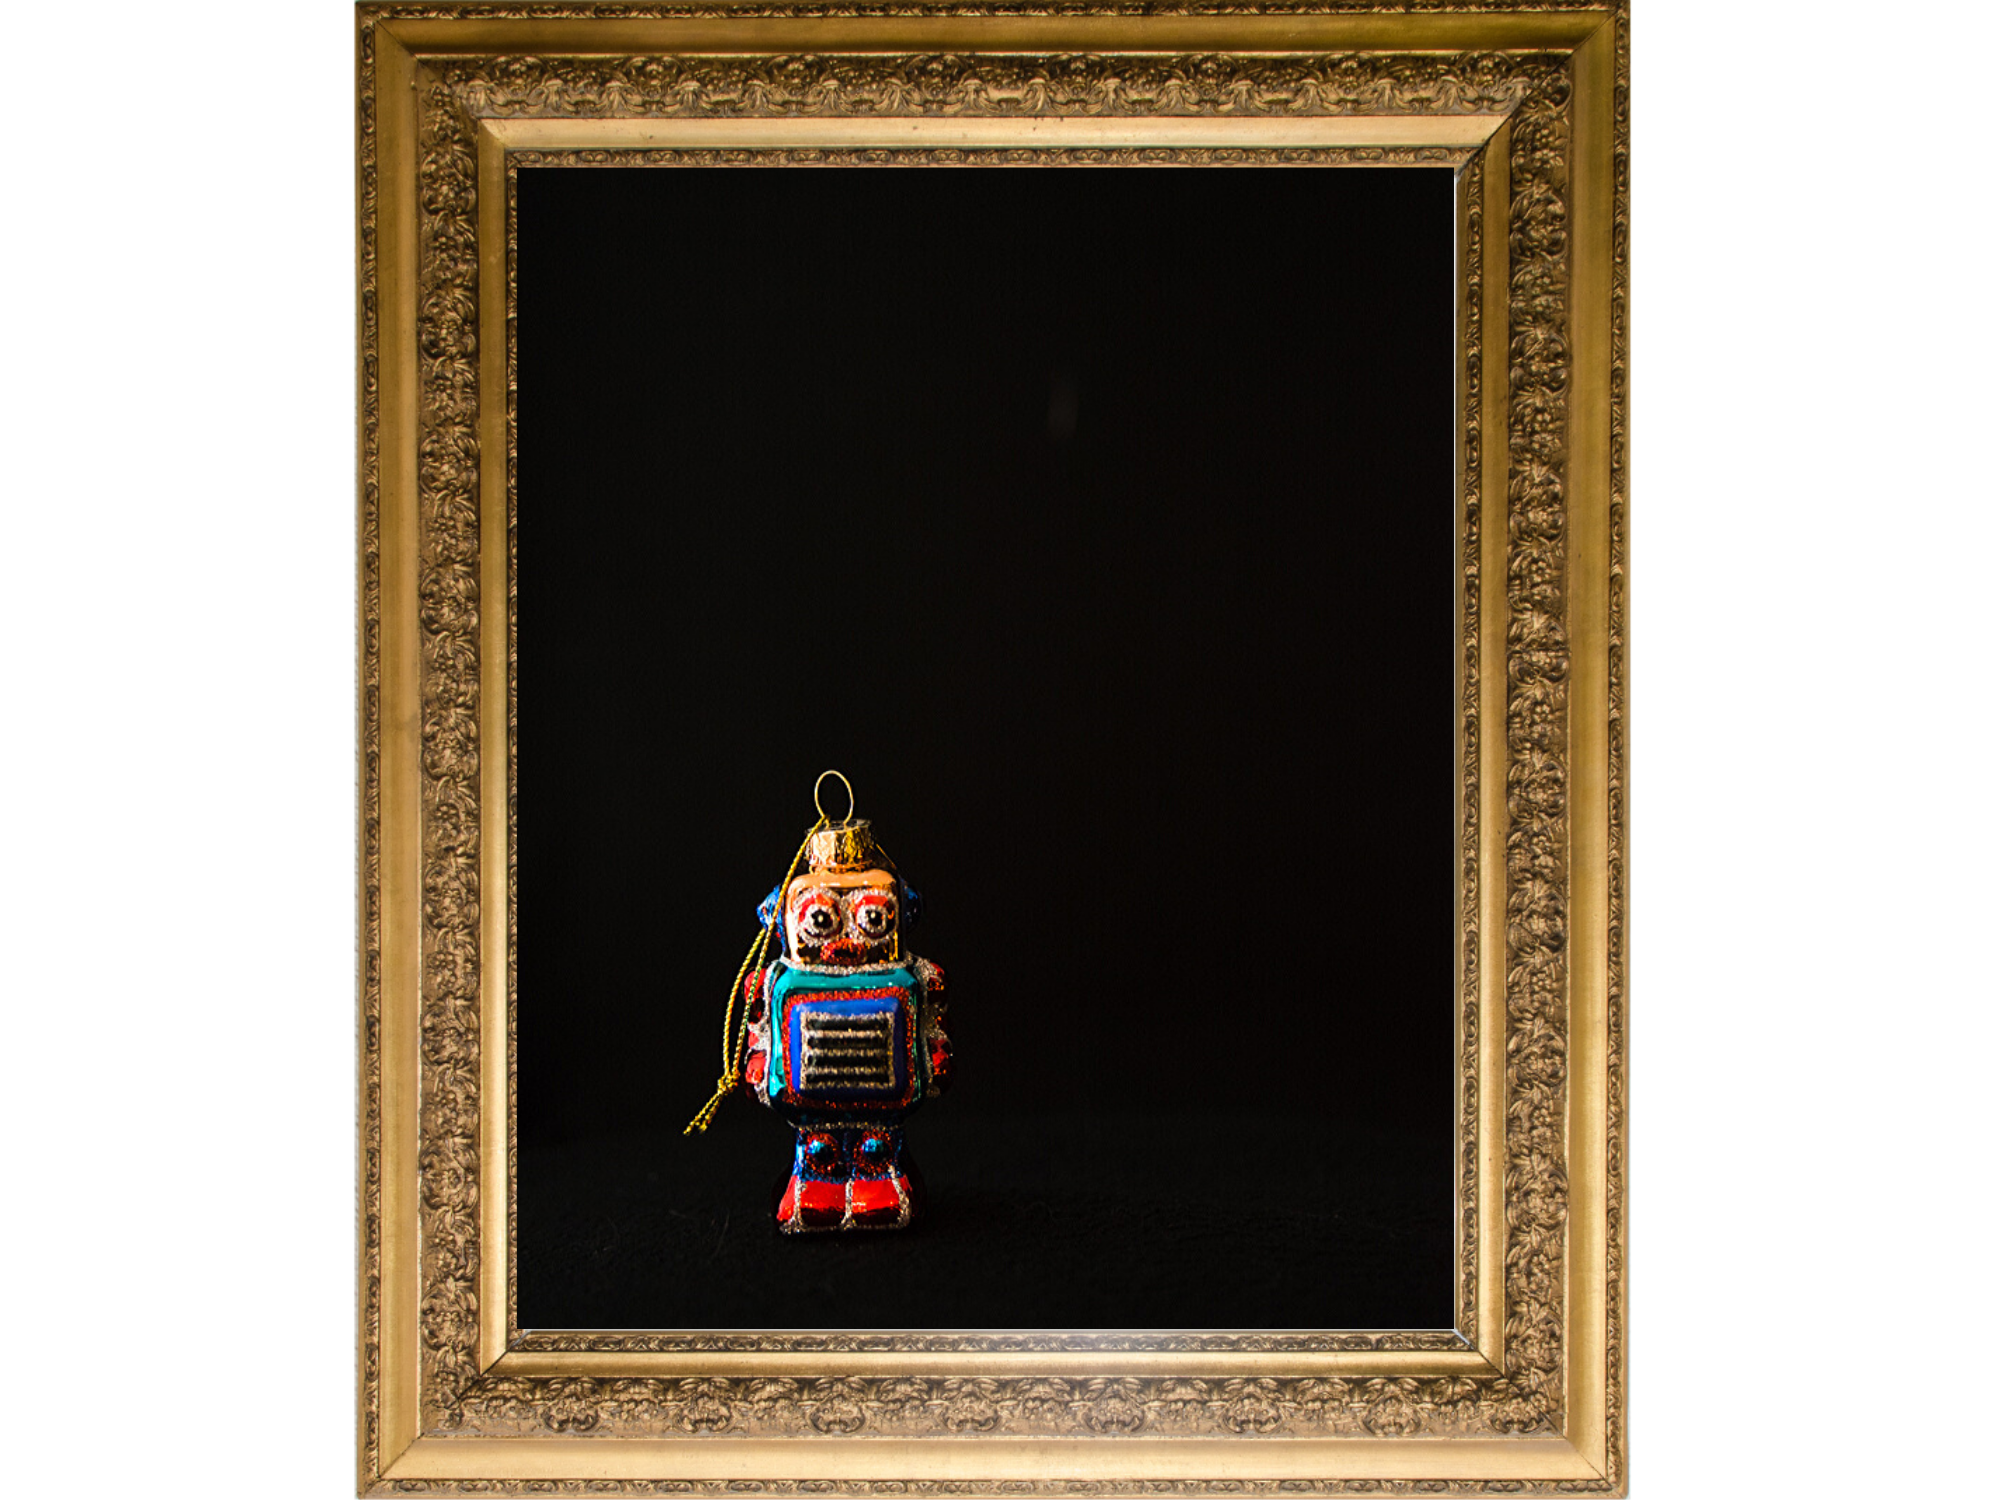
When everything is the same brightness or hue, nothing stand out so use light or colour contrast to make your subject stand out. Place a saturated colour decoration against a simple white or black background, make it stand out in light agains a darker background. The same way as colour or light, texture can bring your subject into a spotlight as well. Think something shiny and smooth against a rough backdrop or something textured on something a smooth and silky
3. In the middle is not always best
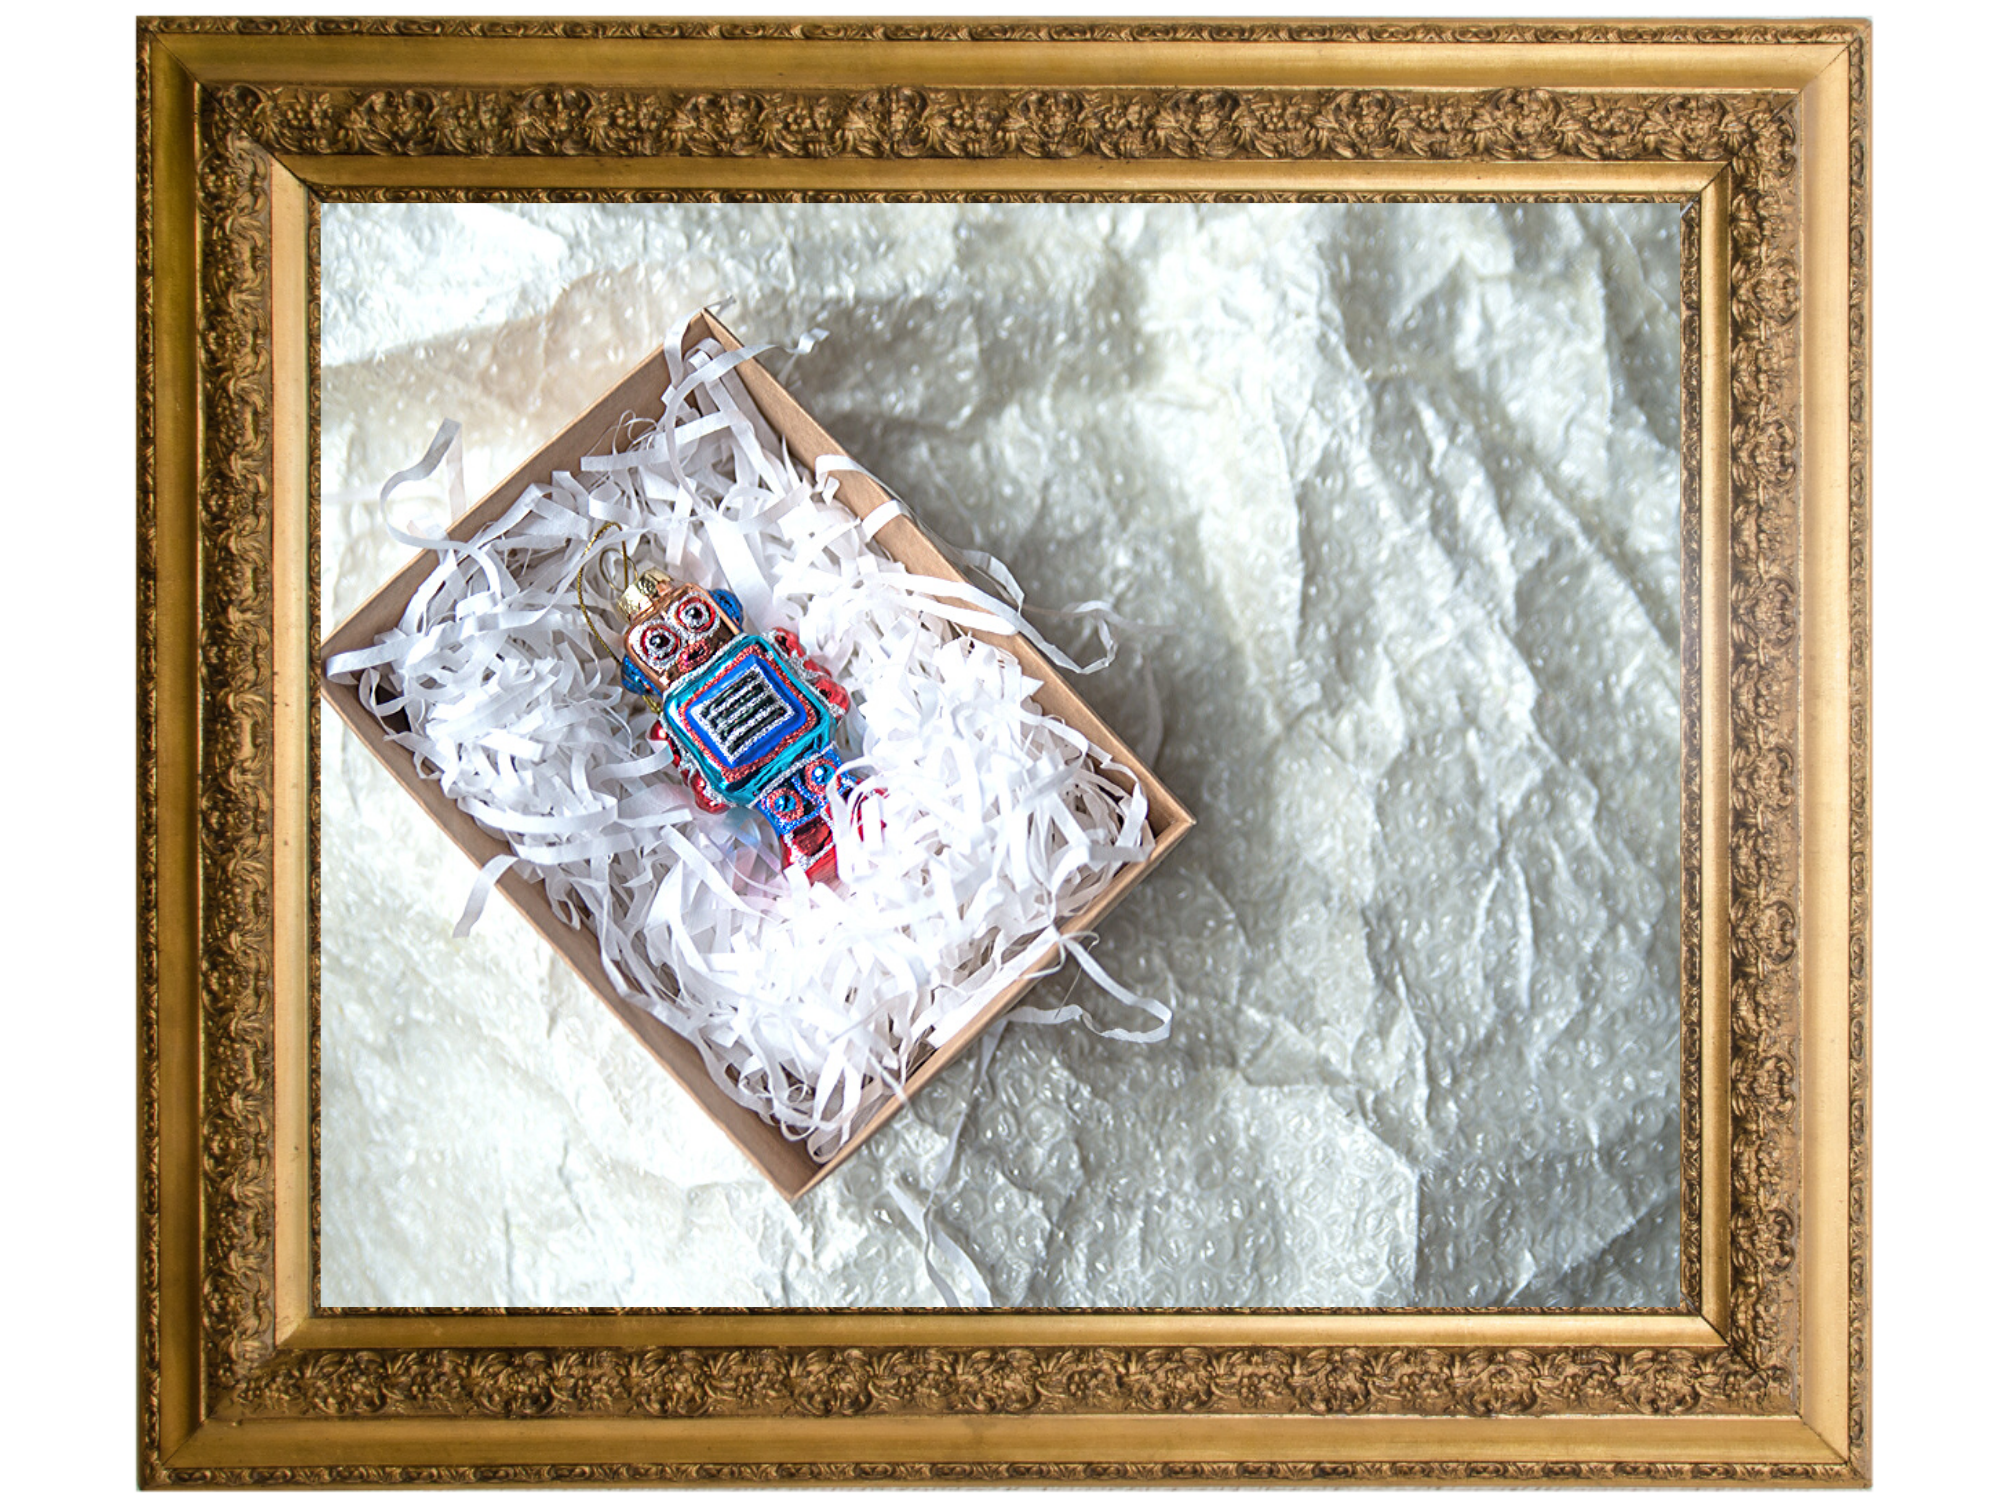
Without going into too much detail into why, remember that central composition - putting your subject bang in the centre of the frame - is usually not the best. While it might work in some cases – where there is a strong symmetry or other elements on the image point to it, in many cases you’ll be better off to a side a bit. Simplistically speaking.
We teach a lot about composition in our courses - and it goes way beyond the simplistic 'rules' you may have read elsewhere. We consider it all from the point of view of how our brains understand visual information and from visual storytelling point of view.
4. Get your light right
Pay attention to your light – that will make or break your image.
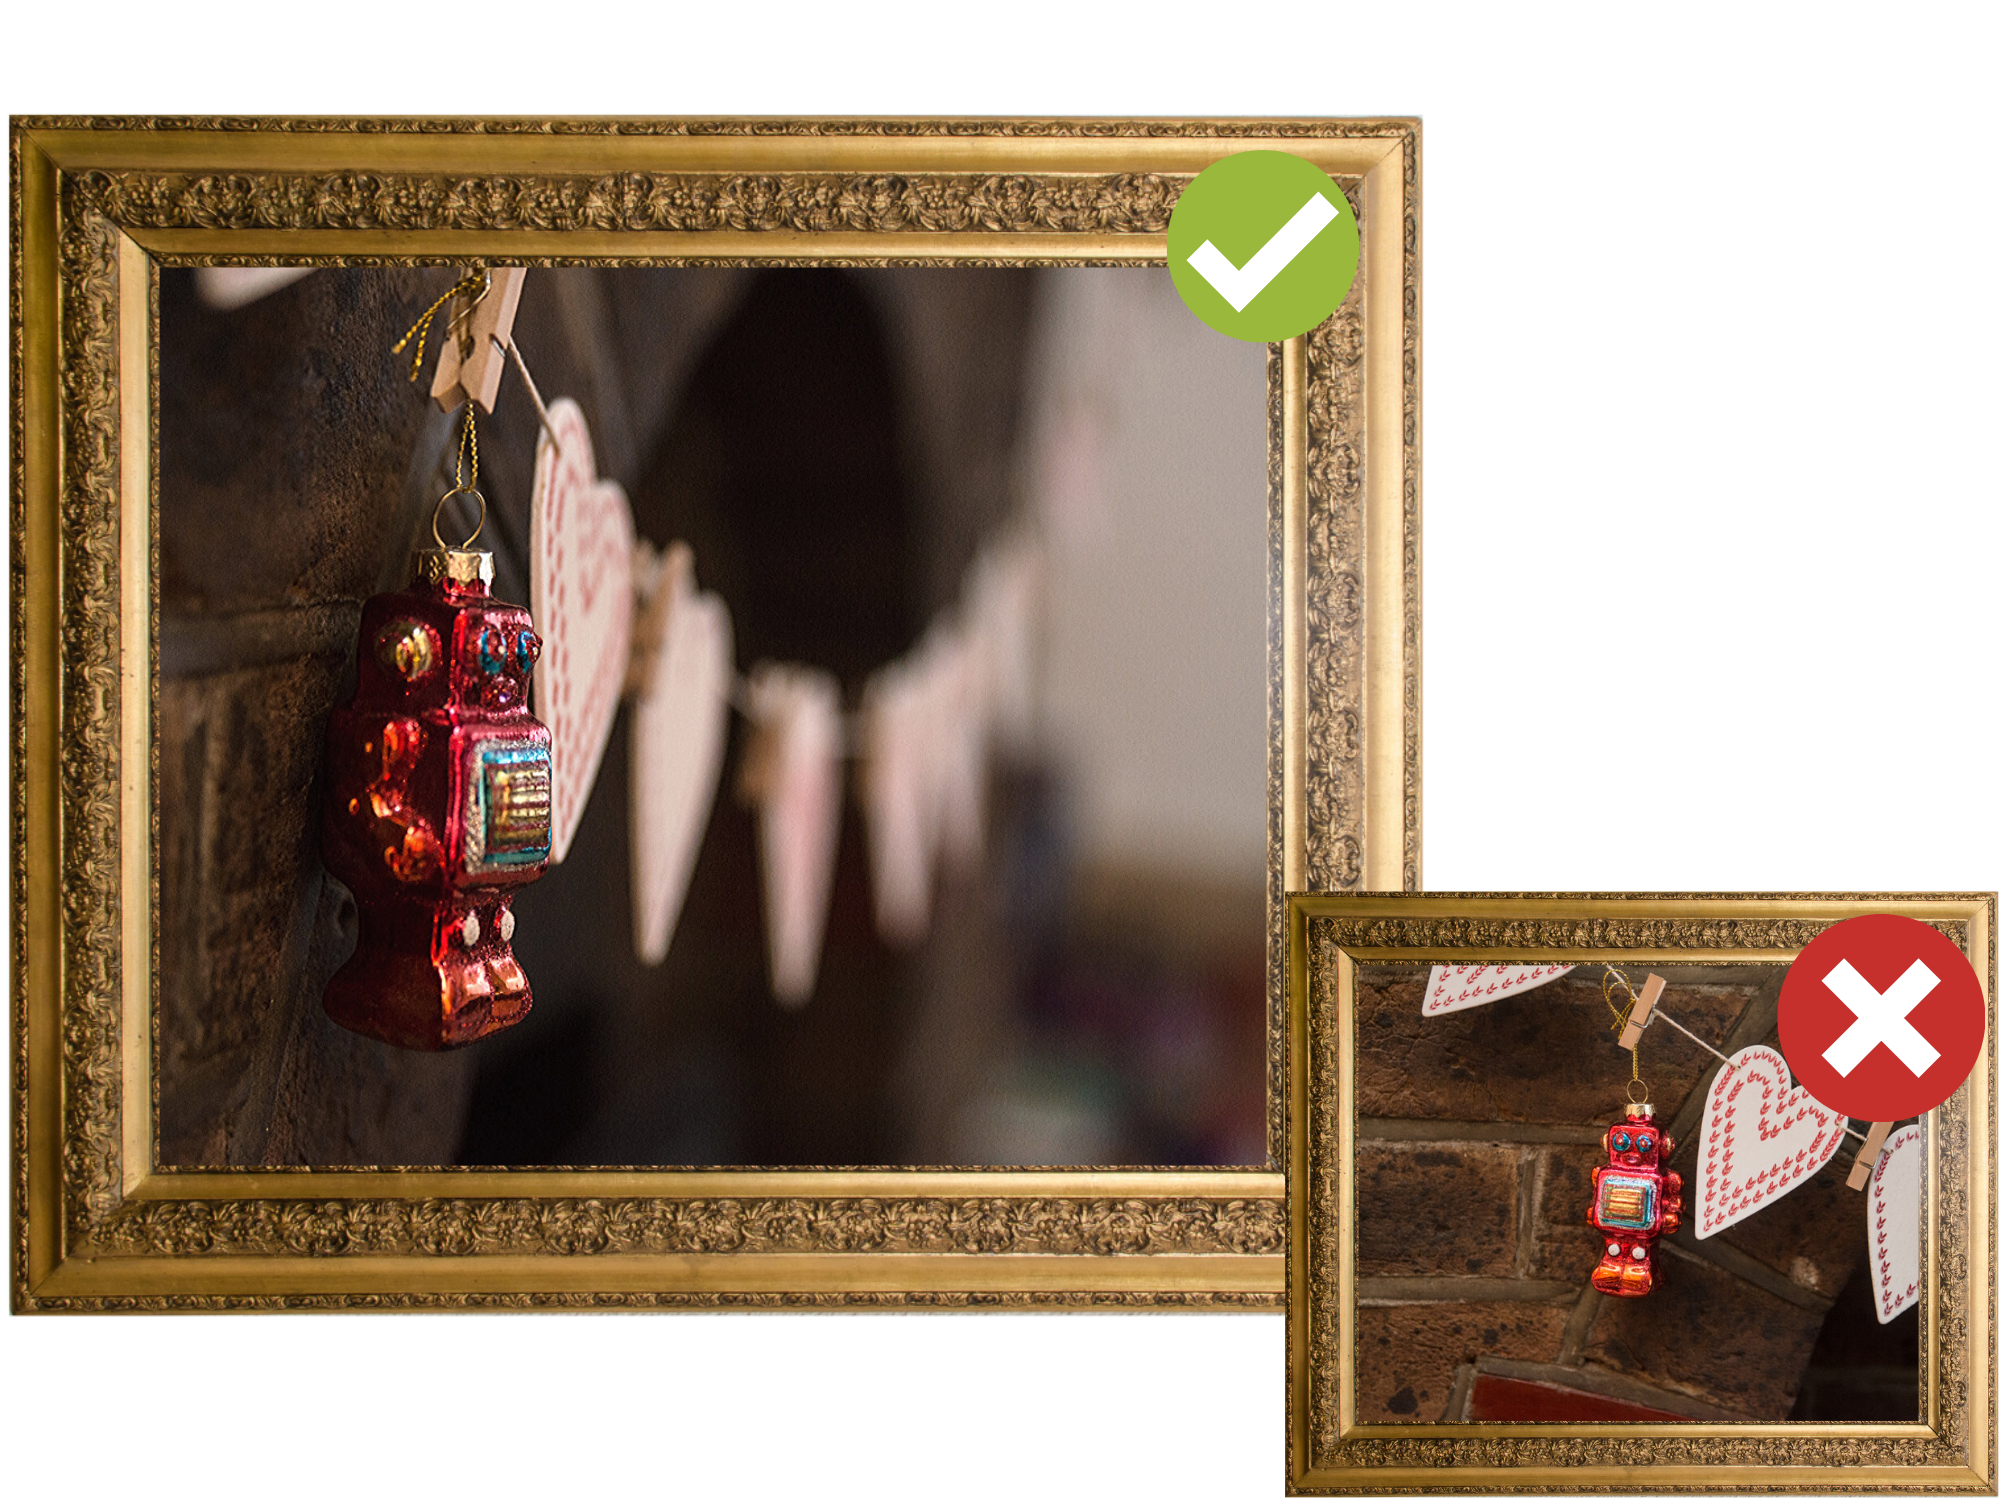
Think about the direction of your light – where is it coming from? What’s the angle it’s falling on your subject? In general, unless you are comfortable with shooting in manual, avoid placing the source of light behind your subject.
You want the light to highlight and lift your object and not for it to hide in its own shadow.
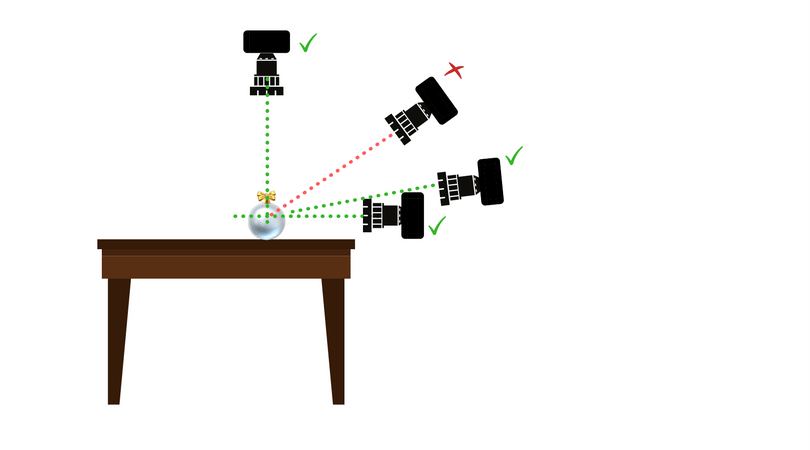
5. Shooting angles
I find that flat (or nearly flat ) or perpendicular angles tend to work best for this kind of photography. What does that mean? Angles where you are parallel or nearly parallel to the ground are better than a 45 degree angle kind because they allow you to build more depth into the image. If you want to do something else, shoot perpendicular to your surface – at 90 degree angle for an aerial view.
6. Negative space
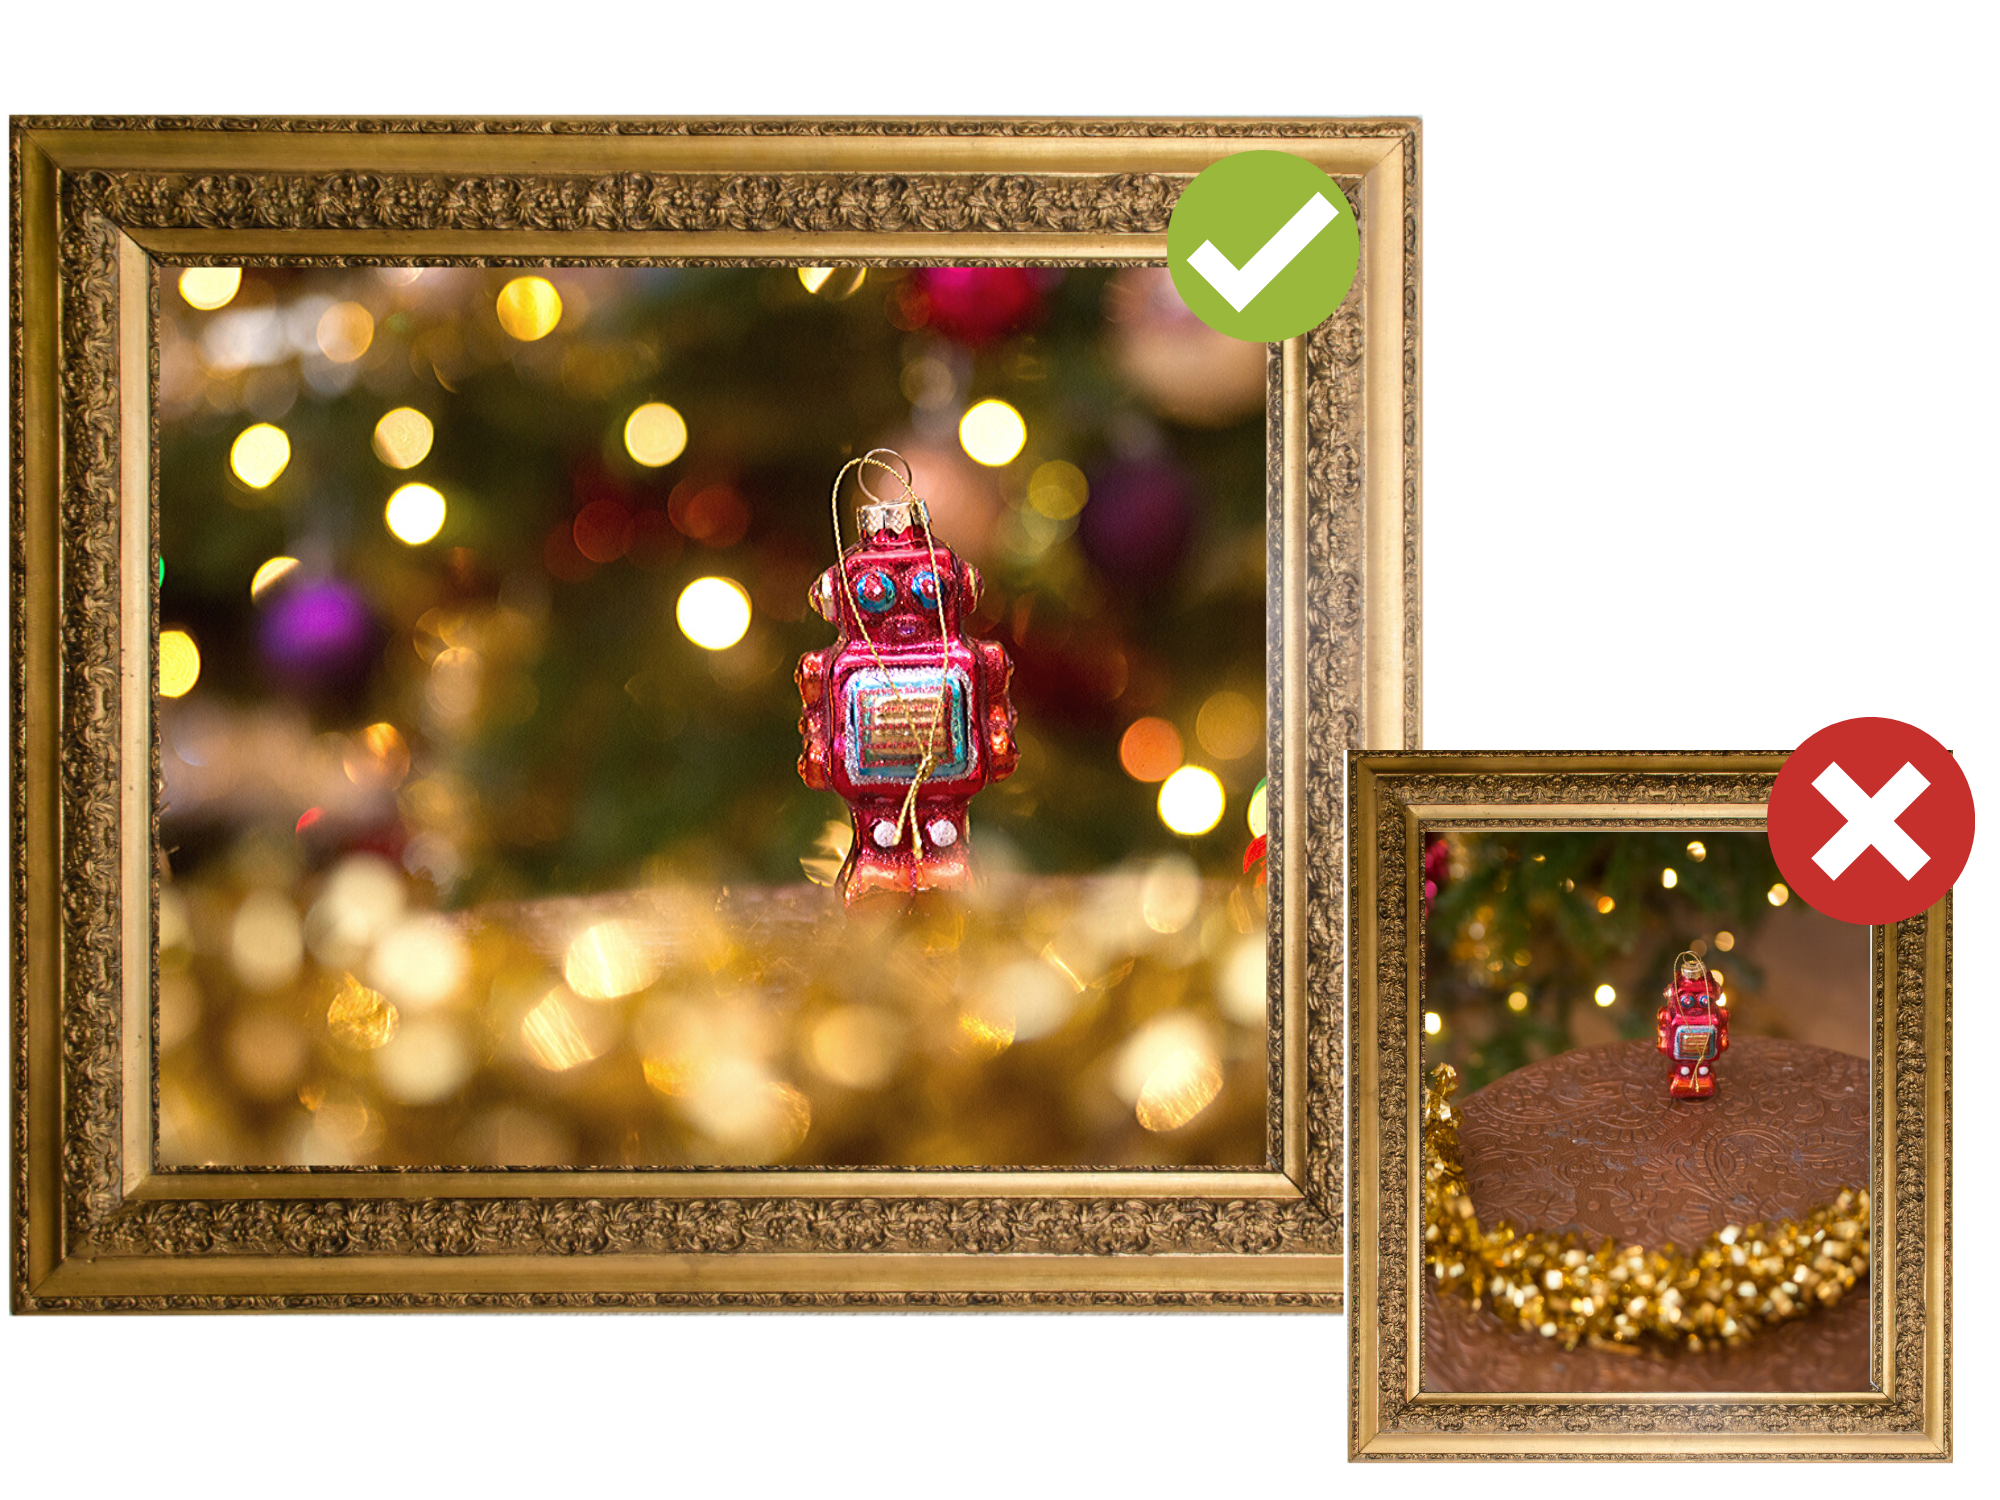
If you’re at the start of your photography journey and started reading up on composition etc, you must have at some point come accros someone saying to ‘fill the frame’ with your subject. It’s true to a degree, but what I found is that students often interpret it as squeezing out every inch of the space that is not their subject. That is a mistake. That space around your subject ( we call it negative space) is your friend. it’s there to help present your subject. Cherish it and use it!
7. But yeah, fill that frame too
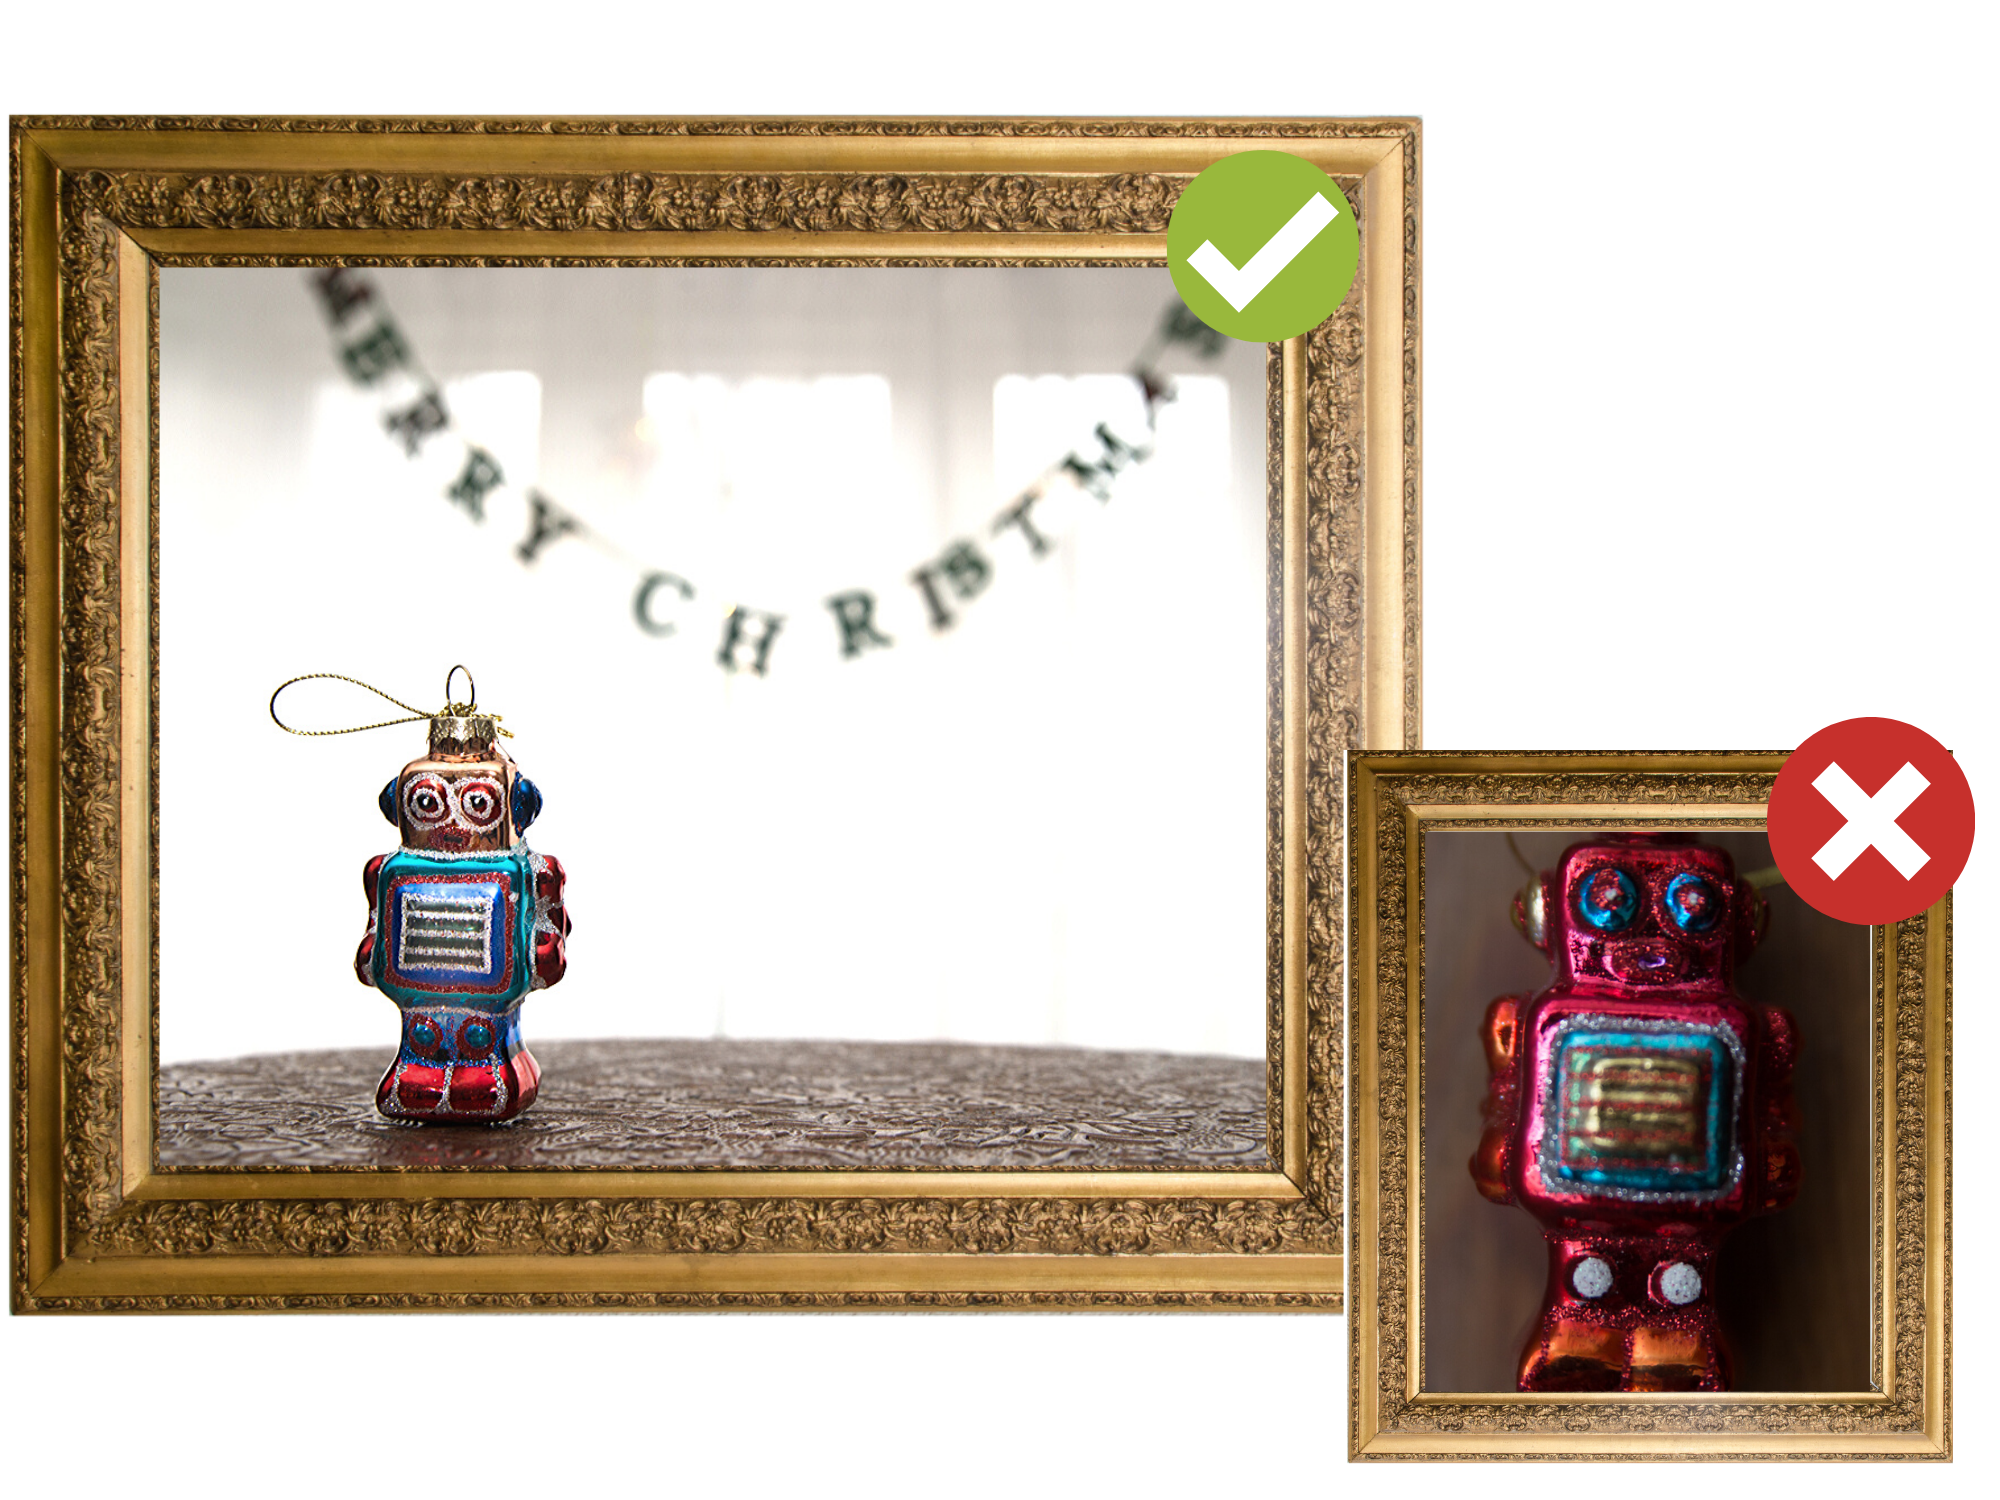
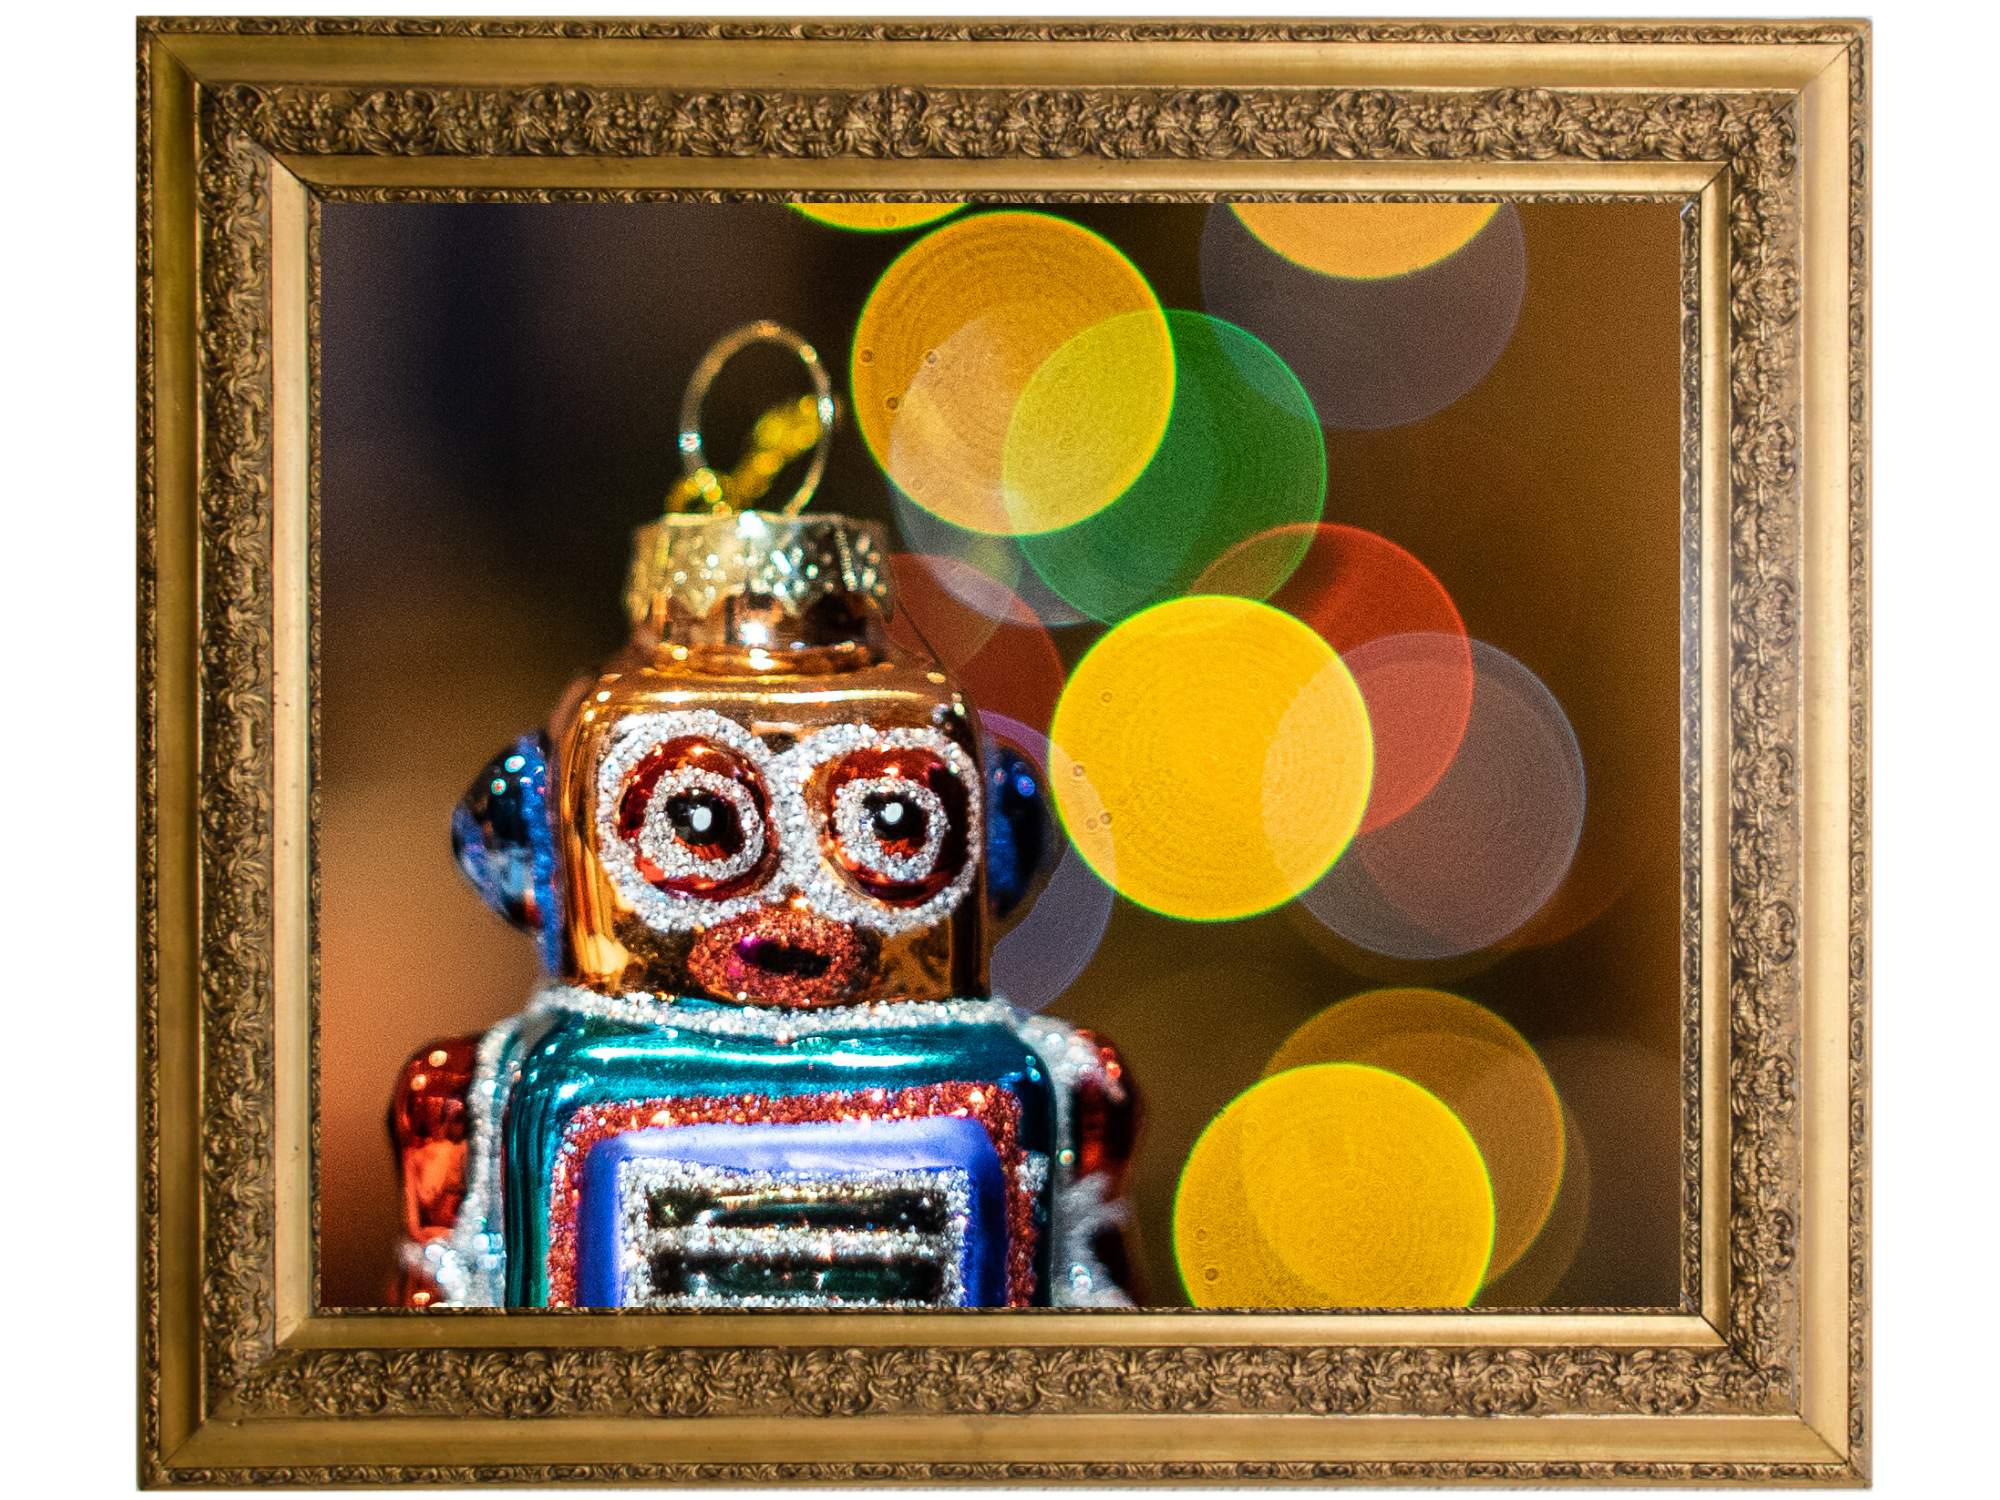
In almost direct contravention to what I just said above, you can use filling the frame, and a tight crop to your advantage too.
BUT – what I mean by that is not simply making the object reach from one edge of the frame to the other. That’s always a bad look.
What I do mean is cropping INTO your object to highlight a detail – that’s the kind of filling the frame I like!
8. Group like with like – or the opposite!
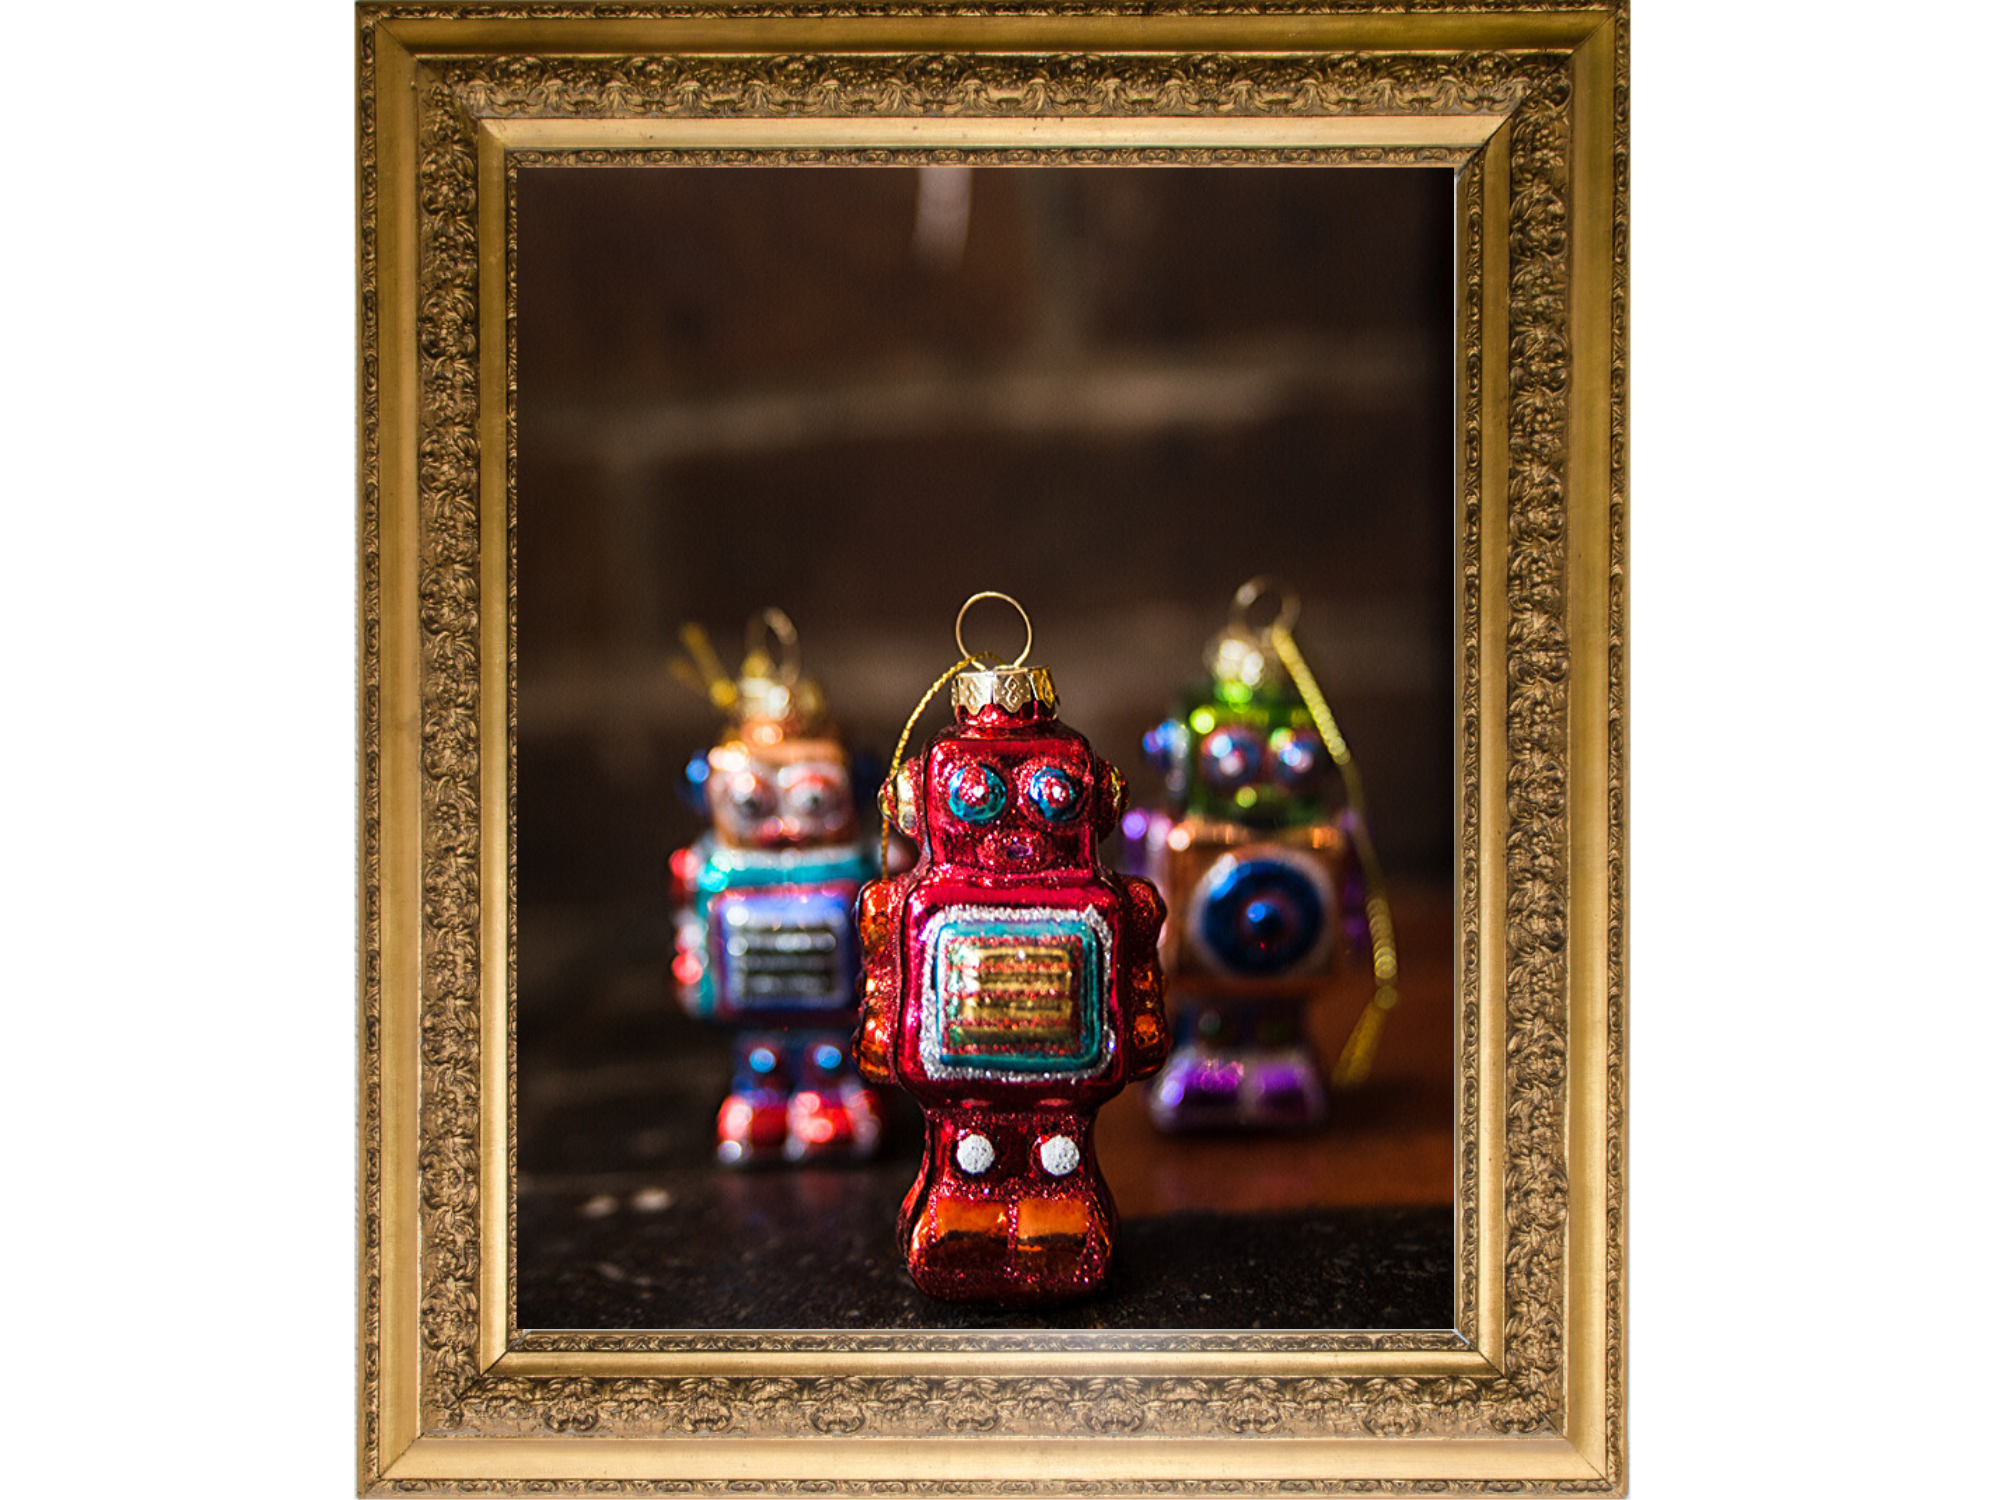
Sometimes the object you want to highlight is something that fits into a specific category or range. By putting it with its compatriots ( but still making sure it stands out on its own) or quite the opposite – things that either aren’t at all like it or just a bit like it) you add an additional dimension to your image.
9. Frame it
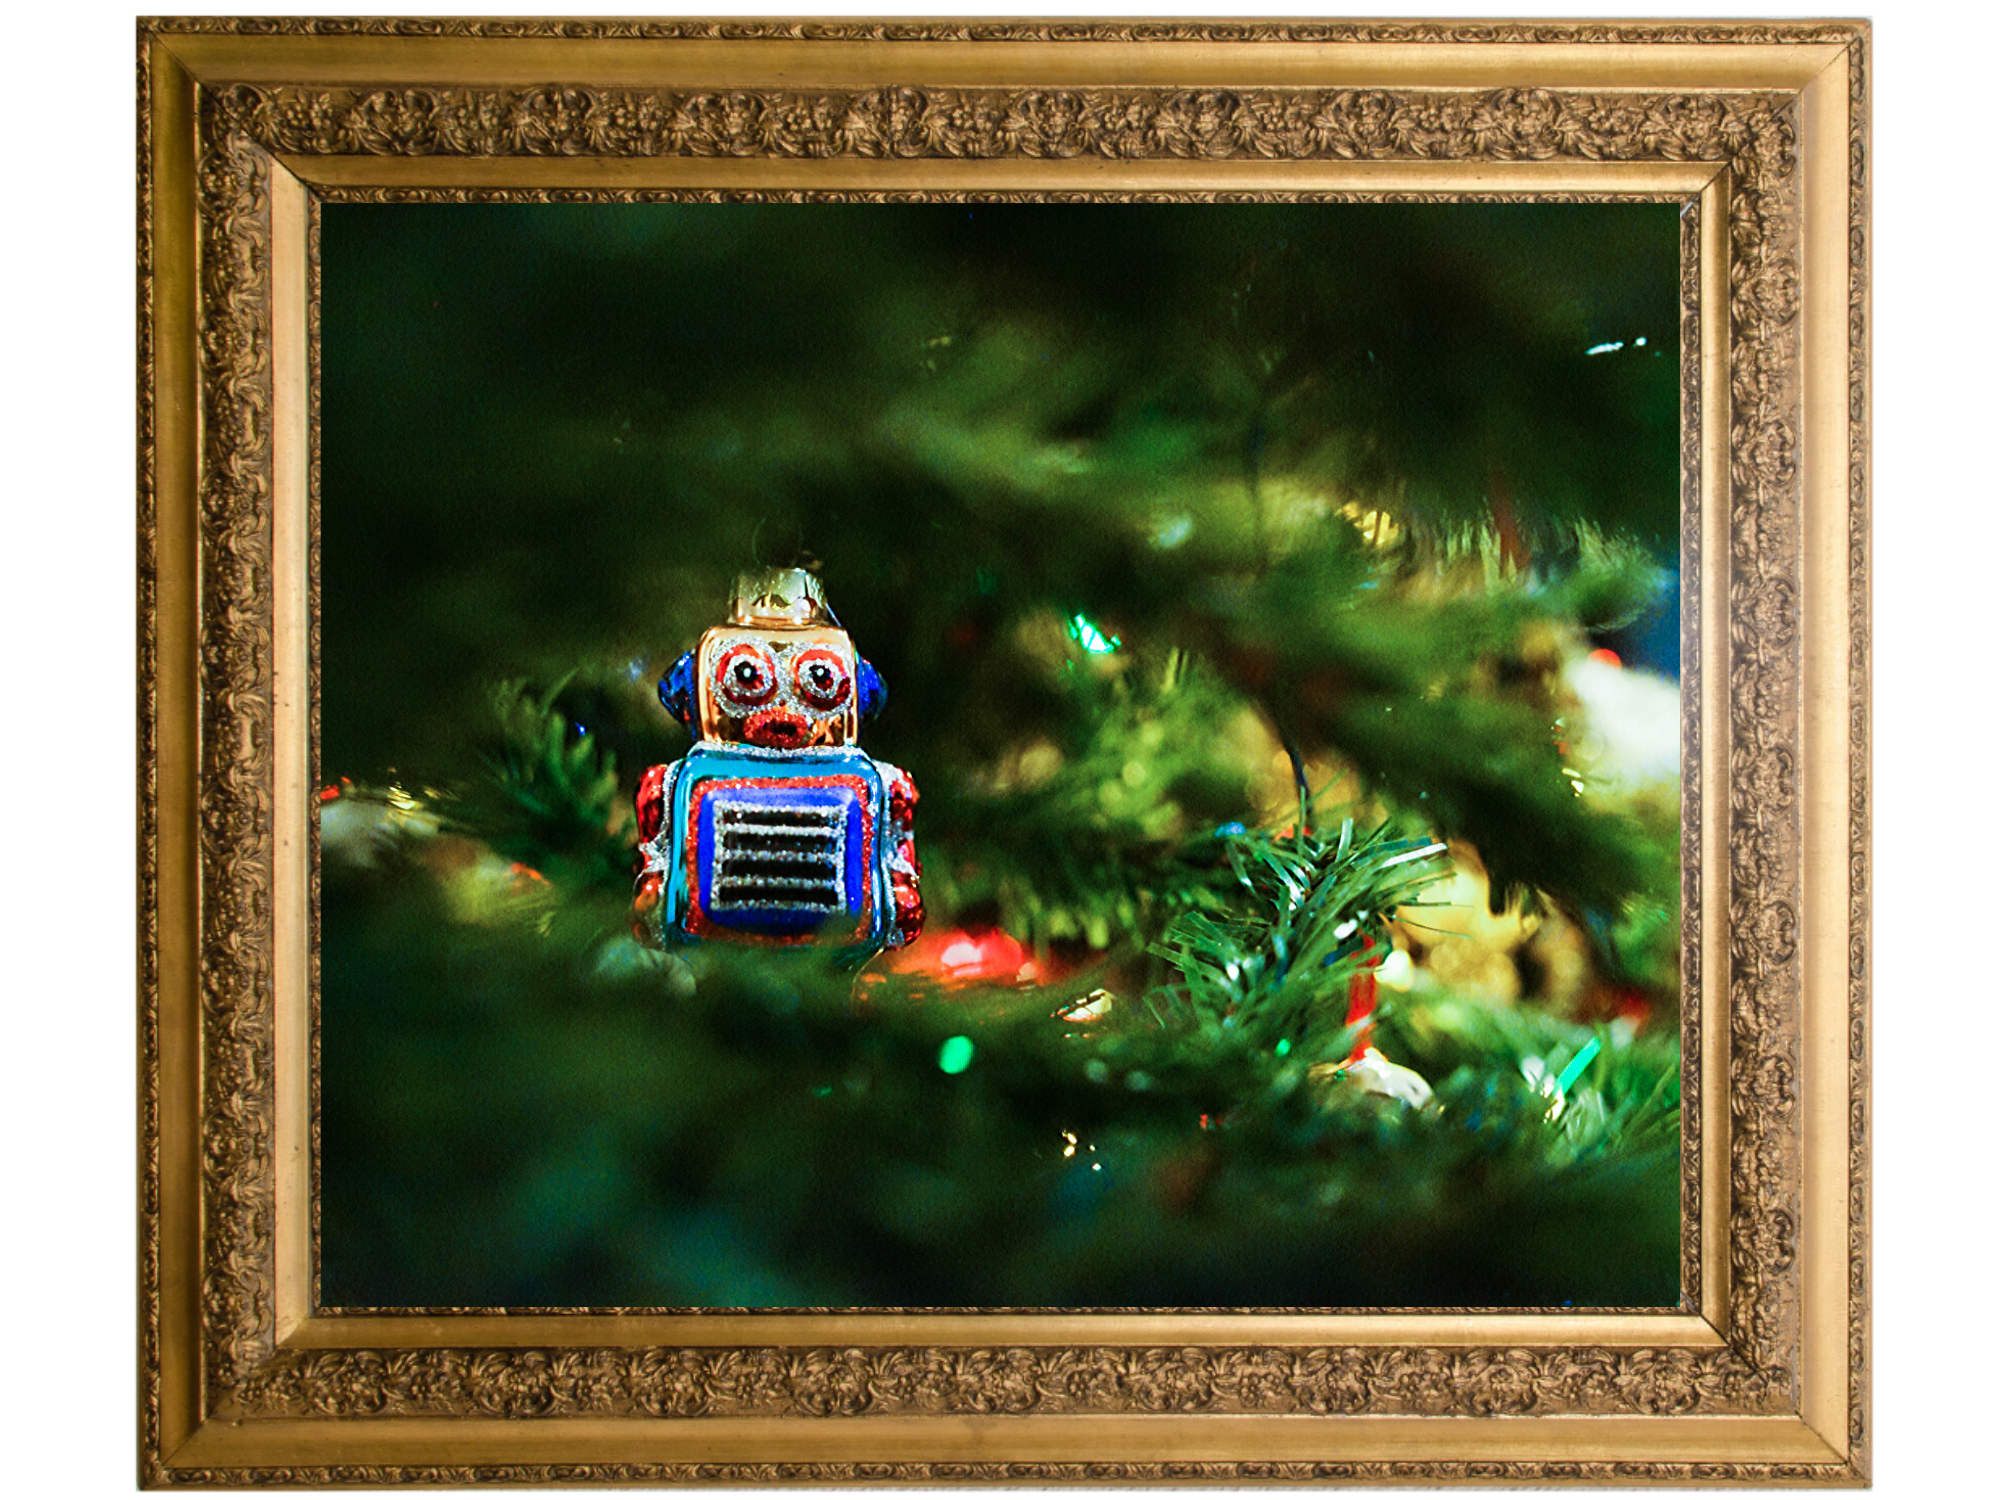
If you did a bit more photography, you may have heard about 'frames withing the frame' - it's essentially using another element in the environment to create a frame around your subject. It doesn;t have to be a literal 'frame' - as in the rectangular thing we put pictures in. In this photo I simply shot through branches of the tree and focused on the robot. The branches encircled the decoration, creating a de facto frame.
10. Show a connection
Sometimes an object is special because of it’s use or a connection to someone. Rather than just showing it as a stand alone ‘thing’ show it being used or held, or handled by someone. Bring it to life.

Day 3 Challenge
Take a minimum of 3 – DIFFERENT! – photographs of a special Christmas related object you or your family cherishes.
I want to see different crops, angles, compositions - have a little fun with it!
I can’t wait to see them!
Remember to post your images to our Christmas Facebook Group!
Thinking about our Fundamentals Photography for Parents course?
BUT WILL I IMPROVE?
Ah, the question nobody asks out loud but everybody is consciously wondering. You may be wondering if something like our course is the right thing for you. Will you be able to follow? Will you be able to transform your photography? Will you still benefit if you've already had some prior photo knowledge?
The answer is an emphatic yes. We say that because we see it with every single new group that starts. When you learn how to use that awesome tool of yours, the camera, when you learn how to see the world like it does, when you learn what things help in creating a strong image and when you learn our tricks for capturing children naturally, as they are, who they are, you can't not improve.
Did you know that the vast majority of photos featured in this bootcamp was taken by our students?
And since the proof is in the pudding, just see for yourself - here are some before and afters by our students, Mums and Dads just like you. And you can see even more of them here


