We had so much fun with bokeh yesterday, I thought we could squeeze a bit more into today's lesson ( as far as I'm concerned, there is no such thing as too many Christmas lights and too many ways to capture them).
So in today's lesson, we will show you 3 different ways of playing with those lights. The first one doesn;t require any technical knowledge and is more about what else you can do with those fairy lights. The other two are a bit more technical and do require a camera.
1. Using lights as a source of light
So far we have been using our lights more as a 'hint' of Christmas in the background ( or foreground). But here we will add a little magic using these lights as the actual source of light - because when you eliminate other light, these little beauties can help your subject glow as if they were holding hot glowing ambers.
I use it in two ways - for this first photo I hid the lights in a book so that it looks like the book itself is glowing from the inside which can help create a magical atmosphere. I couldn't find any suitable Christmas themed book in our house so I just used an old photo album that looked sufficiently oldy-worldy and sturdy - but sky is the limit here.
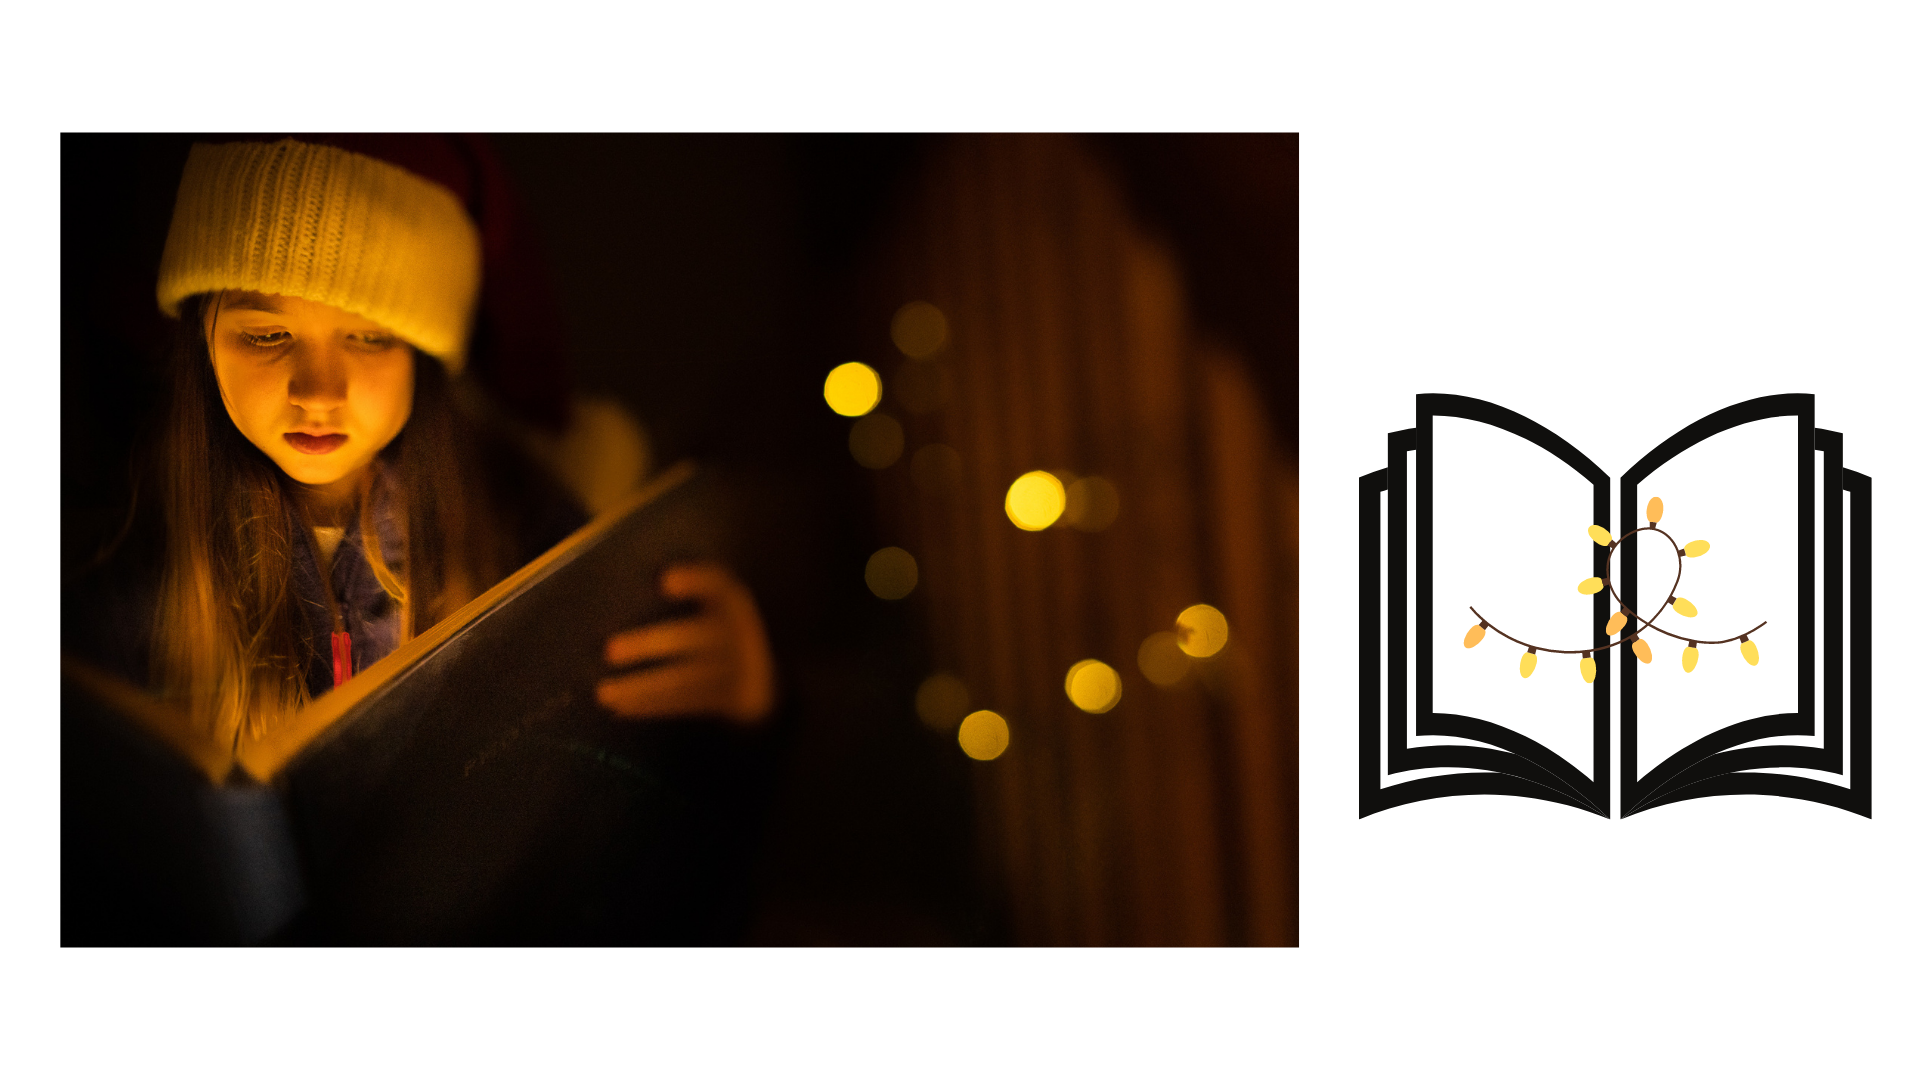
In my image, I reduced all other lights other than some fairy lights which were on the side of my daughter and made sure that the camera read the light from my daughter - this ensures that it doesn't try to overcompensate and brighten the while image, but adjusts the overall exposure to the light on my daughter's face.
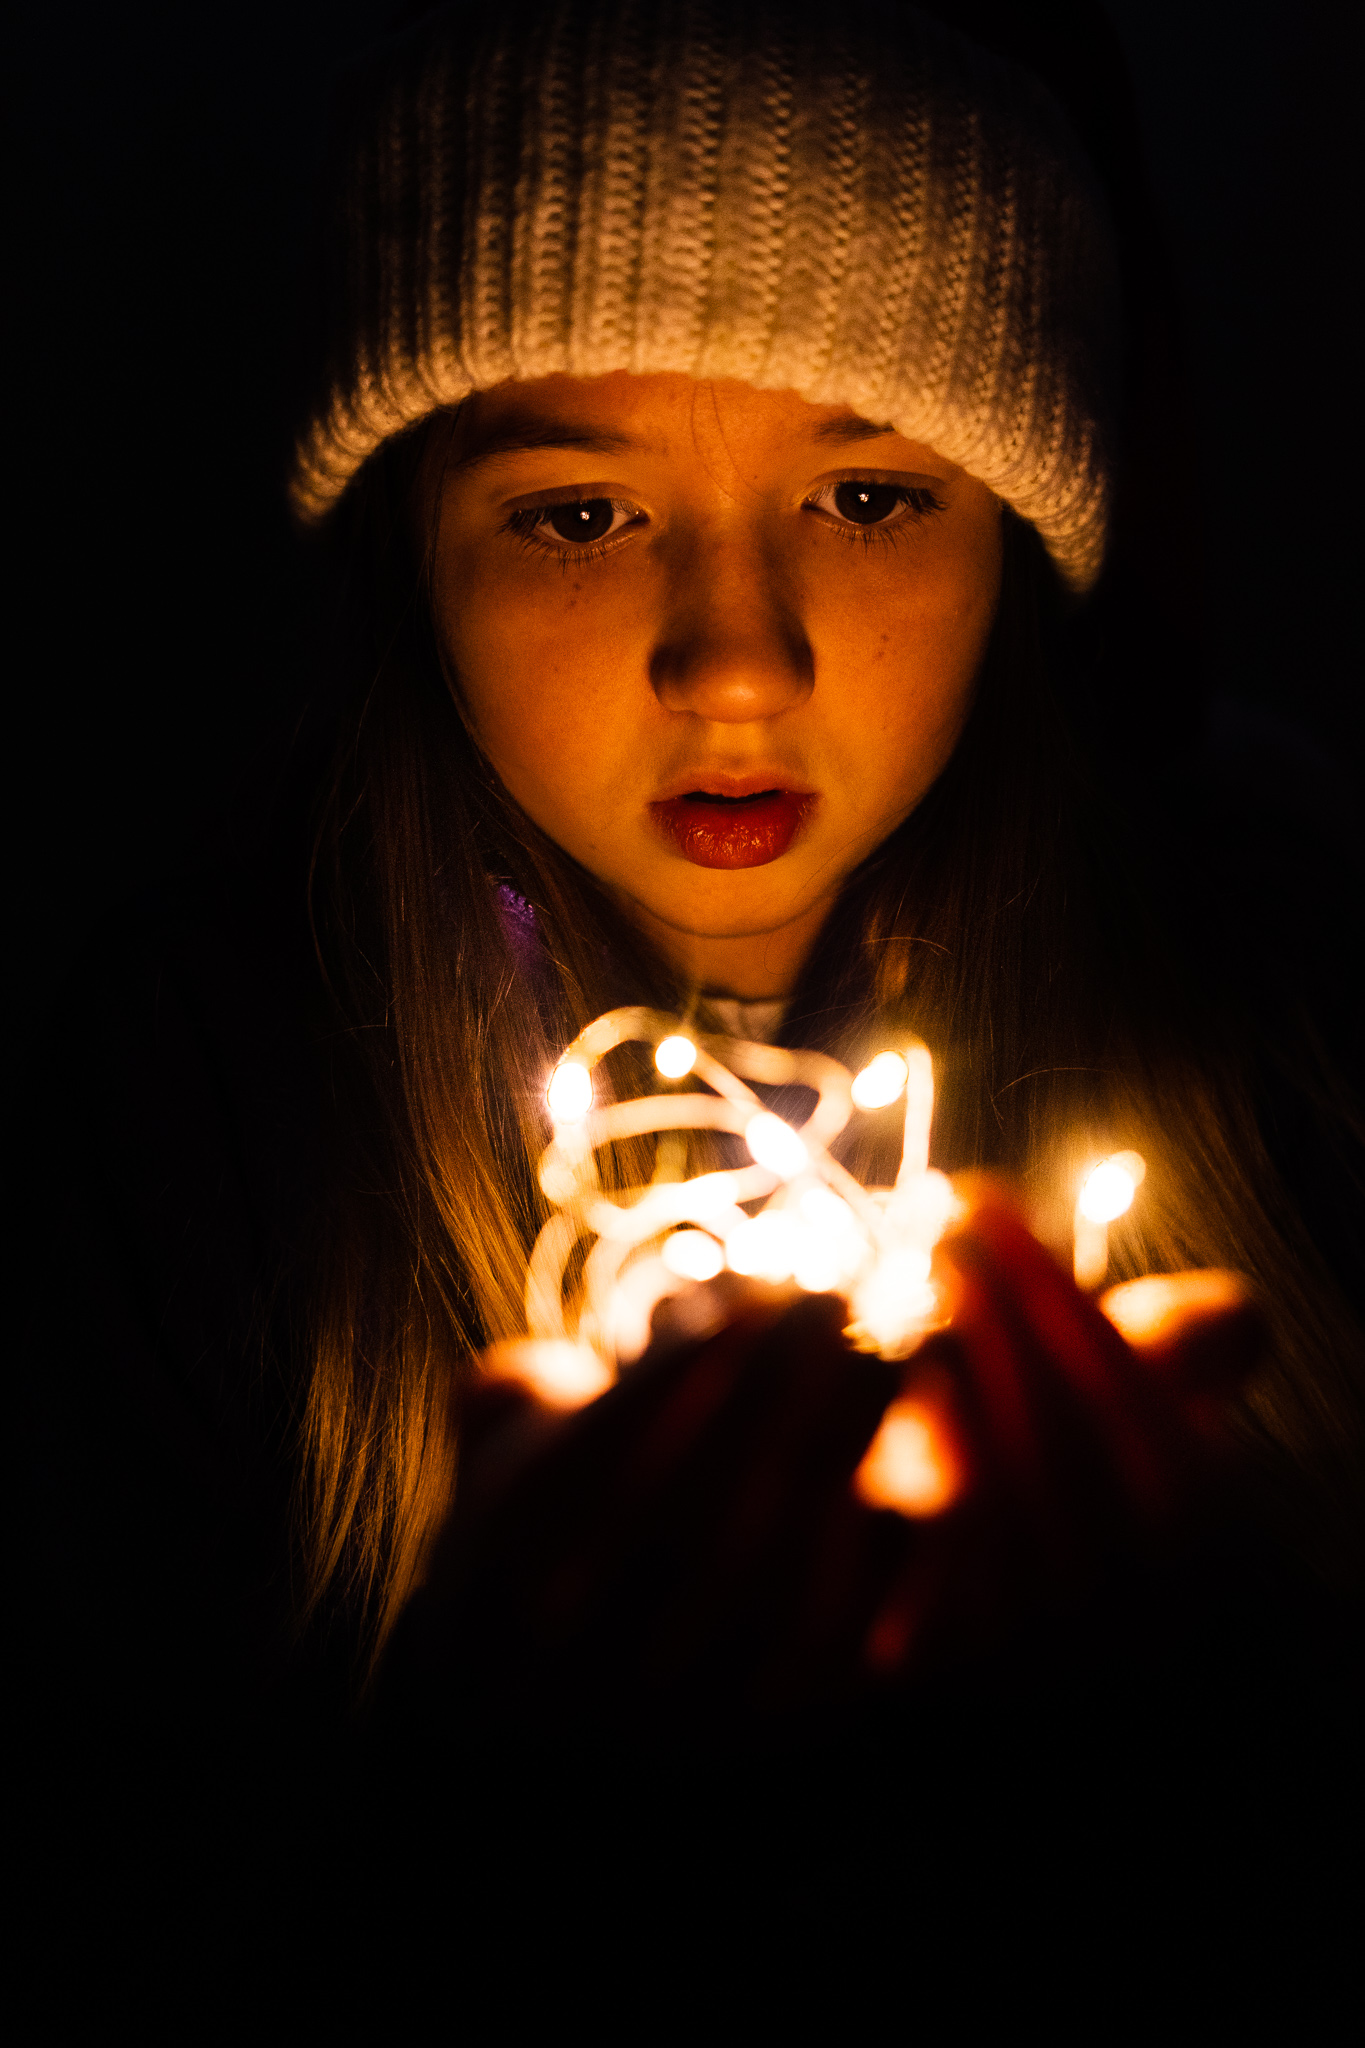
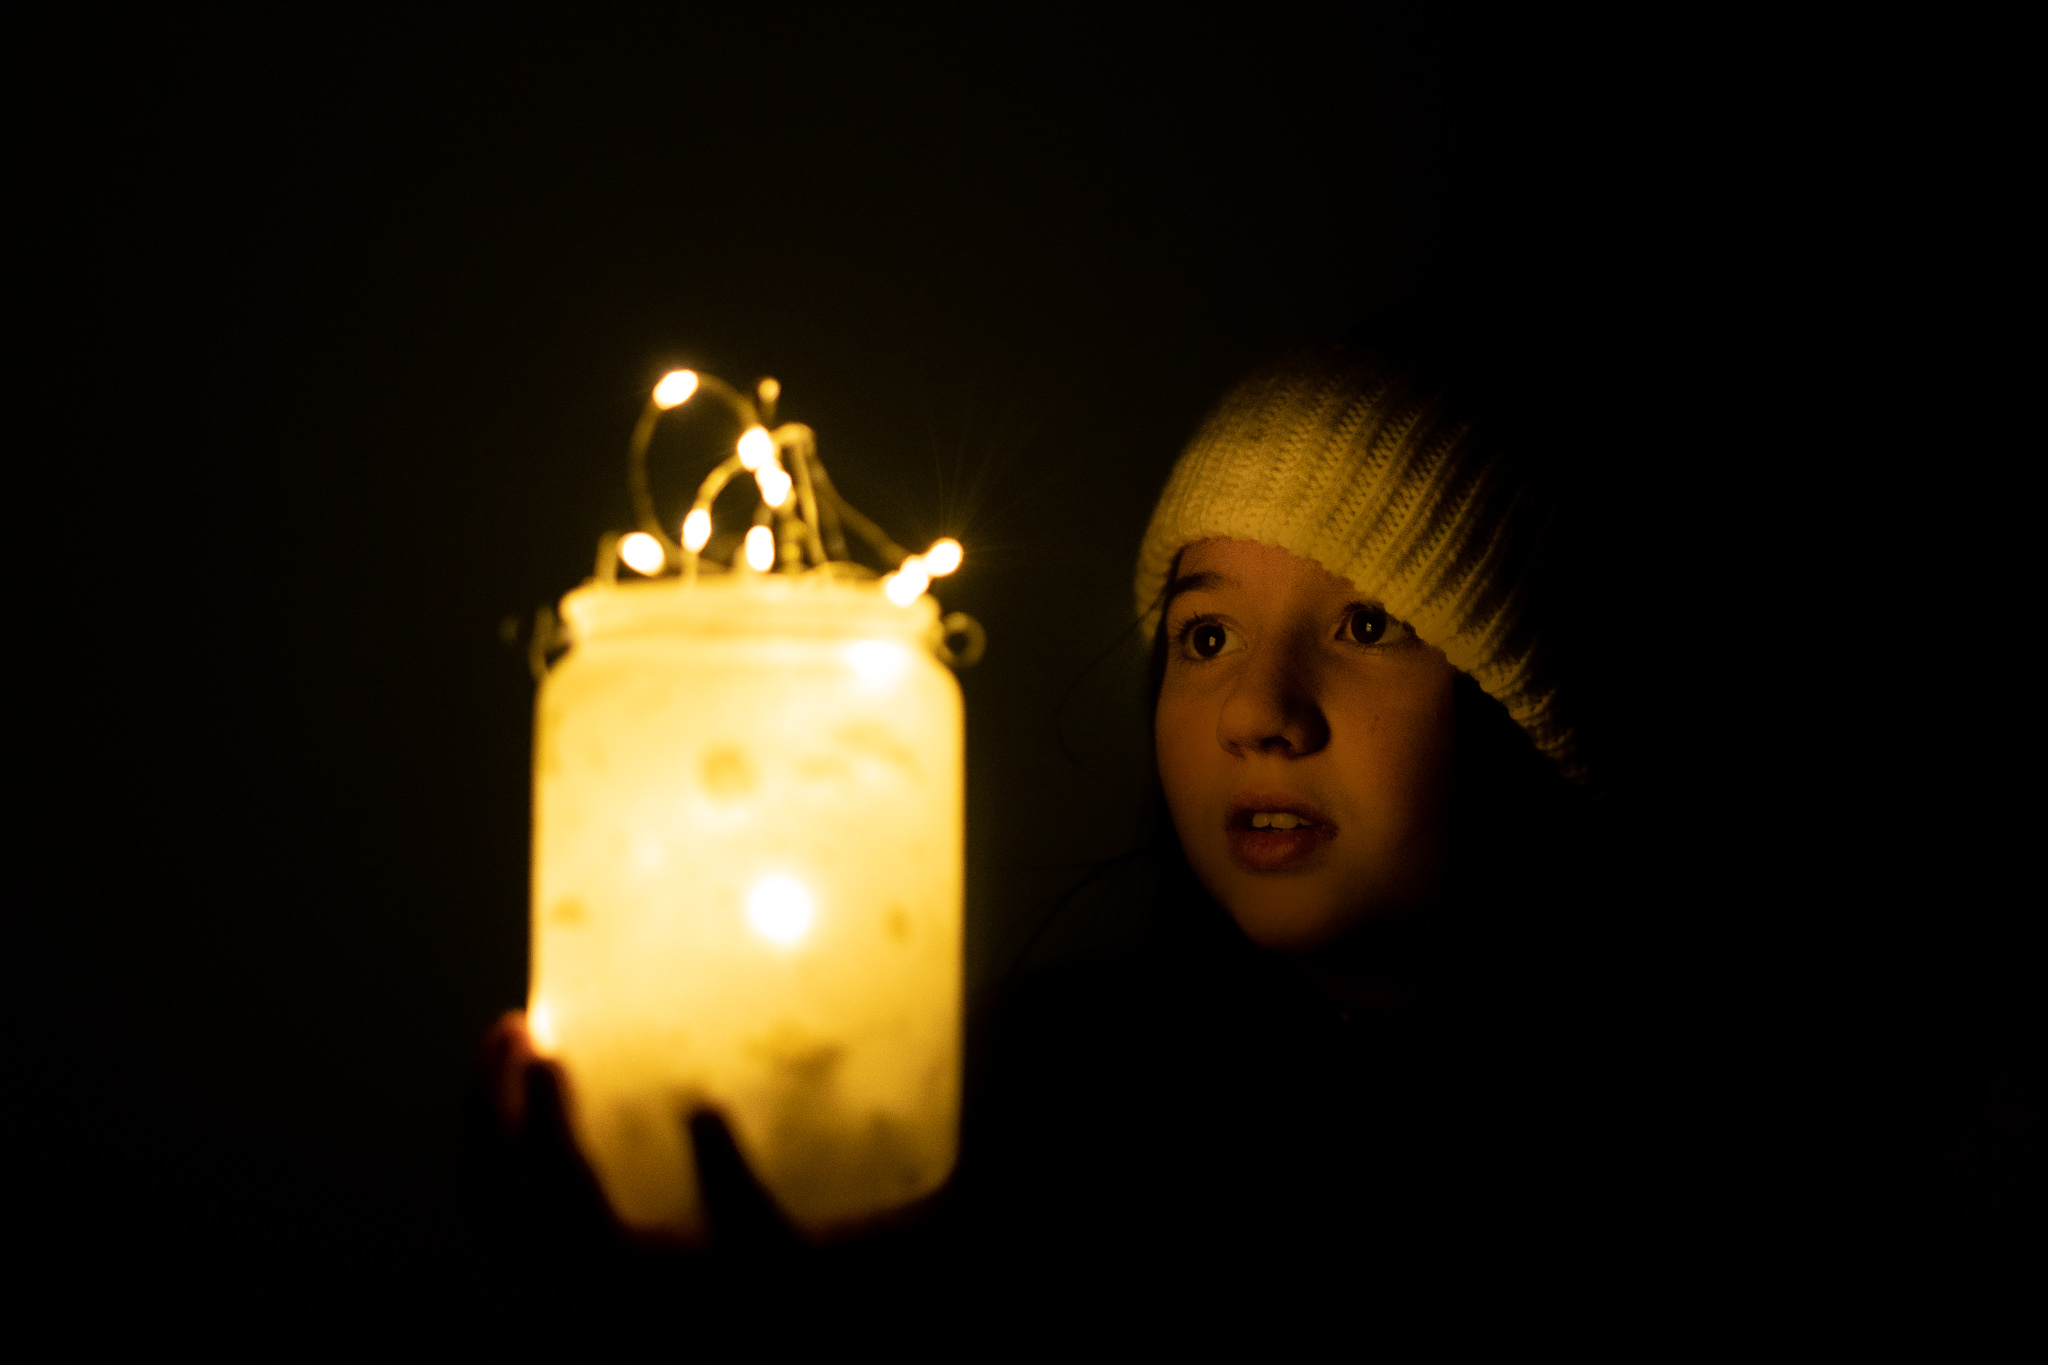
In my second image, I just had my daughter hold the lights in front of your face and I eliminated all other lights from the area - we were standing in a dark corridor. I really wanted to make sure that the fairy lights light is the only light I can see in the image - this technique, where the majority of the image is shadows is called Low Key. As an alternative if you have younger children you don't want playing with cables, you could consider putting the lights into a jar or lantern.
2. Starbursts ( more technical)
OK, you will need a camera / camera for it and you will need to be able to change some of the settings.
To save you from frustration :
You do need to be able to manipulate your camera settings. To my knowledge it is not possible to achieve this on Auto or on a phone ( although I have seen phone camera filters that simulate it, albeit not very well). Sorry guys.
Also, some lenses are better than others at this starburst game too, I have some that just about produce a somewhat star-adjacent shape ( if you really really try to see it) and others that effortlessly give me great stars. So if it's not working for you, chances are, it's not you, it's the equipment.


Light and camera settings:
The first thing to do is to find a tripod or something else you can use to keep your camera steady. You will not be able to handhold your camera and keep the photo sharp.
Although this technique is not really possible to achieve on auto, you don’t have to go full manual in order to capture this. Setting your camera on a semi-auto setting like Aperture Priority will work just as well. That way you can ensure your aperture is nice and narrow ( that means big number) and the camera will take care of the rest of the settings. If you need help with how to do that, just give us a shout on the Facebook Group – make sure to mention your camera type
Aperture: go as narrow as your camera will let you ( that means big aperture number) – F22 should work great. Depending on your lens, the aperture range may vary.
Shutter speed: When you narrow down your aperture, you are naturally closing down the opening through which the light comes into the lens, which means the camera will need a longer time to take that photo (= slow shutter speed) so you will need to make sure that your camera is either on a tripod, or steadied on another surface, preferably cushioned from vibrations ( a little bean bag or a small bag of rice can be useful here if you haven’t got a tripod). For best results I’d recommend using a remote trigger, or setting your camera on a self-timer to minimise any potential ‘shake.
ISO : You want the ISO to be LOW – if the camera is steady and your lights are not going anywhere, you might as well get the best possible quality. Setting our ISO high here would just produce a grainy image, whereas you want a clear star shape.
Focus: When focusing your camera, don’t aim it straight into the light, but rather onto a solid element it’s mounted on – you’ll get a more accurate focus as the strong light can sometimes confuse your Auto Focus.

3. Shaped bokeh
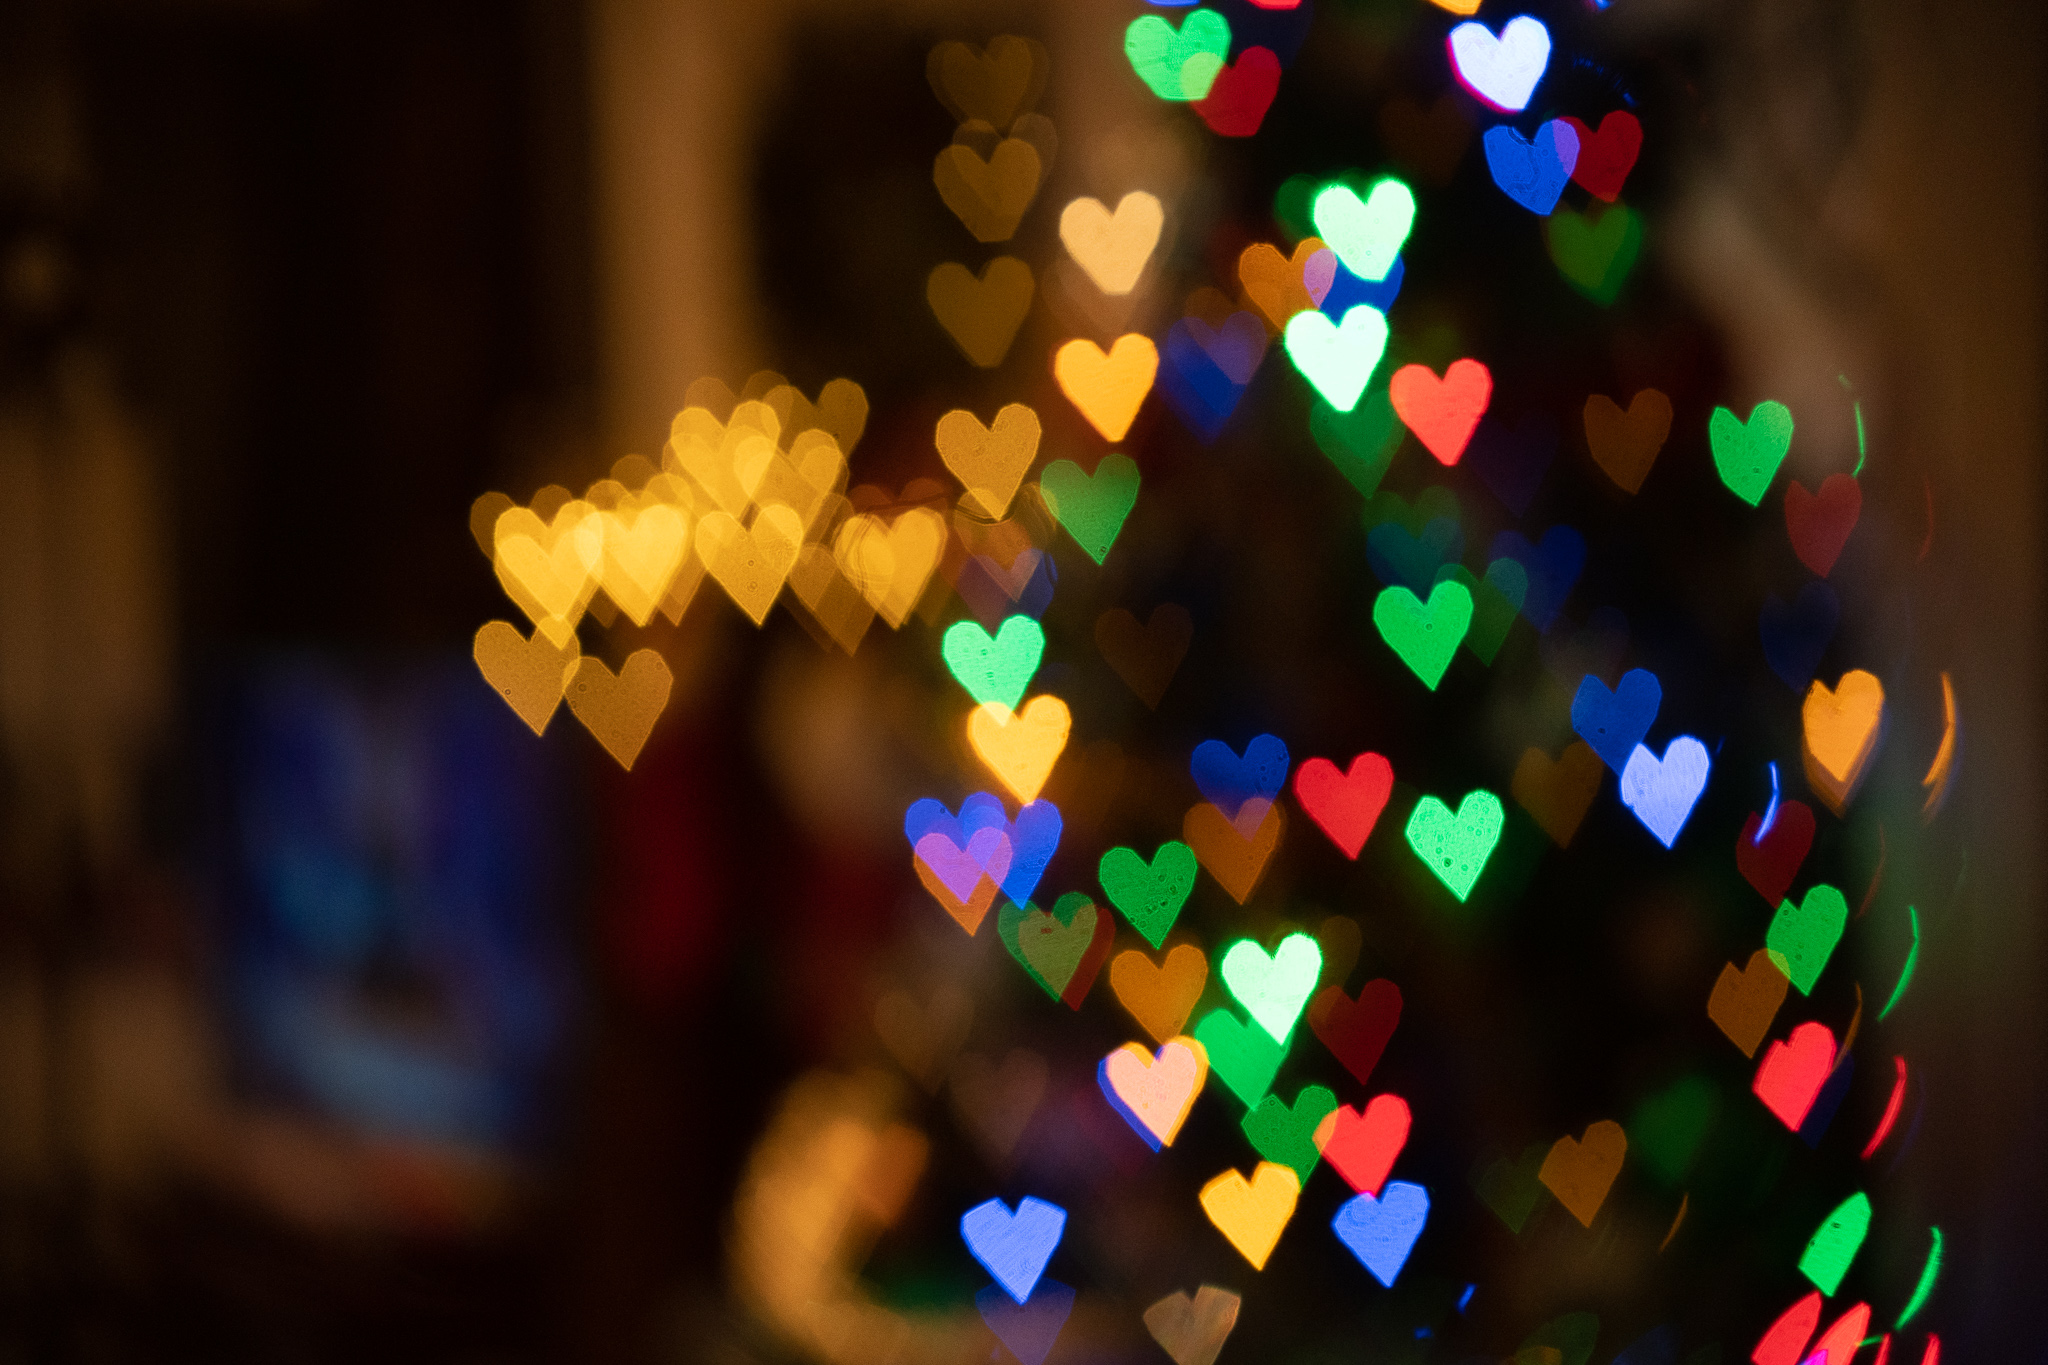
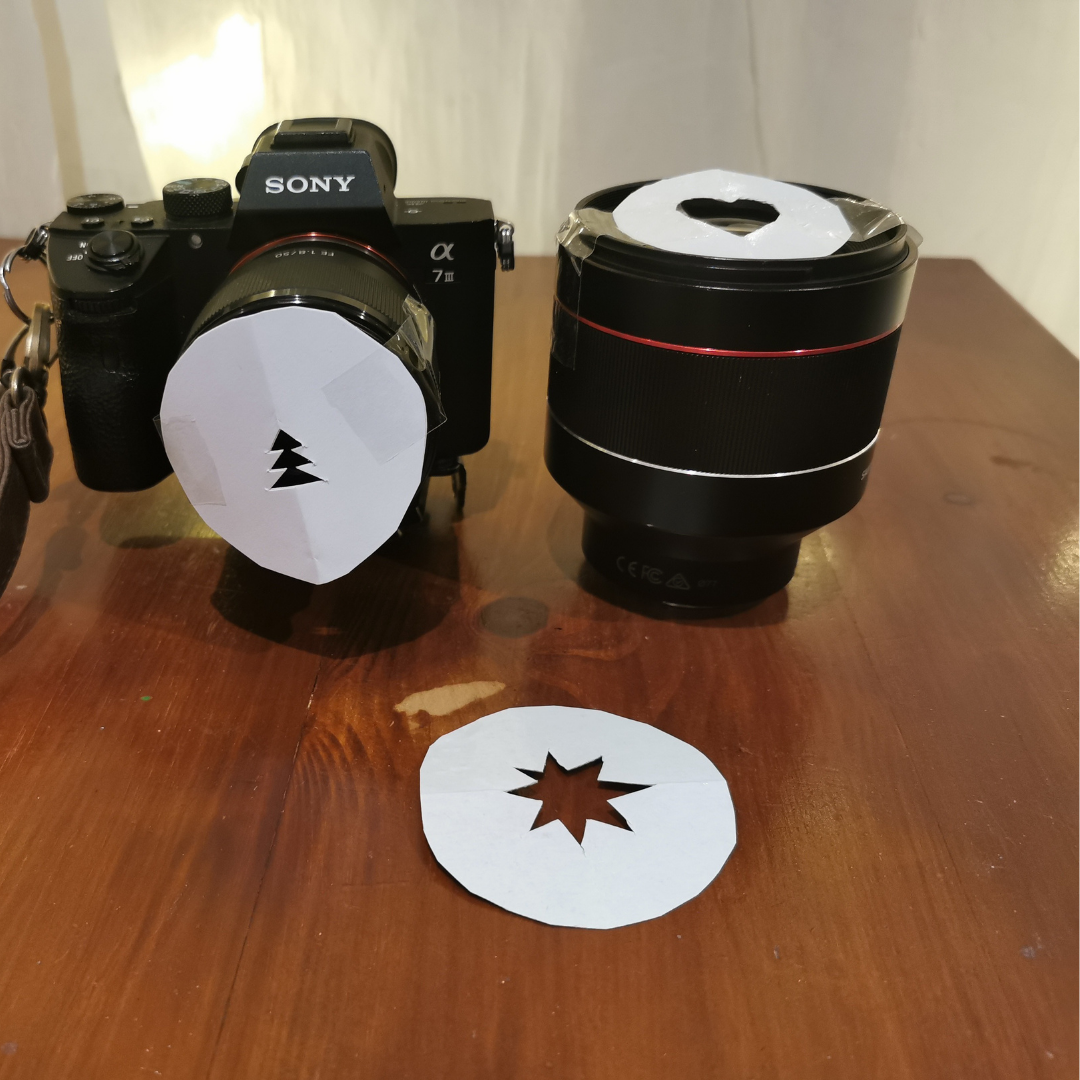
Ever wanted to capture bokeh that's a different shape than just plain round? Maybe a heart? Or a star? or a tree? It's easy. And all you need to do is some cardboard and scissors, maybe a little sticky tape to secure it to your lens. Yes, really.
Here is what you do :
Take thick card or cardboard and cut out a circle the equivalent of the size of your lens opening. It needs to completely cover your lens opening.
Inside the circle cut out a small shape that you would like your bokeh to be. This is the tricky part - the size mustn't be too big or you will not see the shape in your lights, nor too small ( in which case you will end up with a black vignette. Unfortunately I can't tell you exactly how big it should be because it will entirely depend on the size of lens you have and even the size of the sensor inside your camera. My approach is to usually cut a few circles with different size holes and try things out.
( sorry for the wonky card cut-outs - my children 'helped')
Once you have cut the required size hole, attach the cut-out to the front of your lens and your're ready - proceed as if you are just trying to capture normal bokeh ( remember our 4 step approach? Subject far from lights, close to camera, camera zoomed in and if possible - wide aperture) .
Troubleshooting:
In my experience, longer focal lengths do better with this technique (that means you zoom in more) - my best efforts were on lenses 50mm and longer.
If you put the cardboard over the lens and you can see a vignette - you need to make the opening larger. Enlarge it a little and try again until you can no longer see the vignette. I find it easiest to just flip the camera to manual focus, put the lights out of focus completely ( so all you see is bokeh) and then have a go at tryong - you will be seeing immediately if the shape works or not.
Day 2 Challenge
Pick one ( or more if you fancy!) of the above techniques and try your hand at it! If you're shooting with your phone, have a go at challenge number 1 first. If you're a more advanced clicker - I would LOVE for you to try your hand at shaped bokeh or starbursts!
Don't forget to show us your results in the Facebook group!