Summer for me - and I'm sure it's similar for many of you too - is all abut being outside. Whether the great outdoors for you is the local park, woodland area, a flower field or your back garden - they can all be captured beautifully.
And just like we did with the last few lessons, I want to give you a shortcut approach that you can apply in a number of situations.
But before we dive in, I want to talk to you about a specific challenge:
Here is a problem: : The kids don't appreciate the great outdoors quite the way we do. Anyone who's ever plonked a child in a flower field and immediately though - wait, what now? as your child compained about the bees, refused to smell that flower or pose nicely - knows exactly what I'm talking about.
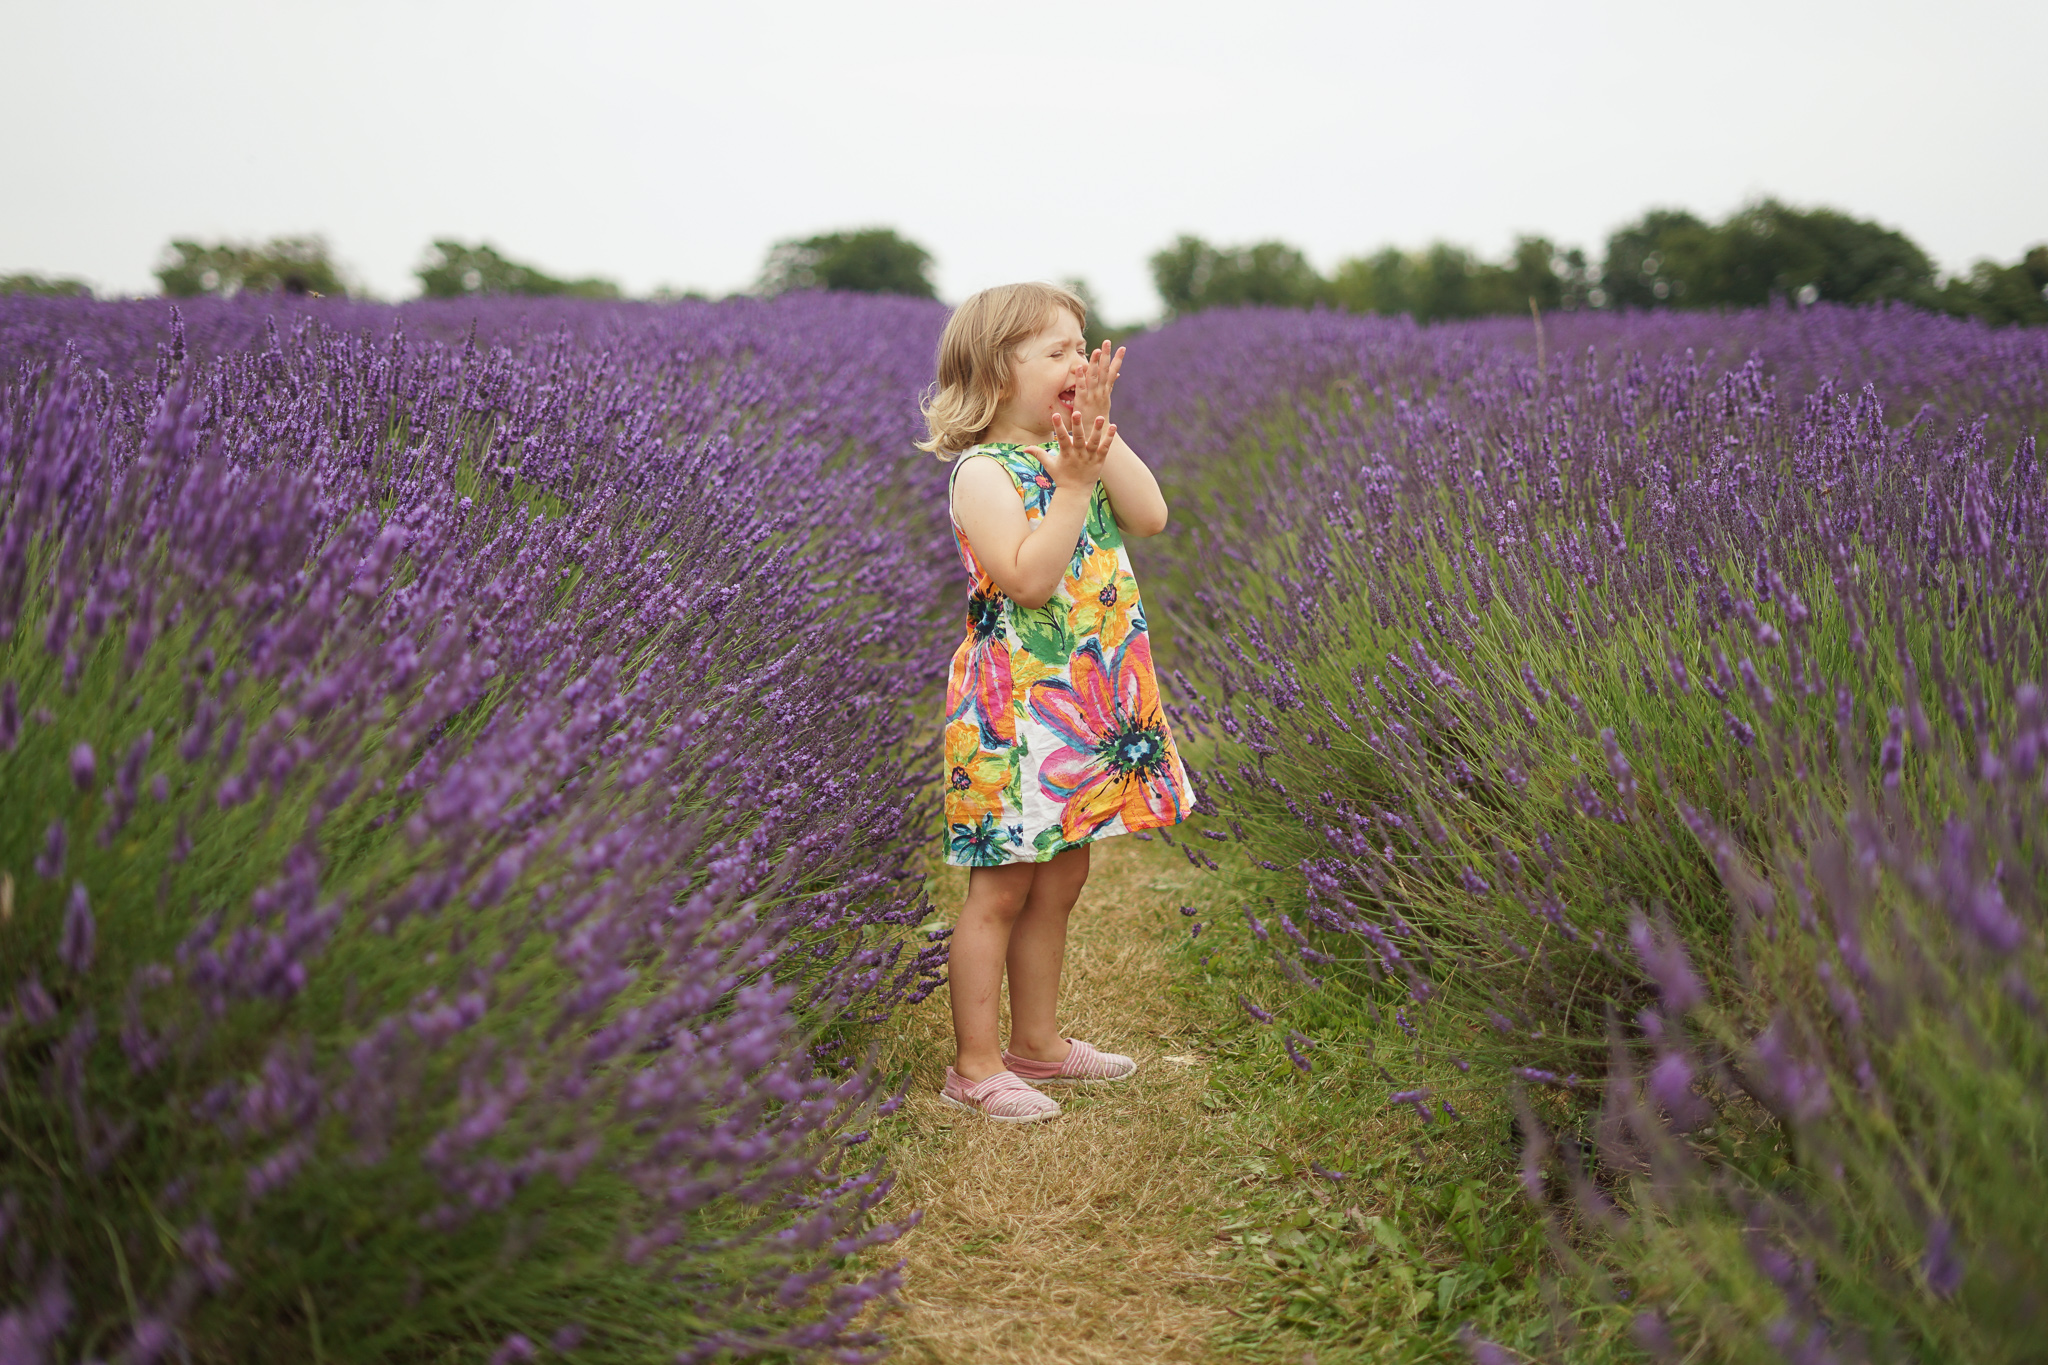
Sounds familiar?
For me the key word here is 'pose'. I don't know about your kids but mine don't do posing. I may occasionally be able to 'convince' the older one into 'helping' but that's 4 min max. In our Photography for Parents courses we teach lifestyle photography - and that means following your child and working with them to capture them at their most natural. The majority of our approach could be summed up as a balance of freeflow /encouraged interactions
Freeflow vs Posed vs Directed / Encouraged interaction
Going fully freeflow means not directing, not telling them what to do, simply letting them do what they feel like and following their adventures. It's being a fly on the wall and letting your kids take you places. But also being aware that where your kids might want to take you is as far away from the pretty space you found because it's 'booring mum' and straight to the ice cream truck in the in the parking area. If you can let go, and just go with their flow, great, but I know that lack of direction and lack of control can be frustrating and unnerving for many parents.
So if you're not wanting to pose but not wanting to give up all control either, what do you do?
Let's call it 'directed freeflow' - that means you're still in charge, gently encouraging, suggesting, setting up things for them to do, things that will engage and interest them. So no specific instructions like- 'look at mummy, touch that flower, look wistfully into the disctance' and instead 'let's see how fast you can run - I'll time you from that tree to here', 'Can you count how many bees are buzzing around that bush?' 'I bet you can't jump over that puddle' , 'how many times can you turn around in place before you get dizzy?'
These are just some examples that worked well for kids I know, but they may be something different for you!
If you're photographing your own kids, you KNOW what makes them tick. You know what kind of things they're into and what are they likely to say yes to. Think of activities, games, objects they would naturally be drawn to. And frame the trips with those 'adventures' in mind.
A couple of suggestions for you.
- scavenger hunt - if your kids are old enough, make it a game to spot and find things - you can think of them ahead of time and print them out for your kids to follow - they can be very simple, or more elaborate - for instance : Find the tallest tree vs when you see yellow flowers, jump on one leg
- hide and seek - they can hide or you can hide, you can give little treats for best camouflage!
- treasure hunt - make a list of 'treasures you want to find - a round pebble, a stiick as tall as you, red flower petal, a leaf shaped like a hand etc - the possibilities are endless. If you know the space you'll be in and can have access to it before your kids get there, do a non seasonal treats hunt ( think Easter Egg hunt, just without eggs)
- making flower / leaf crowns / fairy gardens, dens, mudcakes - whatever's suitable for their age, ability and interest levels
- going insect spotting armed with magnifying glass and / or pretending to be animals or insects
- Simon says - but with really silly suggestions thrown in - like grow your arms extra tall, pretend you're your sister /Daddy
- Silly Walk Club ( borrowed that one from Monty Python )
The possibilities are endless!
The key is - do what works for YOUR kids and don't get frustrated when they don't want to play ball. They're entitled not to want camera in their face all the time - so if they resist, let them. If the outing is about the activity and not the camera and what you had in mind with your photos, the camera is much more likely to be tolerated!
I would love to hear from you on the Facebook group what makes your kids go - let's crowdsource some ideas!!
Photographing kids in the great outdoors:
As promised, I have a system for you. And yet again it's a matter of 3 simple steps.
Step 1: See the space.
You may think your camera sees the world as you do, but you are wrong.
You have already learned how your images can change dramatically with simple changes of position and angle. Today, I'm adding one more element that will help you manage the space you see - your zoom
A caveat here for all those who are following the course on your phones. You are at a disadvantage here. While there are more phones now which offer optical zoom, in most cases you have digital zoom only - and that doesn't behave in the same way. This means that a lot of what I am about to cover in this first step won't apply to you. Sorry. My best suggestion is - if you do have a camera as well as a phone, even an old compact, dig it out!
Have a look at those two images here. The only thing that changed between them is the size of the zoom. Notice my daughter is the same proportion in relation to the frame in both, but look at what's behind her!

In both images she stood in exactly the same spot. She did not move one bit. I had to move with my camera back and forth to make sure she was kept roughly in the same proportions within the frame in both images. But notice how much more the camera saw in the photo I shot with the shortest possible zoom ( a wide angle lens) versus the image I took with the longer end of the zoom. She looks far away from the graffiti building in the first image and almost as if she's standing right by it in the second.
The technical term for zooming in and out is changing your Focal length.
I won't go into much technical detail here - it's not what this short course is about and we cover that extensively in our 'full' courses as it has lots of applications both in portraiture, storytelling and more but I want you to know this:
Changing how zoomed in or not your camera is, will determine HOW MUCH of the space your camera will see but also, HOW it will see it.
When you shoot at a very short focal length (for most of your classic zoom lenses it means simply not zooming in or using lenses with small Focal length values like 14mm, 18mm etc) your lens will actually EXPAND the space - it will make the space in front of you look wider and bigger and deeper than it actually is. ( estate agent' best friend) . It's absolutely wonderful at capturing the beautiful, wide, open spaces, big sky, sunsets, great wide deep woods, an expanse of water... These are the sort of focal lengths that Landscape photographers really love because they really help them show the beauty and greatness of the places they photograph.
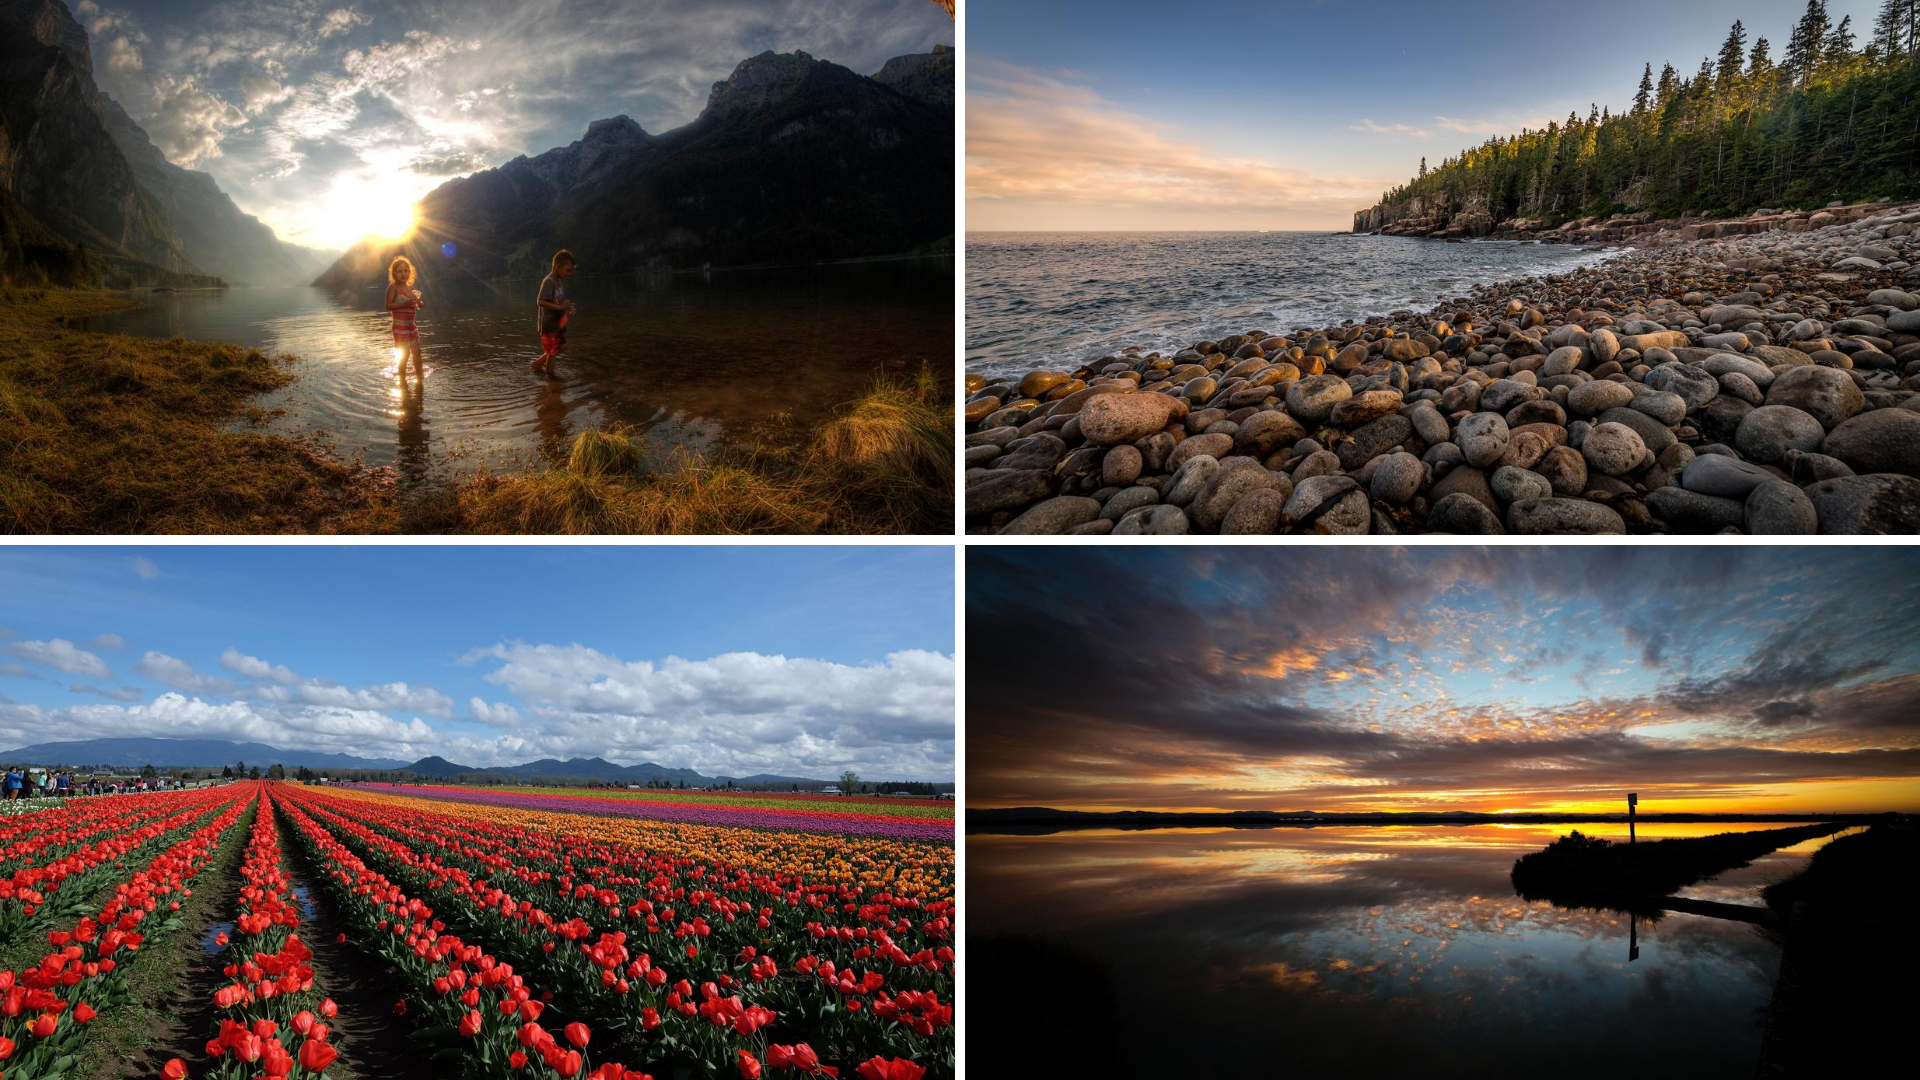
But when you zoom in, you compress that space - both in terms of its depth ( think of it as if you had lassood the background and are dragging it back closer to yourself, making a harmonica out of the space) . Look at how much denser the wood looks in the zoomed in image compared to the no zoom one in the image below. It's as if all the trees in the background got brought in closer to her with the zoom.

You may be thinking that therefore the longer zoom shouldn't necessarily work for photographing the great outdoors, but again, you'd be mistaken. And that's because by creating that compression, we can create texture and increase the depth perception of your images. Thats because, by zooming in, you can more easily create a distinctive foreground and background and blur one or both of them out, thus making your subject stand out. We can also 'dense up' ( for lack of better word) an area like a flower field, making it look more close together, with fewer gaps, more compacted.
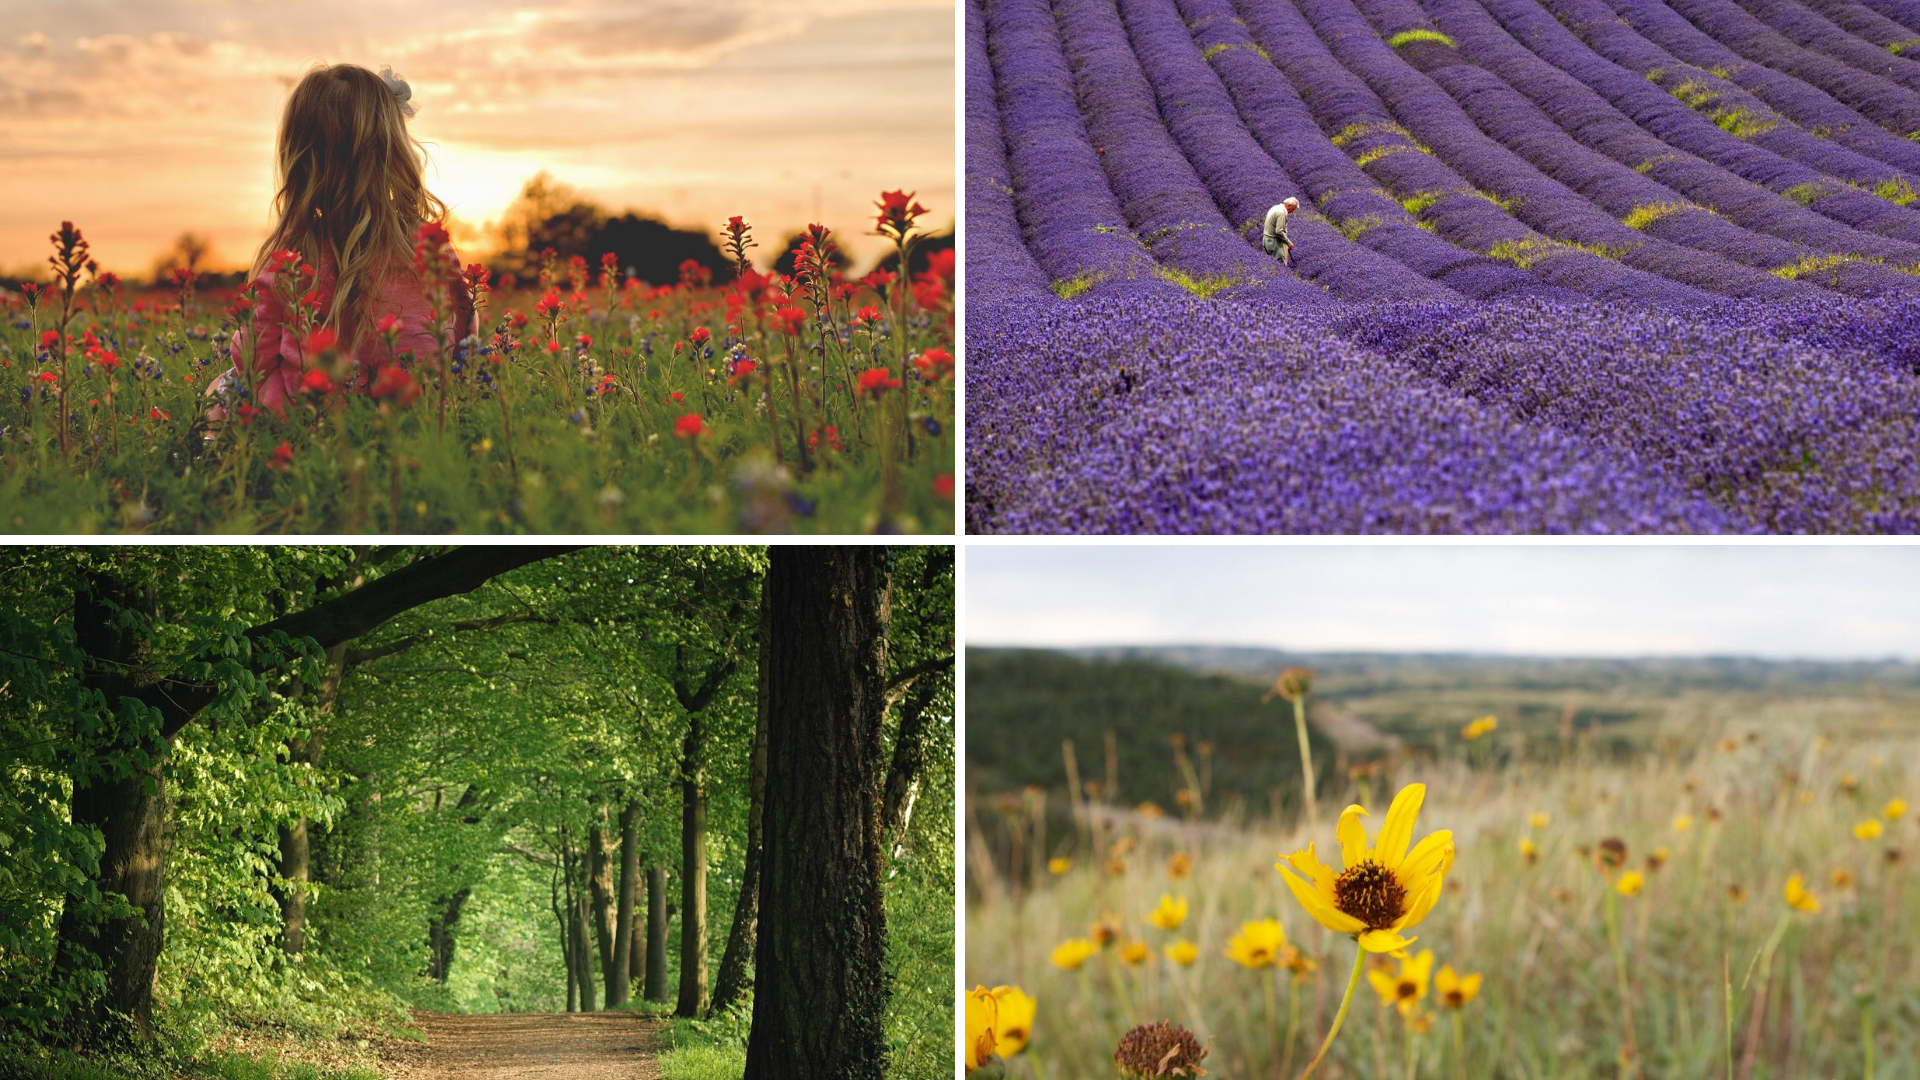
So your choices in this first steps are simple - if you want to show the vastness of the space - no zoom or short focal length. But if you want to create more varying textures and going from blurry to sharp and back to blurry again or you want to create an illusion that something faraway is closer - longer zoom will work better.
STEP 2. Where in the frame...
Step 2 is more about making the most of the space you have within that flat rectangle of space in your photo. We call it 'your frame'.
You may not think it matters that much, but where you place your subject, could be a difference between an ok photo and a great photo and it's all about how our brains understand and 'read' visual information.
I could spend a month on why this matters. In fact in our course we have a full module ( 30+ A4 pages) dedicated to photographic composition where we explore not just the basic rules, but why they work and how they affect the way our brains process and understand visual information. Not enough time and space on here, so I will give you a shortcut.
So where do you place your subject? In the centre?
Except, visually speaking, the centre is a very weak point.
Here is what happens when your brain looks at any image at all - it tries to decode the meaning behind it, the story. And I don’t mean it in a sense of - ‘once upon the time…’. It’s more about - ‘what am I looking at here? what’s happening?’. Photographs that catch your eye are the ones that make your eyes stop on an image - either because you saw something there that was action / mystery / emotion / question / indication of where they are / what they’re doing. THAT’s the story.
Two elements of composition:
To make that story come to life, photographers use 2 elements - the subject and the space around them - so called ‘negative space’ - that one is there to help the eyes ‘glide’ around, help us see what’s going on and where. You may not consciously notice it but it matters.
But when you place your subject centrally, a lot of that space is often simply wasted.
Your brain doesn’t get any help with what it should be looking at.
Immediately it discounts the space above - nothing going on there, you’ve wasted that space in the frame. With equal amount of space on both sides of the subject, neither really matters. We’re not captivated. The use of space is a waste.
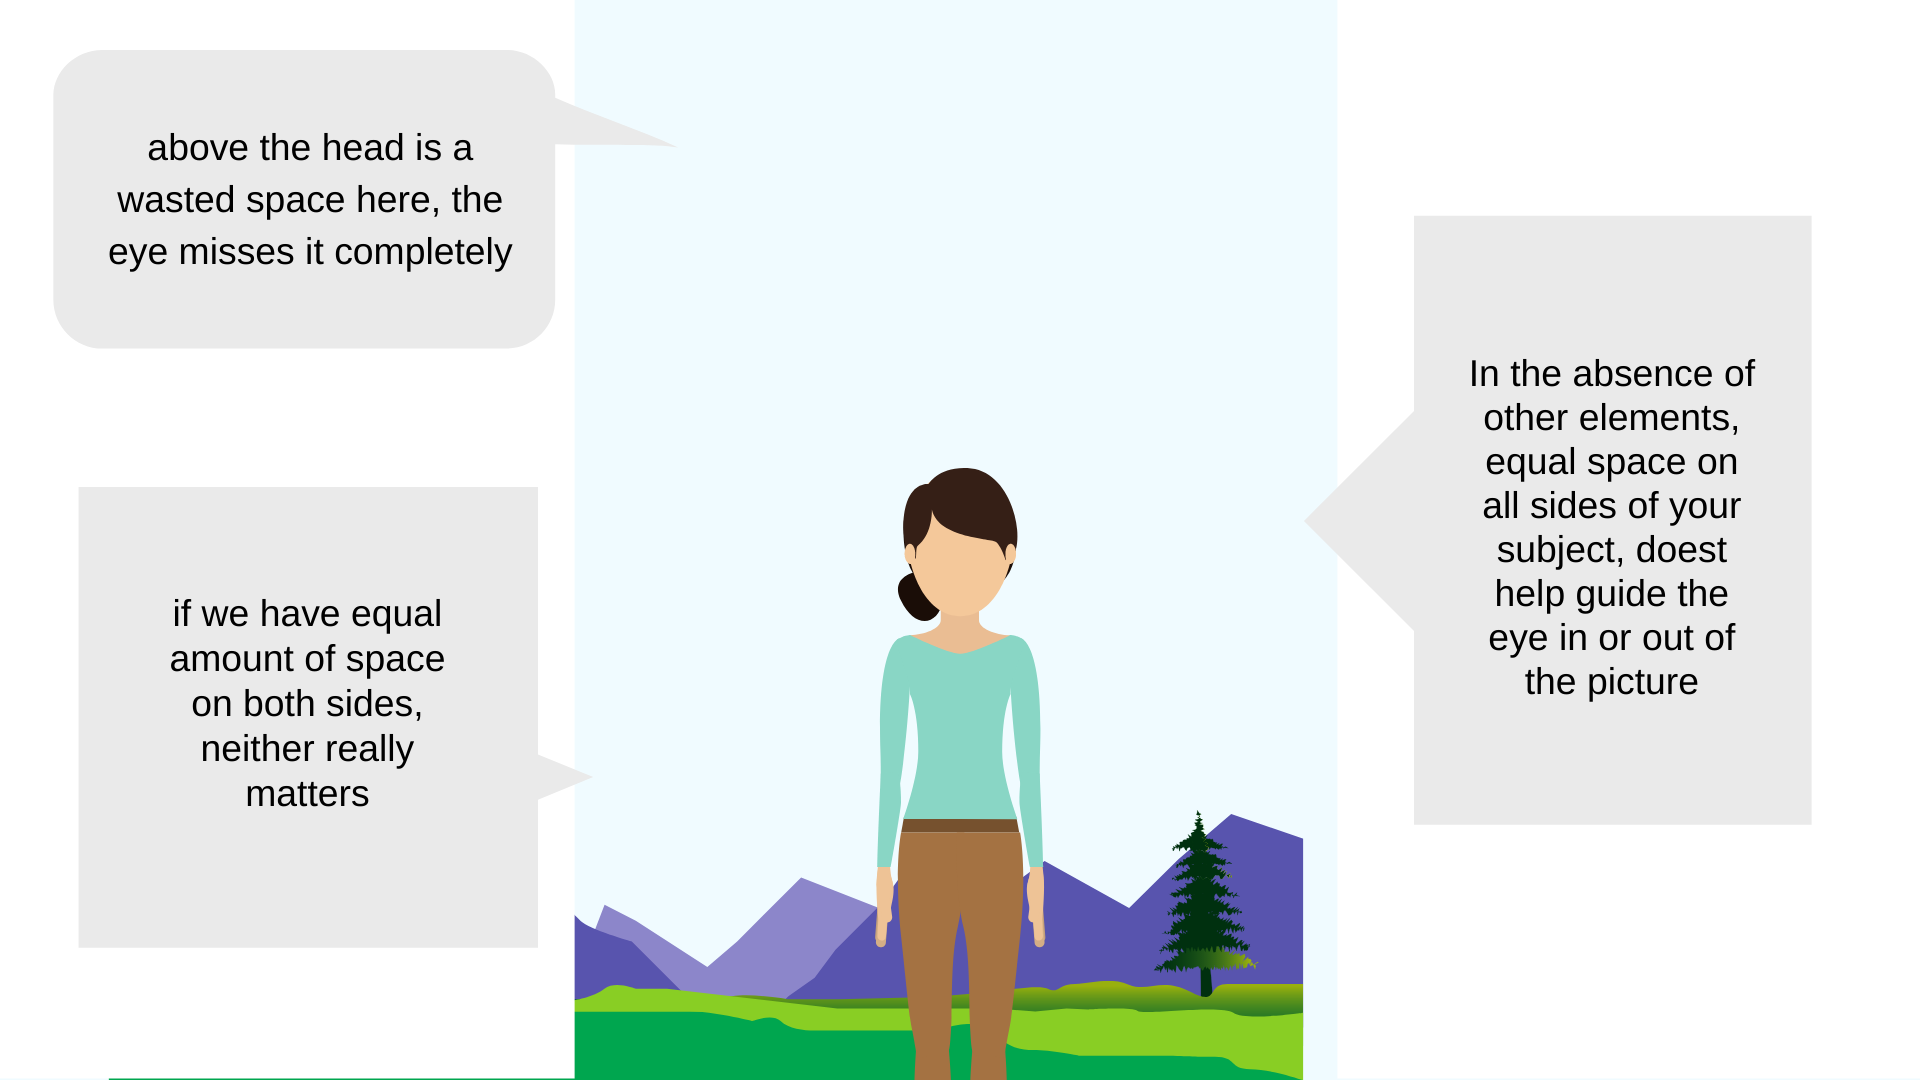
When we teach composition, we always want to explain to you why something matters rather than just blindly having you follow a rule. I think it's important to understand that all that we do when it comes to photographic composition has its root in how our brains understand the visual information in front of us. That's why I wanted yout understand WHY it's often better to not just use the centre of your frame for composition, rather thank just telling you not to do it.
Which leads me now to a composition rule that many of you have heard about, but perhaps haven't considered before WHY it was advocating keeping things off centre - the Rule of Thirds.
Rule of Thirds
Rule of Thirds follows what we described above but it further refines it. It's one of the most well known composition rules in photography.
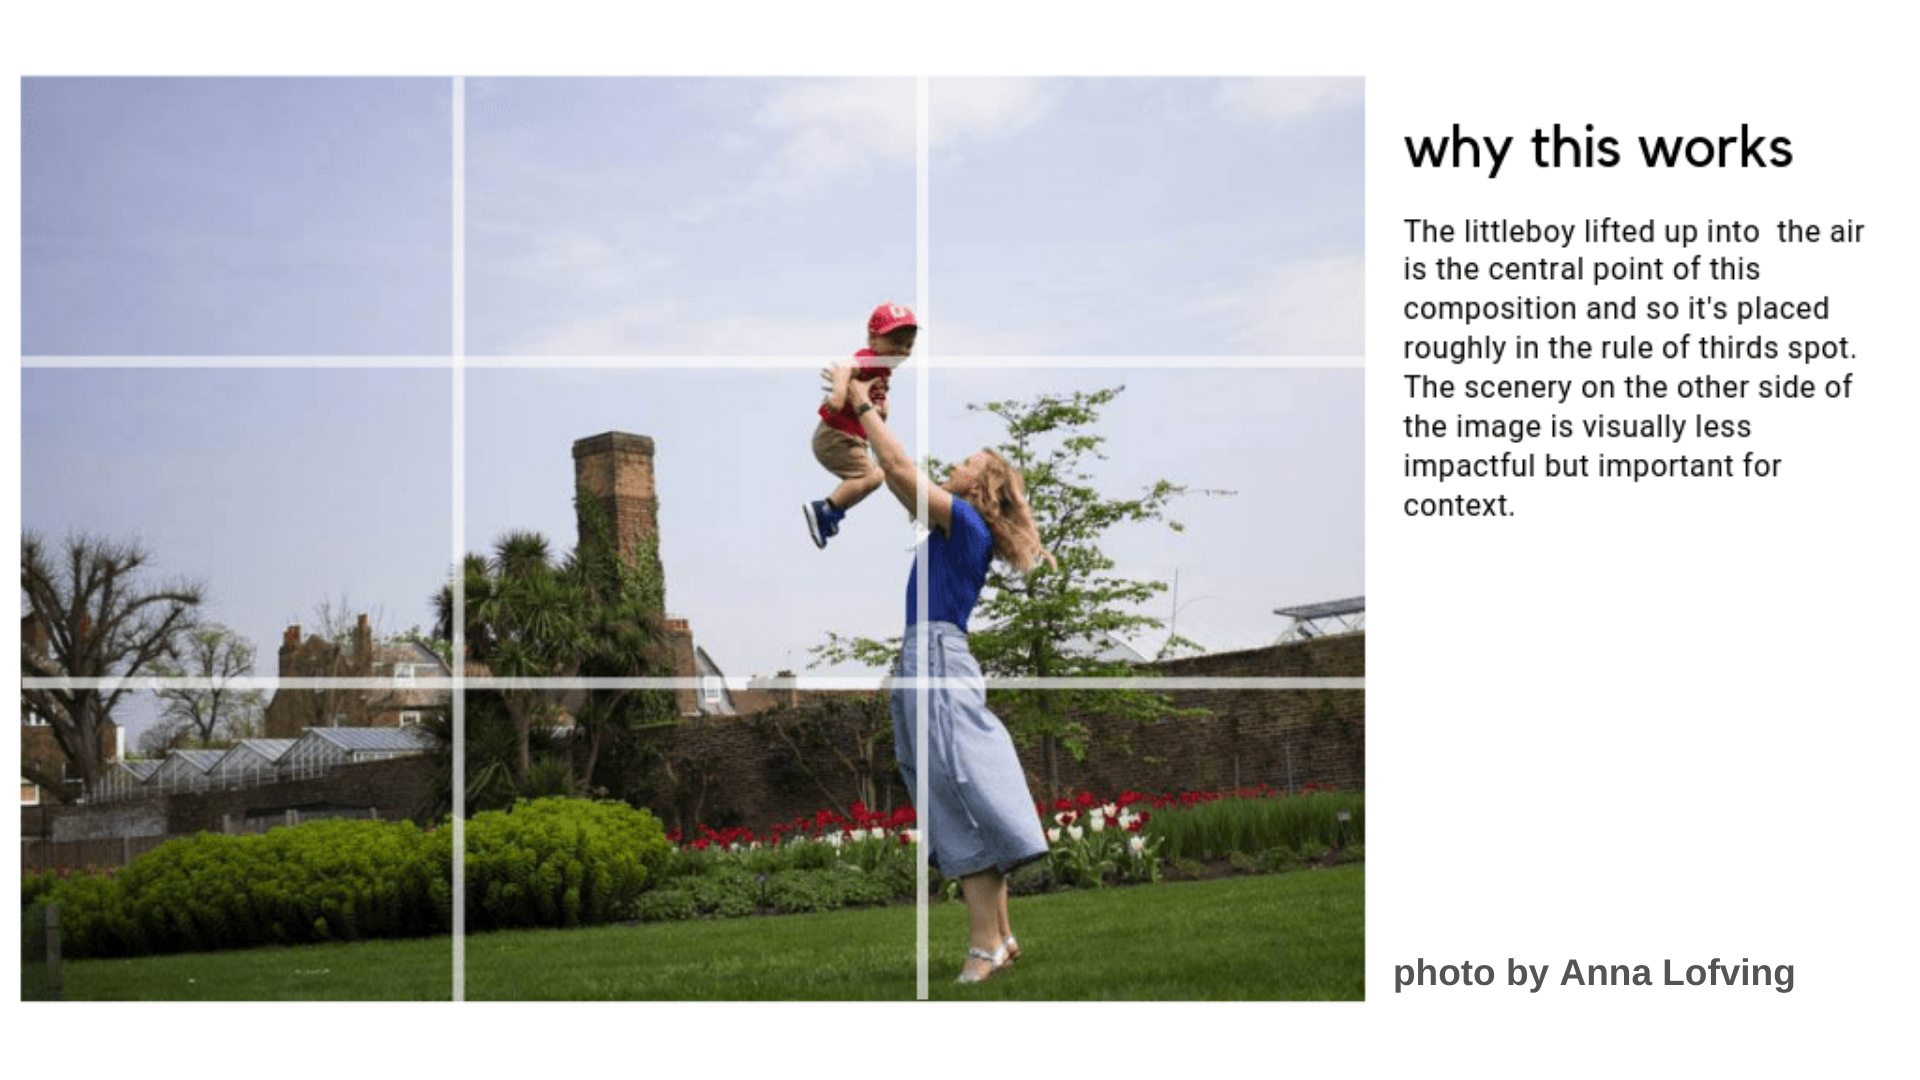
Rule of thirds : if you were to split your frame into three equal parts horizontally and vertically ( see below), your subject will be the strongest if you place them at the intersection of those divider lines.
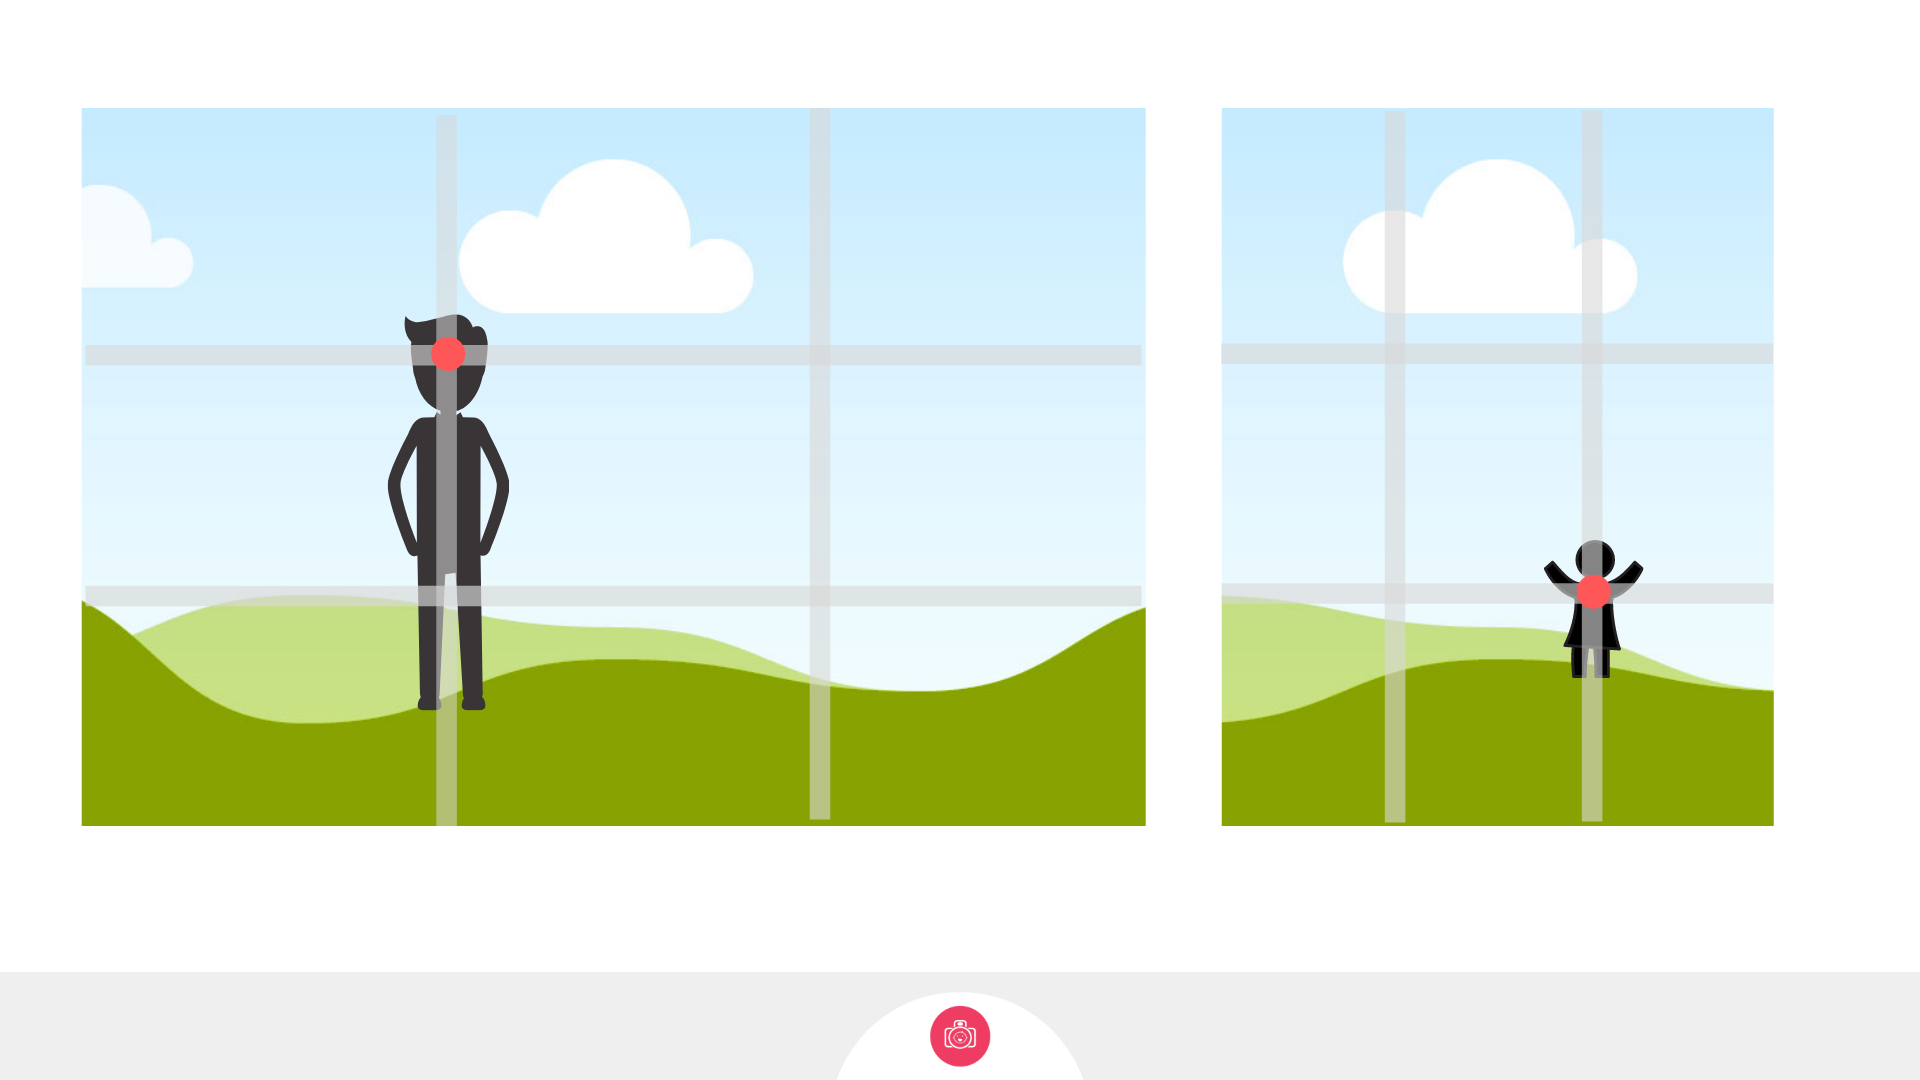
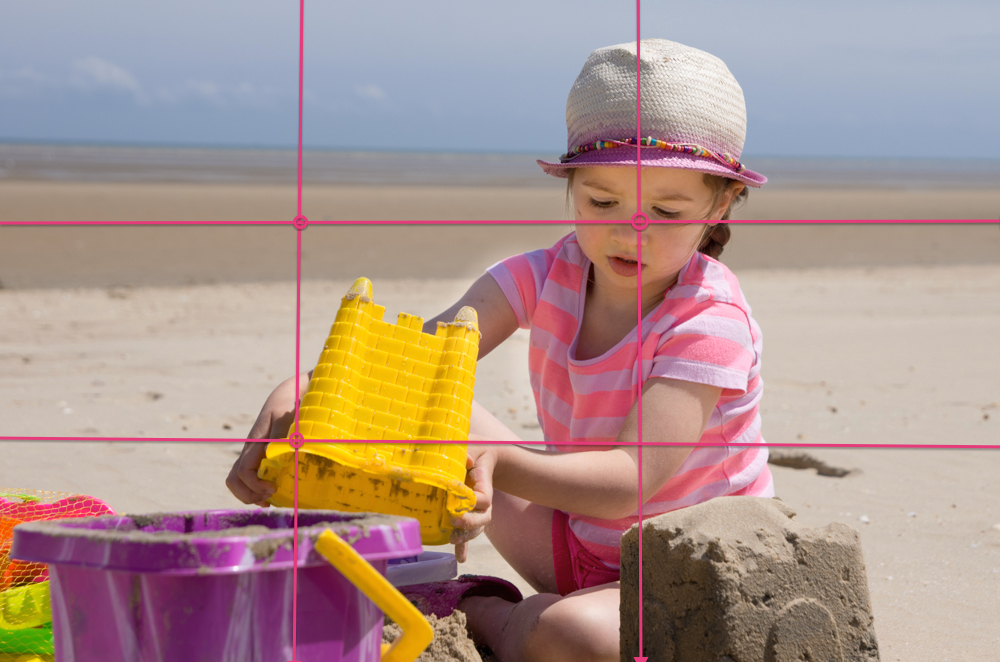
It’s an easy enough rule to memorise and it takes us away from centering the subject. The way the space works in this composition makes it easy for the eye to glide over the picture and stop at what’s important.
It follows how our brain likes to process the visual. And we see it in much more than photography. Next time you watch TV, notice how few people are placed bang in the middle of the screen, even if they’re alone in the frame.
Does it matter which of the 4 points I pick?
It may do in some compositions - if your child is running somewhere it may be sensible to leave more space in the frame in from of them than behind, if someone is looking in a particular direction, maybe leave more space towards where they're looking, but by and large, if you use this as your starting point, you’ll already have improved.
Does it mean I can NEVER ever place my child in the centre of the frame again?
Not at all. There are plenty of reasons why a more central composition might work best in some cases - where there is strong symmetry, where the space around actually frames it in that way, where there are other elements in the frame that lead the eye towards the centre. This is just one of the many photography rules - and sometimes the best photographs happen when you break them. Like I said - we have plenty more on the subject in our full course!


STEP 3 : THREE DIMENSIONS
Ok, so now you know what your lens and zoom choices do, let's push it further. What I want you to do is to consider your world - through your camera - in three dimensions. So not just how wide and tall it is, but specifically how DEEP is your world.
Think about this: when you experience the world 'with the naked eye' - you see a rich, three-dimesional space. You can unerstand relative sizes, distances, you zan move around, you can appreciate movement and speed, you have a much better sense of the space. Your brain does an amazing job working with all the clues provided by your senses. But when you take a photo, all you get to go by is a flat rectangle. Much less for your brain to work with. But we can make it better.
Here is what I want you to do:
I want you to consider what you see and in each space : notice foreground, middle ground ( where your subject is) and background.
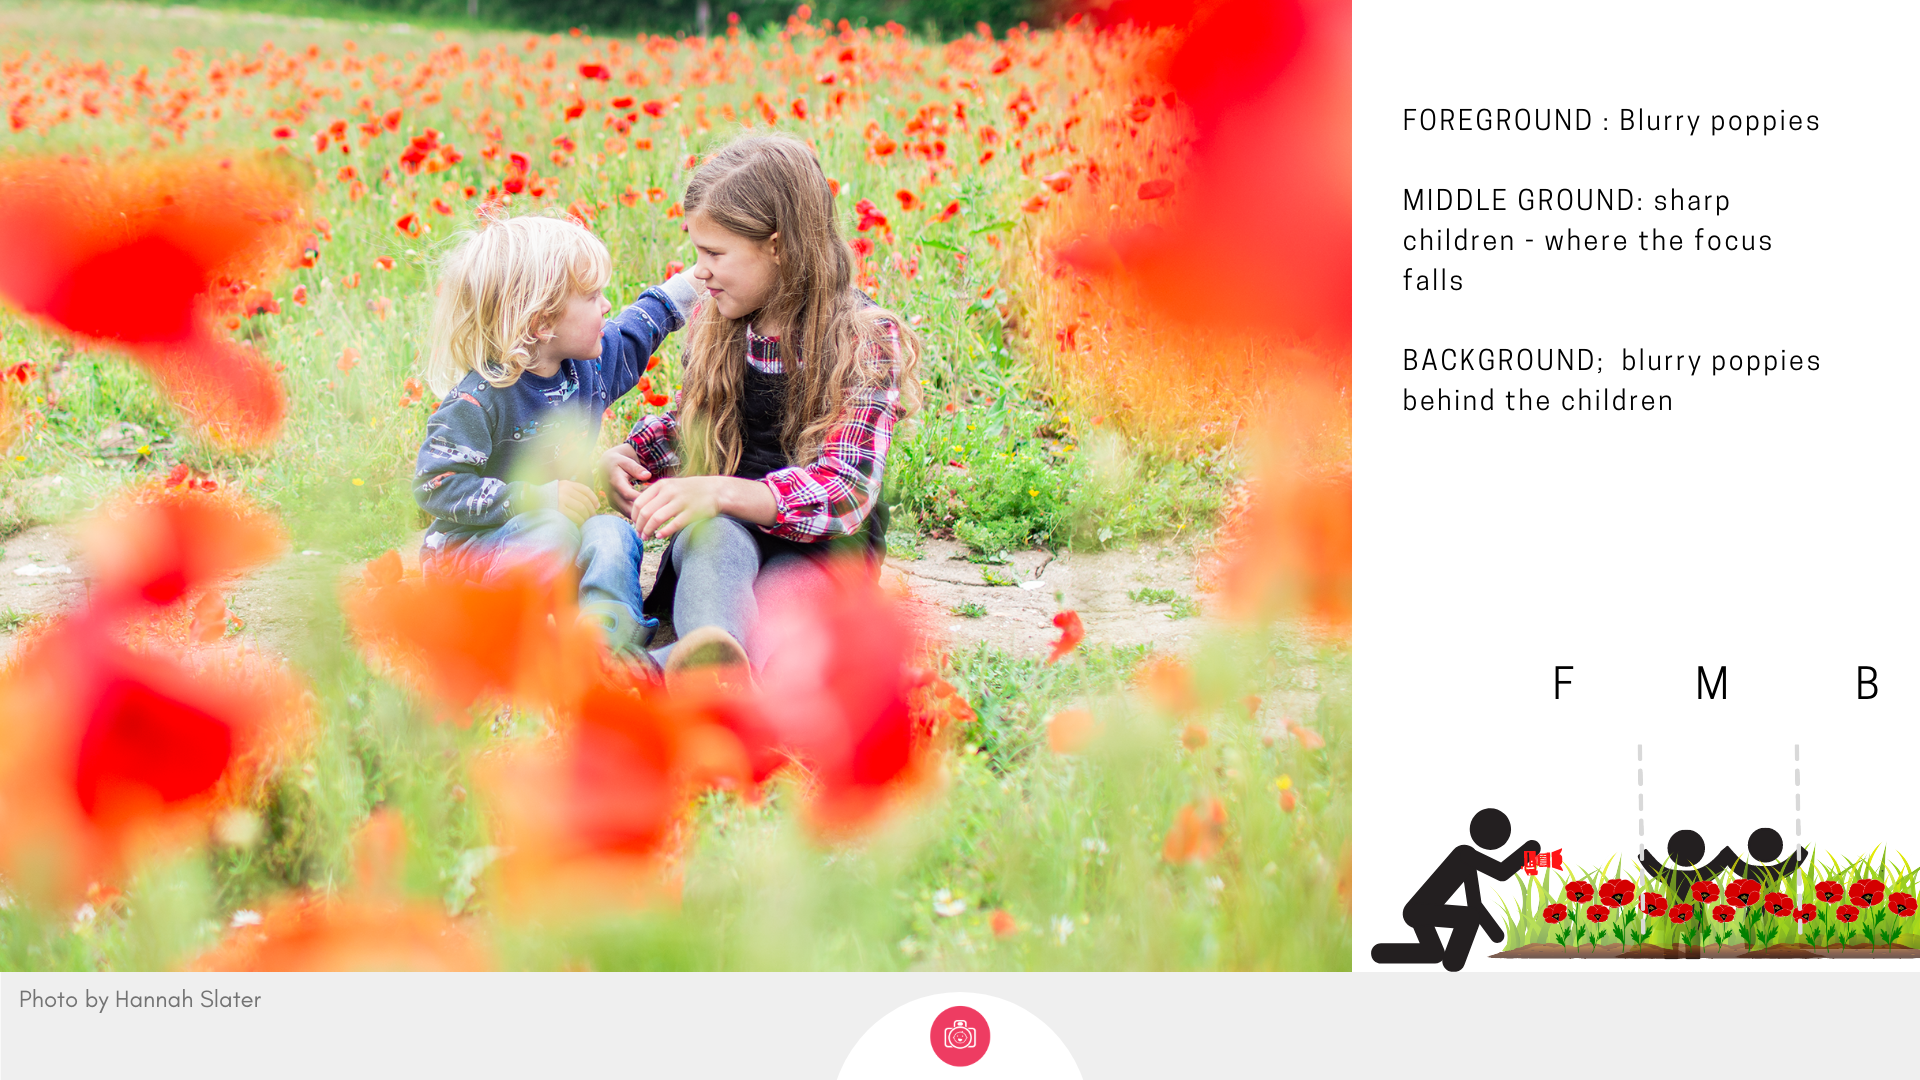
In some images, try as you may, you will not be able to introduce all 3 - most often, #the foreground will be missing - if all we have is thin air between the lens and your subject, then that's not much of a foreground.
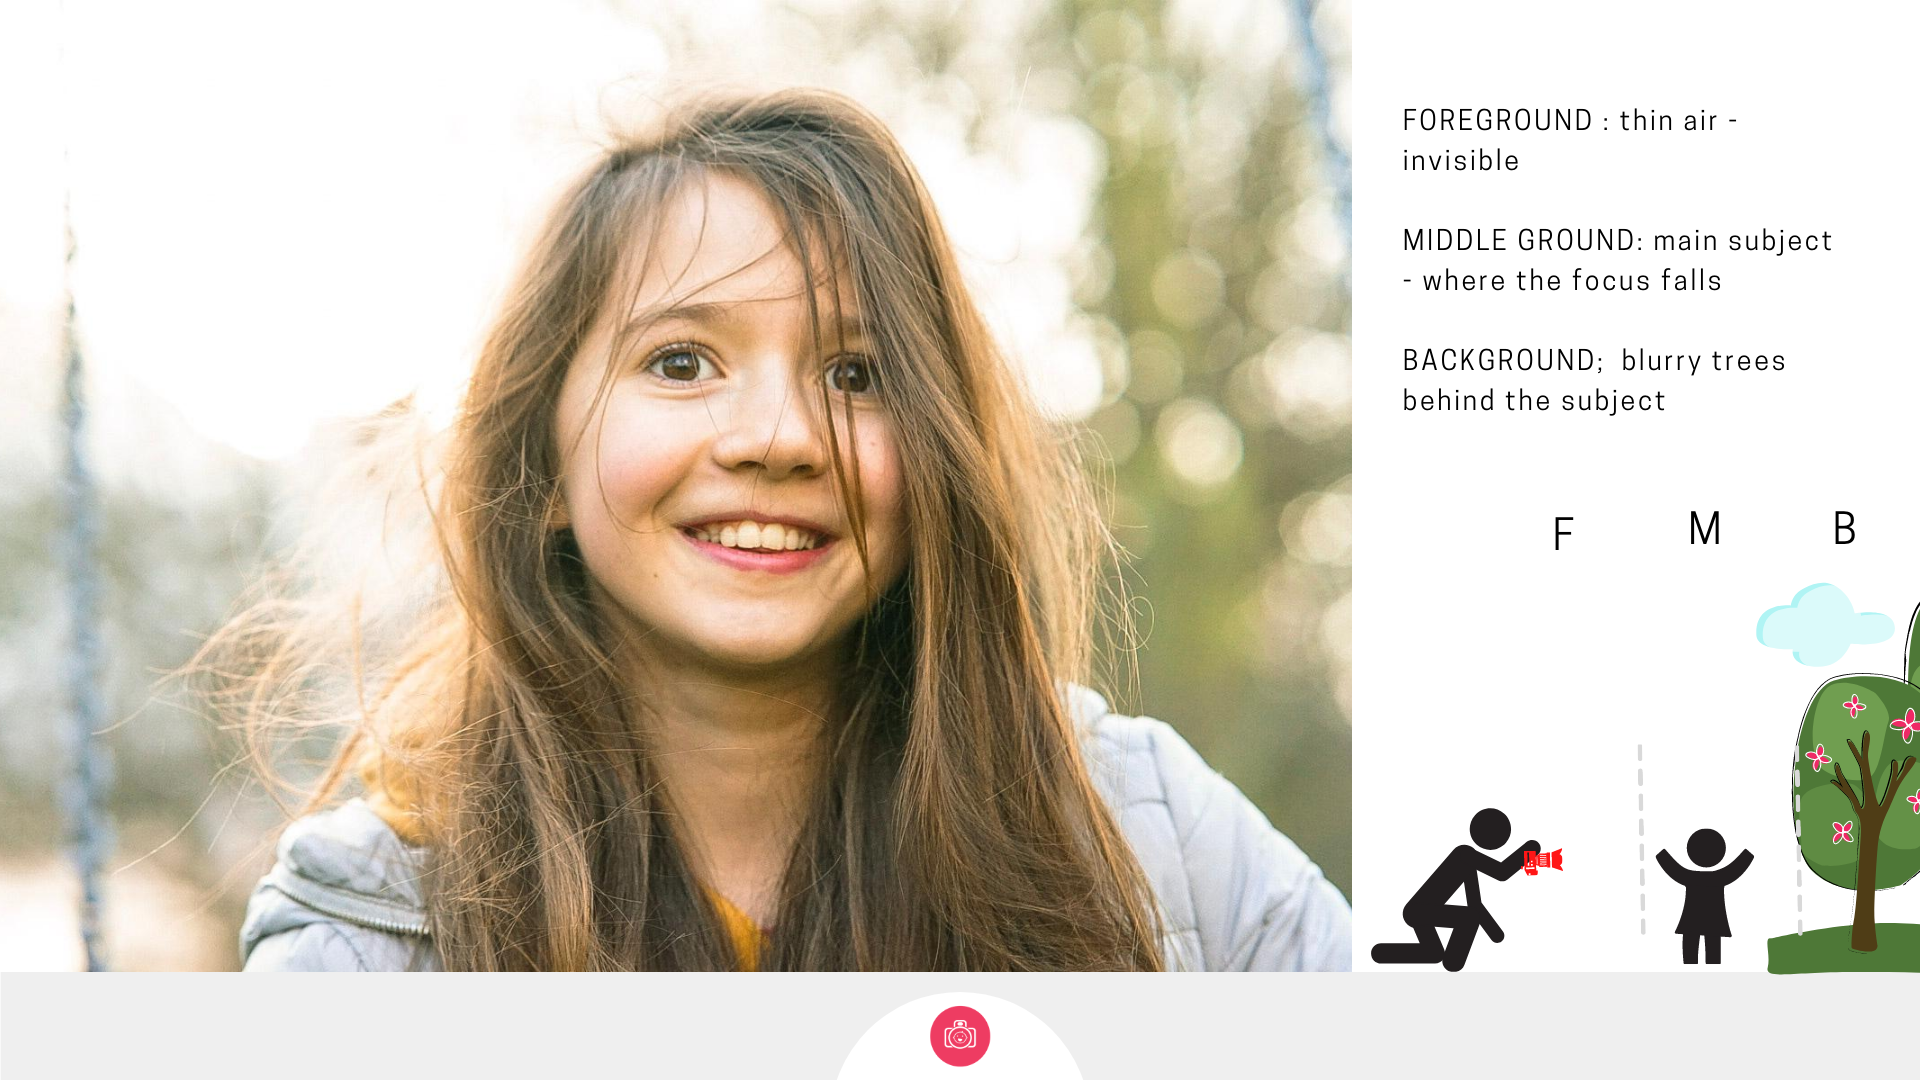
If your subject is Lying down on a surface or standing with their back pressed against a wall, that's not much of a background since it ends 5 inches behind the tip of their nose.
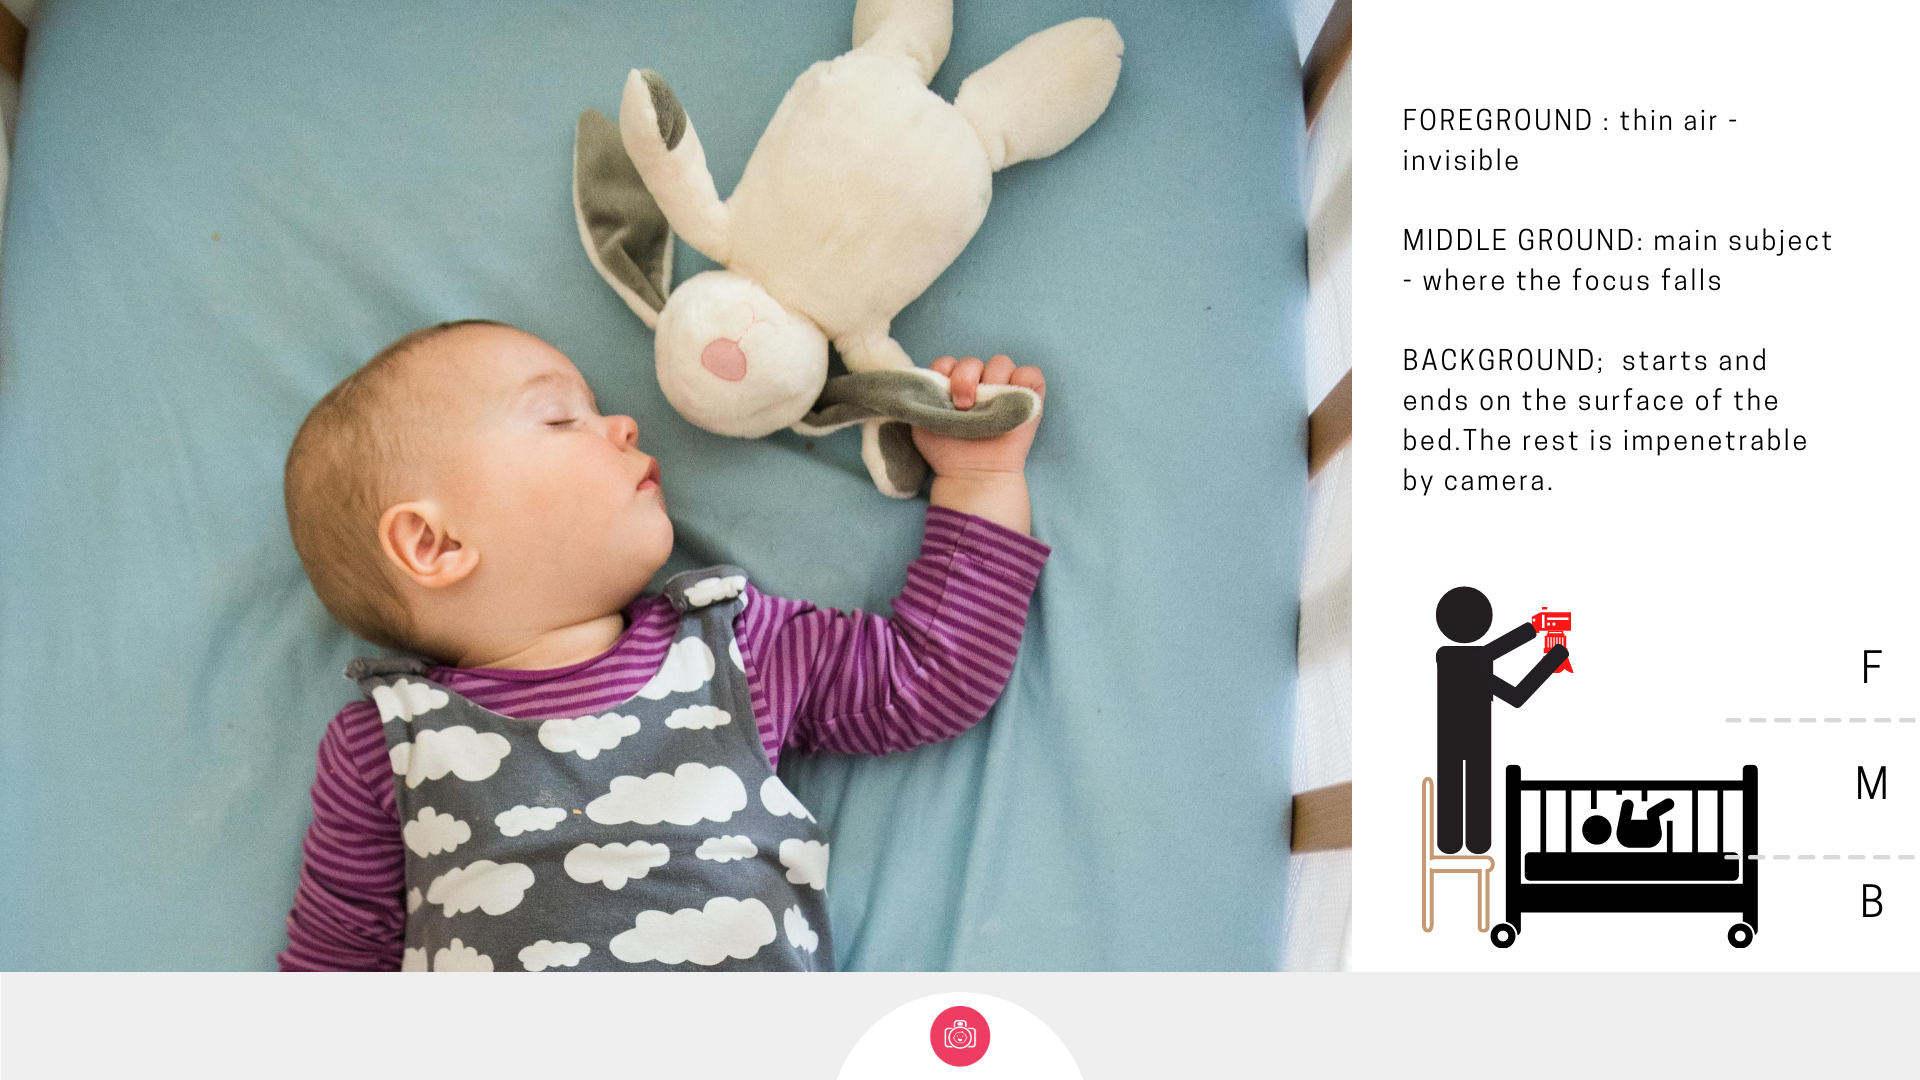
But if you are able to include foreground and / or background, you are inviting the viewer on a journey inside your photograph and it can be especially powerful when you want to use nature to show your subject off.
Week 2 Challenge
This week focus on photographing your children out and about. And while you're there, try to compose your images using the three steps method:
Step 1 : noticing your space and deciding whether to zoom or not to zoom ( if you can - if you're on your phone, you may need to miss this step)
Step 2: applying the Rule of thirds ( or at least being conscous of not placing everything in the centre
Step 3: seeing of there is potential for bringing both foreground and background into the frame ( it won't always be possible but it's worth looking for it)
Donlt forget to use what you learned last week about different angles and positions!