A long time ago, when I was making my first steps in the world of lifestyle children's photography, someone told me that I should always go for Expression over Perfection. I live by that mantra ( or that's how I justify the many imperfect shots I take of my own kids to myself) but I would advise you to do the same.
Especially in this week. There are many technical elements to get right in some of these shots, and you may be tempted to nit-pick them all, but I'm telling you to stop. Enjoy watching them be happy and capture the feeling, chopped off limbs be damned.
Swings
Show me a person who goes on a swing and doesn't feel even a little but elated? For an action so pure, it is so full of joy!
But for something so joyful, it is actually surprisingly technical to capture. You need to get 2 things right : your shutter speed - we mentioned it on the previous page, and your focus - the latter being actually harder to nail.
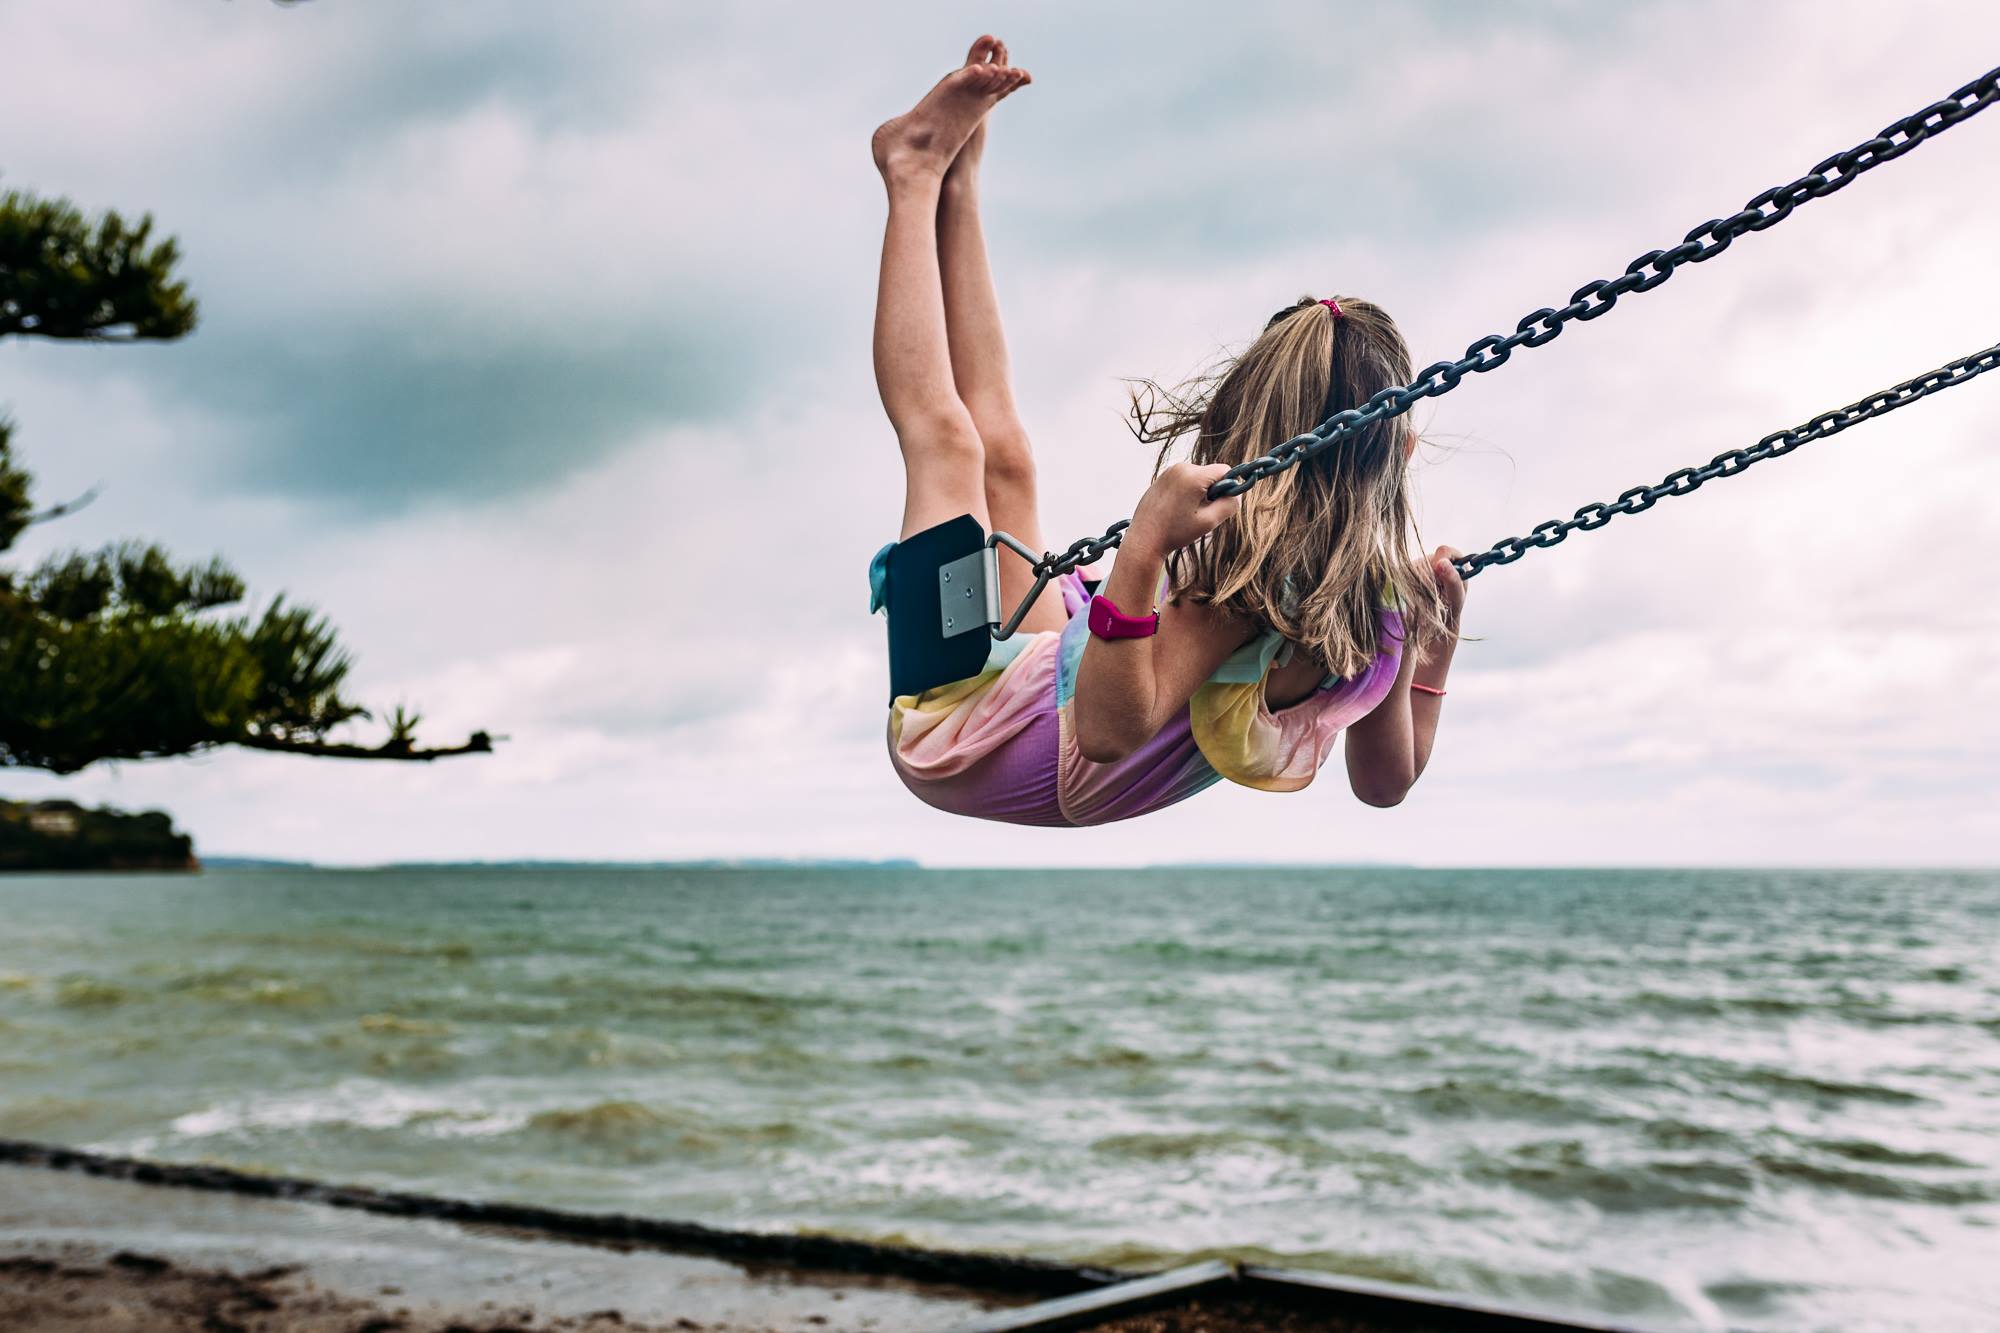
Photo by Andrea James
The speed first:
While your camera can be limited with its shutter speed indoors ( because of poor light) outside, being outside is a different matter - you should be safe to take really fast photos.
- If you're shooting in auto modes - if you're out nd about on a sunny day, you can leave your camera on Auto and it should give you a speed that's fast enough. If however, what you're seeing looks blurry, switch to 'sports' or 'action' preset or mode. On those settings, your camera should prioritise speed over other elements and give you a better chance of success. However, in poor light, even that may be insufficient.
- If you're shooting in priority modes - switch to Shutter Priority and push your shutter speed to 1/320s or faster if you can. If it's a bright sunny day, you can probably push it to near a 1/1000 and still be OK, but you're shooting at dusk or a heavily overcast dark day, you may need to take it down a bit. See what your camera does when you set it at 1/320 - if it's matched with a very wide aperture, you probably can't take it any further, if your aperture number is coming up higher, you're OK to push your shutter a bit more.
- If you're shooting in Manual, same as above applies - start from your desired Shutter speed and see how you can make it work by adjusting the aperture and ISO accordingly. Pro tip - try to avoid setting your aperture too wide - when it comes to capturing this kind of movement, you want to give yourself a little leeway in terms of a reasonably long depth of field so that even if your focus fails to track your subject adequately, you can still have your subject fall in the (focus} ballpark.
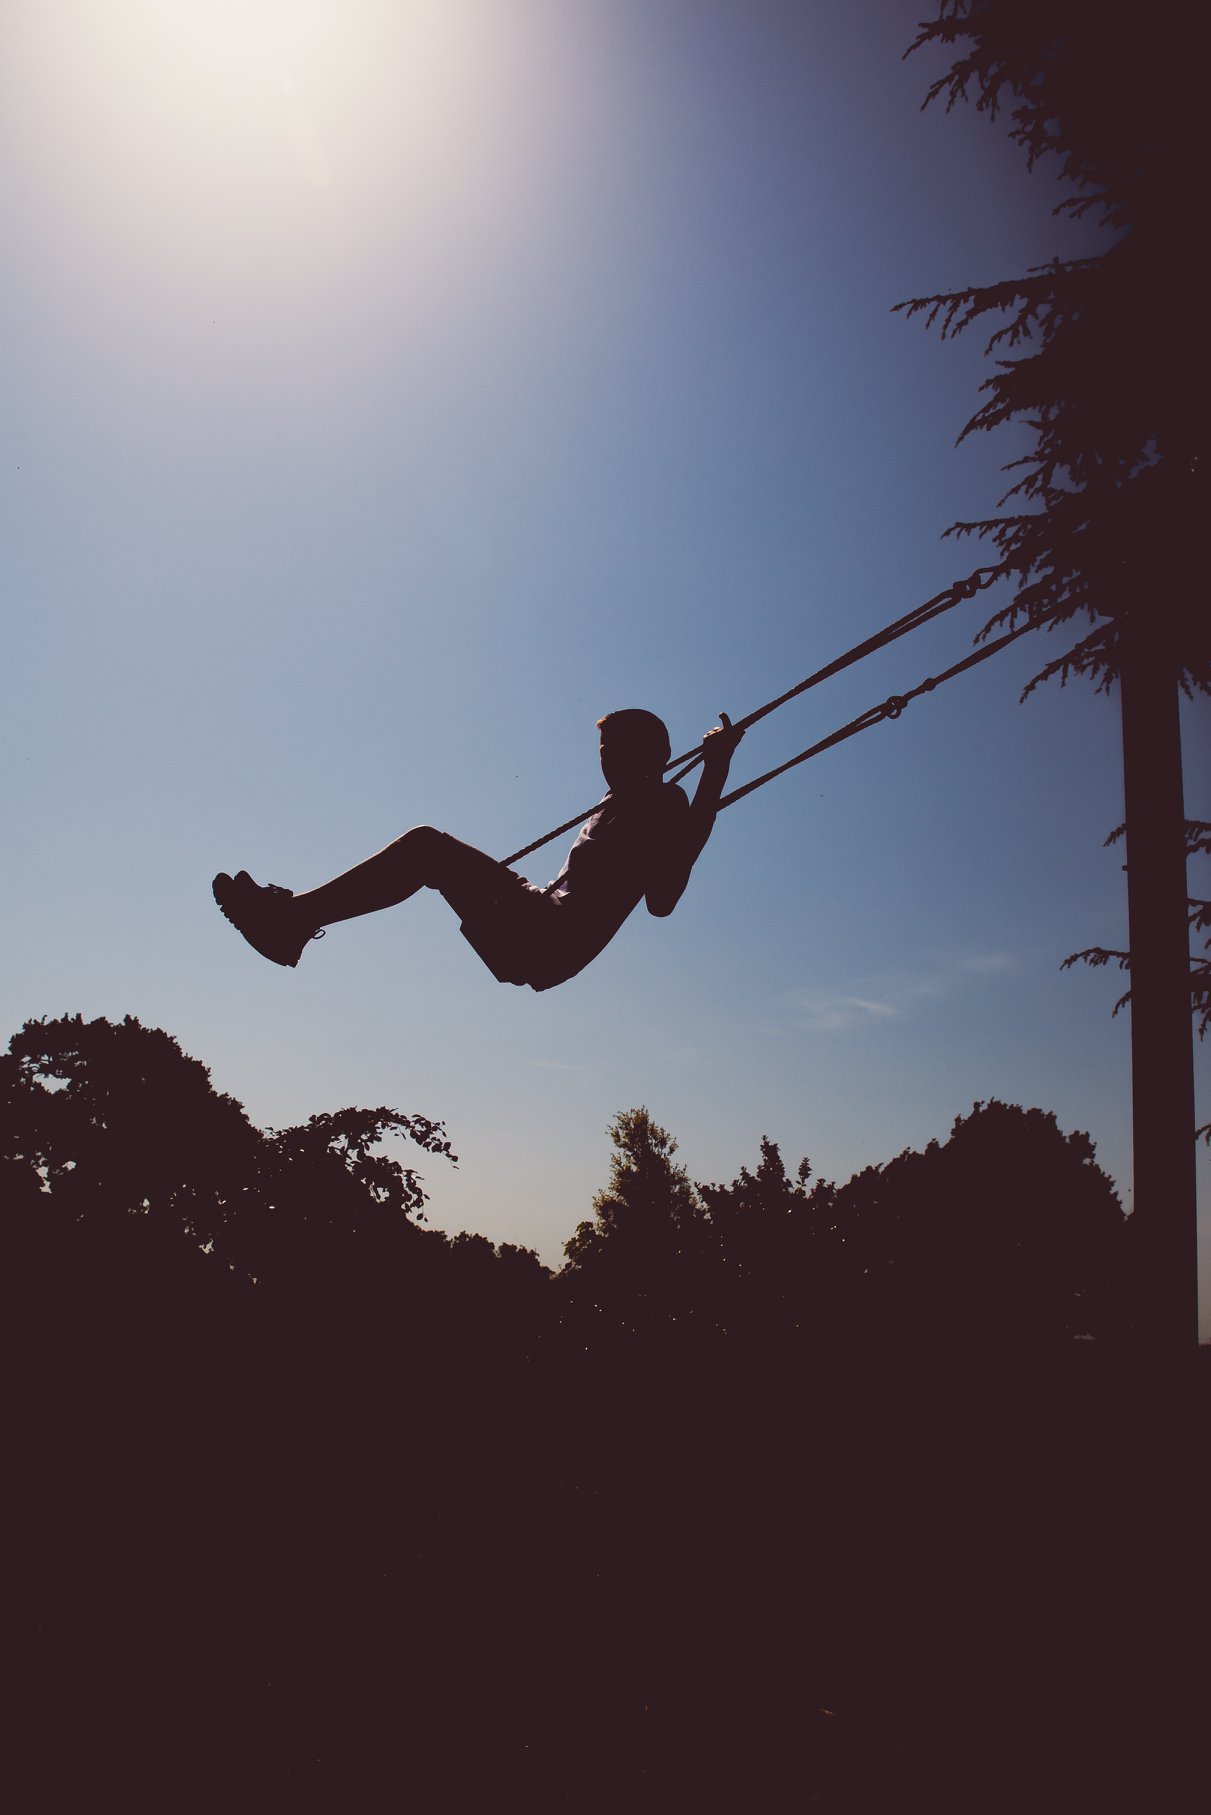
Photo by Teresa Foyster
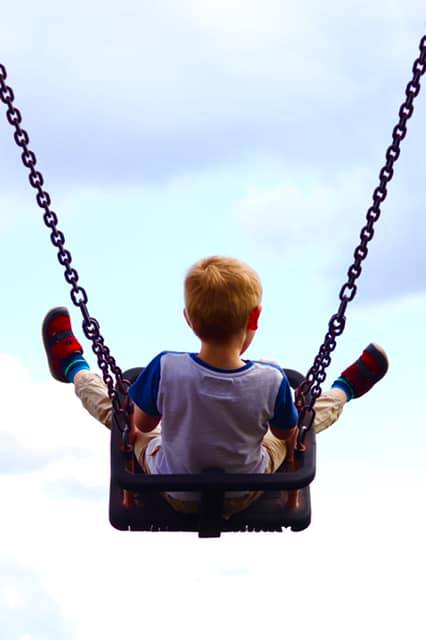
Photo by Jemma Pincott
When it comes to focus on the swings, you have 3 options ( roughly speaking)
- Full auto - just let the camera guess and adjust - that is pretty much your only opttion when shooting on Auto. There will be misses, but there will also be some hits, just pay attention where the focus display points land so you capture your child and not the scenery behind them sharp.
- To use the continuous / tracking focus mode I mentioned on our last page. Bear in mind it WILL be hit and miss, with the emphasis on 'miss', but you may be able to capture those flying shots easier/
- If you struggle with the continuos focus, you can rely on the predictability of the movement of a swing and use a pre-focus and lock method.
It works like this: You take your camera out of the tracking focus mode and set it on a more static mode (AF-S, AI-Focus etc). Now, you observe your child's path on the swing - look out for the highest point they hit as that's a moment when the swing momentarily stops in motion, torn between the upward motion and gravity. When you child reaches that point - focus( half press the shutter button) , but dont take the shot yet. Wait for them to swing back out and only when they come back to the same point you prefocused previously, press the shutter button fully.
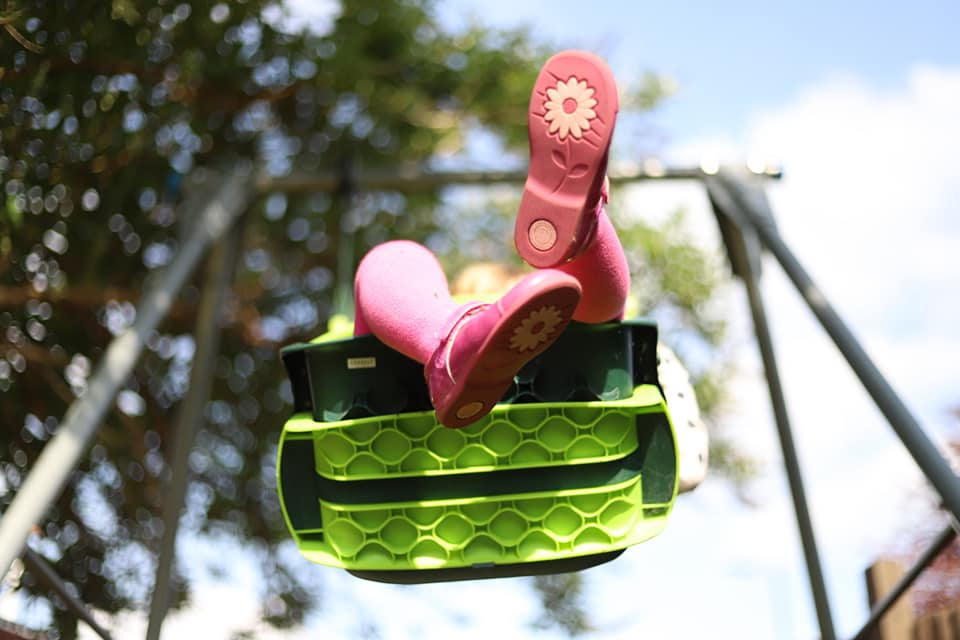
Photo by Lisa Lloyd
Let's talk about angles:
There are so many ways of photographing kids on the swings, yet I usually see just one angle - that taken from an adult standing height, facing the child on the swing. I get it, your child is joyous and smiling and reaching out to you. The photos will be really cute. You should take them. But you should also take at least 3-4-7 other ones!
Go really low, and I mean on your back on the ground, shooting up - DON'T GET HIT BY THE SWING!
Go from the side - play with the placement in the frame or try some more creative crops
Go from behind or above to catch an unusual angle.
Focus on their face or their feet for a different story
Let me be clear, there will be plenty of out takes and missed focus and odd crops, but some gems as well. The key is to keep things fun for everyone and shoot loads.
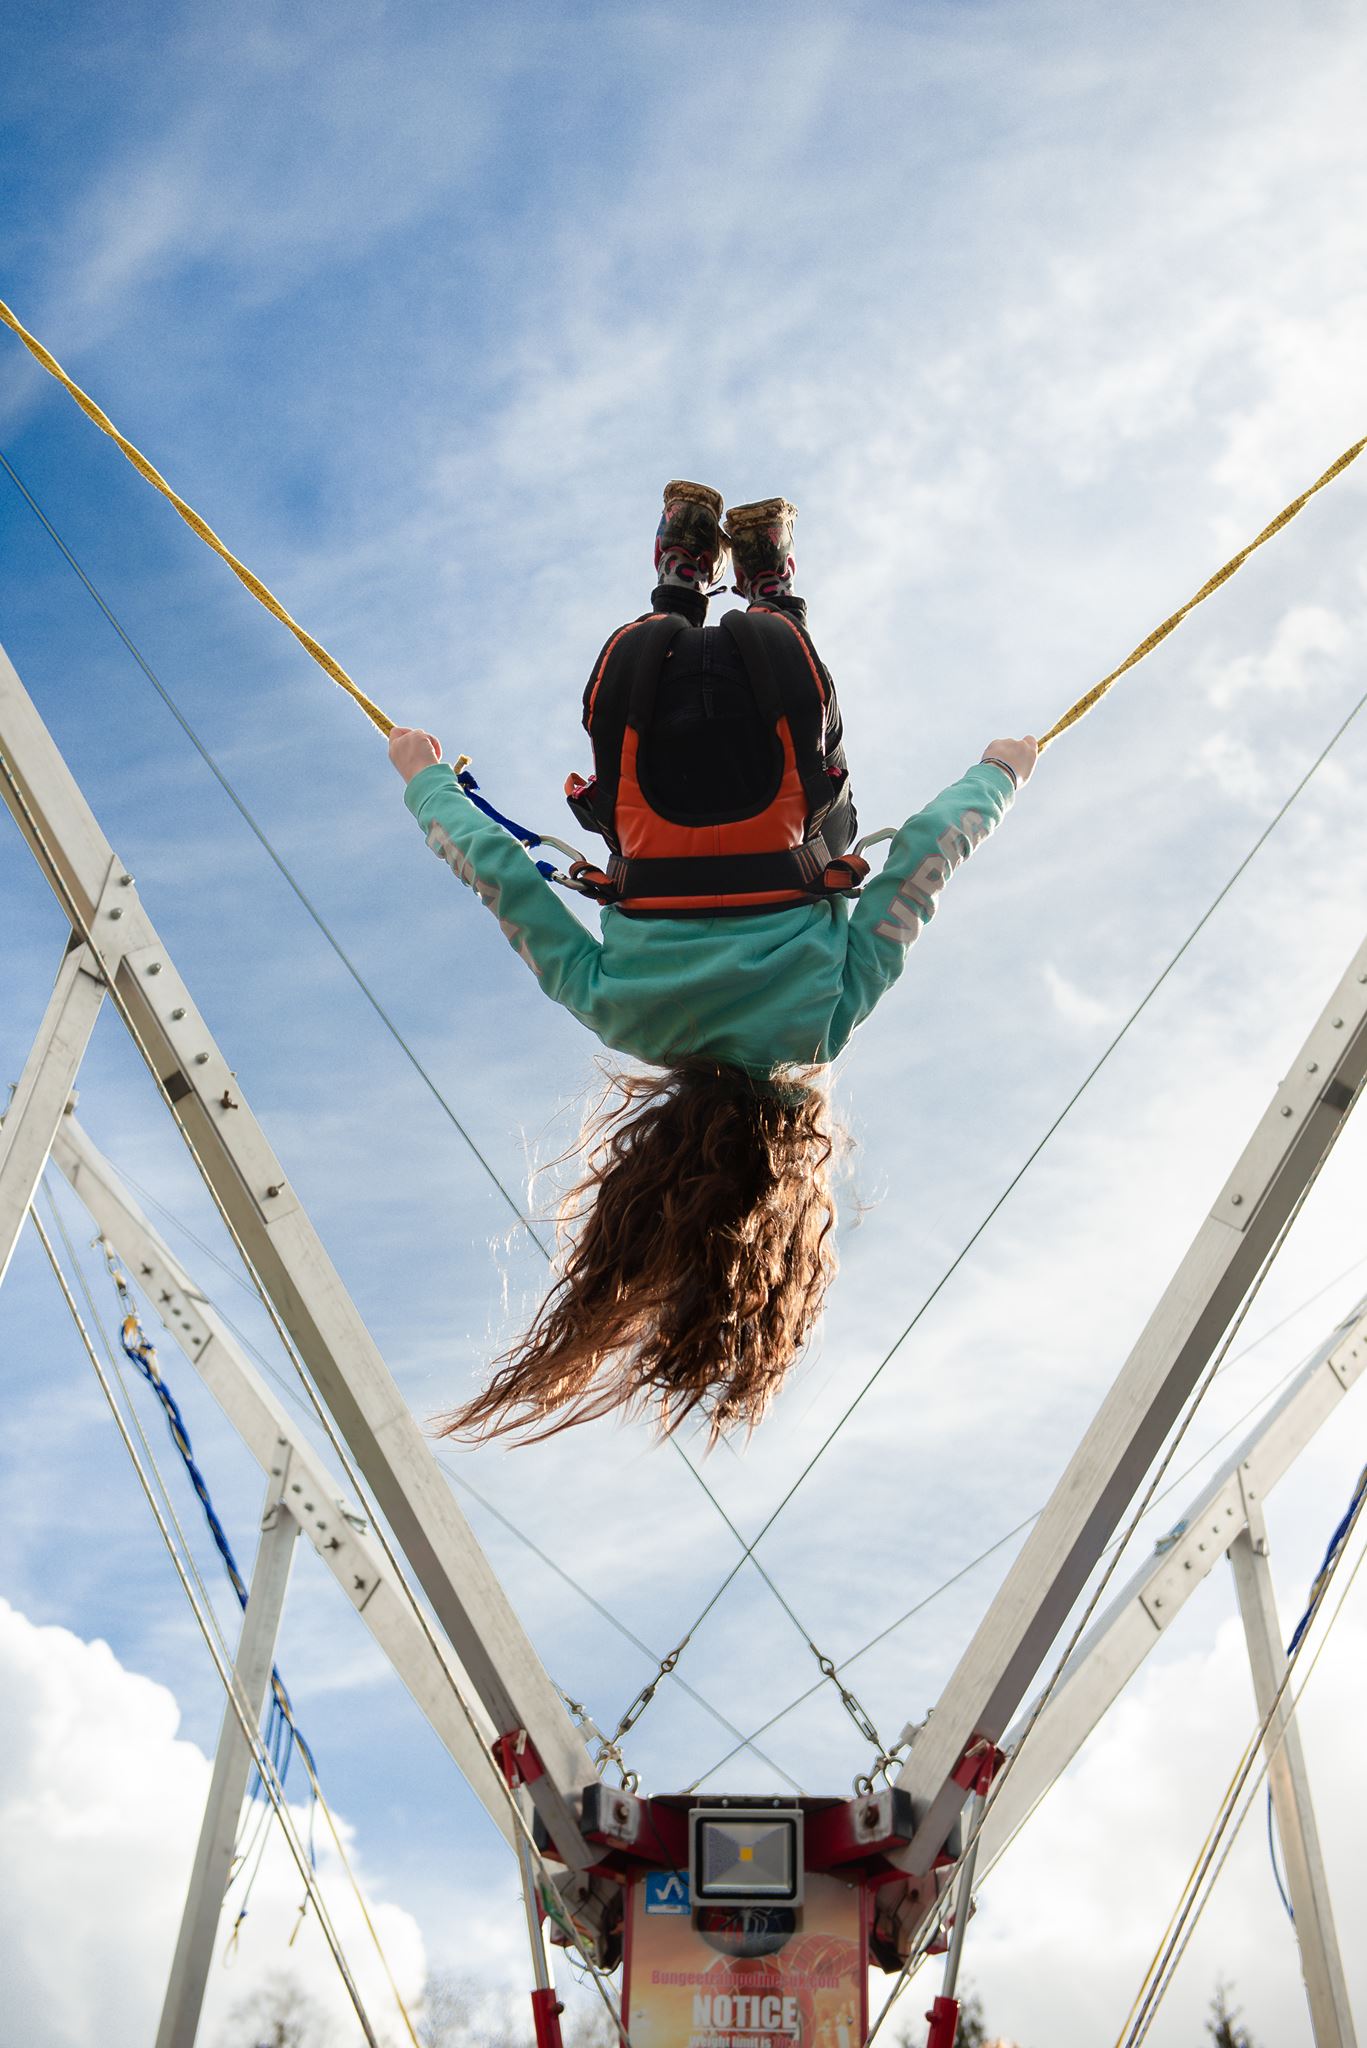
Photo by Estelle Gibbs
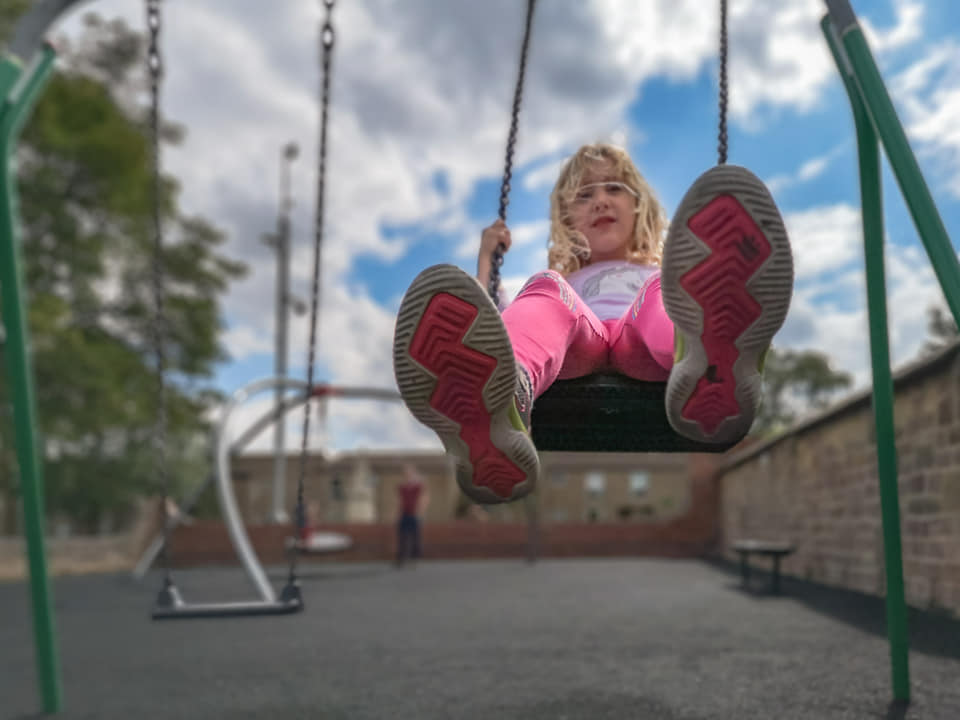
Photo by Morgan Wallace
Roundabouts / Merry-go-rounds
From swings, to roundabouts. Another fantastic way for the kids to feel the speed and how their movement affects their bodies all in one.
If you want to catch movement sharp, the same principles as with swing shots apply - fast shutter speed and continuous/tracking focus.
I'd again highly recommend that you play with angles and crops to shoot something unique - shorten your focal length and shoot from above, catch a part of their body only
But if you're up for something a little more technical, here is a fun little technique which makes it appear that the background is moving while the person in the roundabout is completely still.
Here is how this works:
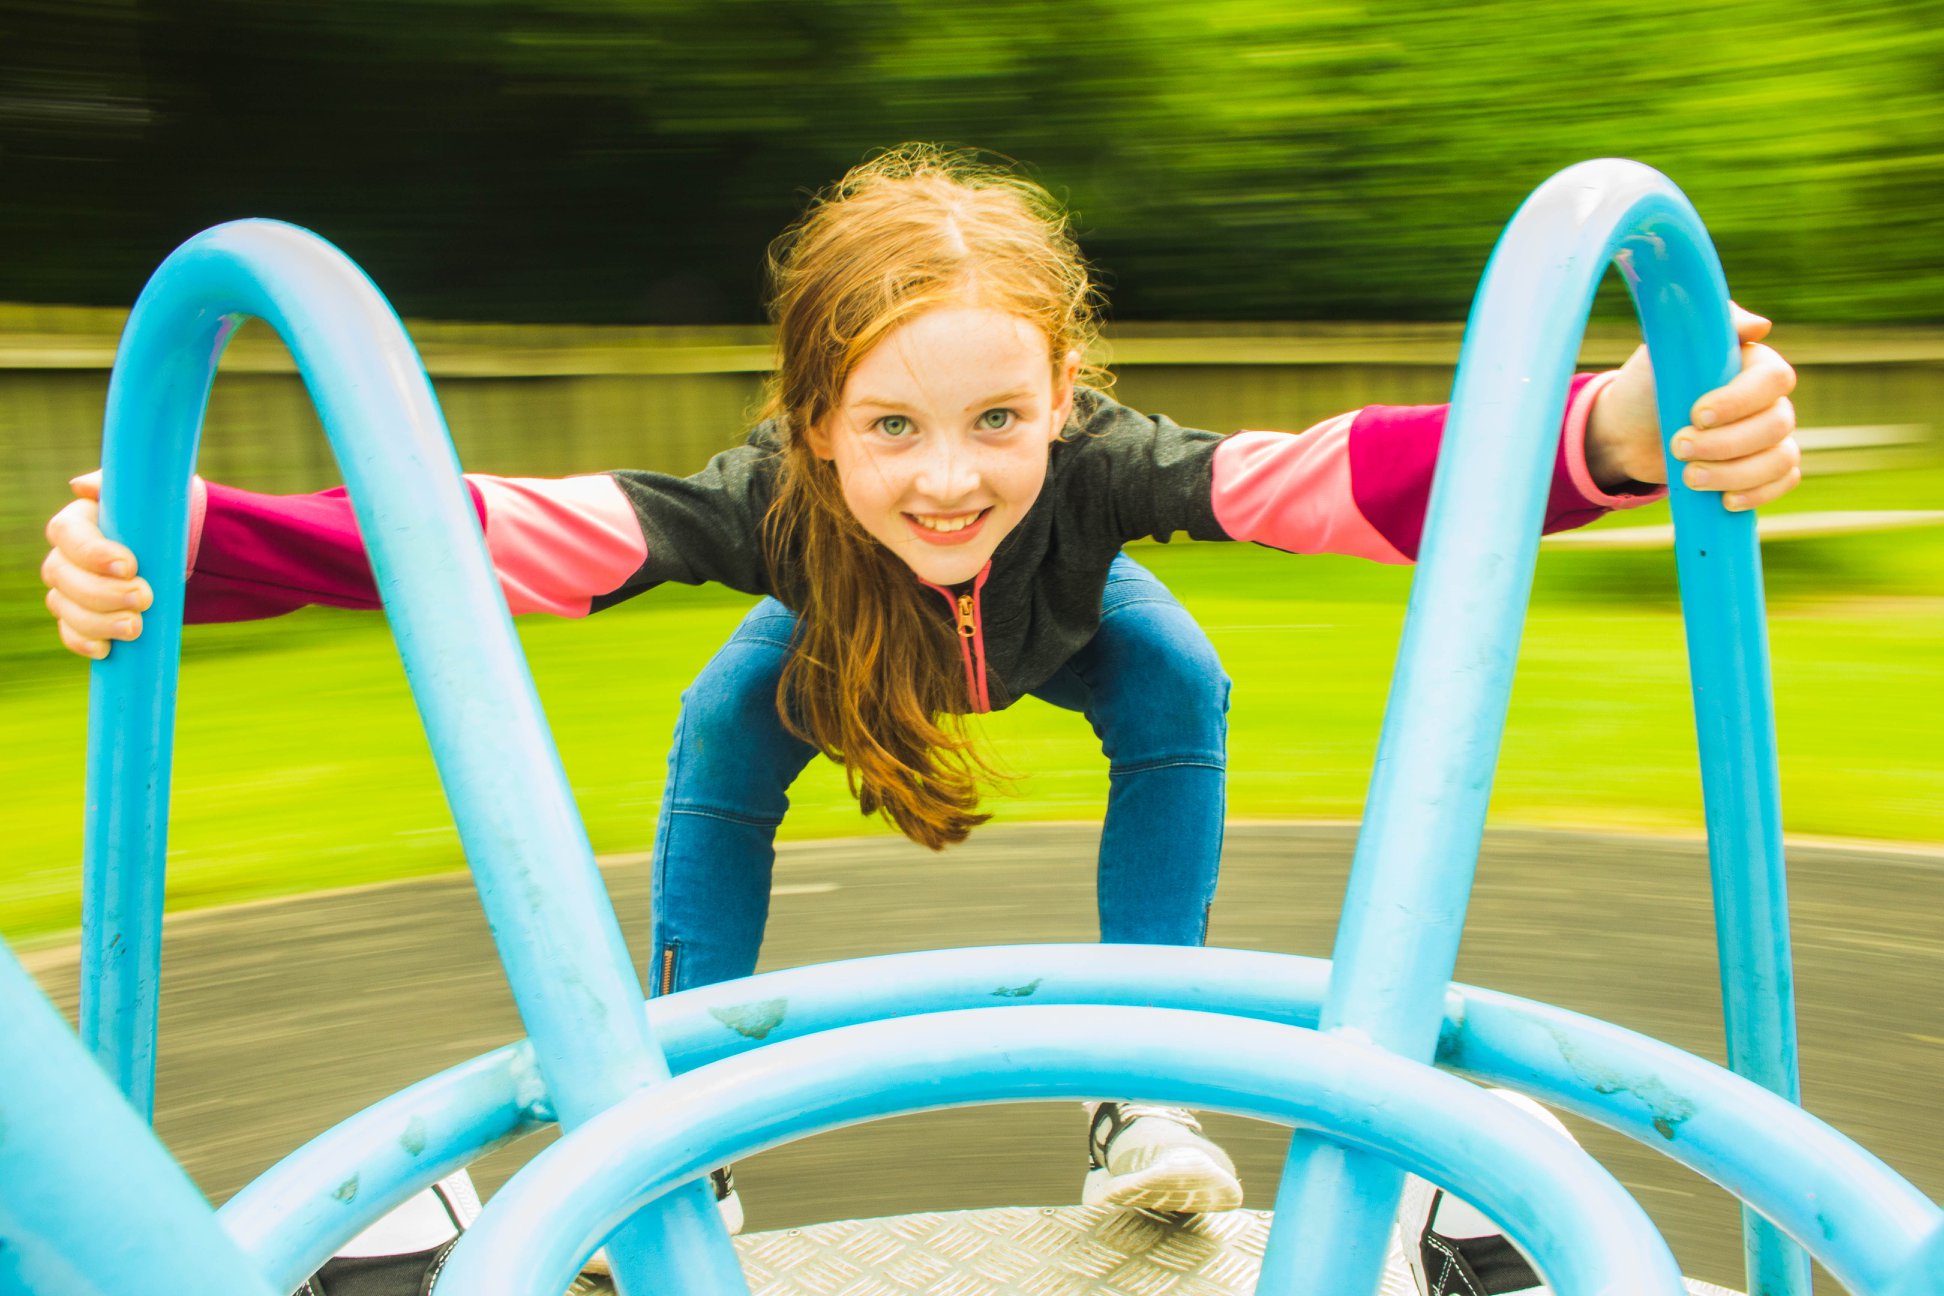
Photo by Sarah Collins
Slides
With slides, it's all about the angles.
If you want to emphasize the height and length of the slide, shoot from very low down, pinting your camera up. If you use a shorter focal length, you can actually MAKE the slide longer and large, due to the lens's quality of extending the space.
Crop tighter if you want to focus on your subjects' expression - but make sure there is still enough in the background to make it clear where your child is.
If it's a metal slide your child is on, use its reflective qualities to either help bring more light onto your subject's face, or just have fun with reflections
Get creative with crops and aim to capture just a small part of your child - like the feet as they're about to come out of it. Walk around the slide or shoot from above - I cannot emphasize enough how important it is to try and vary your angles and directions. So many people give us after taking just the simple, most predictable shot and then putting the camera away without looking from the other side!
Be differerent, have a little fun with it!
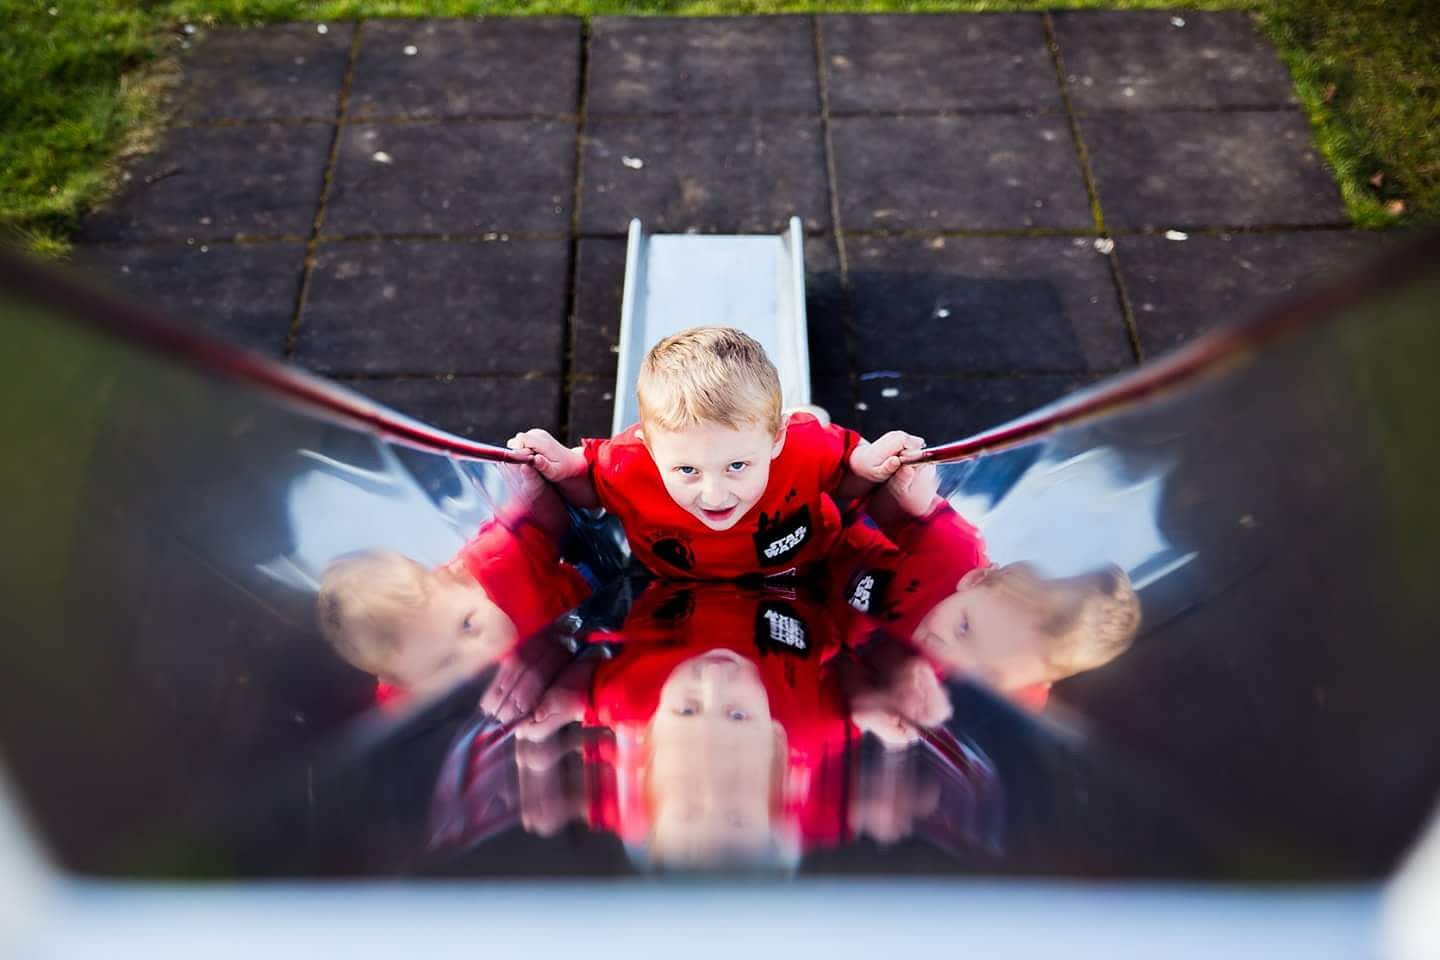
Photo by Teresa Foyster
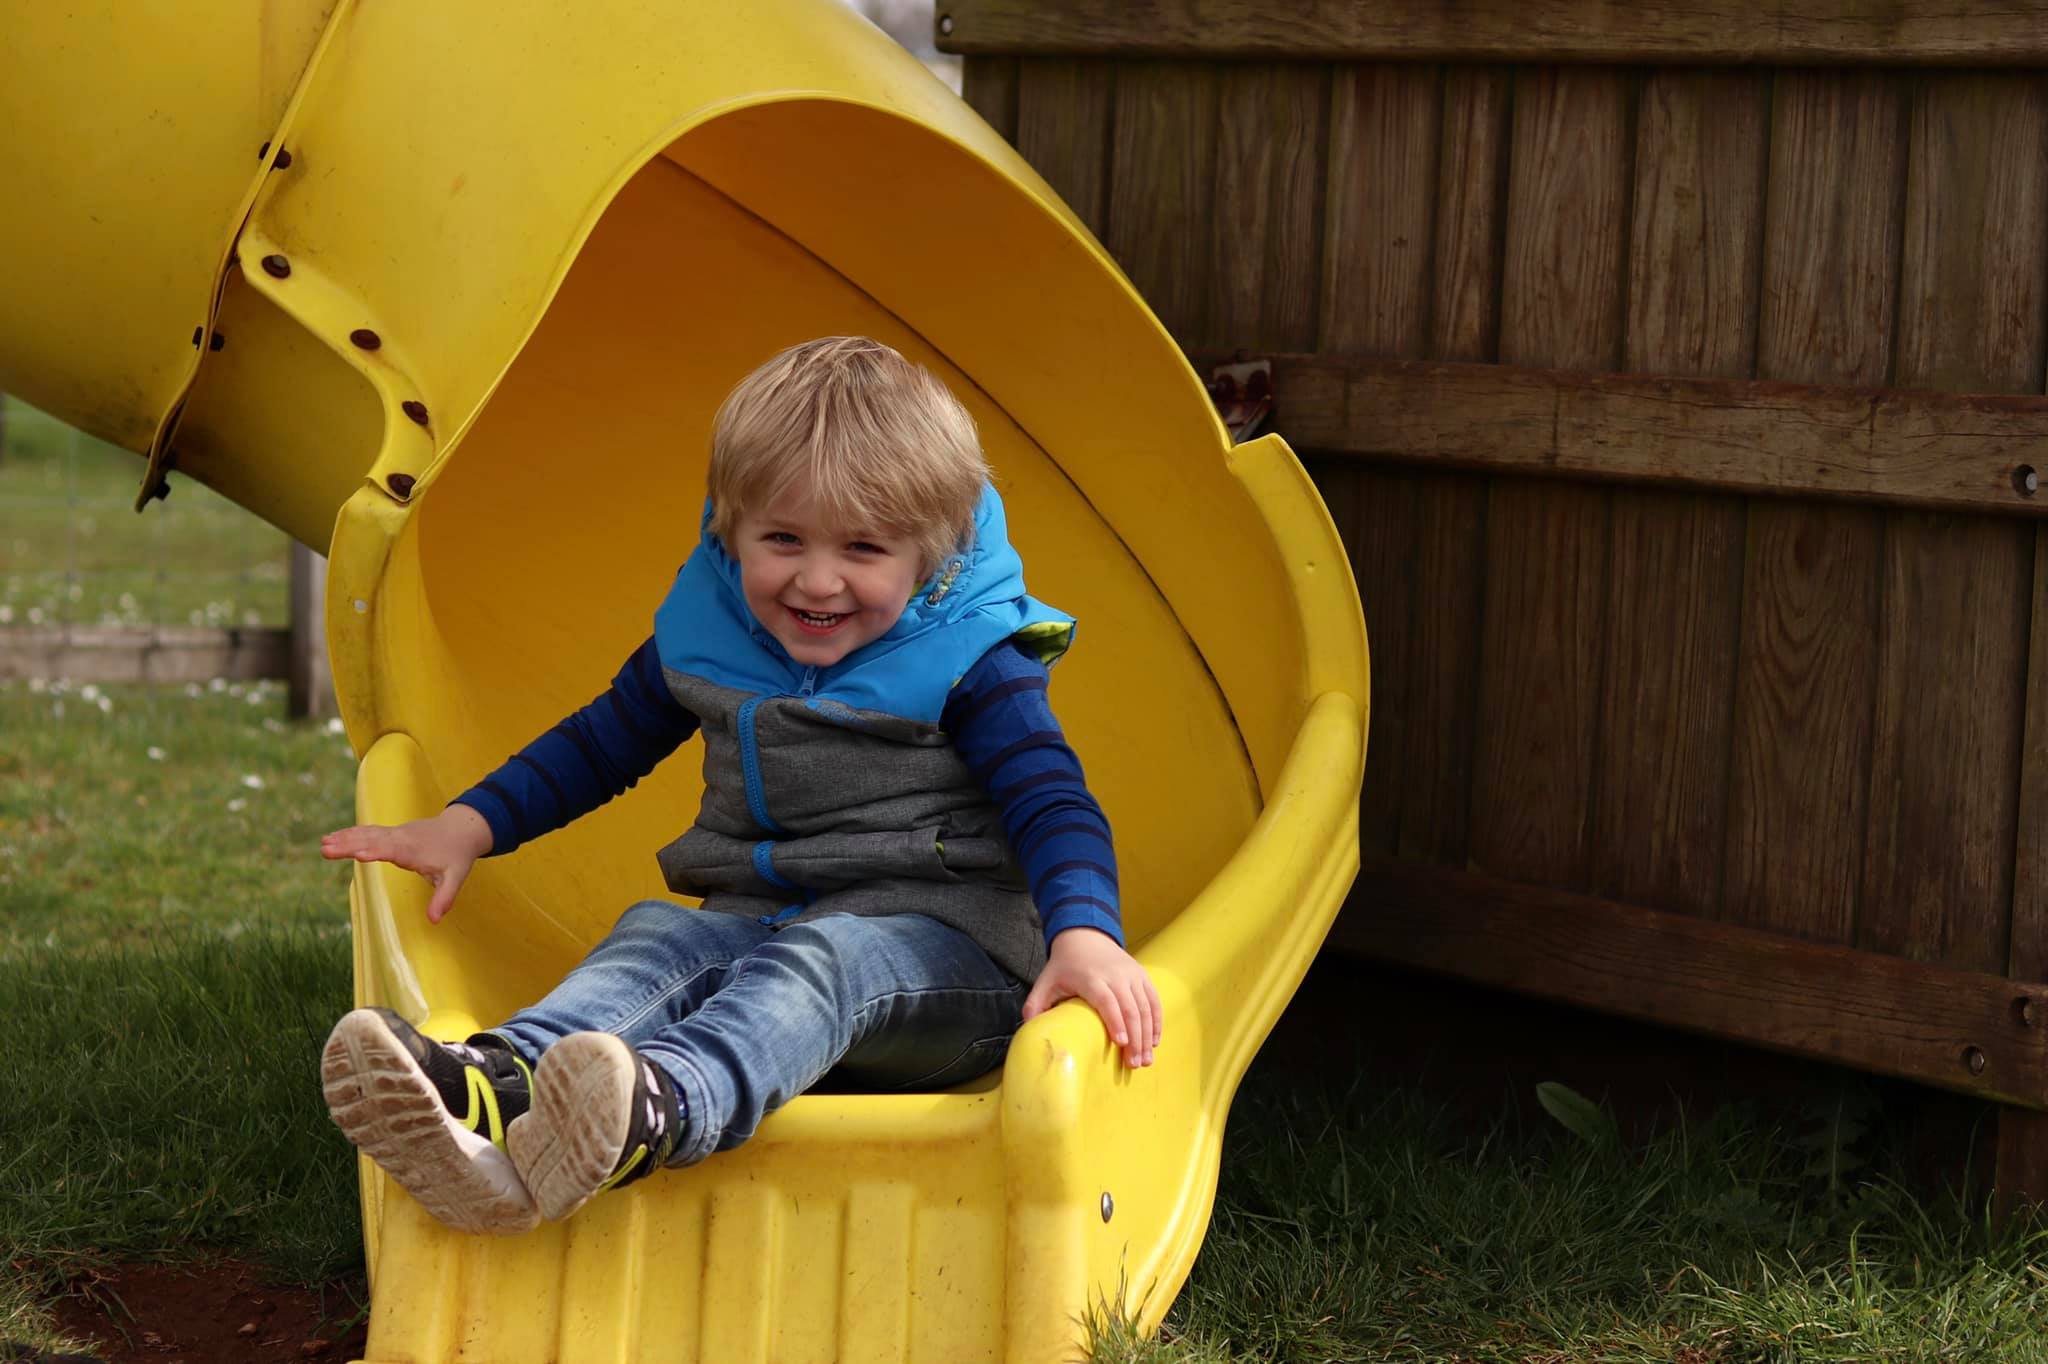
Photo by Hilary Palmer
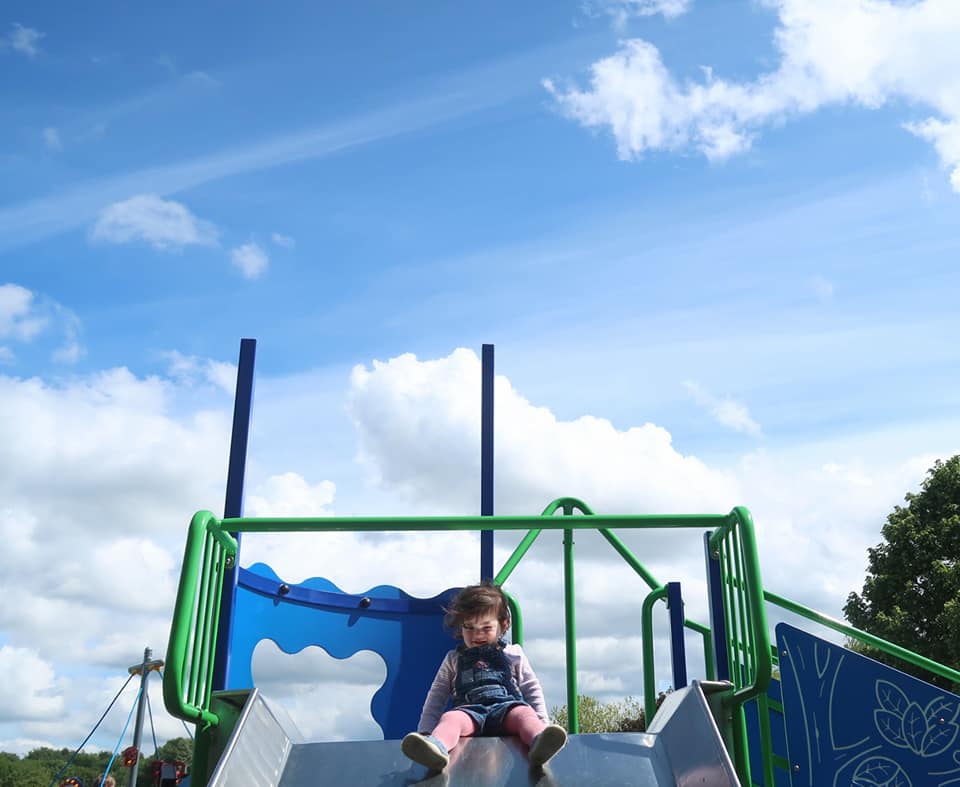
Photo by Rebecca B
Climbing structures
Here is the question - how do you show height in an image? How do you depict the perlious heights your kids climb to when you prefer to not look so as not to get a heart attack and run to their aid?
Here is what you do NOT do - zoom in too much. If you cut your child our from all context and just show them clinging to a rope net, it doesnt tell the viewer anything about whether it was hight or perched on the ground. This mak make a great photo anyway - we talked about usining various things to frame your child, but it does not show them climbing up.
To get that sensation, you really need to introduce the 'sense ' of height and that comes with showing the separation from the ground.
And there are a few ways to do it.
One is to show a whole structire your child is climbing on - and that includes a bit of the ground to 'set' it in place.
The other ( one of my favourite tricks) is to us clever angles and focal length to show it. And by that I mean : using short focal length ( not zooming in) so that it makes things look taller and more stretched out than they are, and shooting either from below, pointing up or the side, also pointing up.
I quite like to pair it with a shallow depth of field to use a bit of the structire in the front and blur it out to create an additional depth.
Placing your subject in the top third part of the frame can often work as well as the visual proportions will help foster the sense of height.
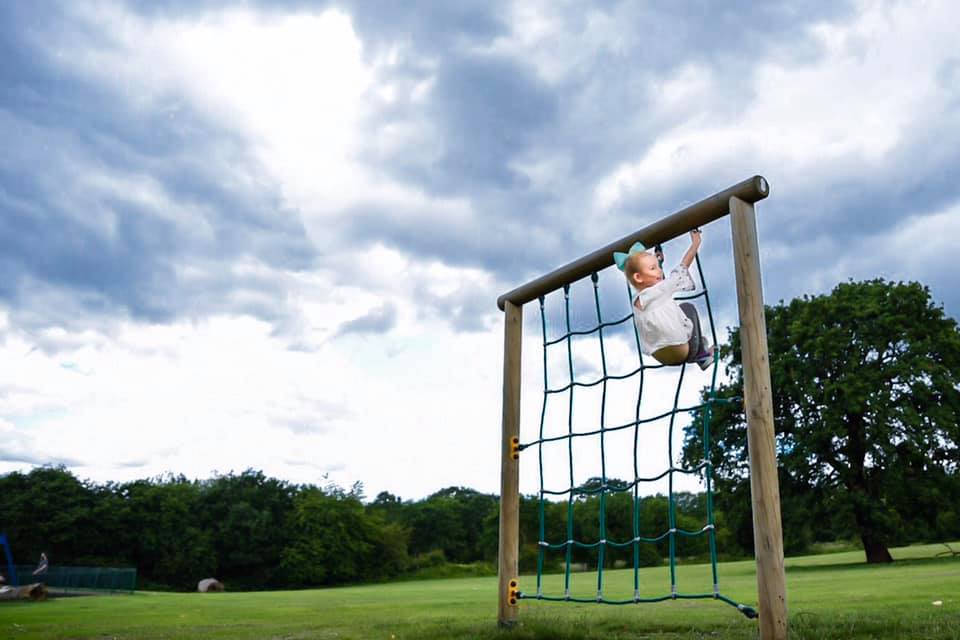
Photo By Aoife Crawford-Bonner
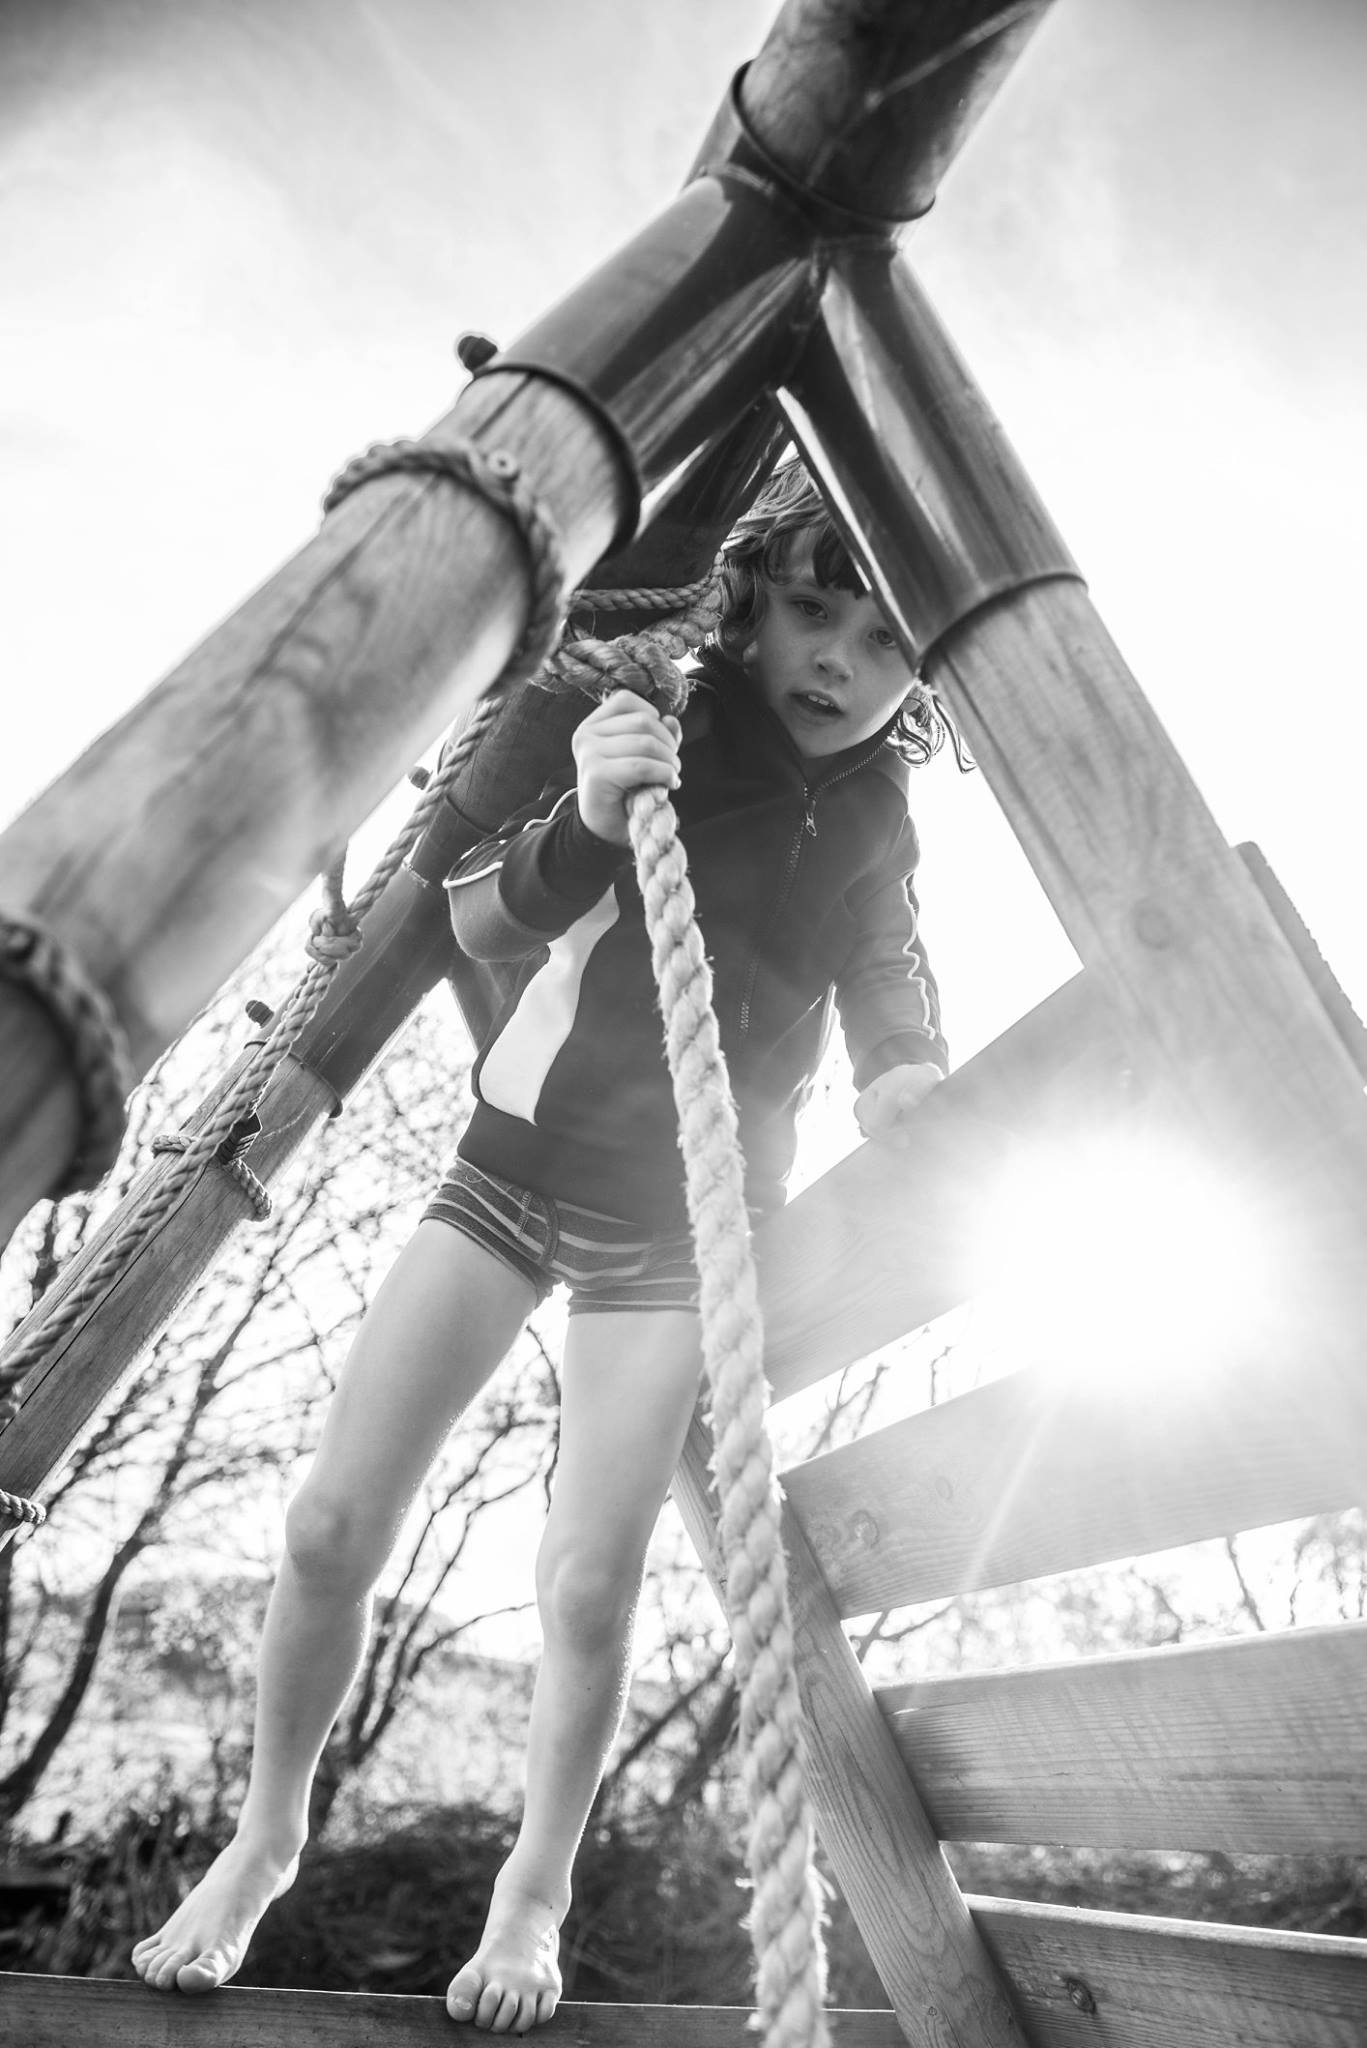
Photo by Amanda Vickers
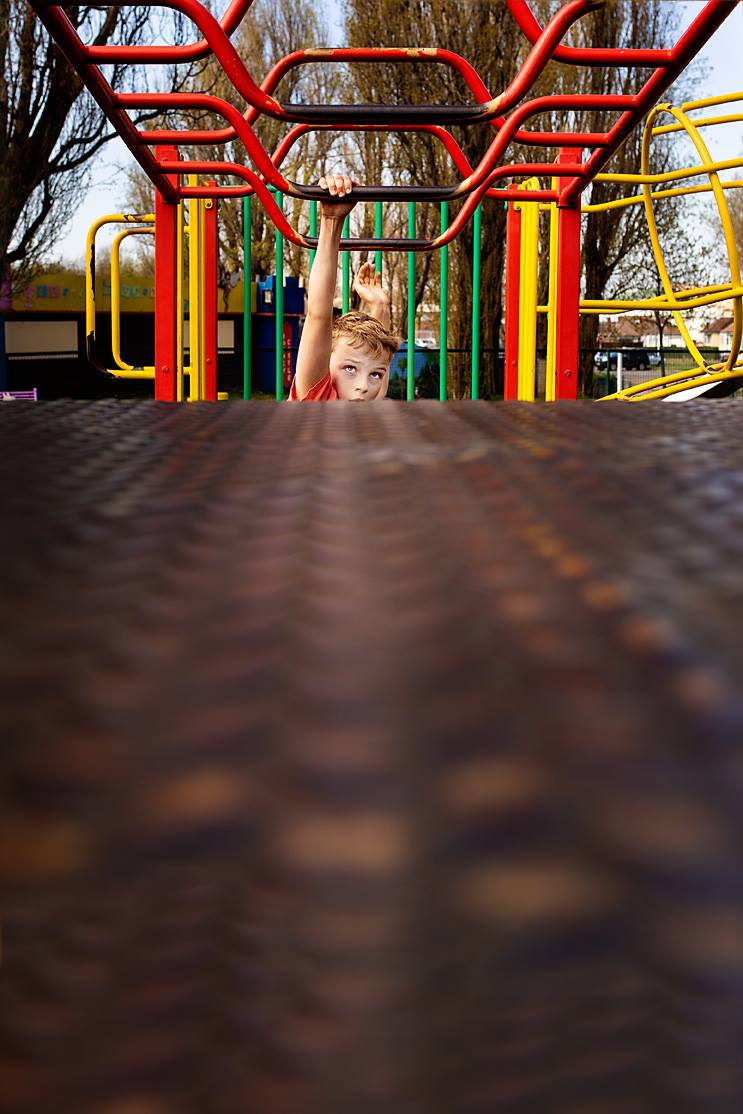
Photo by Lisa Friday
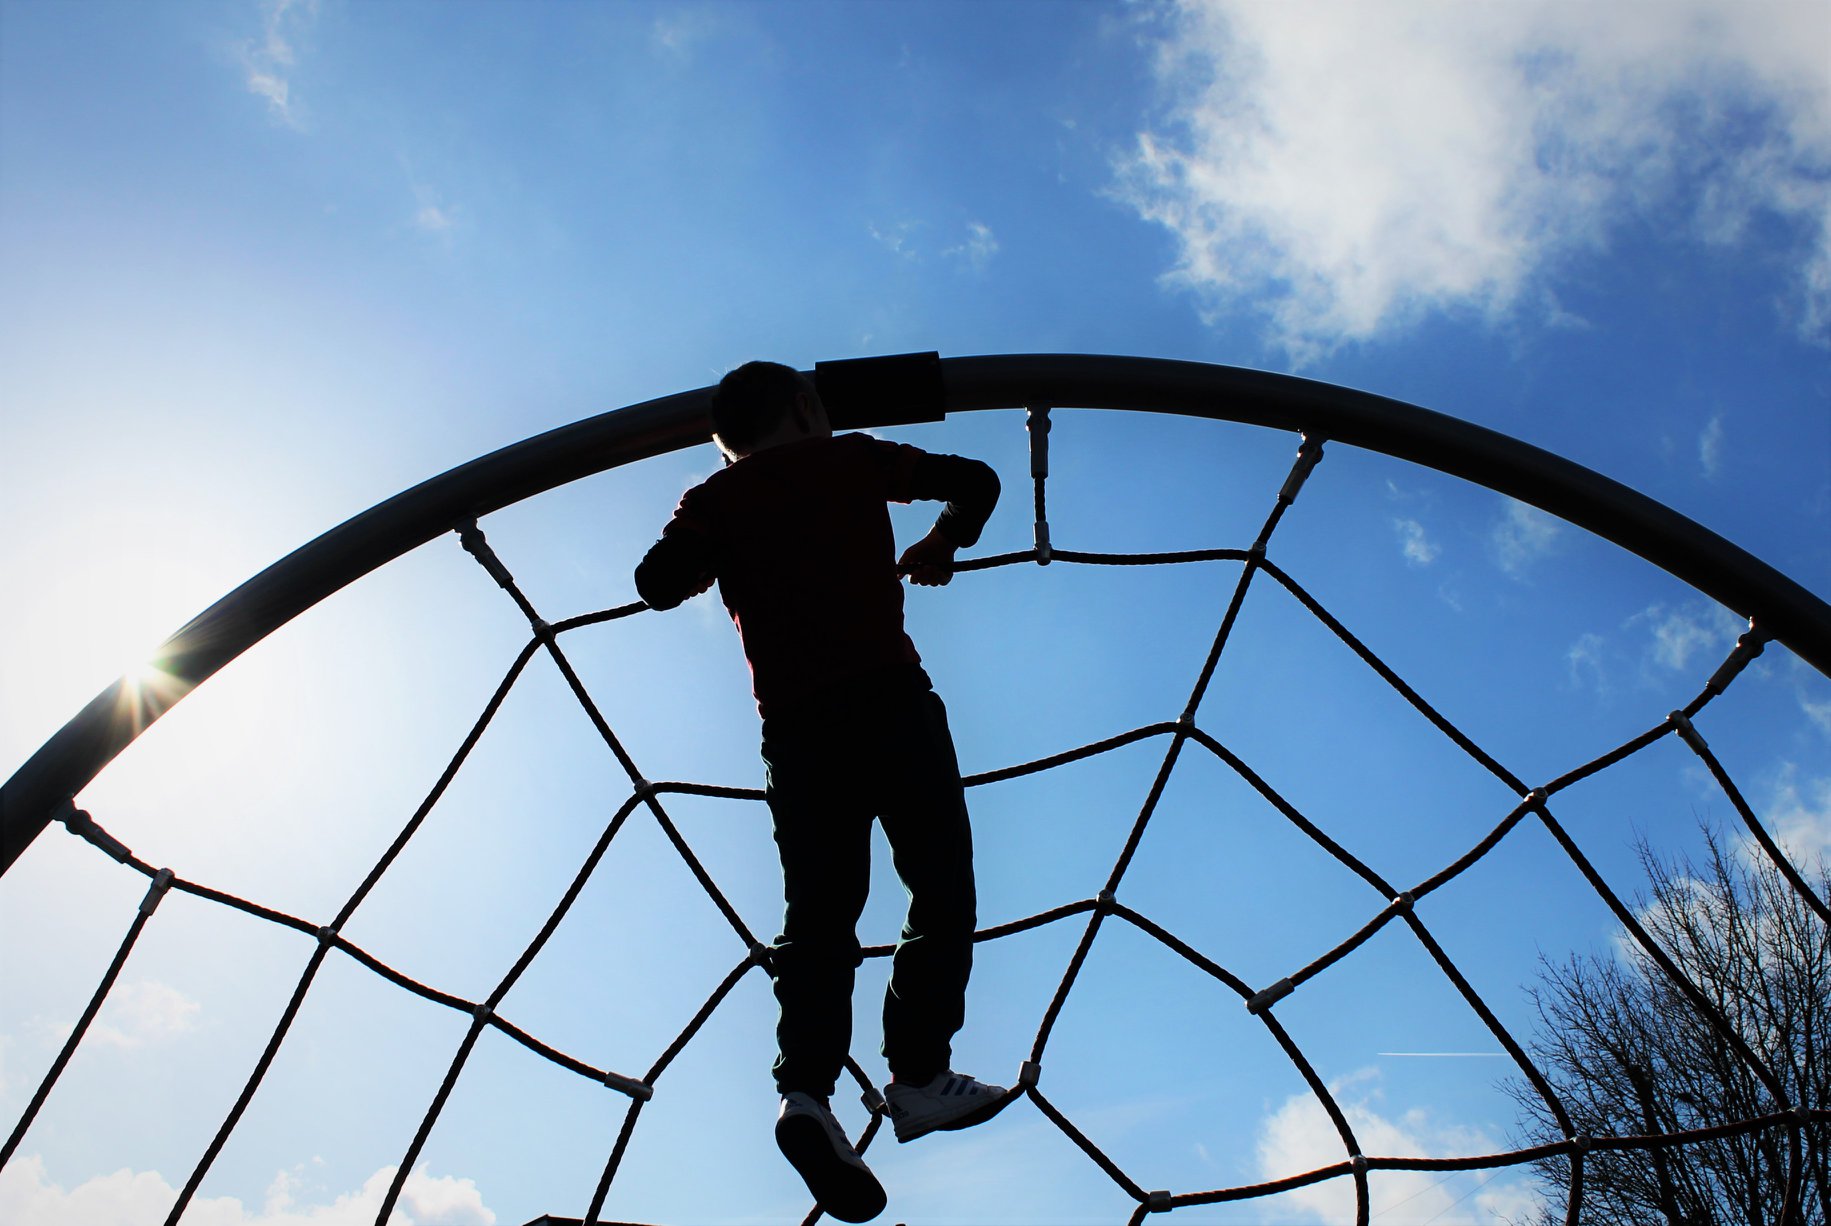
Photo by Rachel Smith