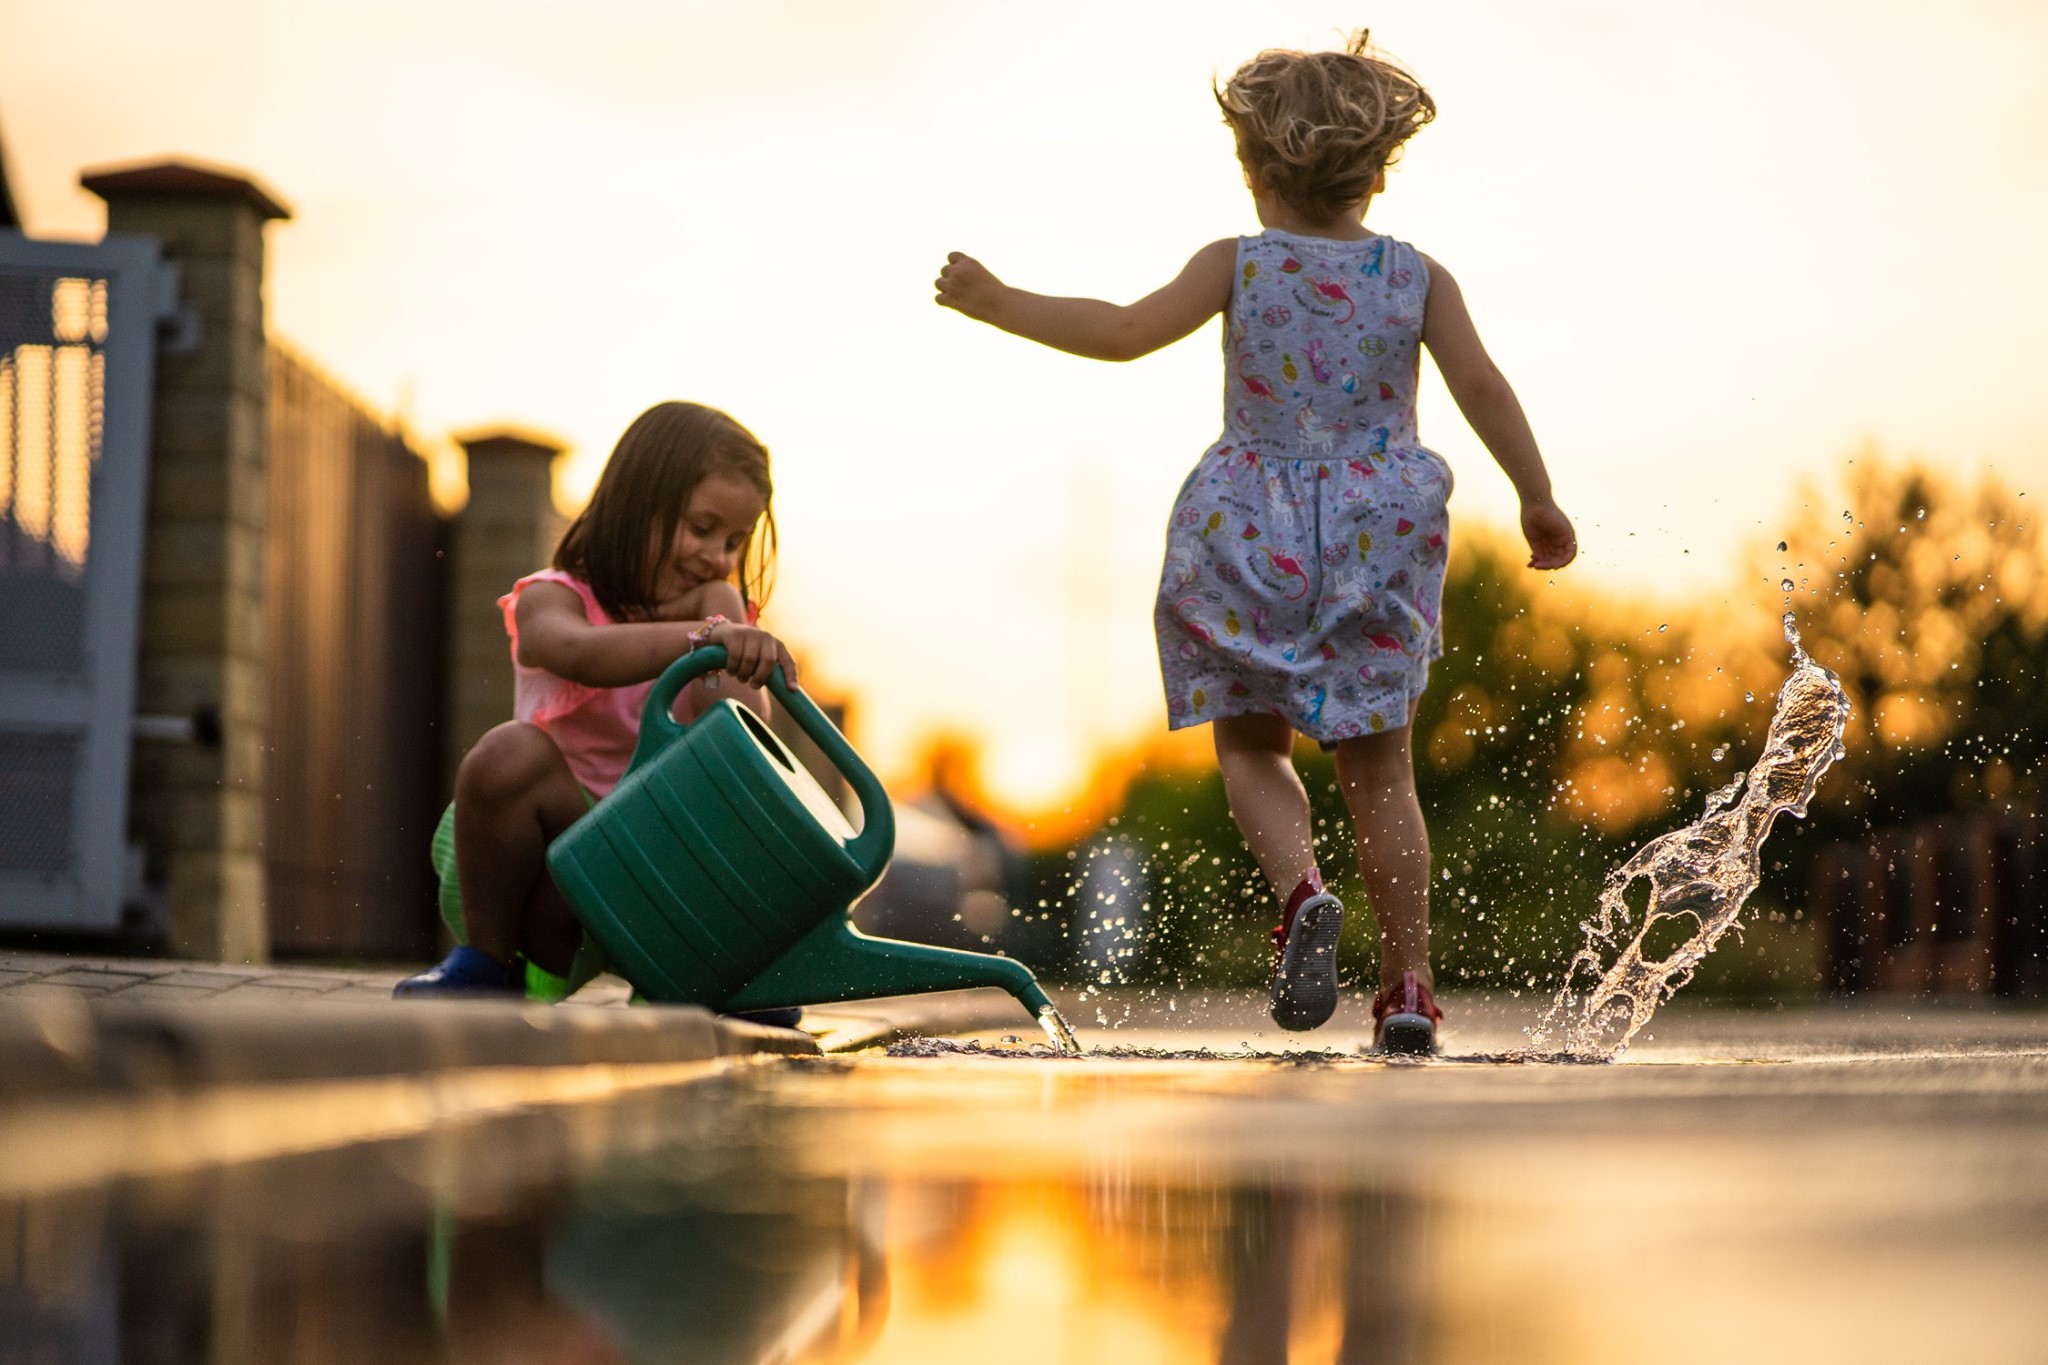
Now that you have the general idea on how to approach photographing water, let's talk about specific examples/
Sprinklers
My kids cannot wait till its warm enough for the opportunity of some sprinkler related fun. I was so grateful for the warm spell in lockdown which allowed us to start the sprinkler season early!
My top tips for capturing sprinklers :
- fast shutter - if your shutter is to slow, rather than little round droplets, you'll record lots of little lines as your camera will record a journey of the droplets through time and space. That doesn't necessarily mean bad, but can be distracting at times.
- back or side light - this will make your water really stand out and make it shine. It works best if you can take the photos when the sun is relatively low so morning or late afternoon. The last hour before sunset will be the prettiest!
- Pay attention to your background - if you shoot water against a bright sky, you are unlikely to see much of it (water I mean) - anything darker - a hedge, a building, etc will make a difference.
- Use a longer lens / zoom in from a safe distance, rather than getting too close to the action - it's for everyone's safety, but especially your camera's. But also, it allows you to create more compression in the space between you and your subject and you might be able to catch some of the droplets sharp and some dreamily defocused and blown up like gorgeous little drops of light.
- Vary your composition - it's tempting to find a good angle and just stick with it, but challenge yourself to try at least 2 or 3 different compositions - go for more zoomed in detail, shoot from a very low angle shooting up, go extra wide angle to fit more of the environment and the action in.
By the way, same principles apply for splash park or floor fountains or slip-and-slide!
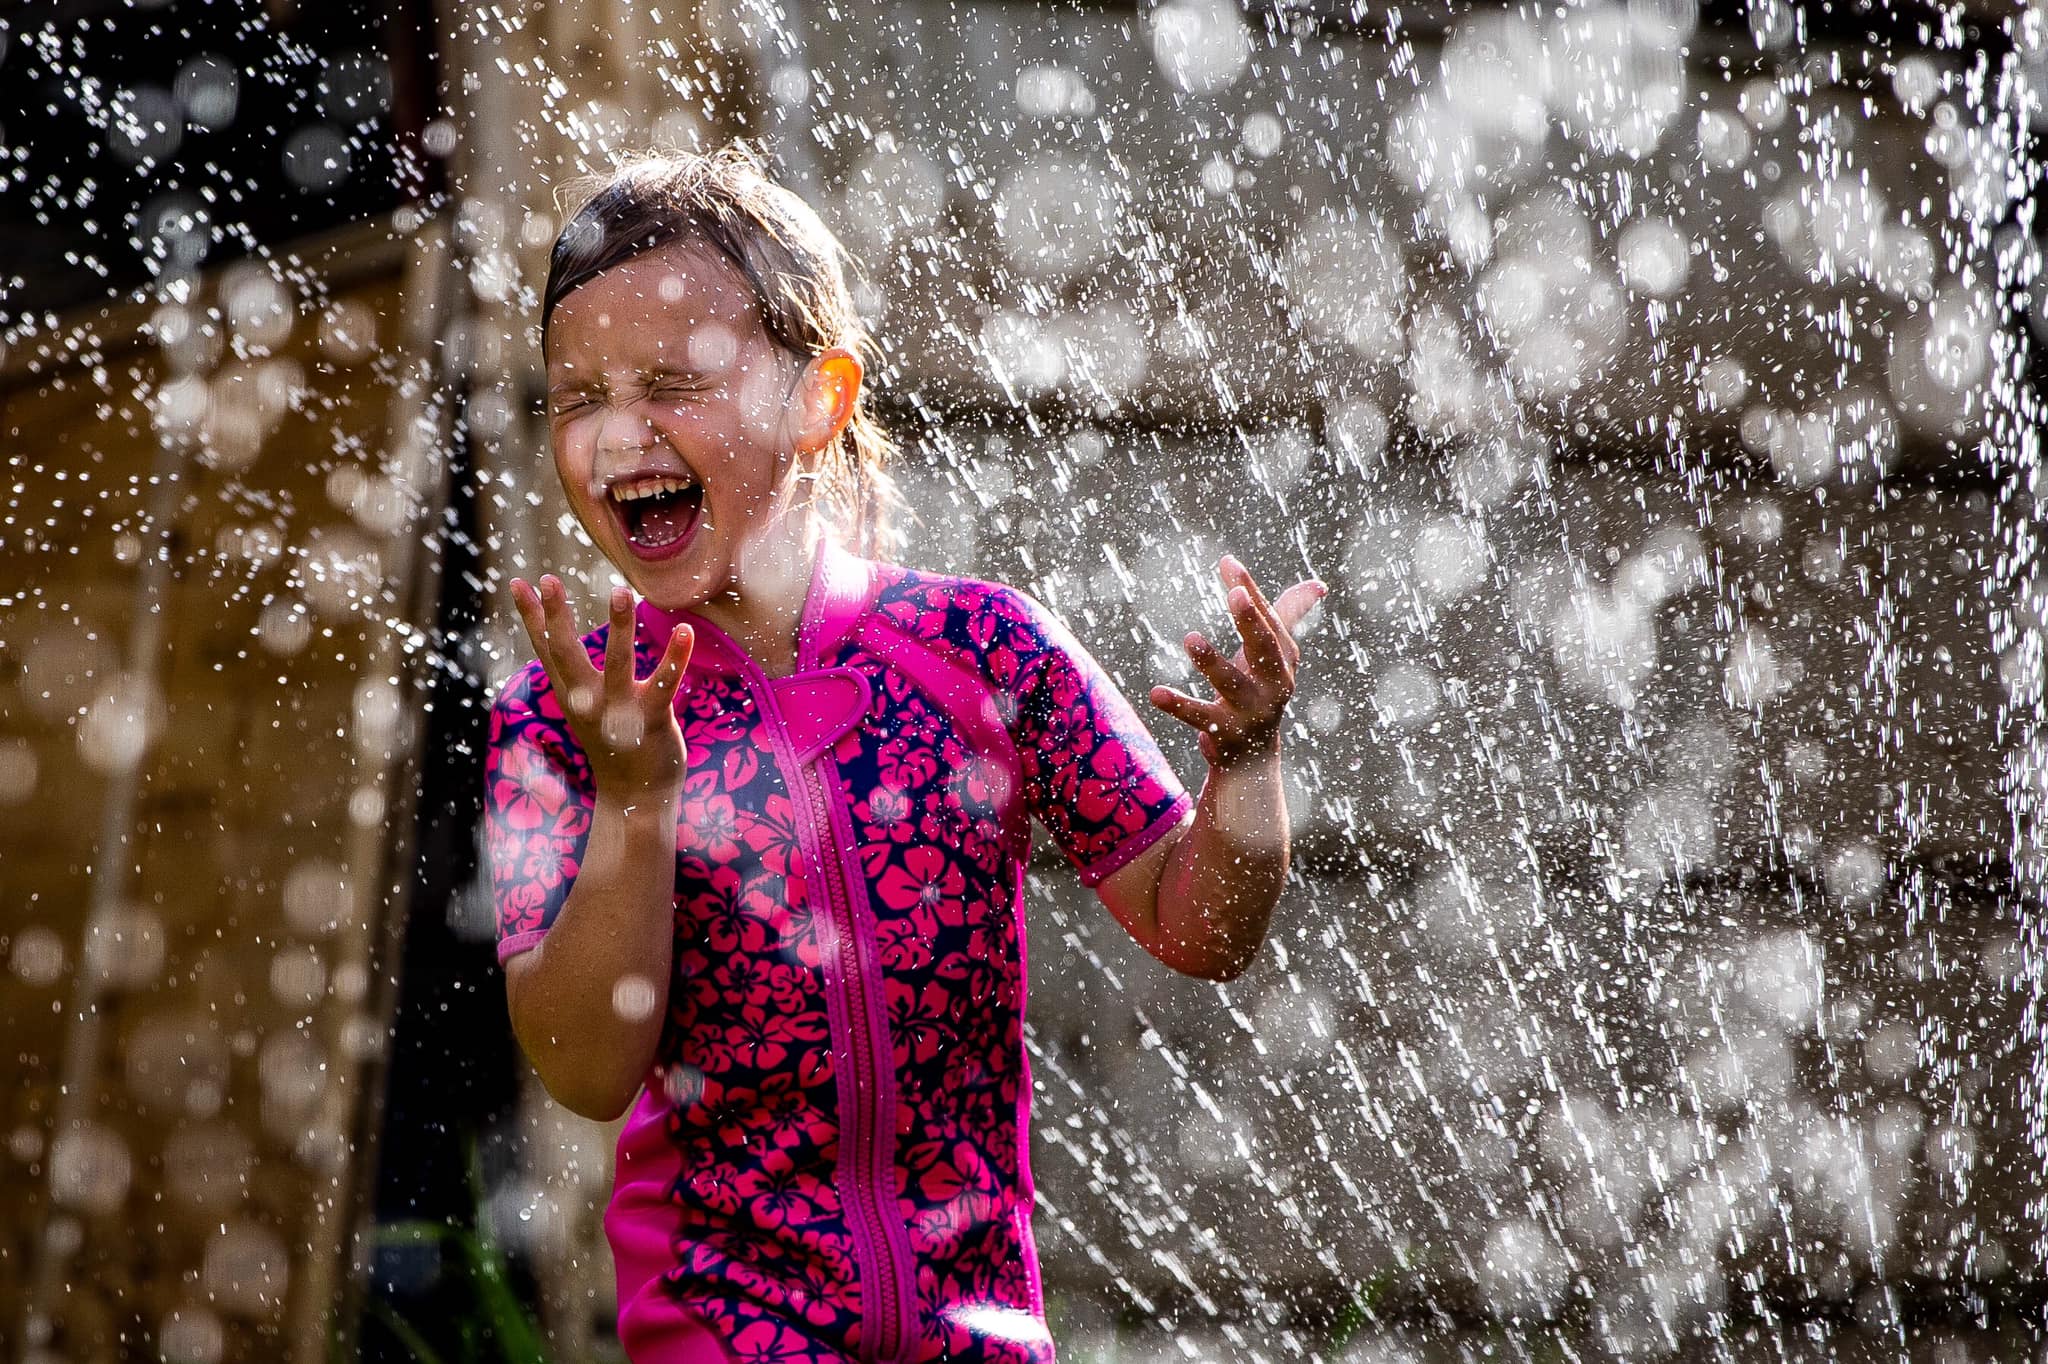
Photo by Kerry Anderson
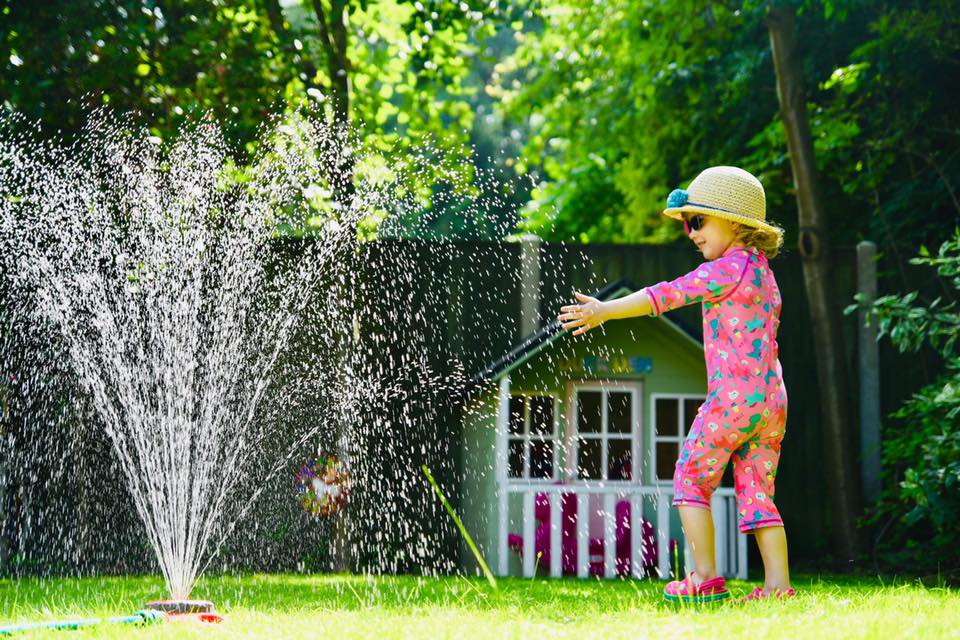
Photo by Lisa Godfrey
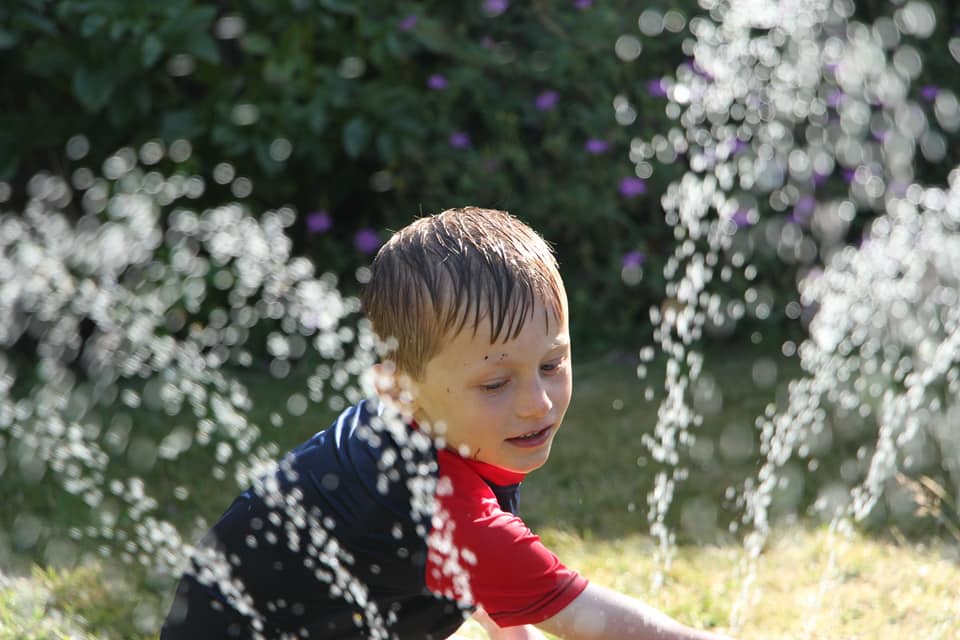
Photo By Caroline Amer
Paddling pool and water play
If your kids are having a more gentle, less frantic play in a paddling pool or around a water table, you have more time to get yourself set up for shots.
I'd recommend going for a mixture of storytelling shots - showing more of the space and what's going on, action shots - to focus on all the joy, and detail shots where you focus on the little things the're doing, looking at and exploring.
- For the storytelling shots, either go for short focal lenghts to bring a lot of the background into the shots (remember Focal lengths from our first week in this project? Short Focal length means as little zoom as possible - colloquially speaking. )
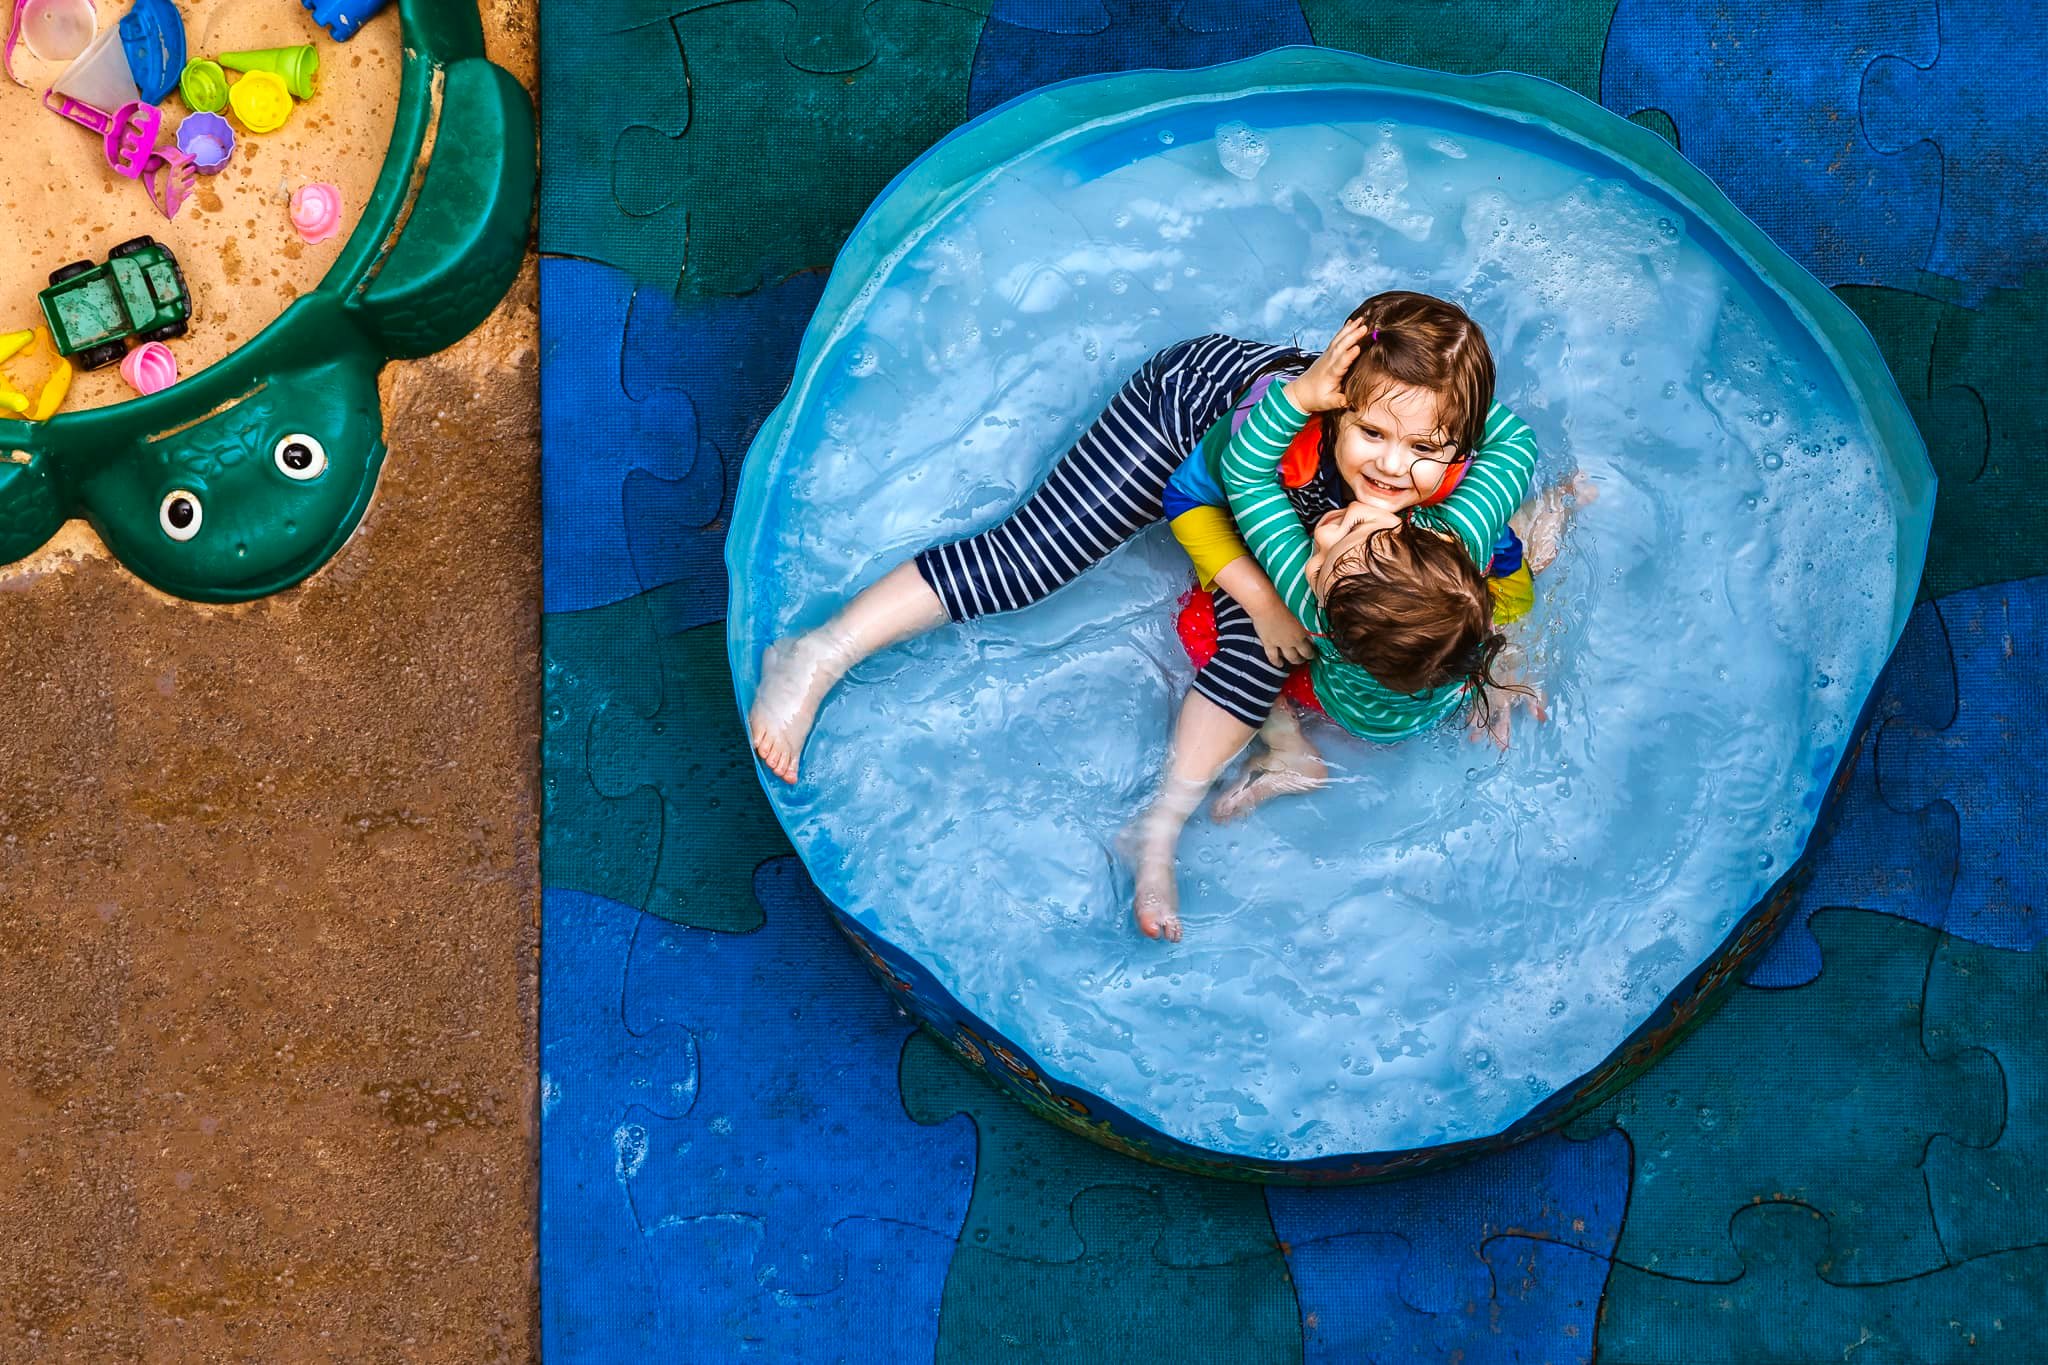
Photo by Jenn Thomas
If you're focusing on the action or detail, you may be better off moving back a little and zooming in. This will help blur the background and make your subject stand out more.

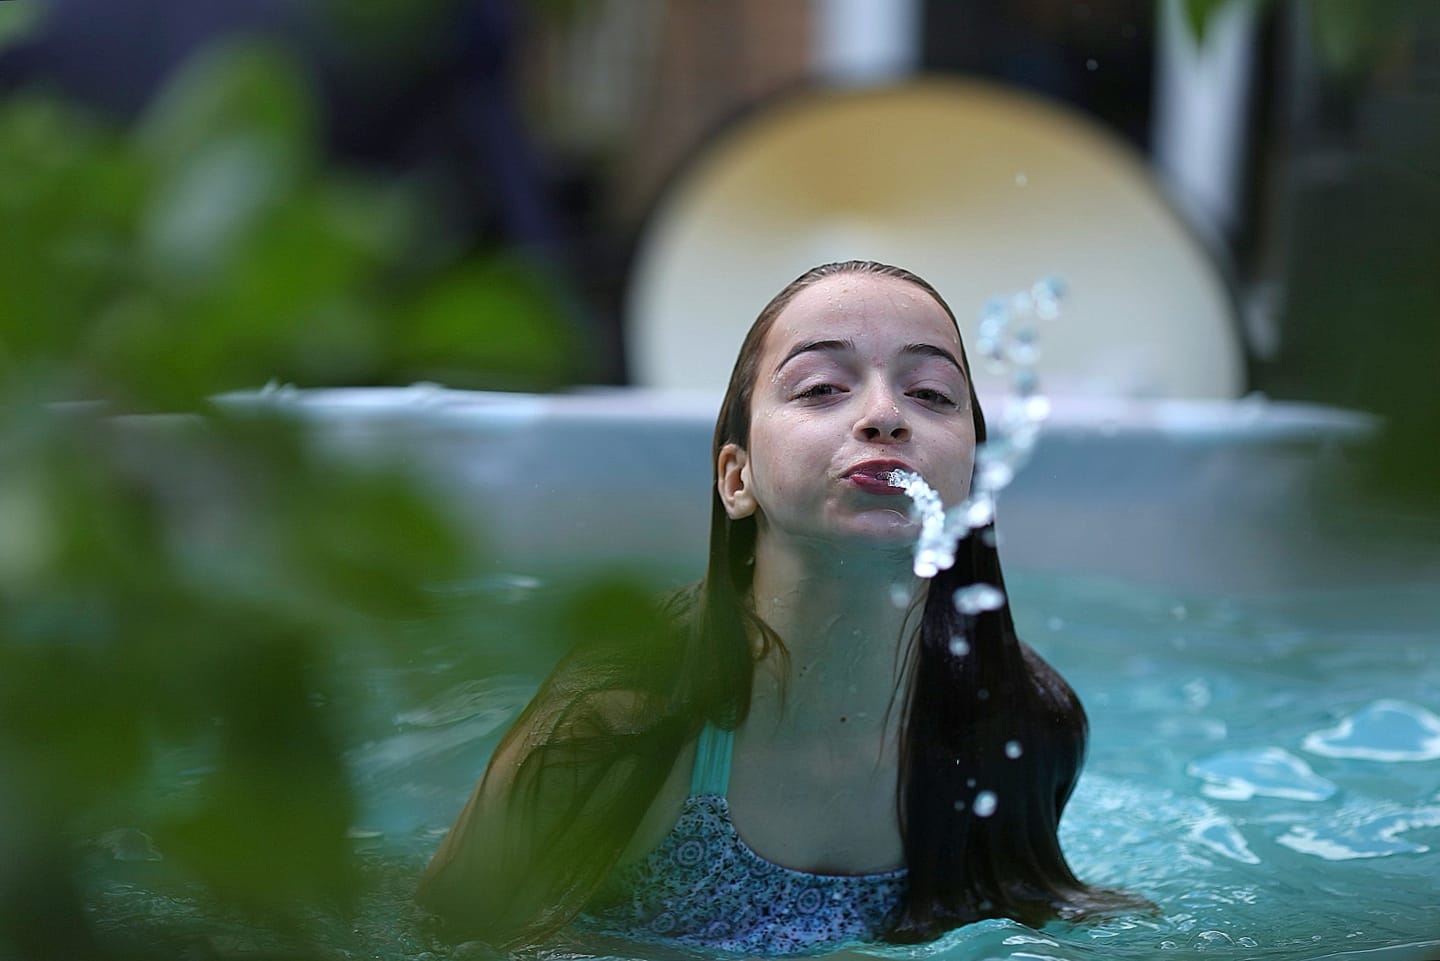
Photo by Lisa Friday
Go for the less obvious, tighter crop shots too - especially when put together with the action or wider shots, they tell the full story.

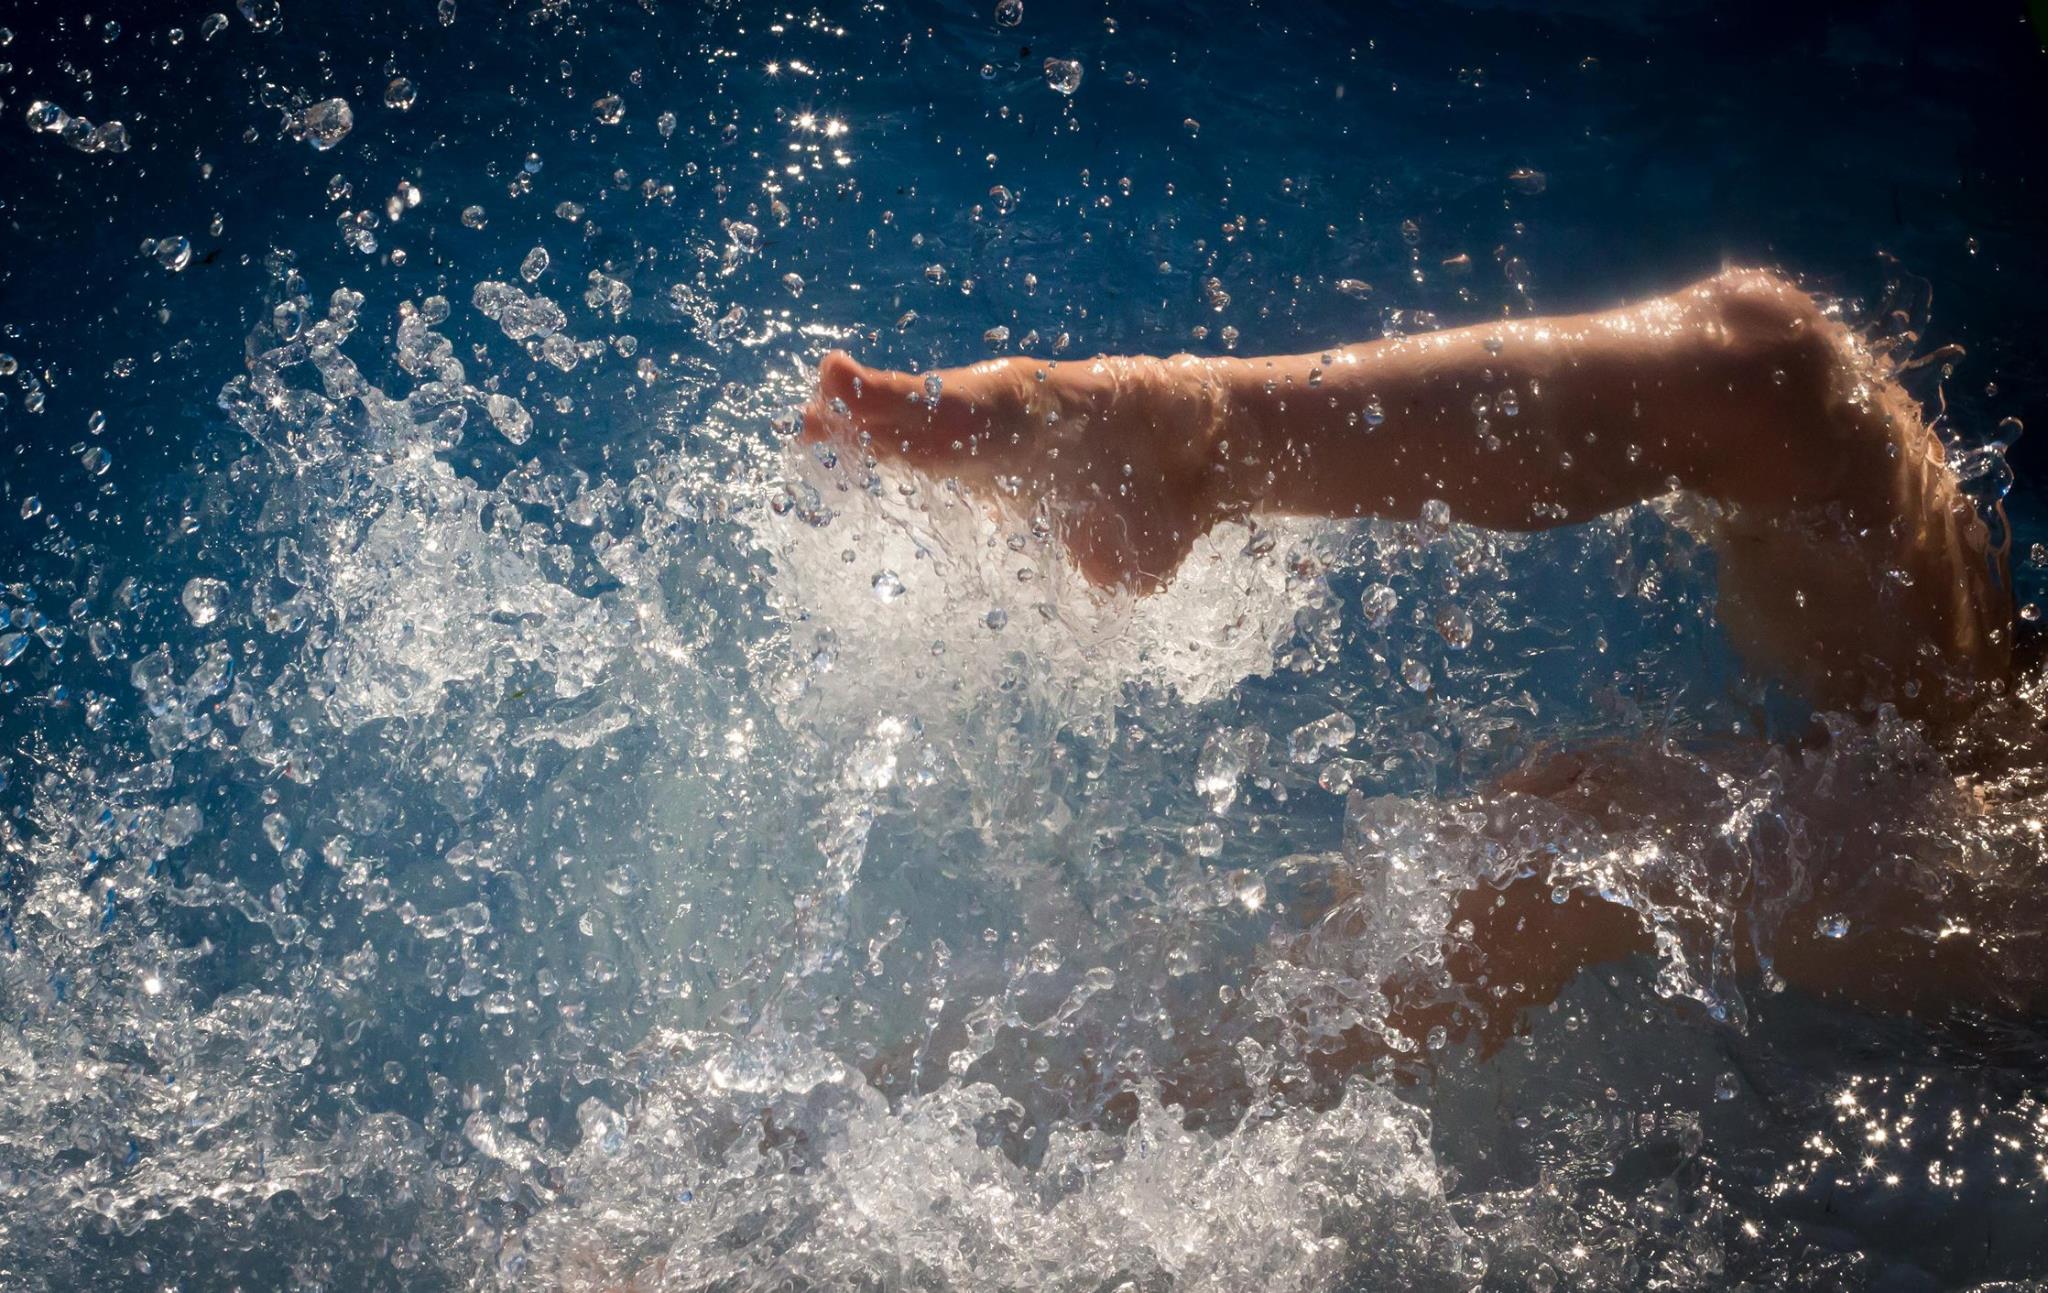
Photo by Michaela Strivens
If your children are playing with any water toys, look for opportunities to frame them with those toys or create a little textural variation blurring some foreground ( through a combination of close proximity, zoom and if you know how to do it - aperture settings) to help introduce a sense of depth.
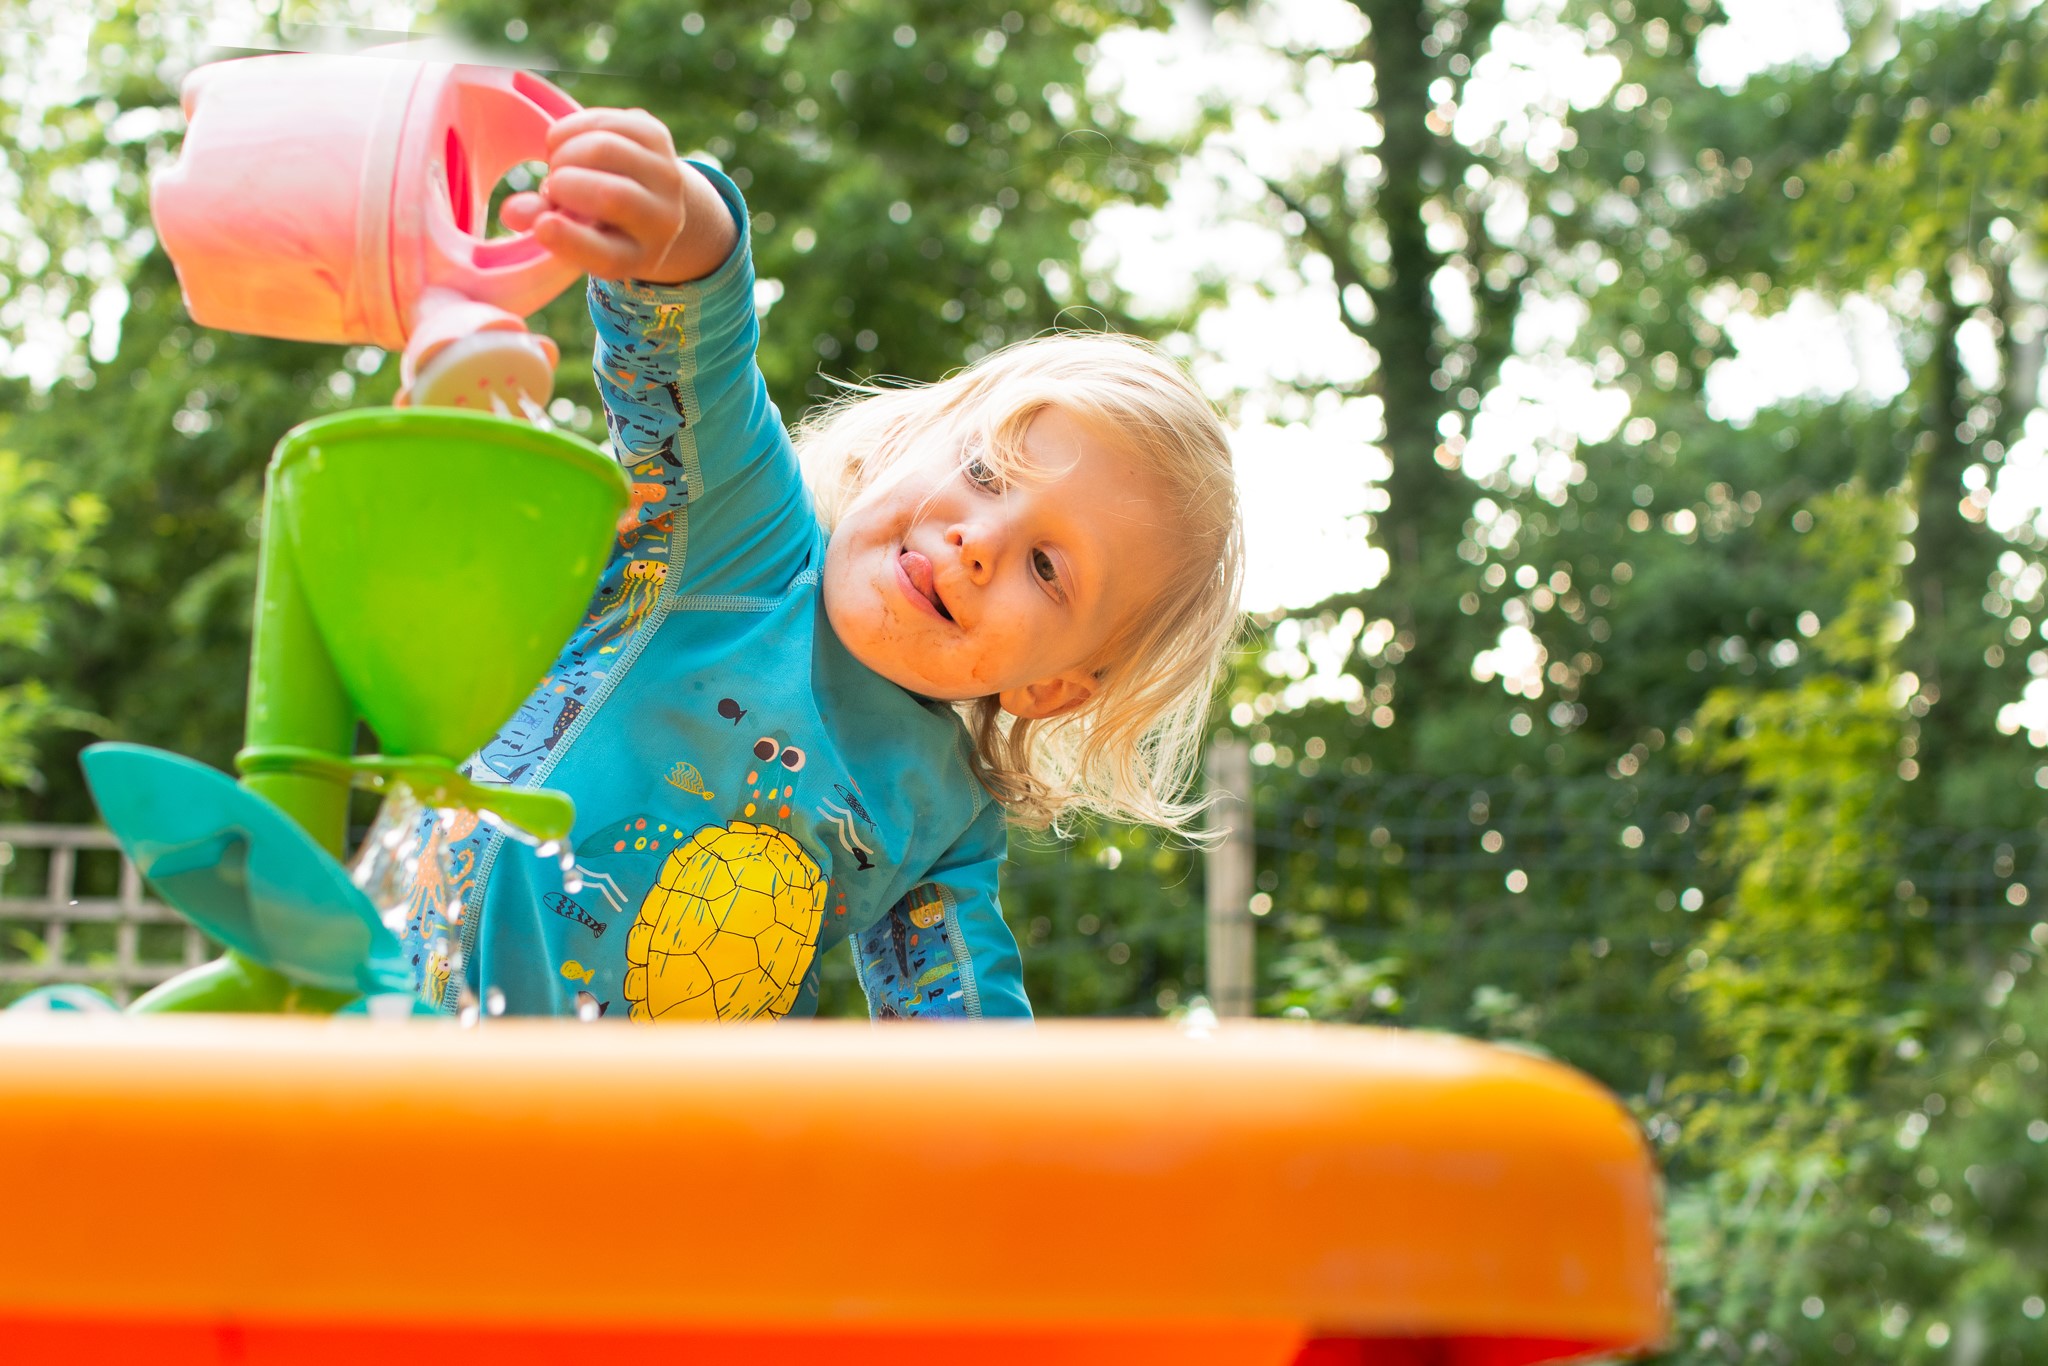
Open waters - seaside, lakeside, pondside...
Summer for me is not complete without at least one trip to some open water location. There is something about seeing the horizon that just lifts my heart and gives me peace.
Water-side photography has amazing potential but again, protecting your gear is really key. This time the enemy is not just water ( and salty water so more corrosive) - but also sand ( unless of course you're on a pebbly beach). I have personally wrecked a lens through a single grain of salt that got in the fcocusing mechanism and before it ground it to a halt, caused fatal damage to my lens. Sand can get from your fingers under buttons and into scrollers - all of which will mean a trip to a camera repair shop.
So by all means, do take your camera with you but also absolutely make sure that it's as safe as possible!
For me a beach is a possibility for those wide shots which show the glory of the sea and the vastness of it, and that means using your least zoomed in lens - really nice and wide angle is so great!
Pay attention to the proportions - I often see a person in the middle and then half of the frame of sky and the other half of the water / sand. I'd like to challenge you to shake these up. If you give equal visual weight to both sky and water, neither really shines. Instead, try giving the sky 2/3 of the frame with the rest reserved to water. And then reverse the proportions and go 2/3 water - 1/3 sky.
It'll work as well if you go 1/3 sand - 2/3 water ( and reverse) - you get the drift.
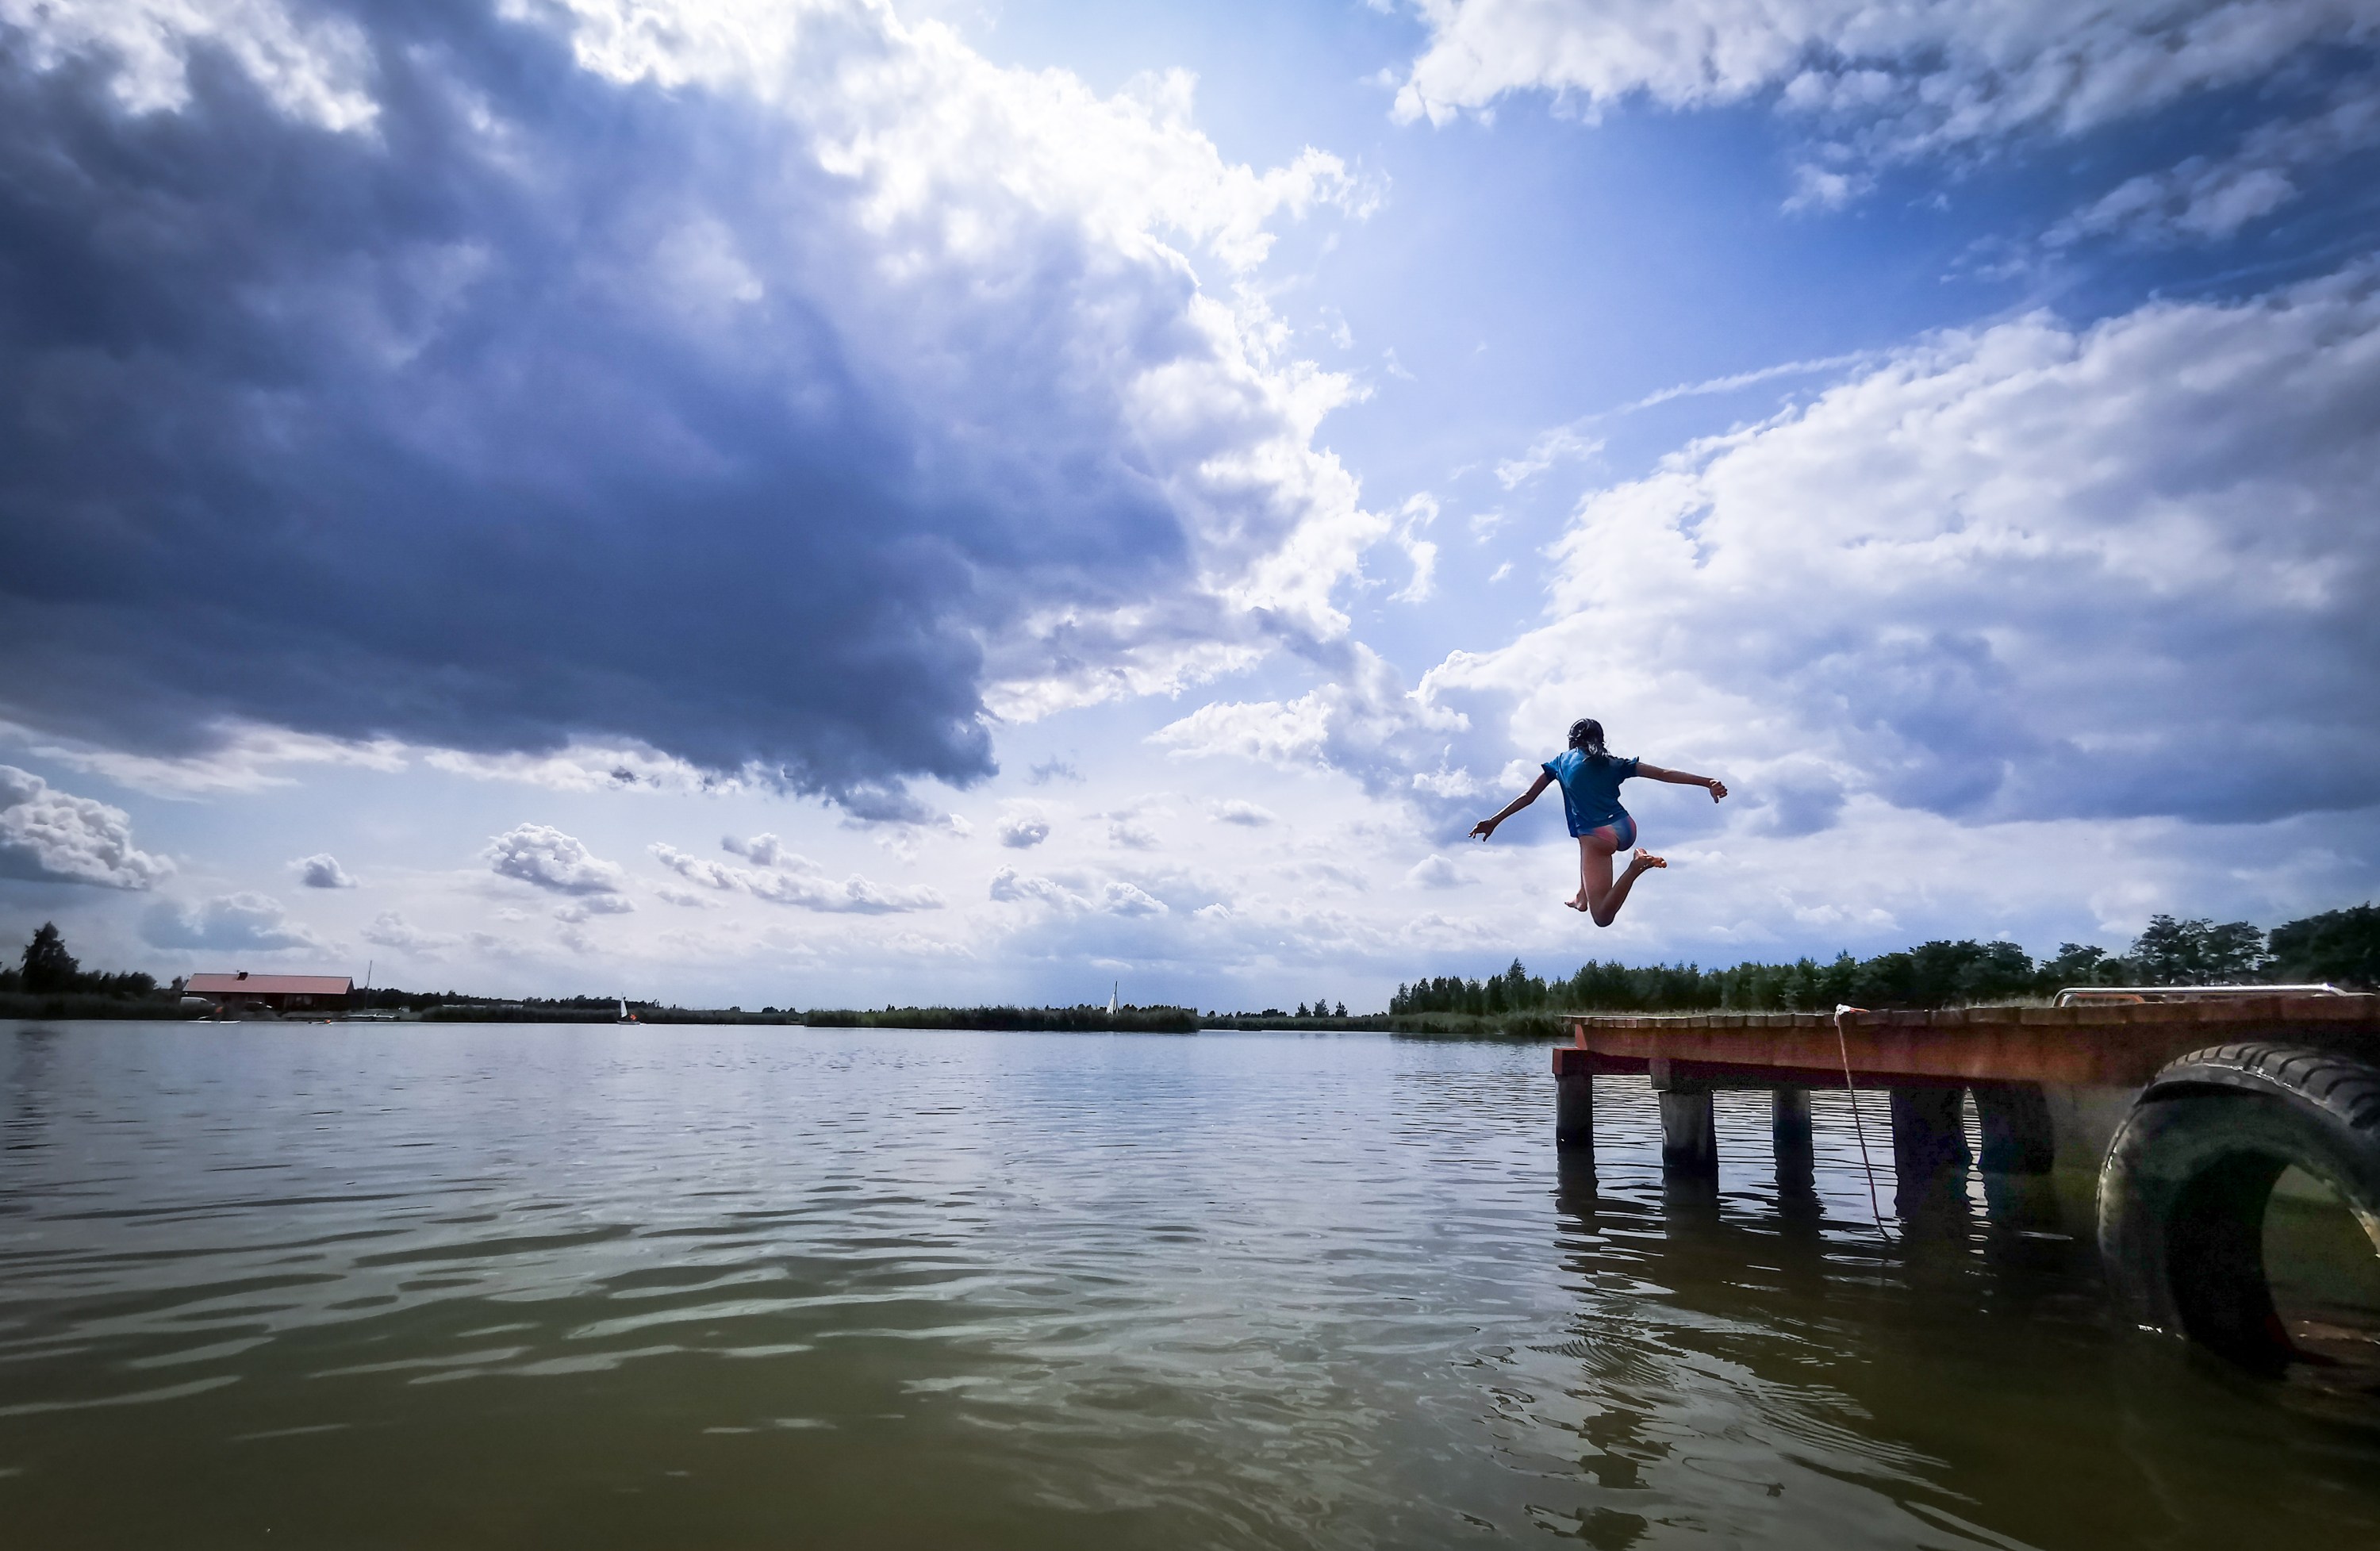
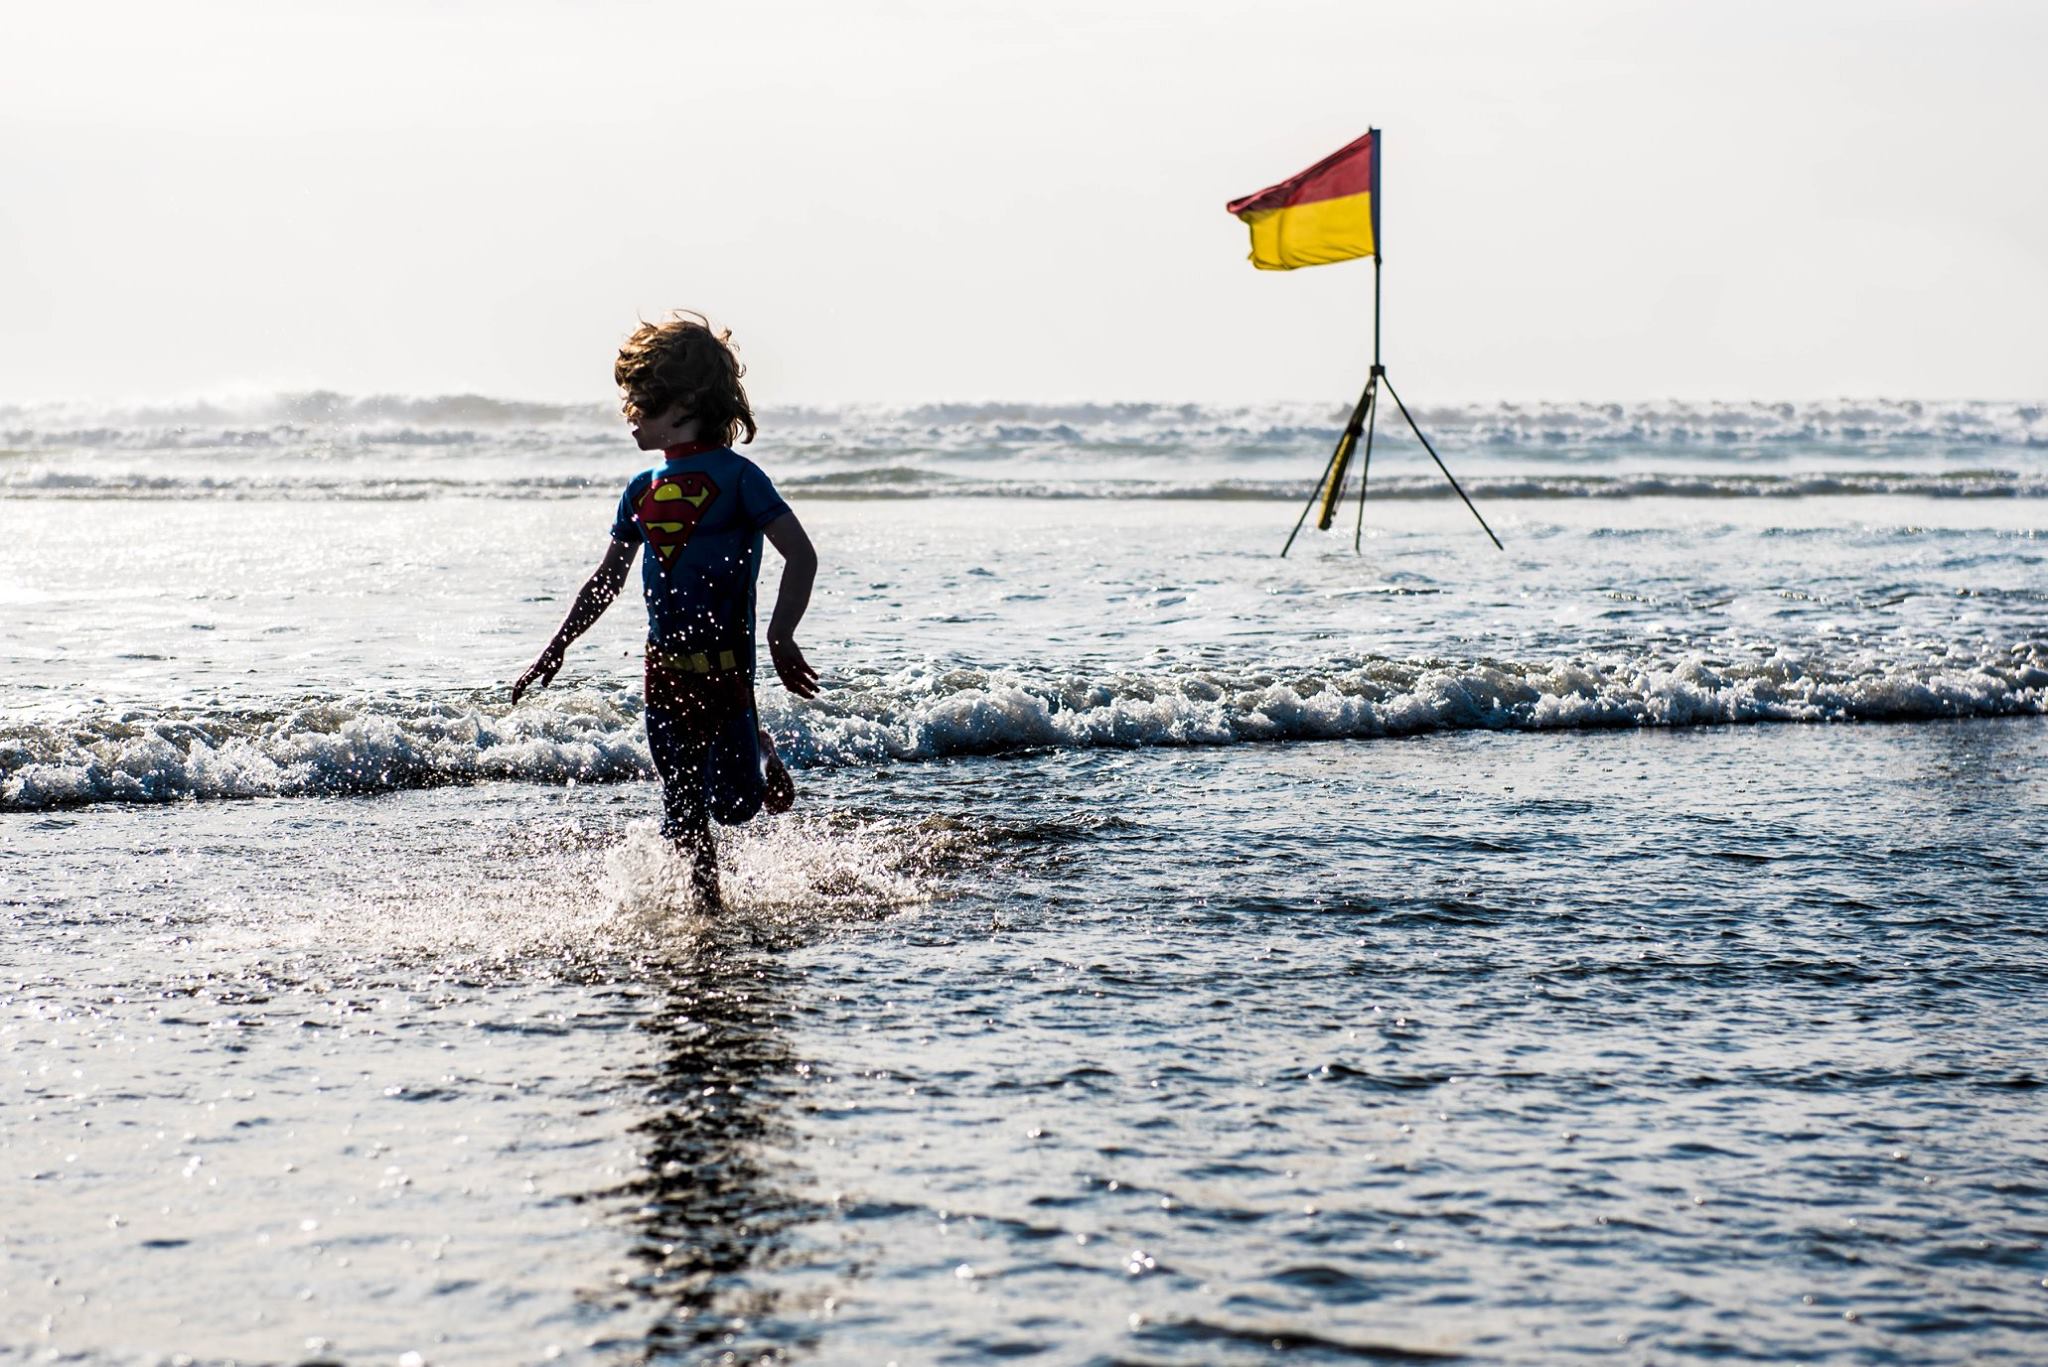
Photo by Amanda Vickers
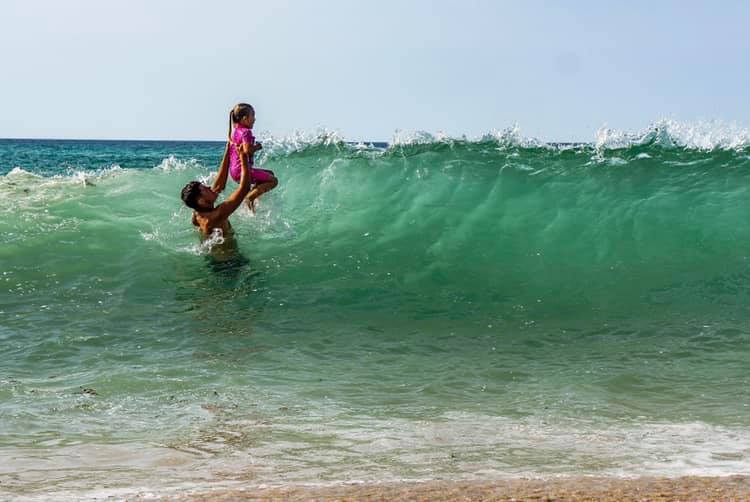
And while we're at it - wonky horizons be gone! Do make sure that you keep the horizon line nice and straight - yes it can all be fixed in post editing but if you have a relatively tight crop with your subject in it, you risk having to chop off a limb or two.
Try to experiment with low angles that grab and blur the foreground a bit - it'll create an interesting and more textured viewpoint
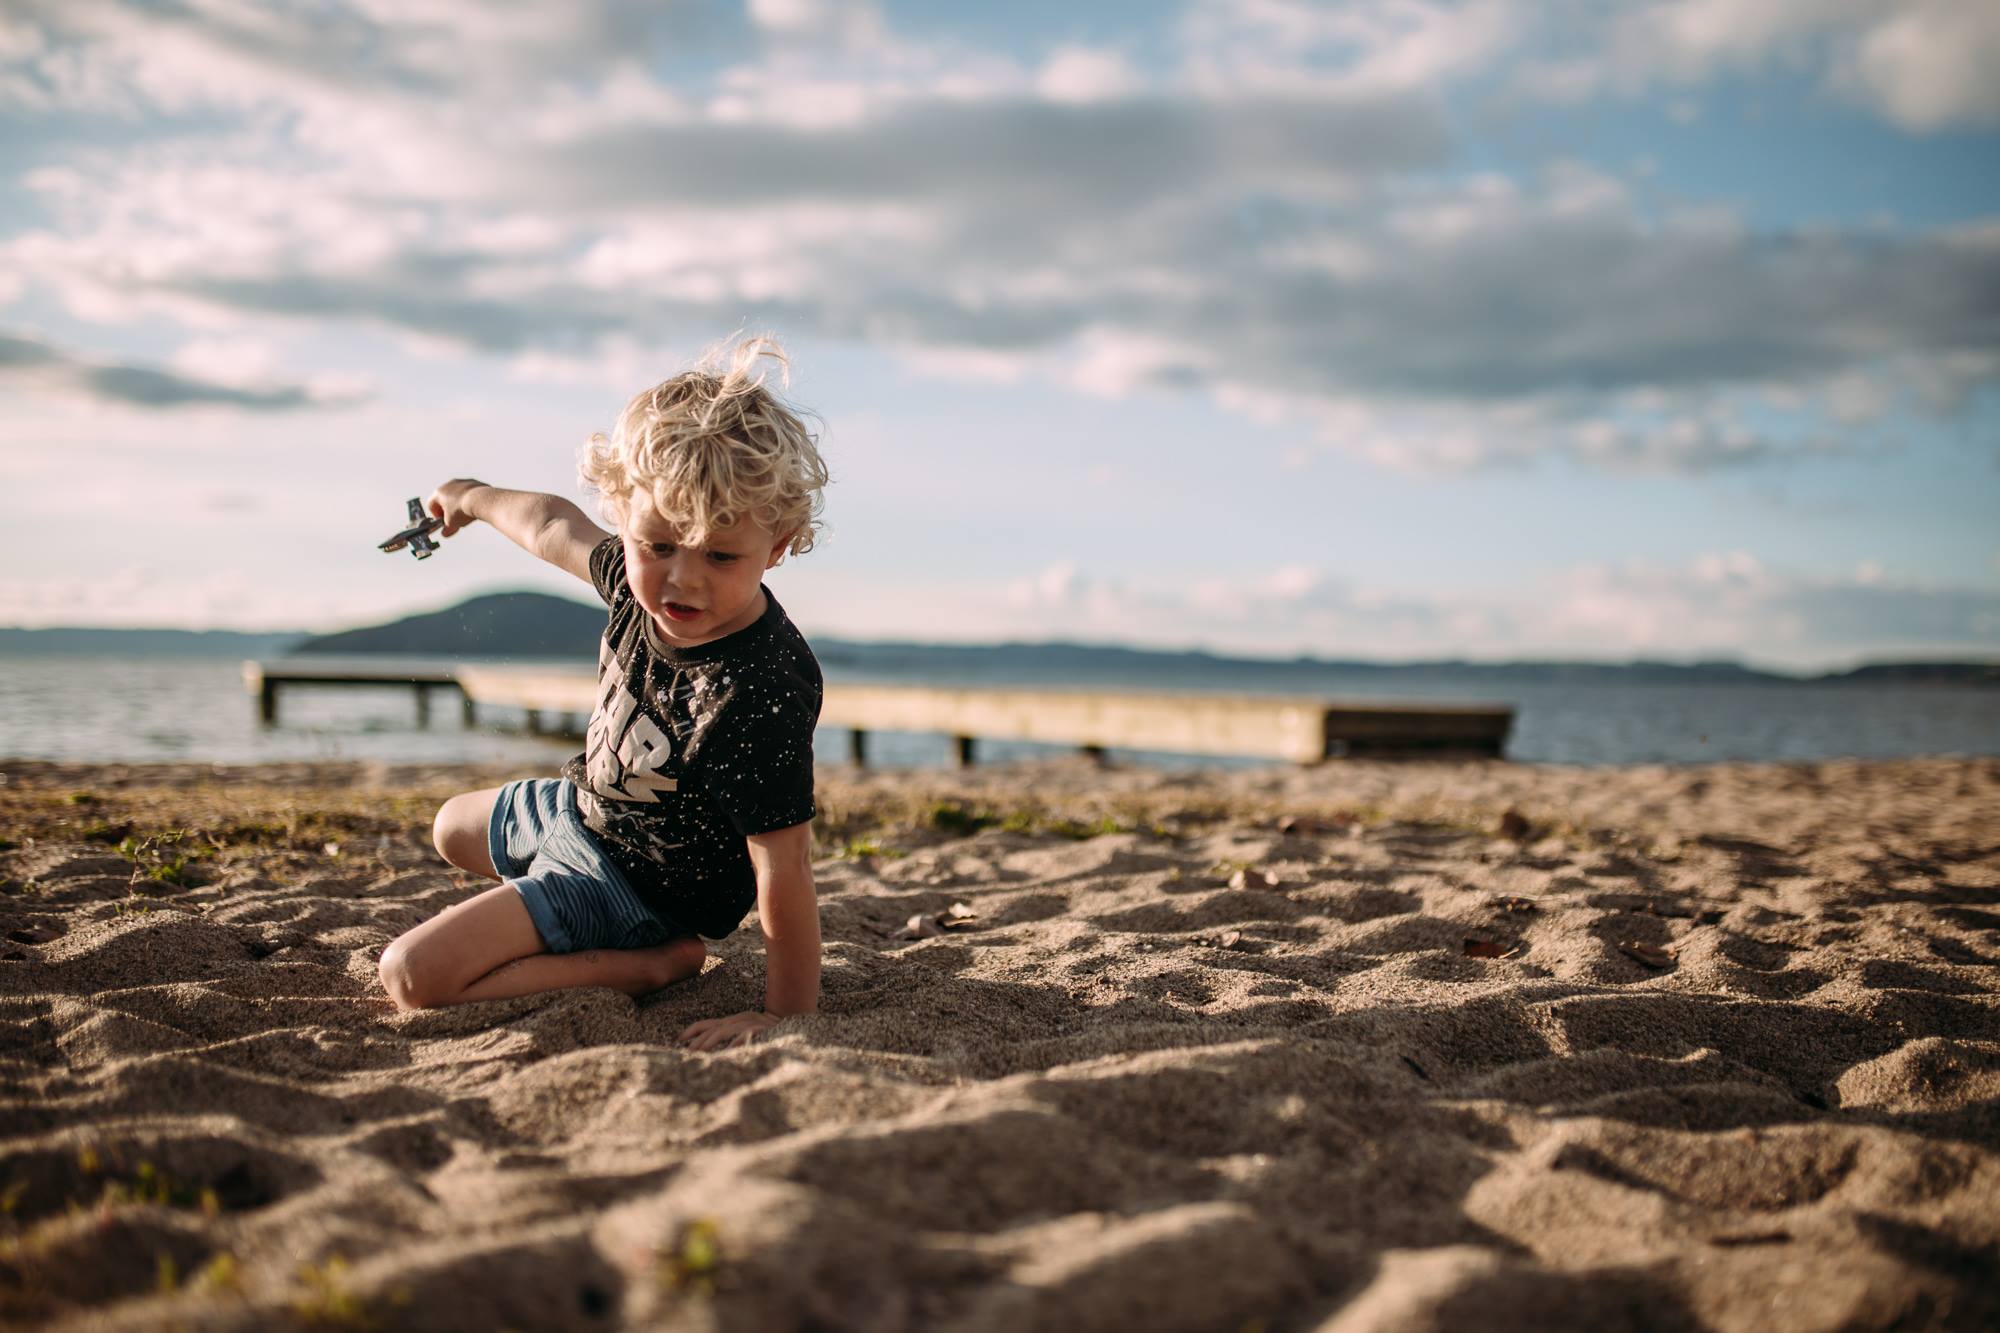
Photo by Andrea James
Don't forget about the reflective qualities of the wet sand - you know that space, close to the water, that gets washed over by the waves - that'll act like a mirror - again, being on the right side of the light will help!
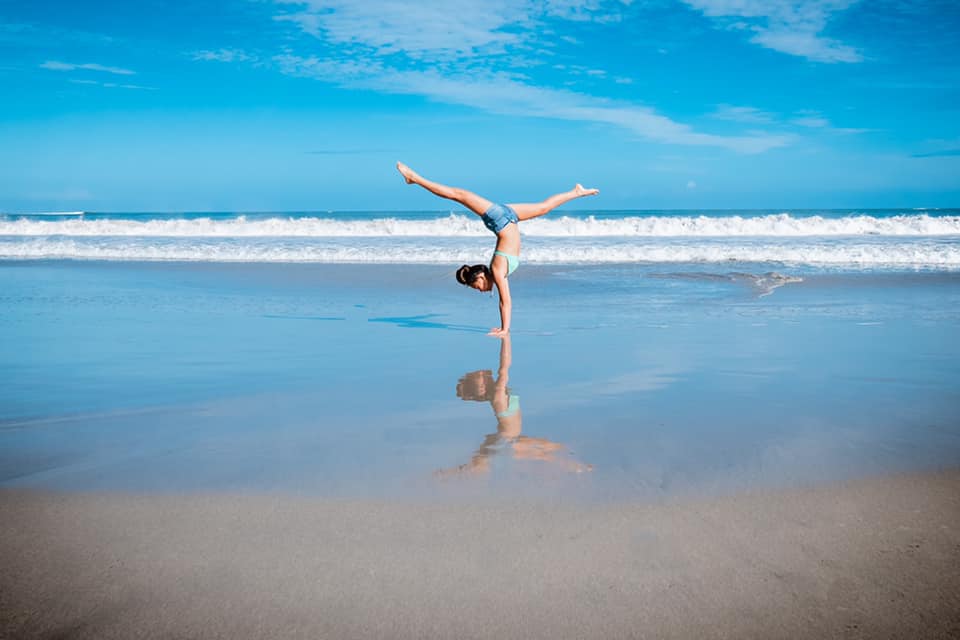
Photo by Kate Ainger
And then there is my favourite - the amazing light. I remember the time when I was able to just sit on a beach and watch the light change. Now that I'm on sun cream patrol and 'don't go too deep' patrol and 'why is there sand in my sandwich' patrol I don't get to do it much, but I still enjoy it! If you can time it to be on a beach at around dusk or dawn, you will be rewarded by the most beautiful light imaginable.
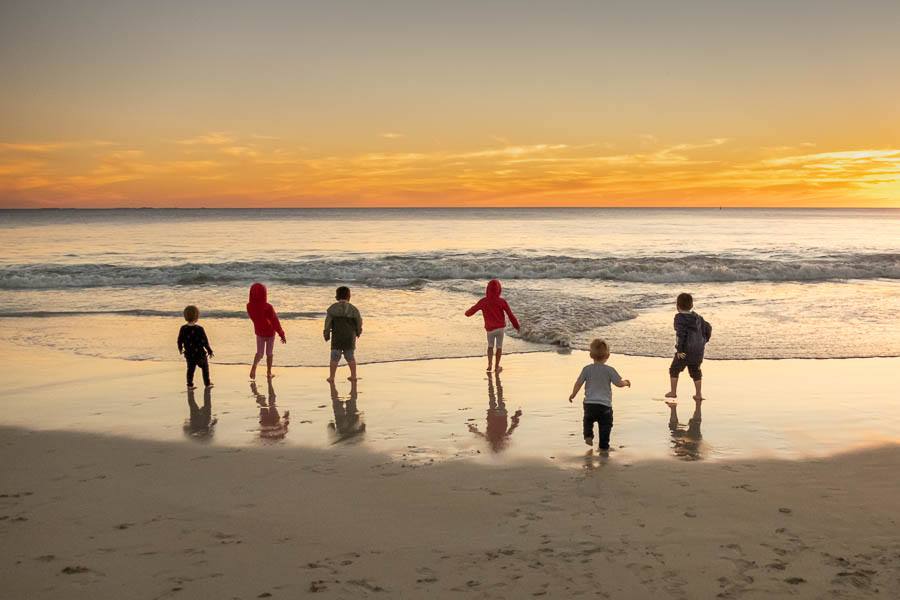
Photo by Rhiannon Davies
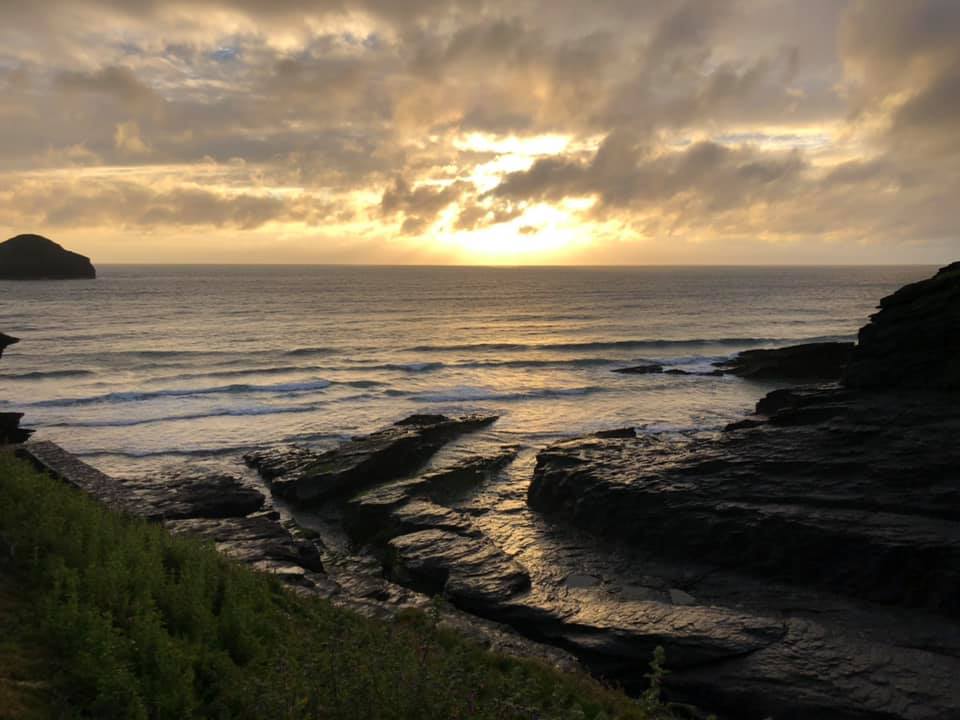
Photo by Helen Simon
Puddles ( and other reflective waters)
Let's be British about it, you're far more likely to see this kind of water in Britain in summer that a warm water pool!
And while this may be a bit disappointing, listen, puddles are BRILLIANT for photography! They are like little mirrors reflecting your children and sky and everything around. They create THE best splash crowns. With a little clever work with light direction and angles, you can make them look amazing.
Light direction matters!
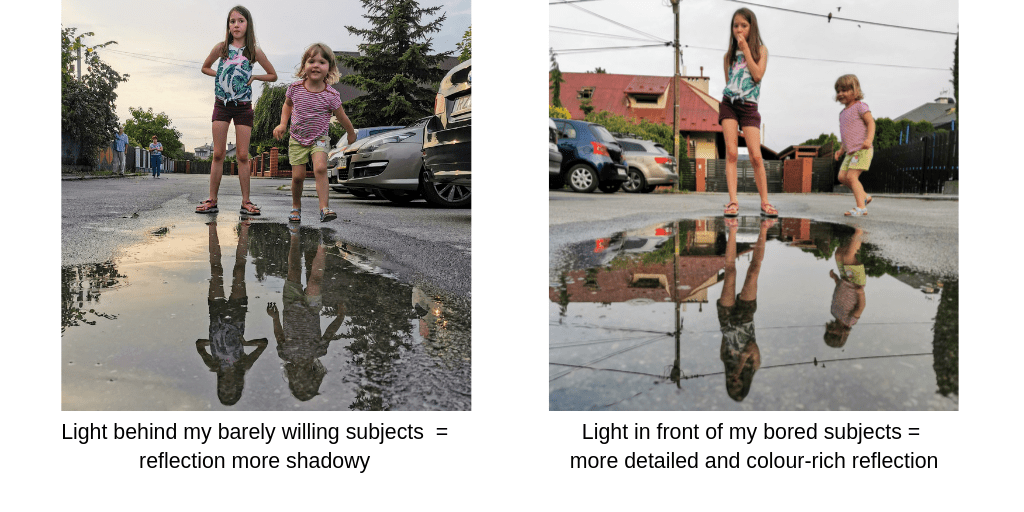
Seems like it shouldn't what with all of it coming from above, but unless you're shooting when the sun is just above you, it will make a difference. When you shoot roughly speaking AGAINST the sun ( backlight - remember? ) you will get a lovely reflection of the sky, but your children in it will look a lot more shadowy ( as they're effectively blocking the light). But if you walk around the puddle and shoot from the other side ( with light behind your back ) you will get a much clearer reflection of your subjects.
Please excuse the phone pic but I had to grab the opportunity while the kids obliged!
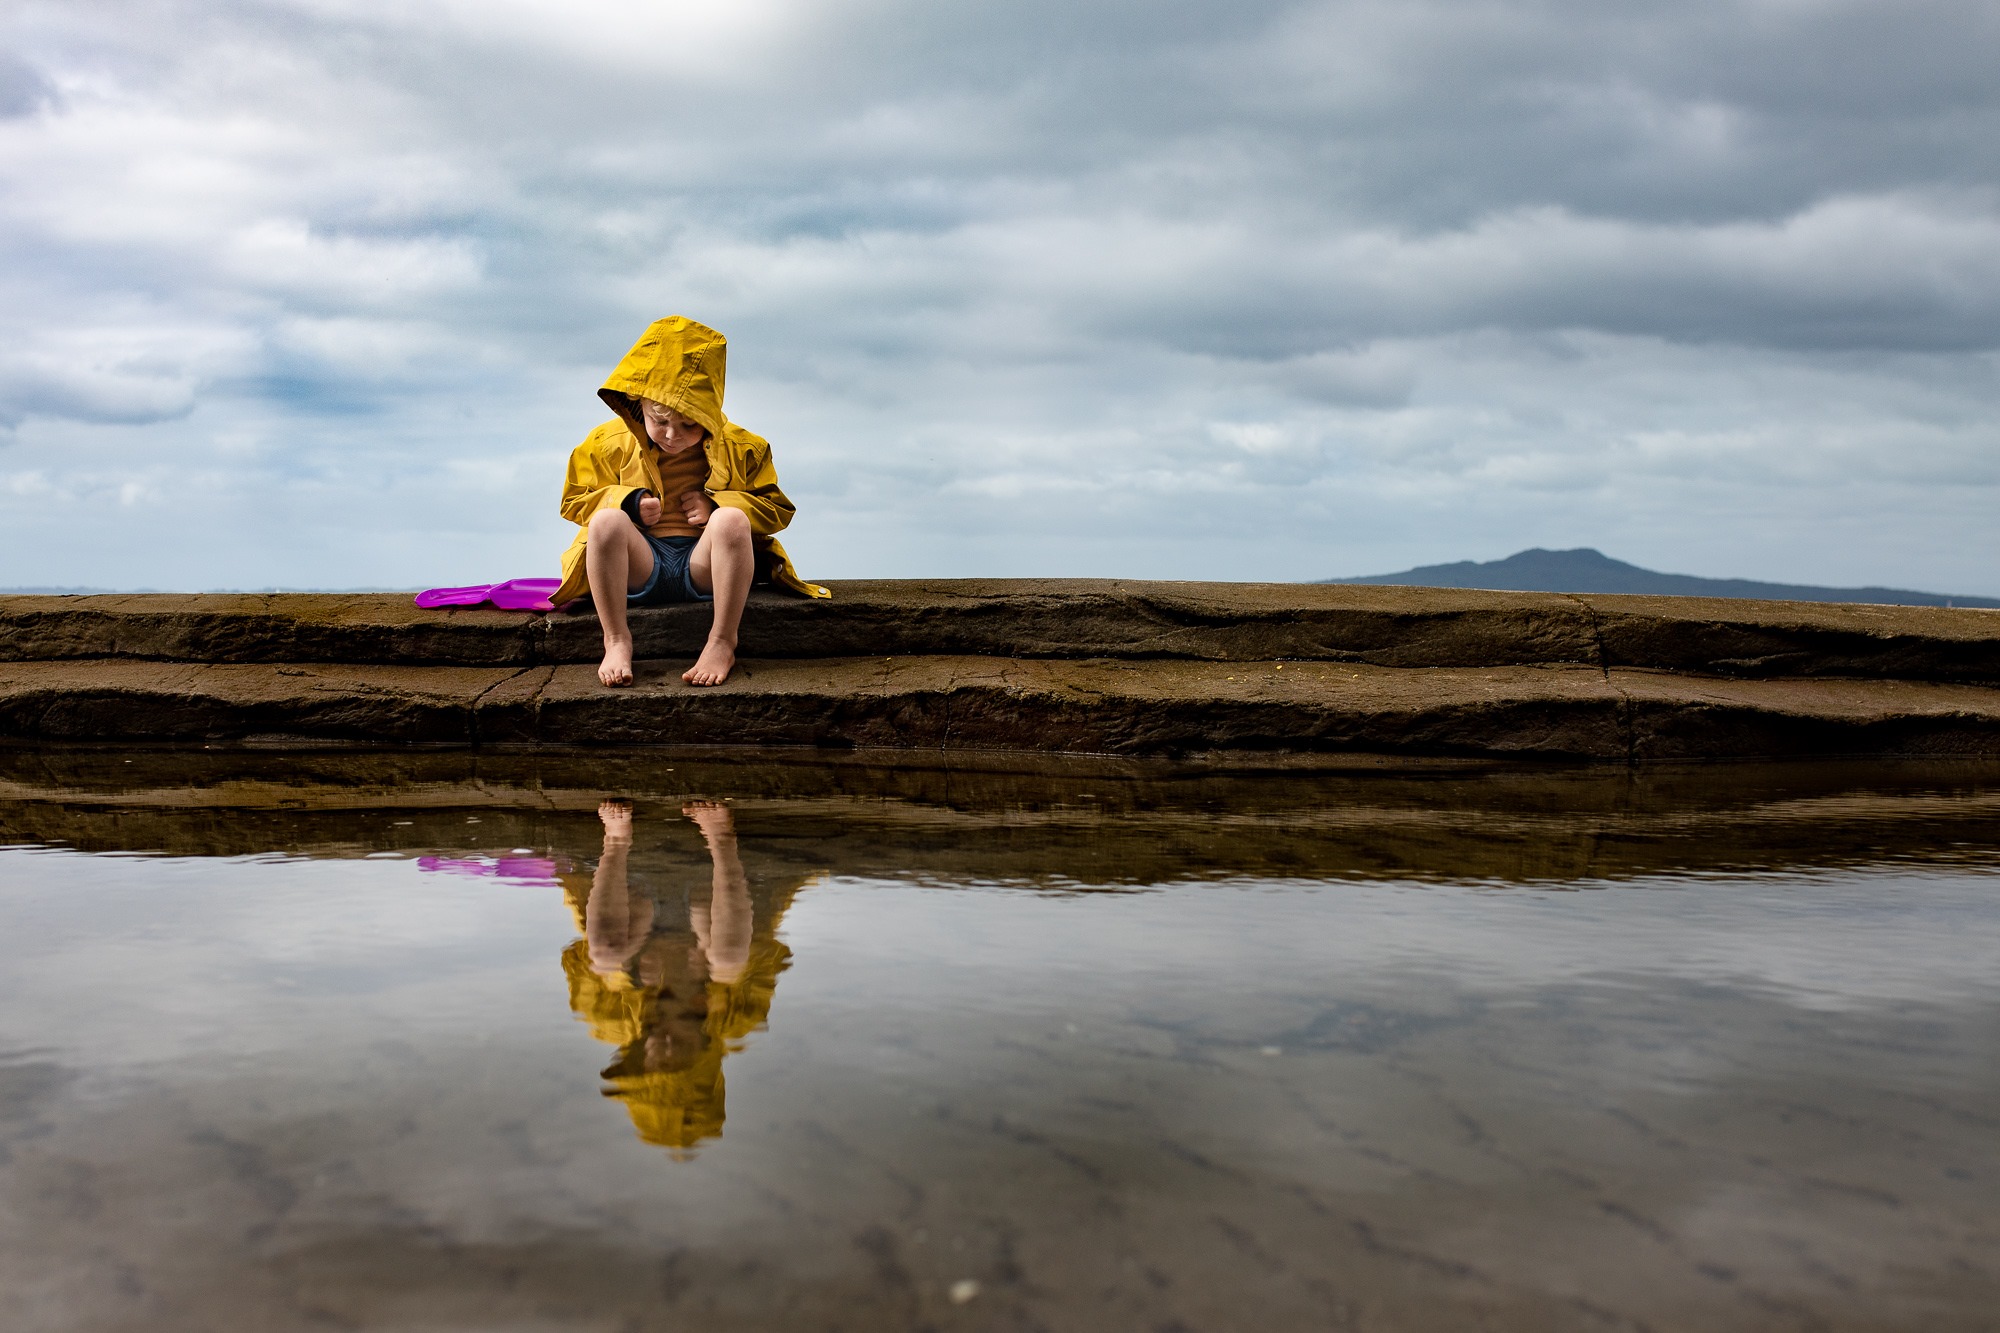
Photo by Andrea James
Work those angles
This is the fun play part - I like to shoot very low down to the ground, almost hovering above the surface of the water. It creates a unique reflective effect at the bottom, but raising it a little will let you fit more of the reflection in. In general low-ish down is better than from the SAS* position.
* SAS- Standard Adult Standing position
And if you have not had rain recently, you can replicate what my daughters recently came up with when they wanted to do some puddle play but there were no puddles around...
