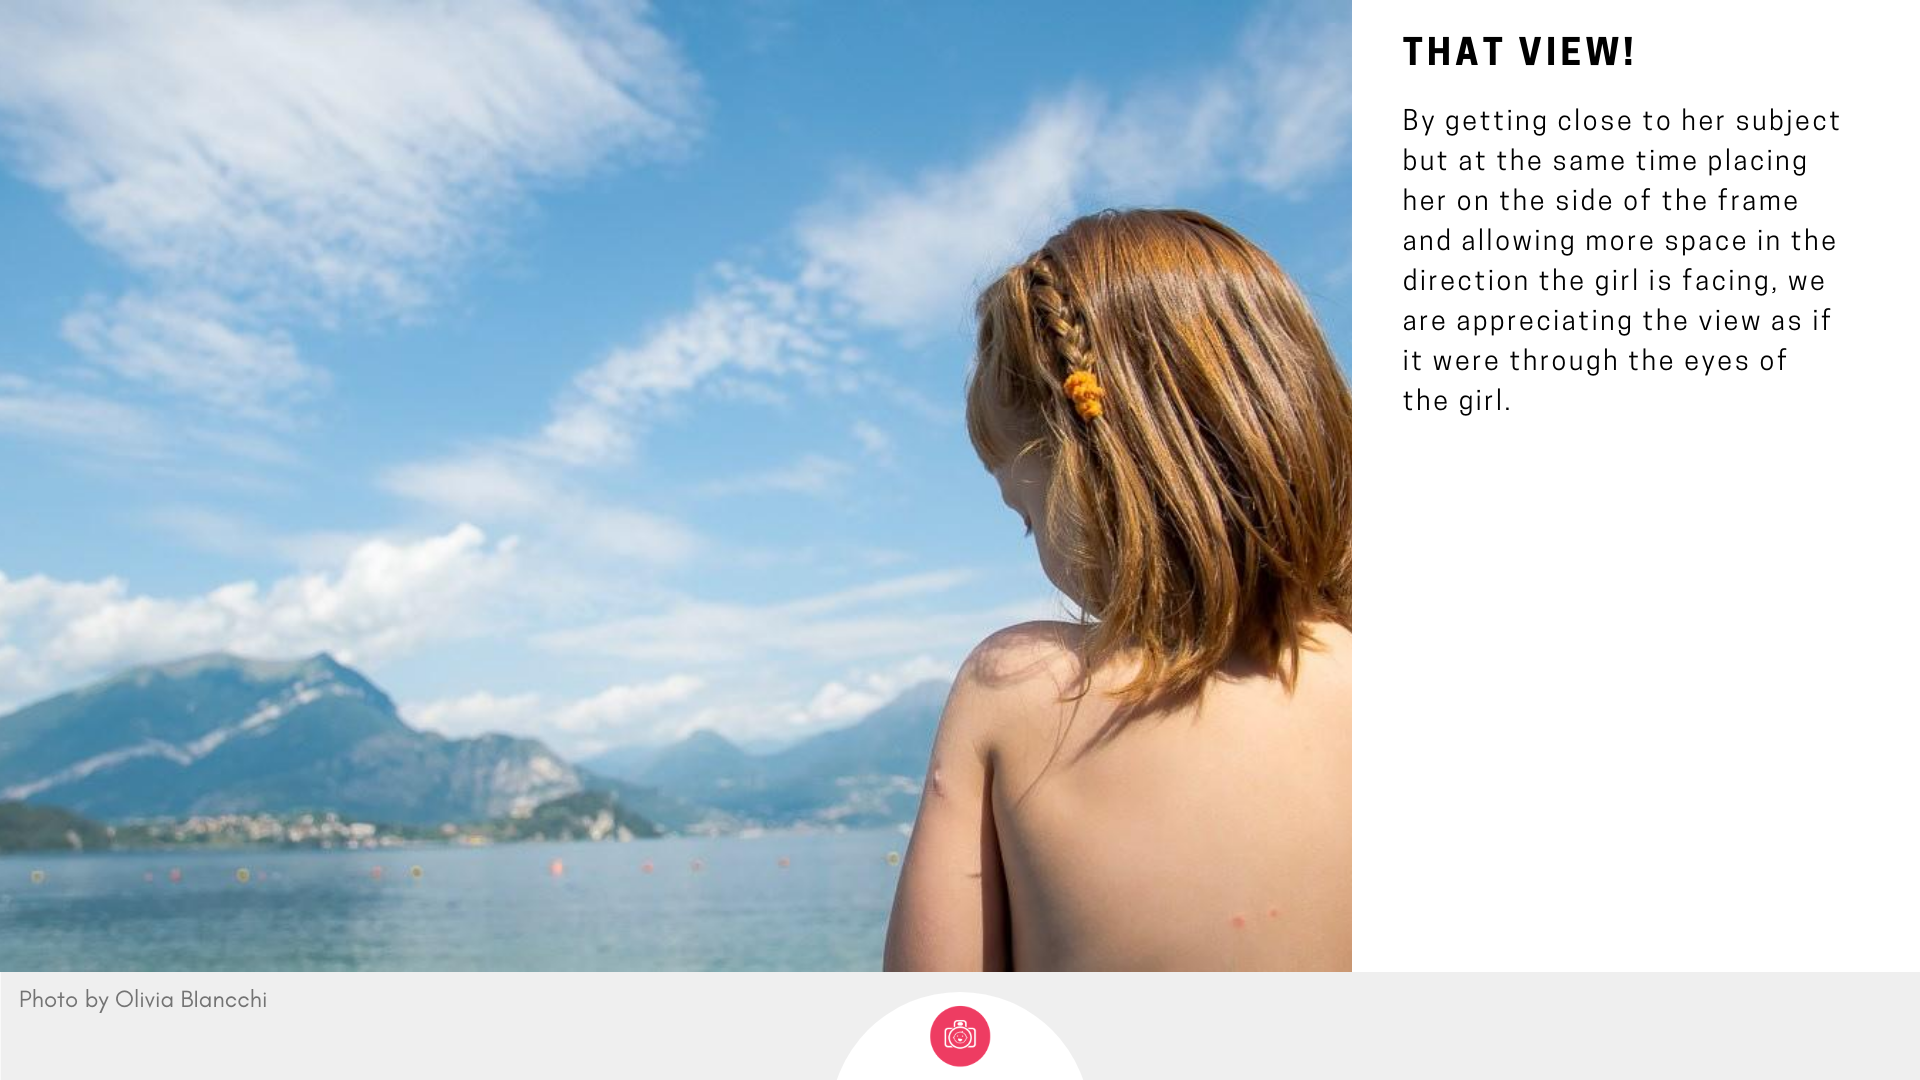
On the previous page I gave you the 3 step shortcut photographing kids our and about and making the most of the space you have. Now let's get to the specific. I've listed several 'typical' situations, locations, type of shots that may be worth capturing. Again, far from being an exhaustive list, it's mereley here to make you think ahead to HOW best to capture these should the opportunity arise but also if you're low on inspiration, to try something new.
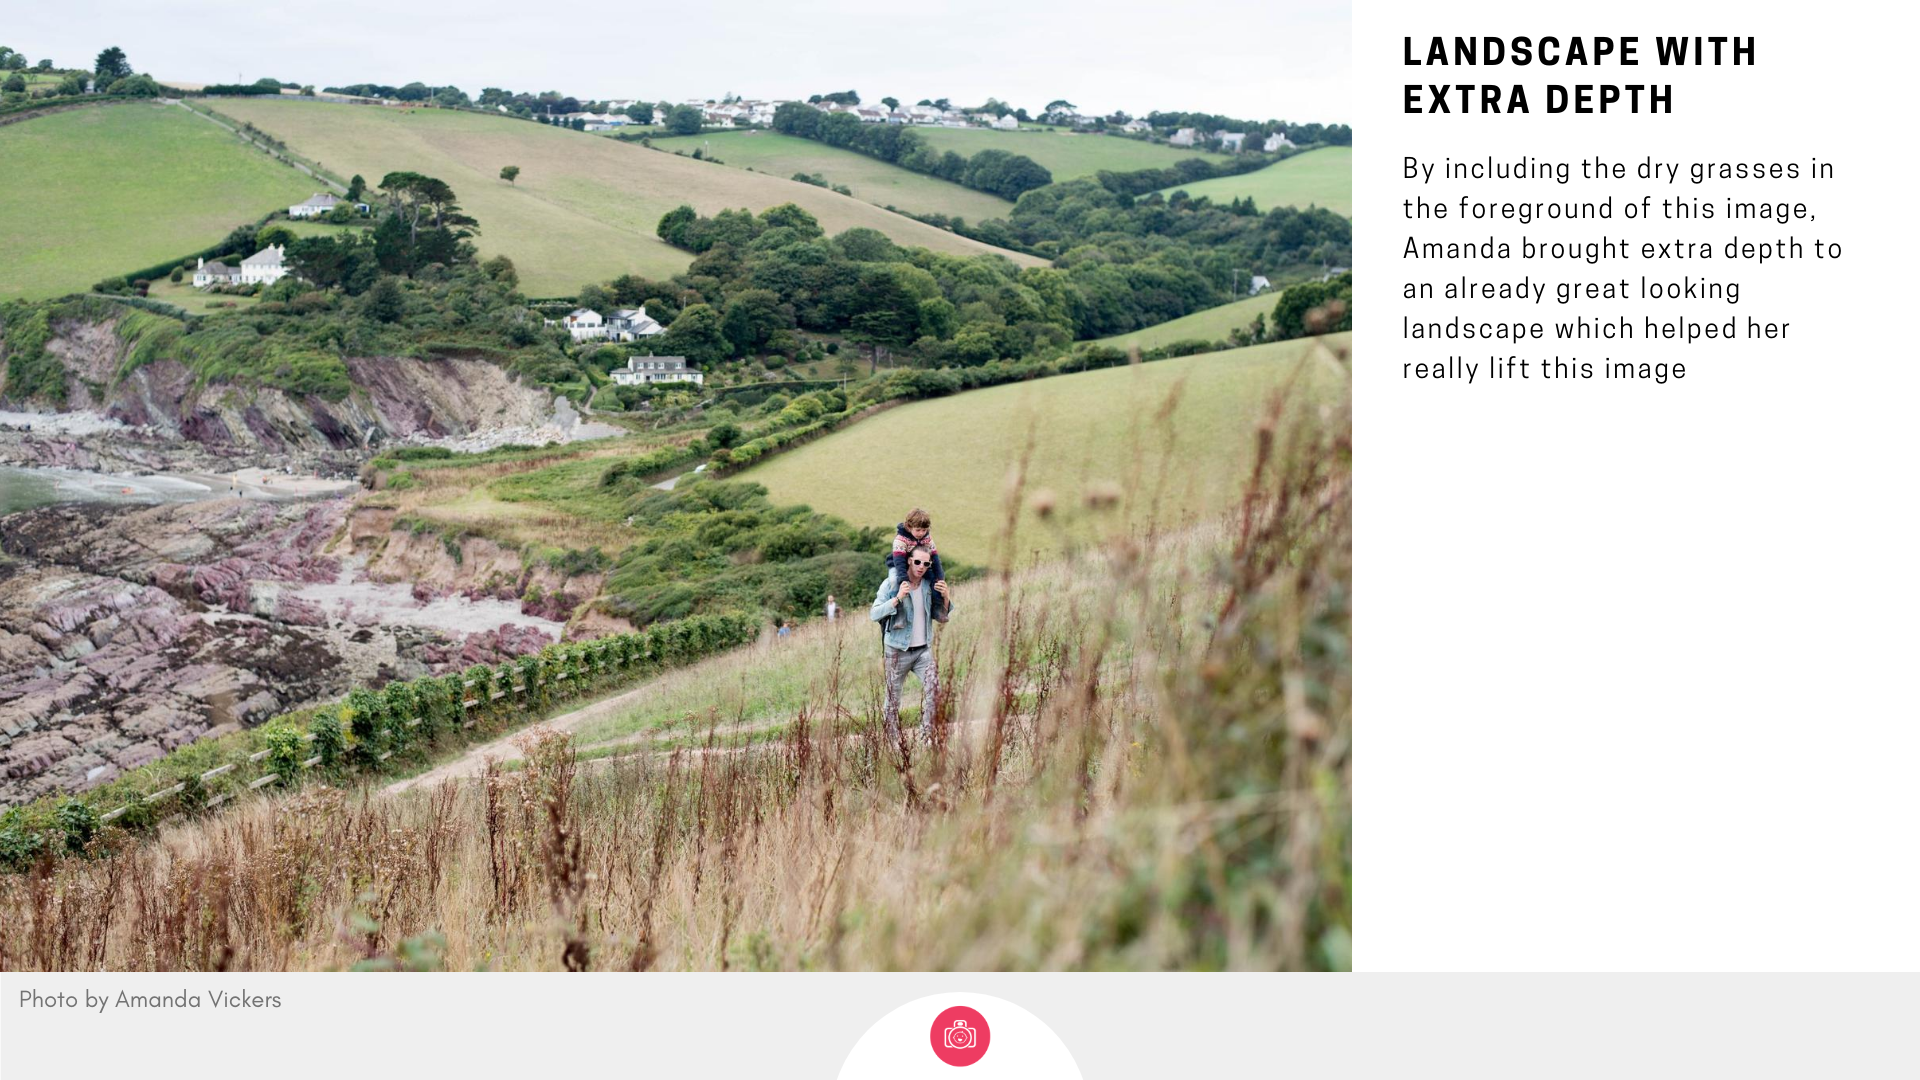
1. Including both foreground and / or background
As I mentioned on the previous page - this isn't necessary in all situations, and sometimes there plainly is no interesting foreground to grab, but for a least a couple of photos this week, make a conscous decision to bring in both foreground and background and use them to enhance your subject. ( this is usually where you might want to bring
It could be as simple as shooting from behind a bushg or grabbing a bit of greenery in the foreground ( this is what we practiced with the low position/ flat angle last week) . Play peek-a-boo with your kids and capture not just them but the thing they're hiding behind.
Pro tips:
- Be careful about where your focus lands - if you can do so in your camera, switch to spot focus so you can be sure that your camera focuses on your subject and no tthe thing closest to the camera.
- If you want more things in focus the foreground and background and a wider view, go for no zoom / shprt focal length
- If you want the elements in the foreground and background to be more separated into sharo and blurry, zoom in ( you will likely need to stand back a bit)
- If you're using your phone, you may want to try and use portrait / selective focus/ aperture mode - a big caveat here. The blur in those shots is achieved through software trickery so it might not land where you want it and it can look a bit off at times too. But why not try anyway? Nothing to loose!


2. Natural frames
Use elements in the great outdoors to frame your subjects natually - and try to be creative with it - it can be a naturally created tunnel of trees with the tree canopy closing the space above, This could be using a natural clearing greated by the greenery or even shooting through something to create that illusion. Use natural elements as well as man made structires to help build the images you want


3. Into the woods
Planning a trip into the woods with the family? Think about how you might want to capture it.
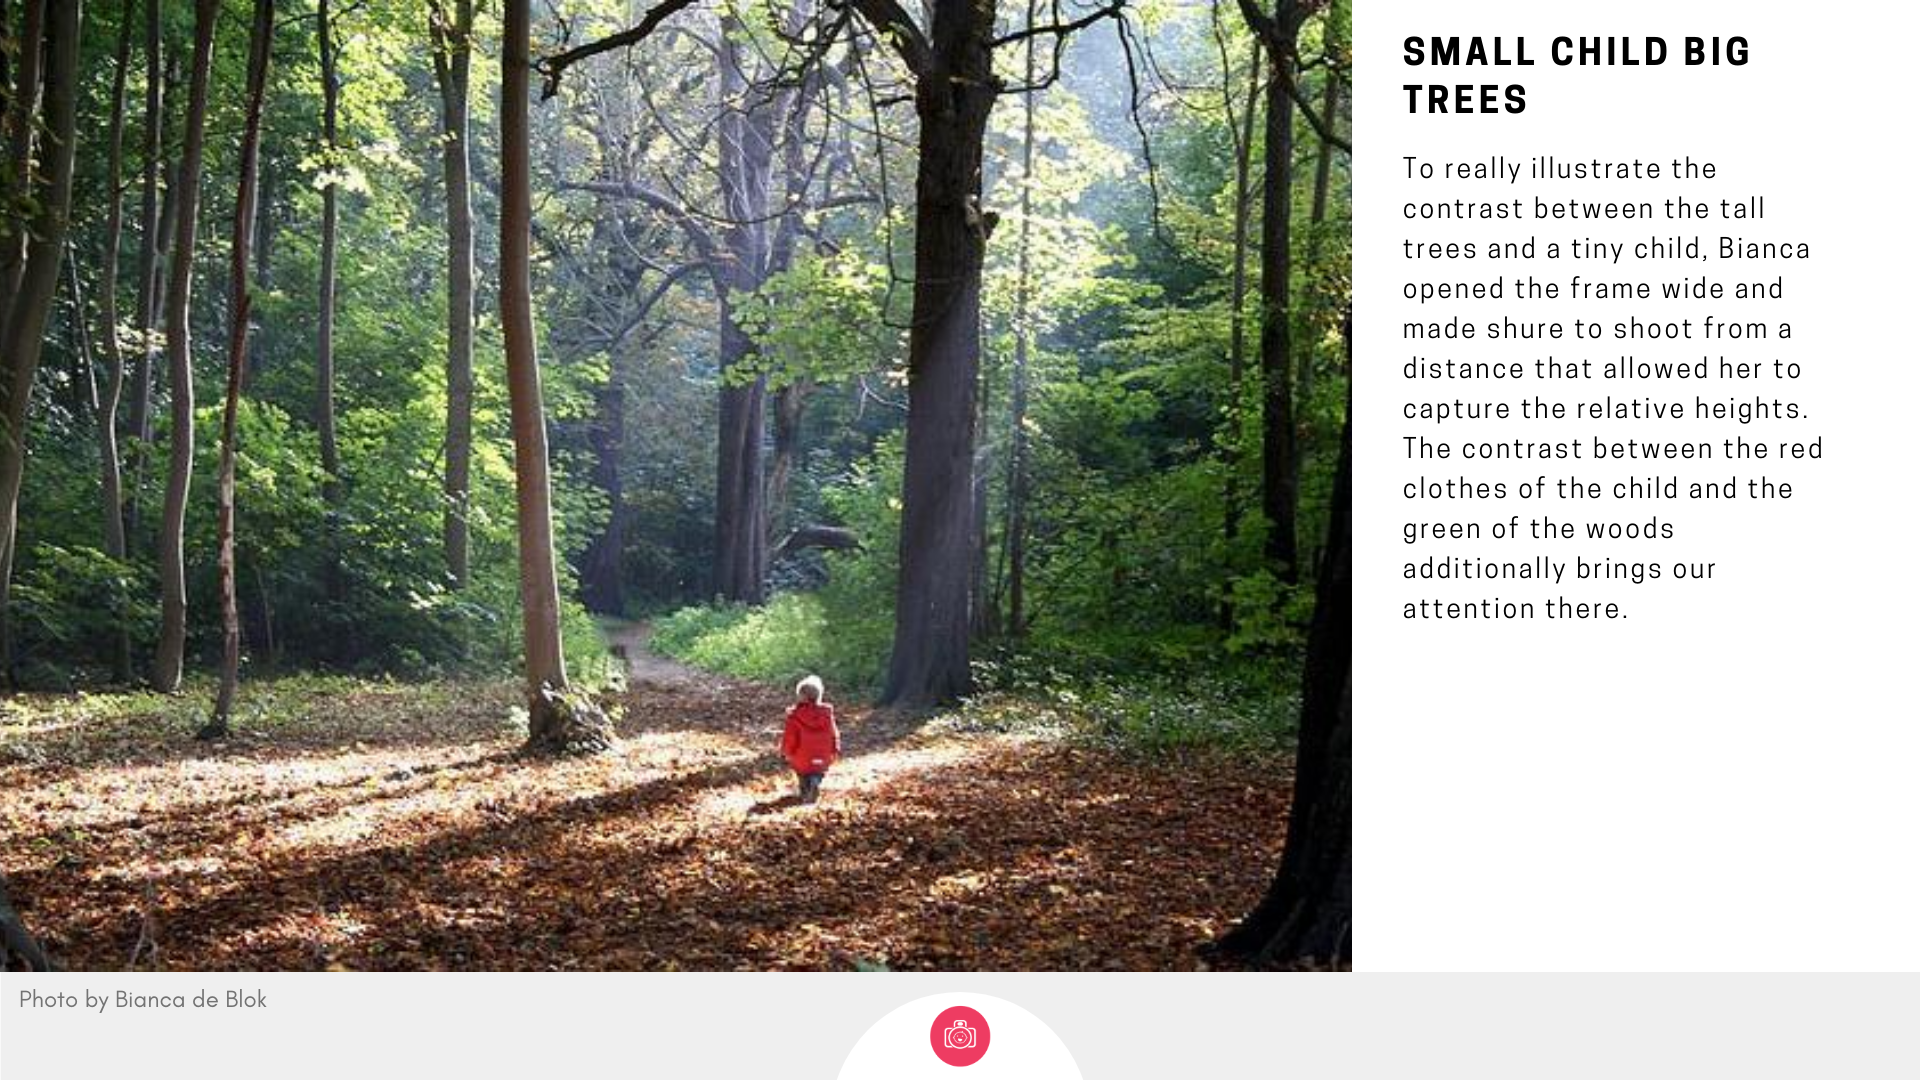
DO you want to show the grand, tall trees, the vastness of the woods compared to your little one? - aim for a shorter focal length ( no zoom) and shoot from your child's height aiming to keep the 'ground' part to no more that 1/3 of the frame height.
Want to show how dense and mysterious the wood is? Zoom in and bring some foreground elements in - zooming in will compress the space, making it look like the trees are closer together and helping you increase the sensation of density.
Want to show your little one on a woodland's path? Reverse the image proportions from the first picture and use 2/3 of the frame to show the path leading to your child, and the remaining 1/3 to the space

4. Flower patch / field
Found a field or a patch of flowers, now what?
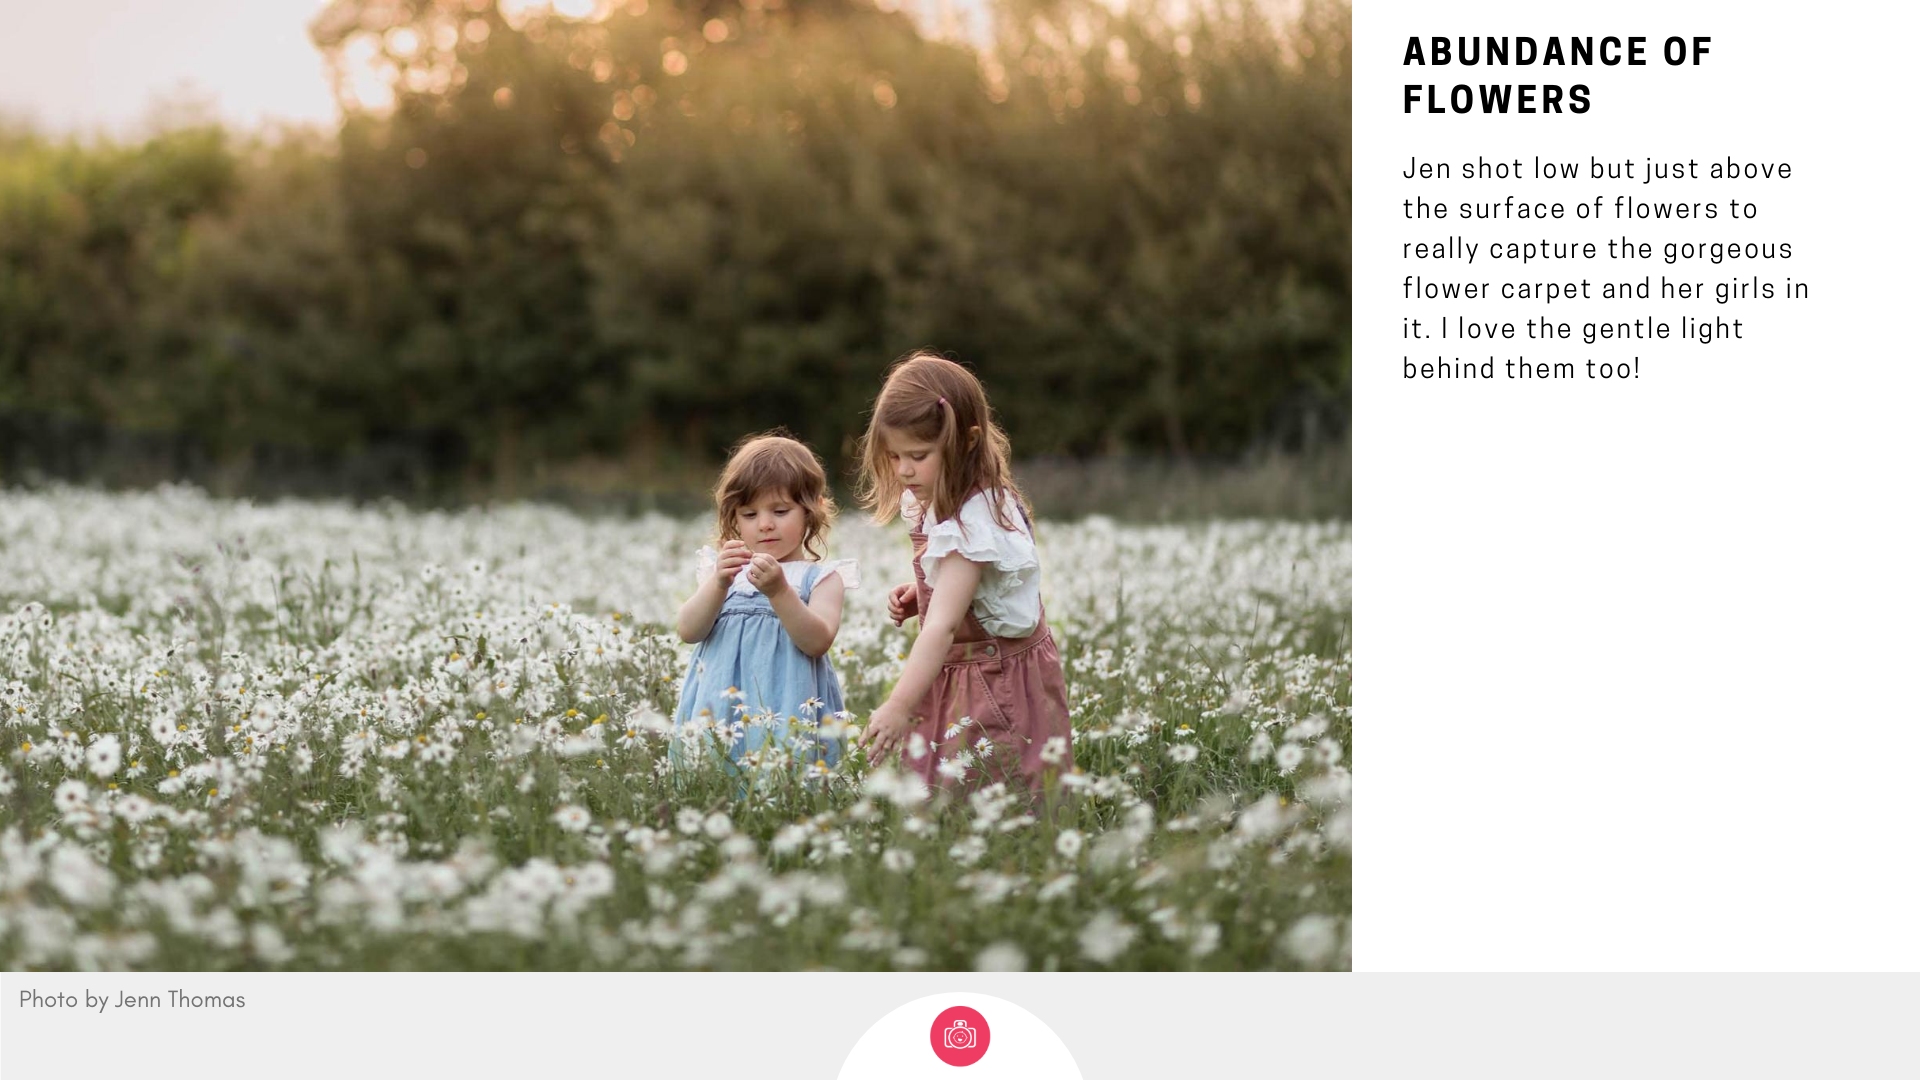
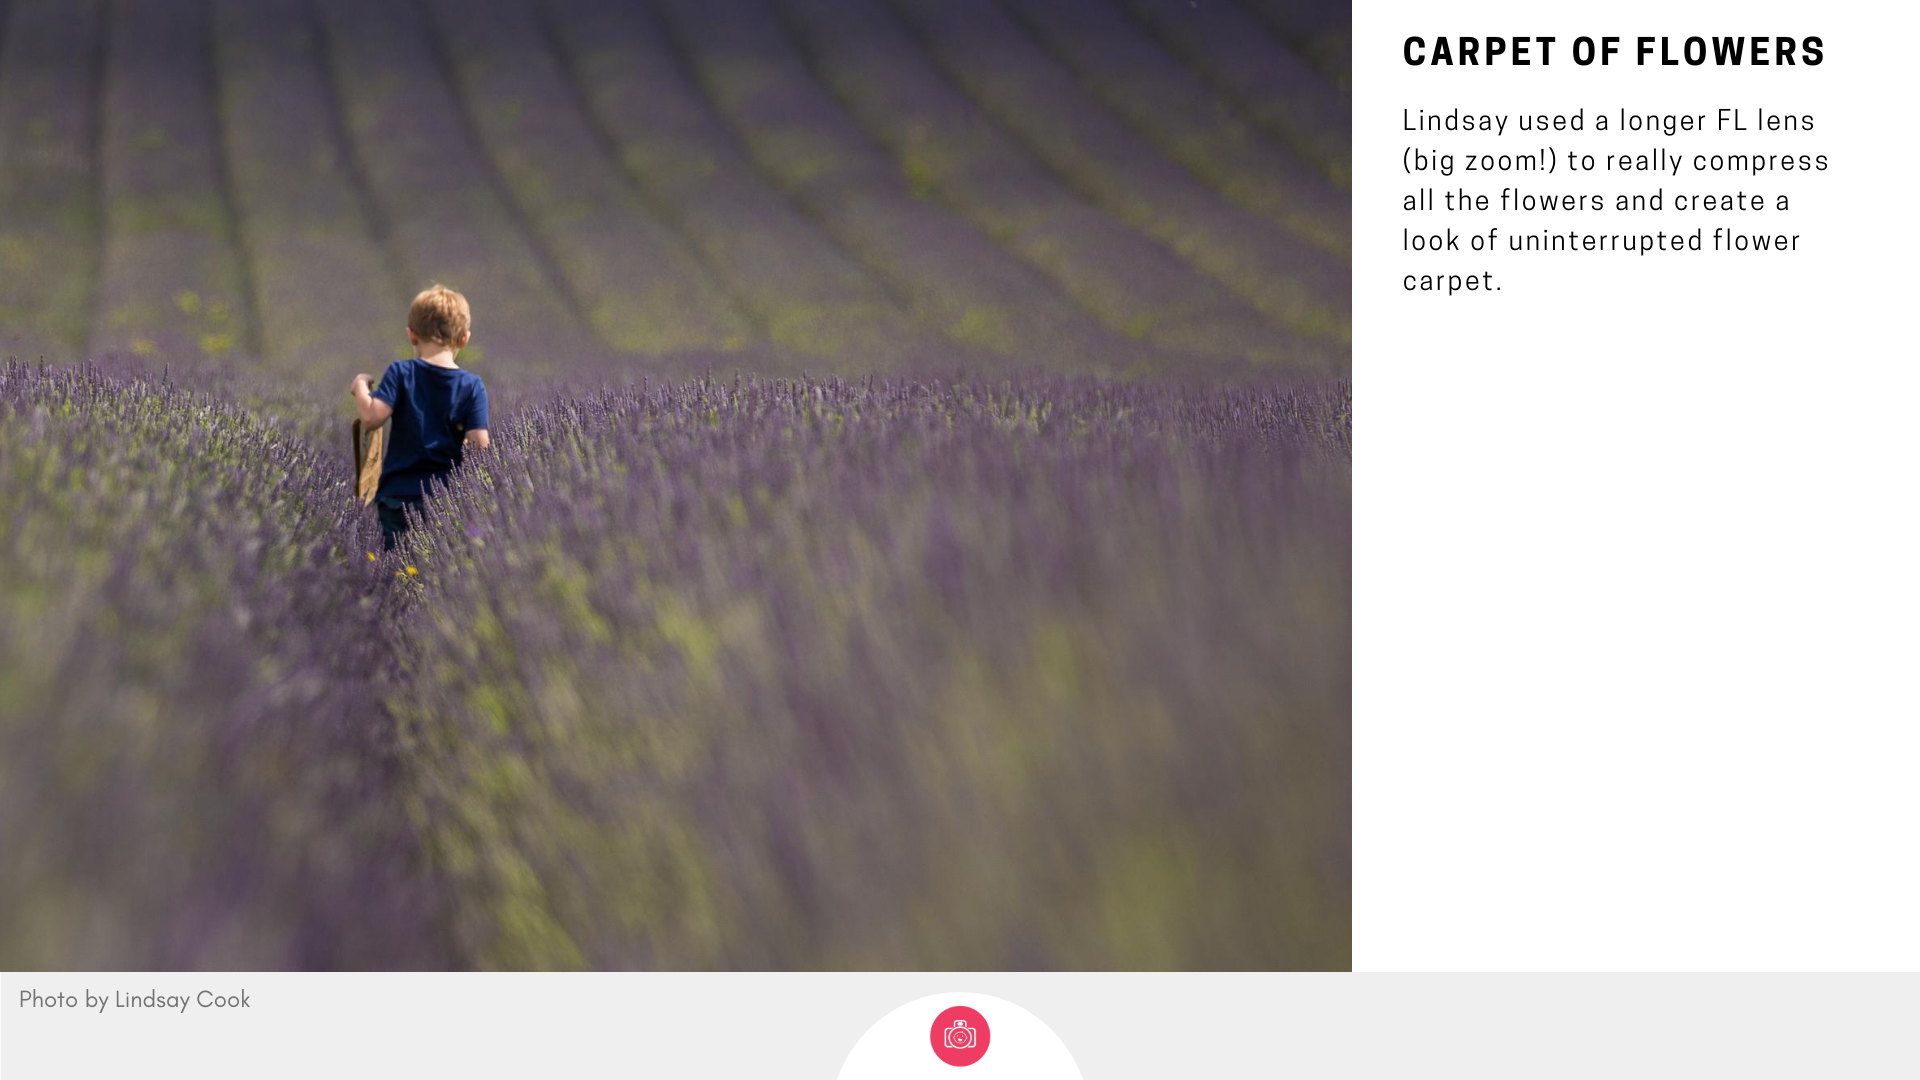
If there are plenty of them, show how vast they are. Frame your shot slightly from above to show the view of the carpet of flowers.
Play with textures - blur some, bring sharp focus to others ( and your subject). Hide behind them - or partially hide your child behind them rather than having the flowers behind them.
Have your kids interact with them - NOT pick (unless they're yours or you have permission) but smell, count petals, feel the texture of them, check if light gets through the petals, check which one smells the best, or hide things in and around them to have your kds look through the flower bushes.
But also, let them go a bit wild if they're up for it! An action shot, however goofy, beats a standing and looking shot in my book anytime!

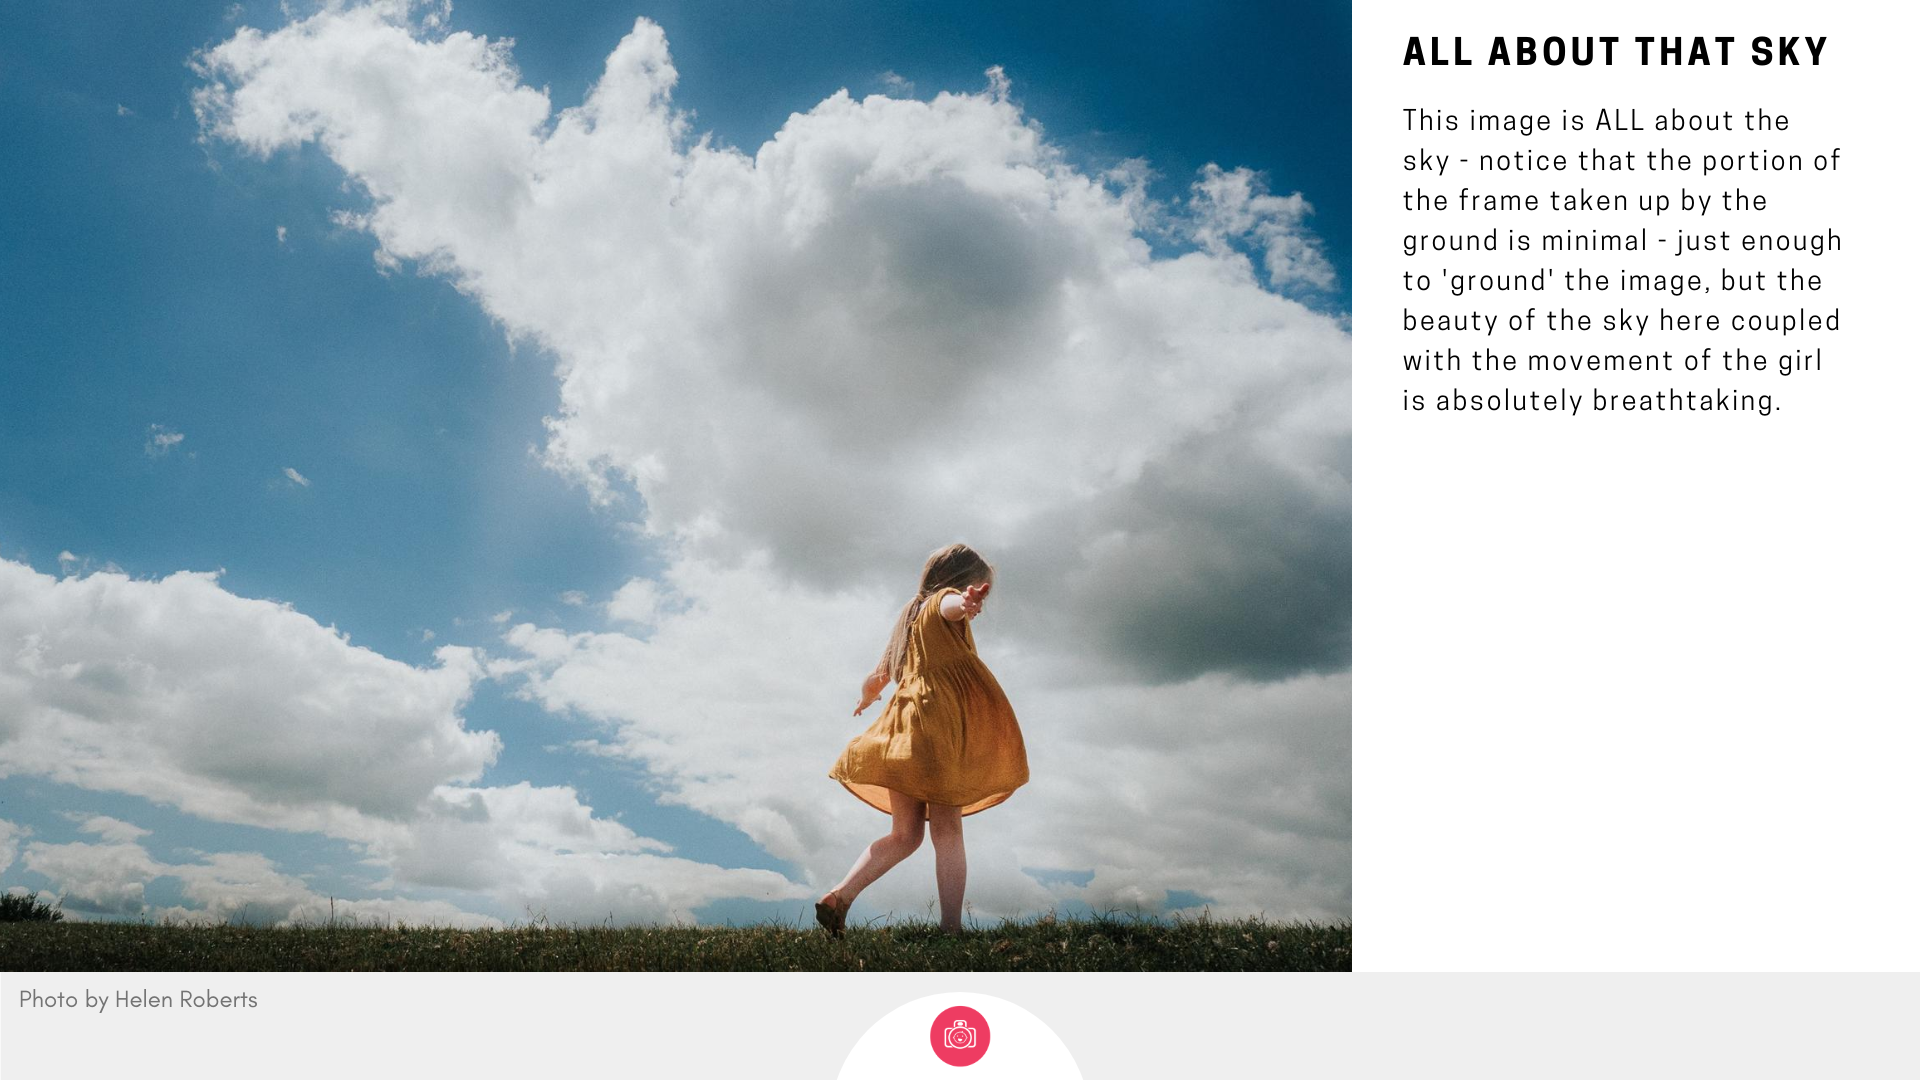
5. Big sky, wide vista
Summer often brings with itself amazing skies - the brilliant blue, the fluffy clouds, stunning sunsets. Make at least some of the photos so that it really shows. When you compose your photo, make ut unapologitally about that sky - that means giving the majority of the space in the frame to that sky ( or any wide reaching view) - make sure it fills at least 2/3rd of the frame if not more. Short Focal lengths will help you fit lots of it in and will also help you keep both your subject and the sky nice and sharp.
