Want to capture your baby's early day? Here are 3 things to do before you get clicking.
Don't spoil your chances for capturing something special by going in unprepared!

Welcoming a new baby into your life and your heart often means a beginning of a little bit of baby photo obsession. Trust me. I’ve been there, done that, got myself into photography business.
But all too often, the great kind of baby photos seem elusive. We end up with hundreds of phone camera snaps but not so many of the better quality ones, suitable for printing. And I know that this is the point when, disillusioned with the quality of the phone snaps, often parents move up to ‘proper’ cameras, only to become disappointed with what they get out of it.
At Photography for Parents we firmly believe in the importance of being able to capture your family's special - big and the little, DAILY - moments by yourself, with your own camera. No outside photographer, however amazing, will be there for those daily moments. And often, to take BETTER photos you just need a bit of know-how and direction. ( we go in a lot more detail in our courses! )
So here are our 4 specific, actionable, things you can do to make your images better, even if you know nothing about photography. Your baby will thank you ( well, when s(he) is all grown up and reminiscing about their childhood whilst expecting their own babies, because let's face it, kids are pretty ungrateful until ( sorry Mum).
1. PREPARE YOUR BABY
Sit your baby down and go through the shot list, explain the importance of good images and how they will thank you in the future. Wait, no, that's silly.
First of all - get your baby to sleep!
For the majority of the kind of photographs that celebrate their little hands, feet, features - you want your baby to be asleep. I cannot stress that enough - their little baby arms and feet move with lightning speed that’s extremely hard to capture close up when they're up and waving their feet so you want them happily snoozing.
The nature of those type of images requires you to get pretty close to your baby or zoom in a lot, and without going into all the technical details , those two actions makes your camera more sensitive to movement, so you’re more likely to end up with blurry photos when their little feet jerk and move. This is how the pros do it! ( we have a whole week long module in our Fundamentals course dedicated to capturing kids on the move - just letting you know, because you WILL need it when the baby gets their legs!)
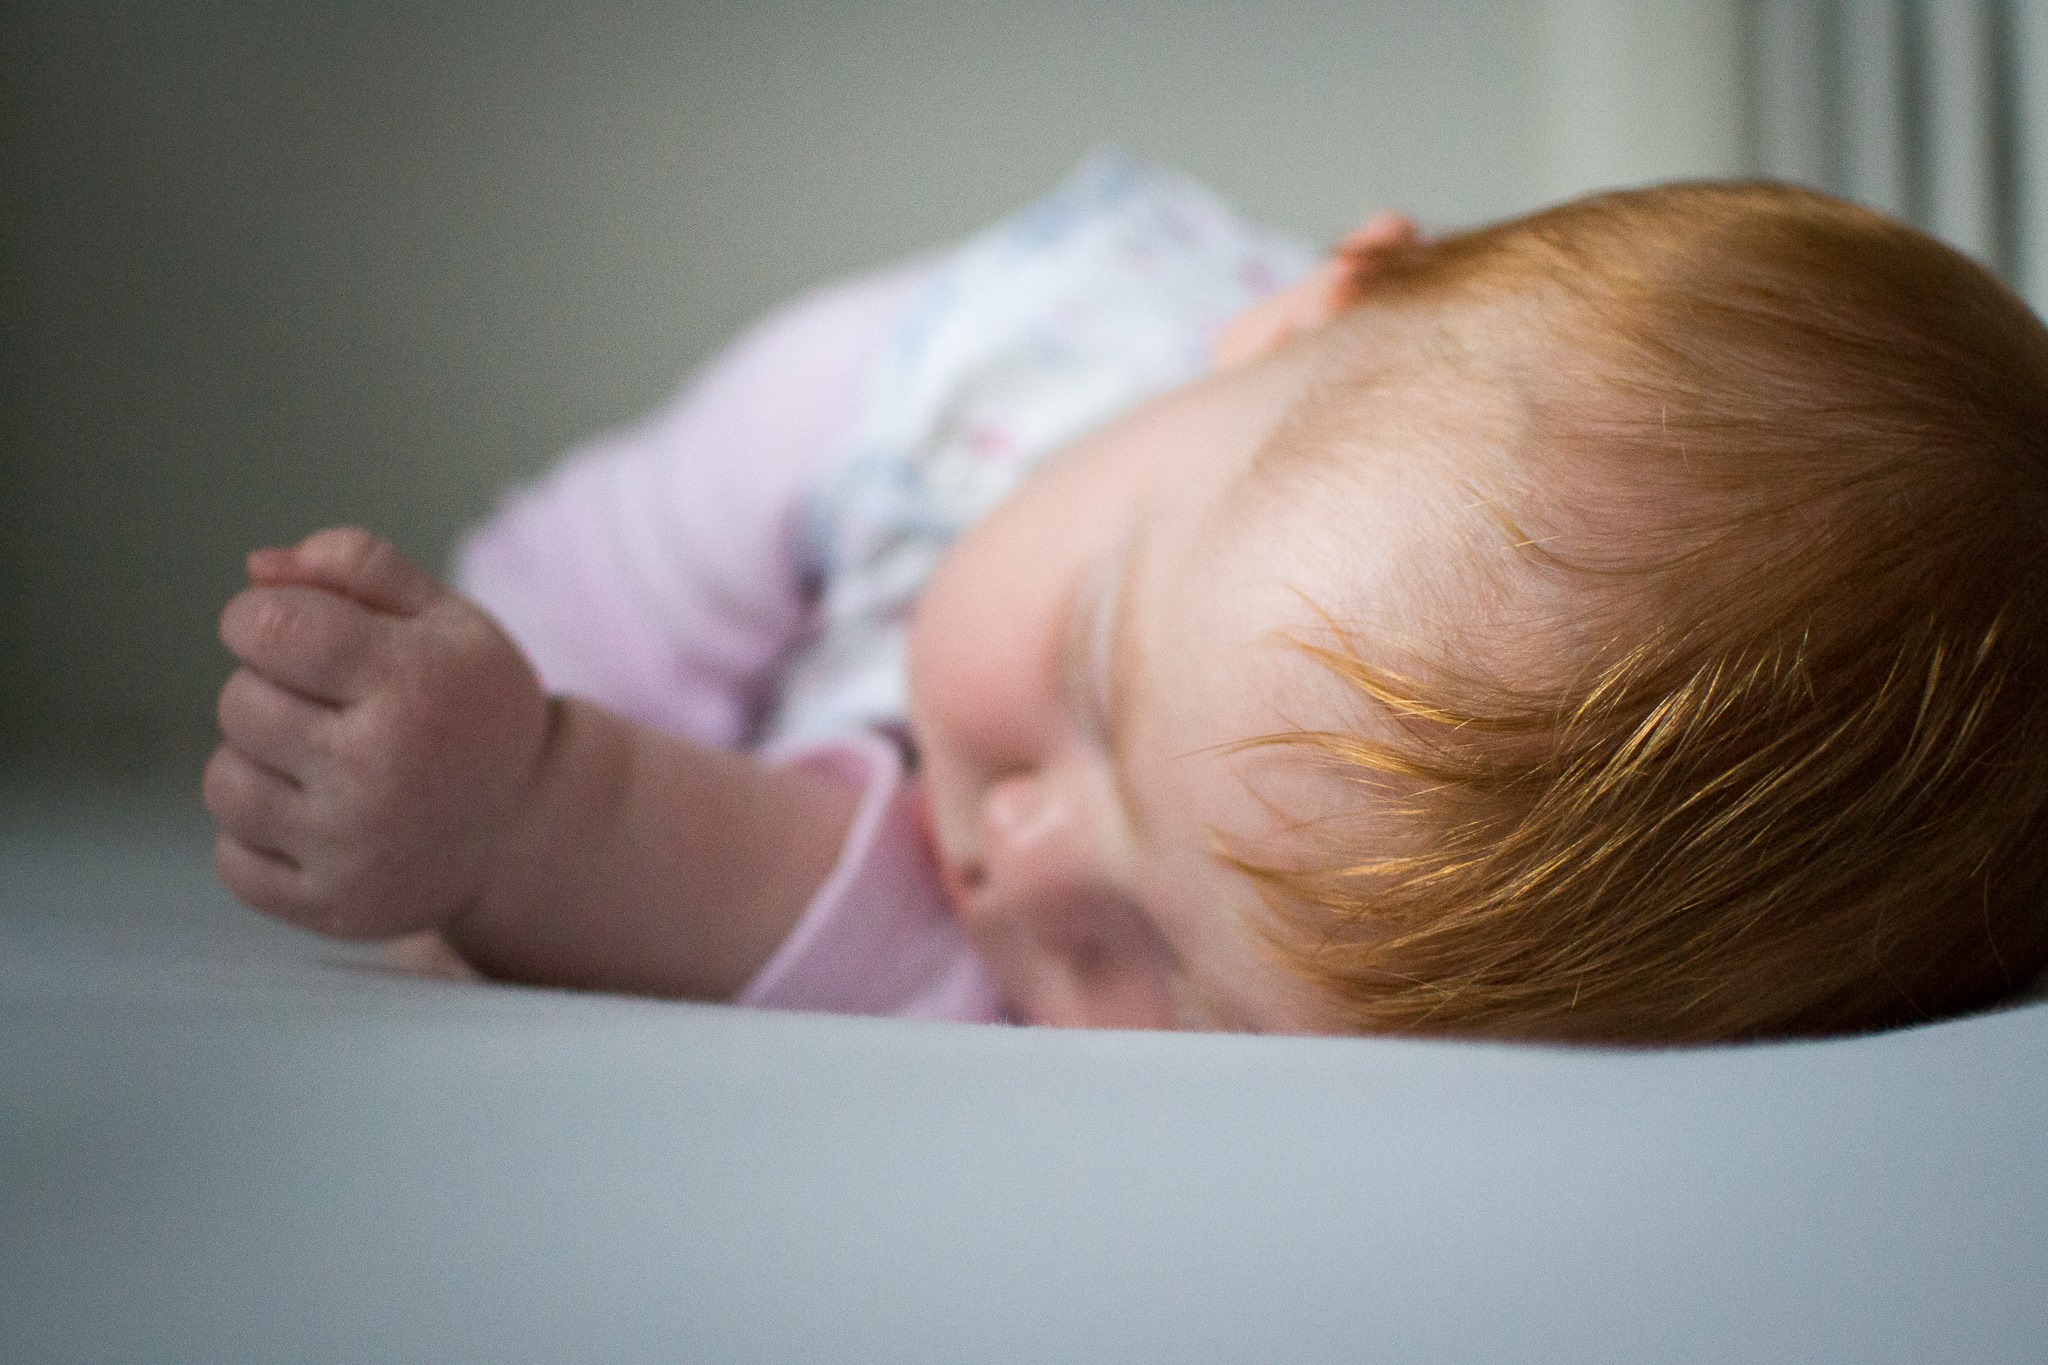
Photo by Laura Lane
This is when good planning comes into it : make sure your baby is fully fed and changed into clothes you want to see in your photographs before you put them down for a nap. A short sleeves, short legs vest is perfect to show off their gorgeous toes and arms.
REALLY REALLY IMPORTANT - if you don't want to transport your baby from their cot to where you'd be taking photos - more on that below - you may want to plan ahead and get them to sleep where you will want to photograph them. But safety first - never leave your baby unattended anywhere that they may fall off - it’s not safe to leave them to sleep by themselves anywhere that isn’t their cot. If you need to, stay with them as they fall asleep.
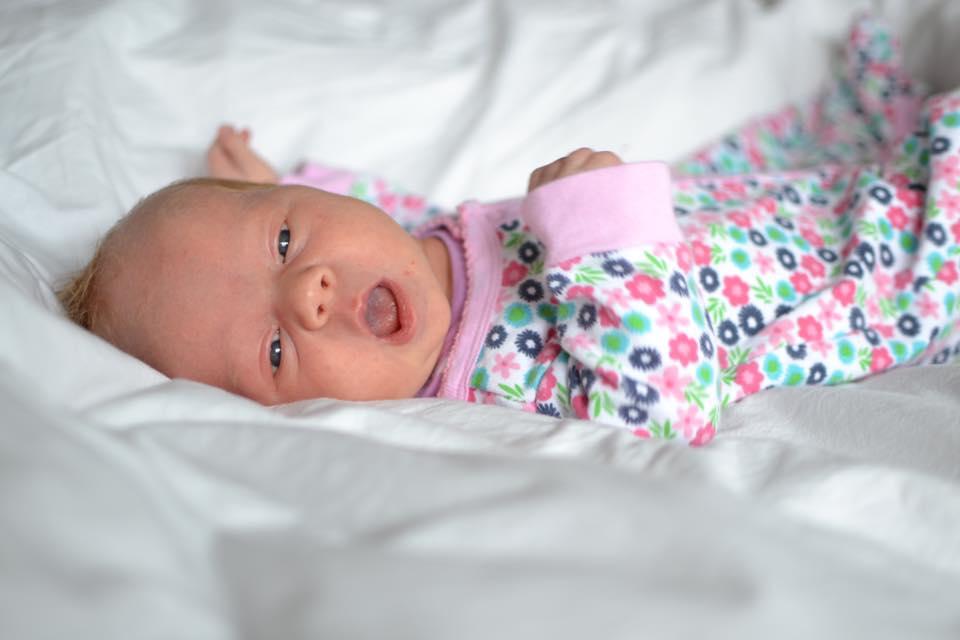
Photo by Laura Lane
2. PREPARE YOUR SPACE - Light is EVERYTHING!
You need two things in the room - a bed and a (preferably large) window near the bed. Don’t worry if the bed is not facing the window - as long as it still benefits from the window light on one of it’s sides you’re good to go - you don't have to photograph your baby at the head of the bed.

Good weather helps!
To give yourself more of a chance as well, take the photos on a day that’s lovely and bright, and at the time when the sun is at it’s peak (overcast weather will dramatically reduce your light). Finally, heat up the room to a near sub-tropical temperature ( well, a good 22-23 degrees) so your baby can be comfortable without lots of layers of clothes.
The floor is a great option too:
If bed is not an option, clear the floor next to a window, and place a small mattress, mat or even a duvet or a folded blanket for you baby to lay on. IMPORTANT : Pay attention to where the light actually goes - depending on the height of the window, time of the day / angle of the light - you may want to be closer or further to the window, so before you lay anything down, look where the brighter part of that space is.
Positioning your baby:
Whether you're using a bed or the floor, you will be placing you baby in such a way that they face the window, near(ish) - SAFETY FIRST ! - to the edge that’s nearest to the window.
Make sure your bedding or your bed cover is as plain and pattern free as possible - colours are fine, but patterns will take the attention away from your baby and you definitely do not want that.

Photo by Laura Lane
Colours to use:
If using coloured bedding, go for pastels - strong colours can leave a colour cast on your baby’s skin. The very same thing goes for the blanket you will be using to cover your baby.
Using white or very pale colours has the added benefit that they reflect more flight onto your baby, so your camera will be happier.
Free PDF guide
How to capture those tiny baby hands and feet - beautifully!
*SLEEP DEPRIVED PARENTS TESTED
By requesting this guide you consent to receiving periodical email communications from Photography for Parents relating to our products ( like this guide) and services ( such as free and paid courses and related to our materials. OF COURSE you can unsubscribe at any time.

3. PREPARE YOUR CAMERA
There is not enough time or space here to go into details of your camera settings. We do thoroughly in our courses, so we’ll stick to a few shortcuts here.
A ‘Portrait’ mode on your camera is probably your best choice if shooting on Auto. If you do have a portrait lens, this may be a moment to bring it out. Oh, and don’t forget to make sure your camera is fully charged and there is enough space on the memory card - nothing worse than realising you've done all this prep and can't take a single photo!
It doesn’t matter too much what camera you’re using - just make sure it’s not deploying flash with every photo.
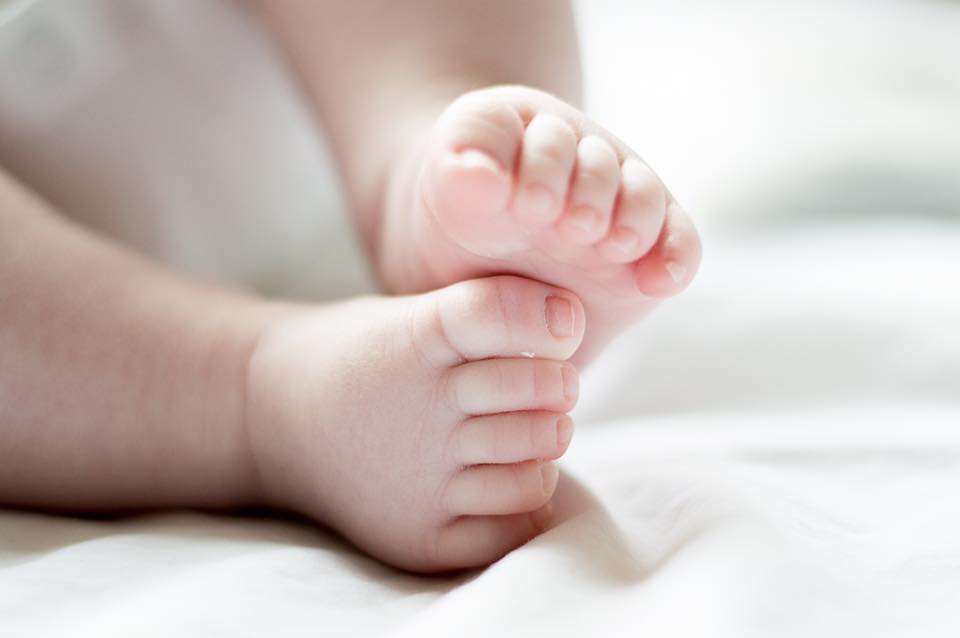
Photo By Sue Peters
This may sound weird indoors but USE YOUR ZOOM
The temptation with baby photos is to just get close to them with your camera. But actually, you shouldn’t. I know it sounds counter intuitive but hear me out. To take a great looking close-up shot (and that’s what you really want with those little hands and feet) – use your camera zoom instead. Without going into technical reasons for it, getting in closer when your camera is ‘zoomed out’ just distorts the proportions of the thing closest to the lens. Added benefit of the zoom is that it will allow you to create that blurry background and foreground which helps your details stand out.
If your camera / lens has a zoom - make sure you zoom in for those photos. EVEN if this means standing a bit further away. Short focal lengths (or in English - no zoom) will distort the proportions of things and people you capture at a short distance. And trust us, you DO NOT want that for your baby photos.
Those early days with your babies pass so quickly – your baby will change and transform from one day to the next. Don’t miss out on getting beautiful mementos of that time with your baby and make the most of those napping-in-the-day months.
Here is some photo inspiration from our students:

Photo by Emily Eatough

Photo by Emily Eatough
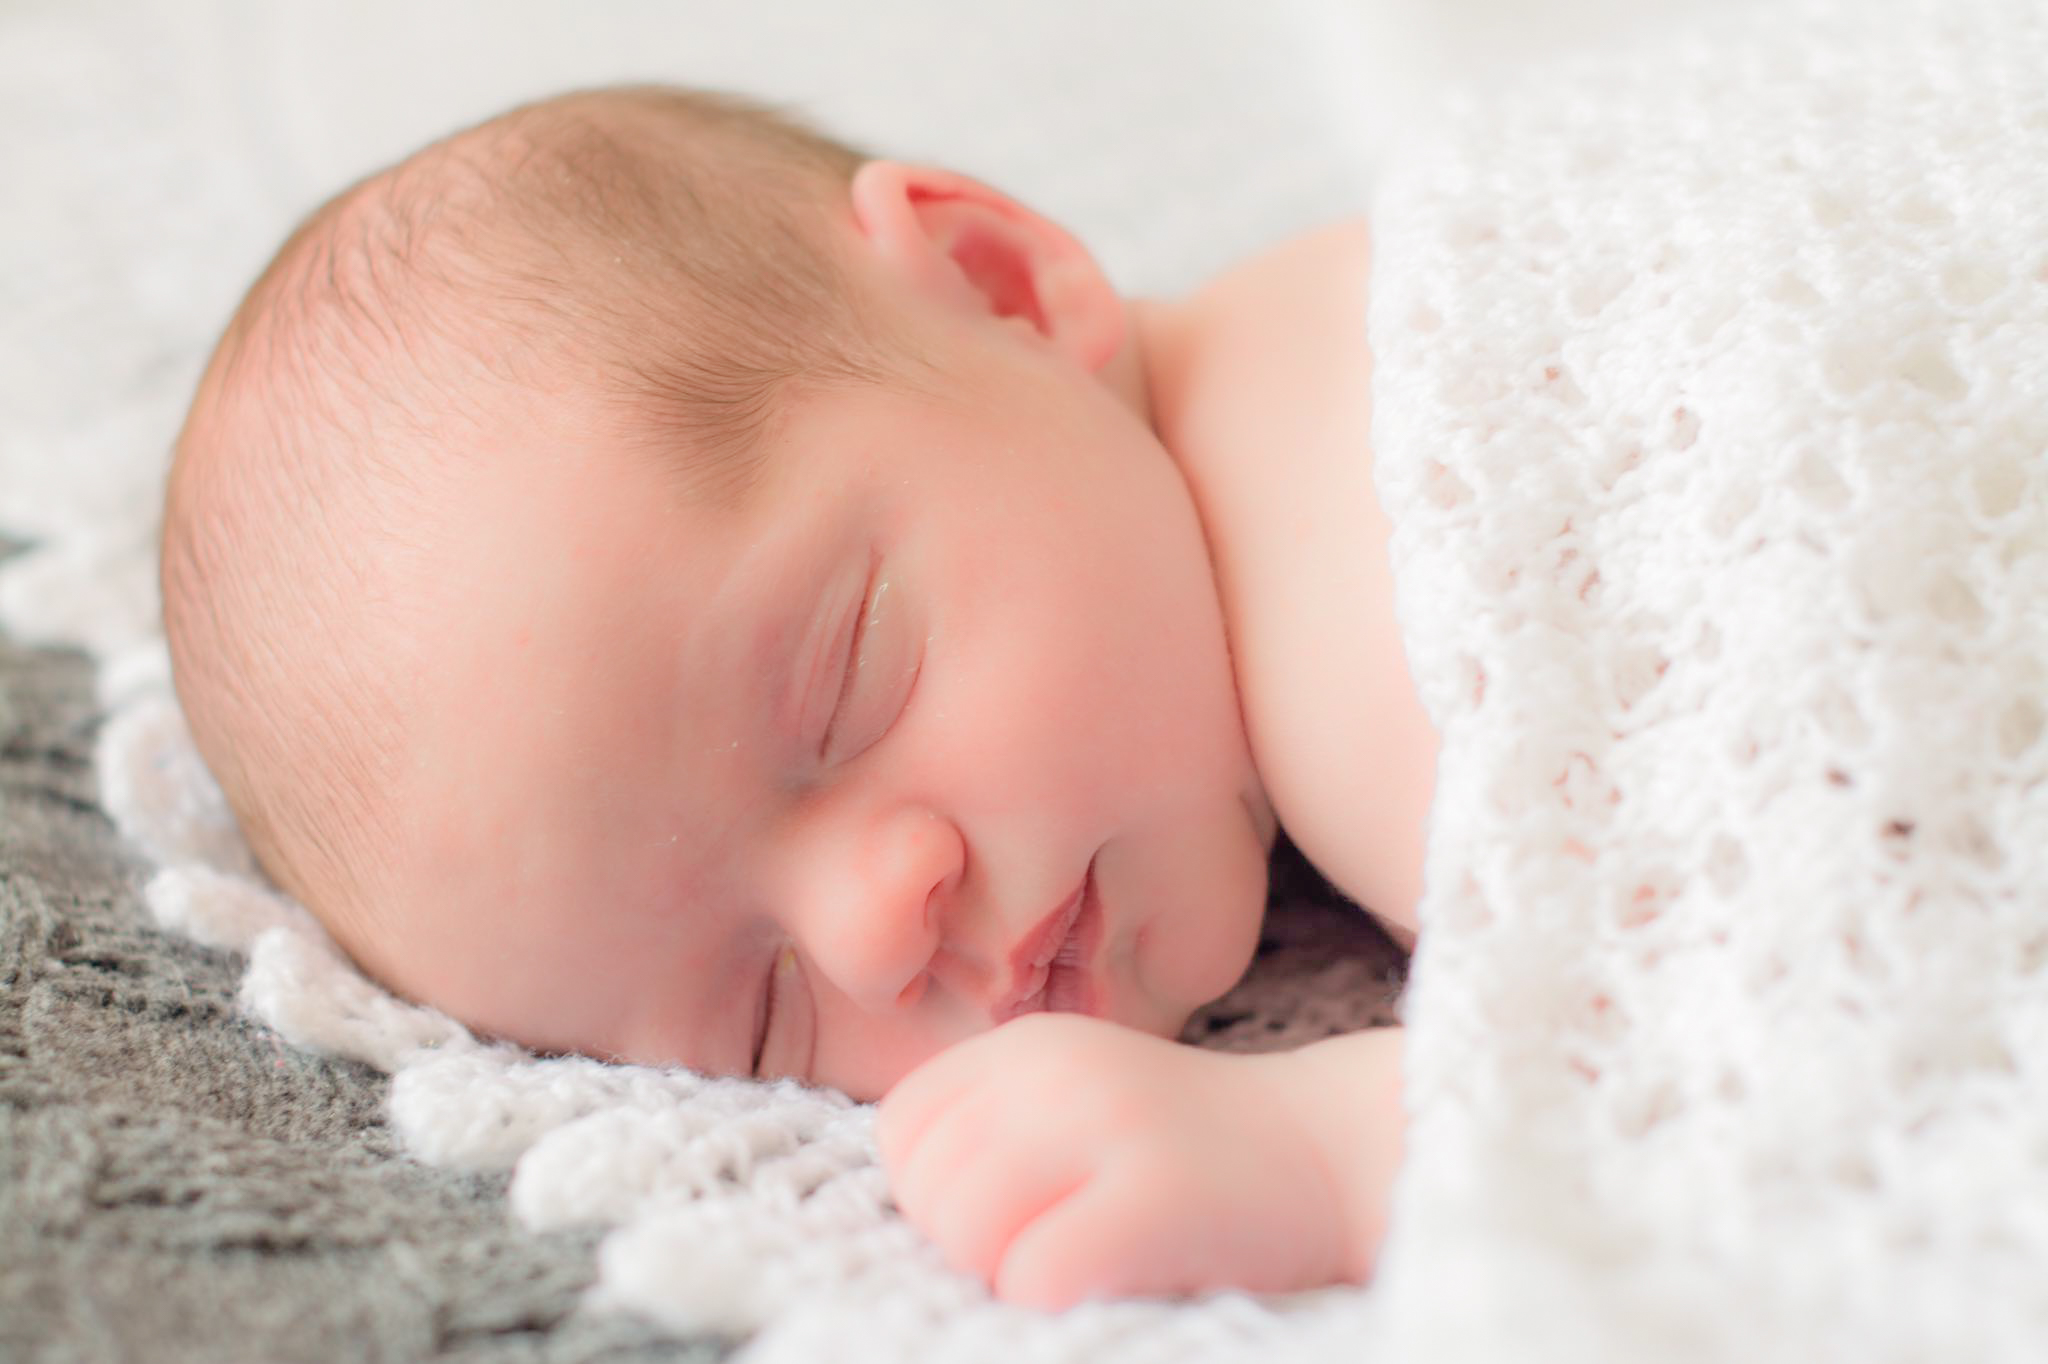
Photo by Kirsten Aldridge

Photo by Michaela Strivens

Photo by Laura Lane
Ready to learn your camera and how to photograph your children beautifully?
you need this:
Photography for Parents
Fundamentals
6 week online Photography course which gives you all the necessary camera know-how skills as well as the foundation in composition, light and photographic storytelling - all with a focus on photographing children. This means - no more fumbling with your camera at the crucial moments and being able to capture your children naturally, in their own environment, for exactly who they are. It's a no-brainer for any parent who wants to be able to capture memorable, treasured photos of their children!

