8 ideas for having fun with your family and photographing your Autumn beautifully
“Autumn is a second spring, when every leaf is a flower.” – Albert Camus
1. Go for an autumnal family walk.
I mean, a no brainer really. Don your best wellies and waterproofs and take the family out. The youngest ones will certainly find plenty of sticks, leaves, bugs and mud to collect, logs to jump off, trees to climb on, dens to build and the older generations will appreciate the scenery and the colours. Win-win-win
Things to think about:
- Consider your surroundings and how you experience them and then take a long hard look at how your camera sees them.
- If you want the wider scenery, reduce your zoom, if you want detail or portraits - zoom in
- Consider your angles carefully - instinct tells us to place the subject in the middle of the frame and the horizon line to divide the frame neatly in half. Fight your instinct. Your instinct is wrong. Instead consider dividing your frame more along the one-third / two-thirds line with one third being given to the ground and the rest to the trees.
- Get low to the ground to use the fallen leaves to help bring additional texture into the image.
- Turn around - especially if your light is quite strong - the same scene from two different directions can look entirely different! Light will make WAY more difference than you think.
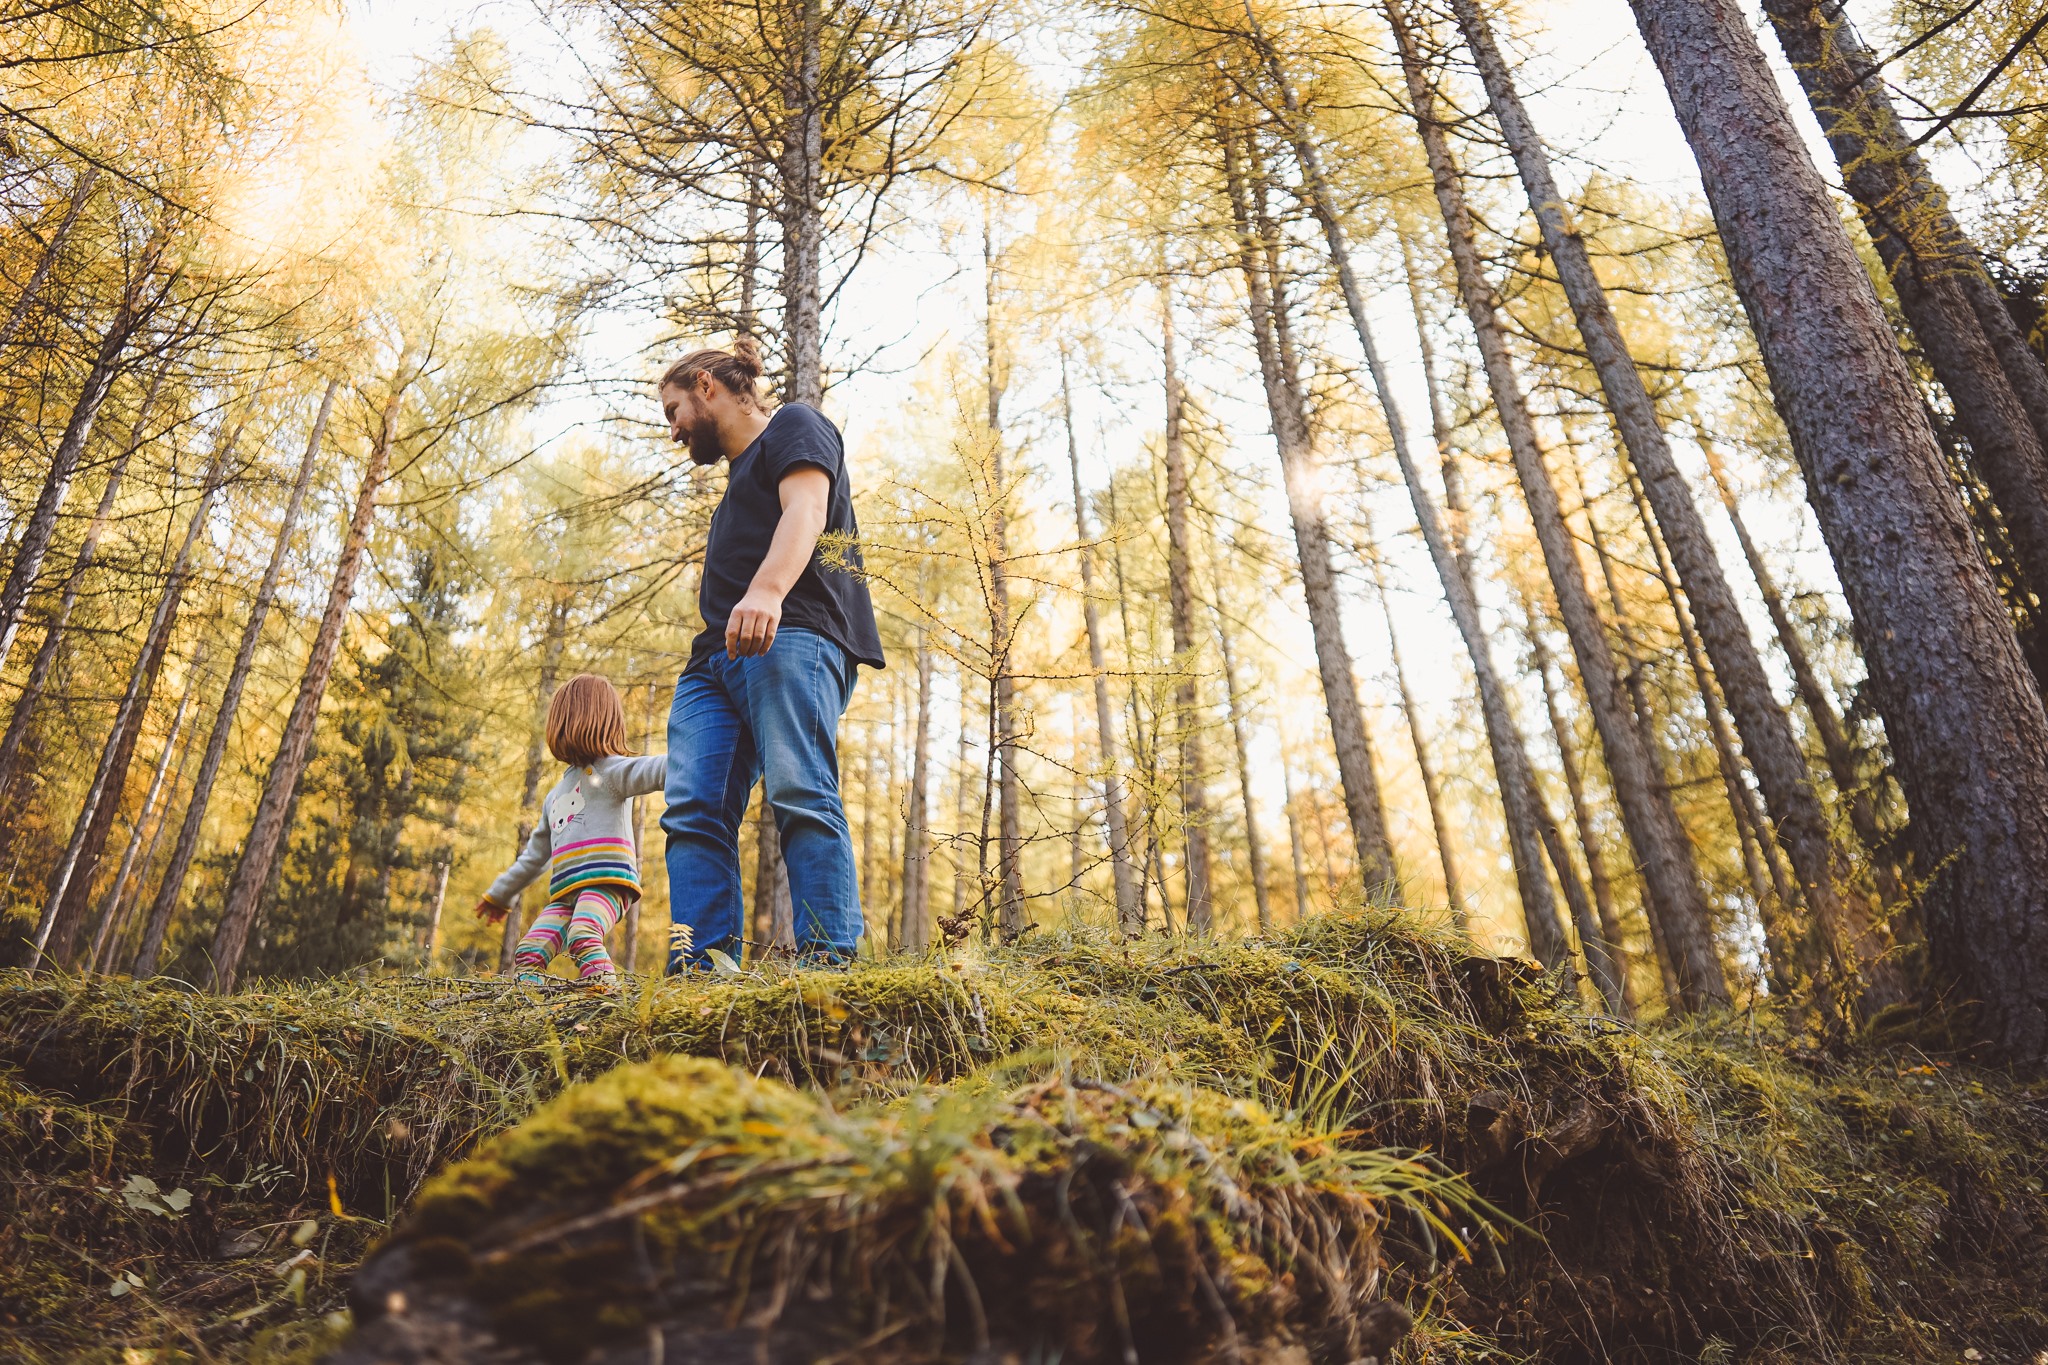
Photo by Olivia BIanchi Bazzi
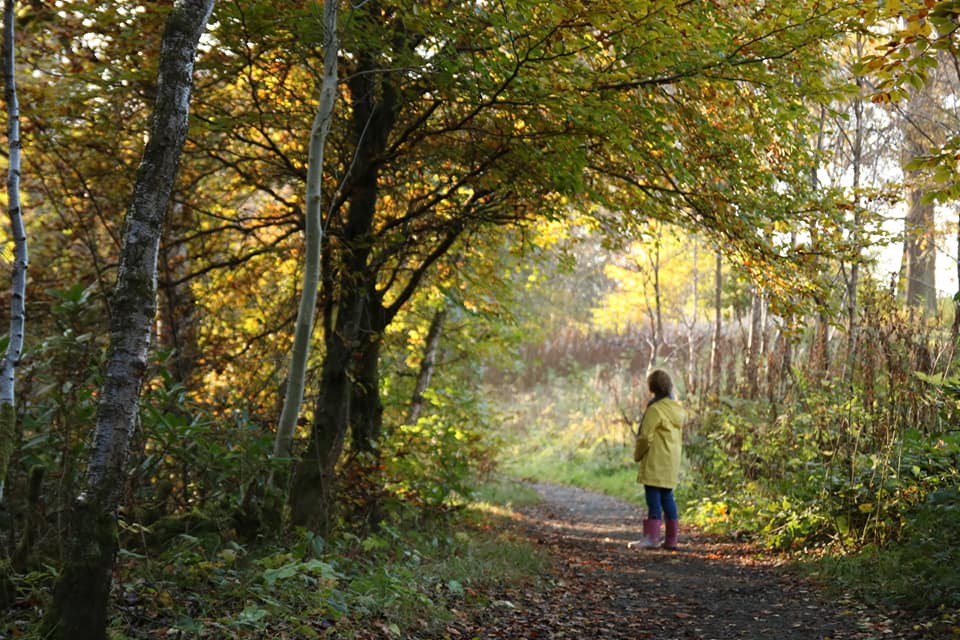
Photo by Jo Napier
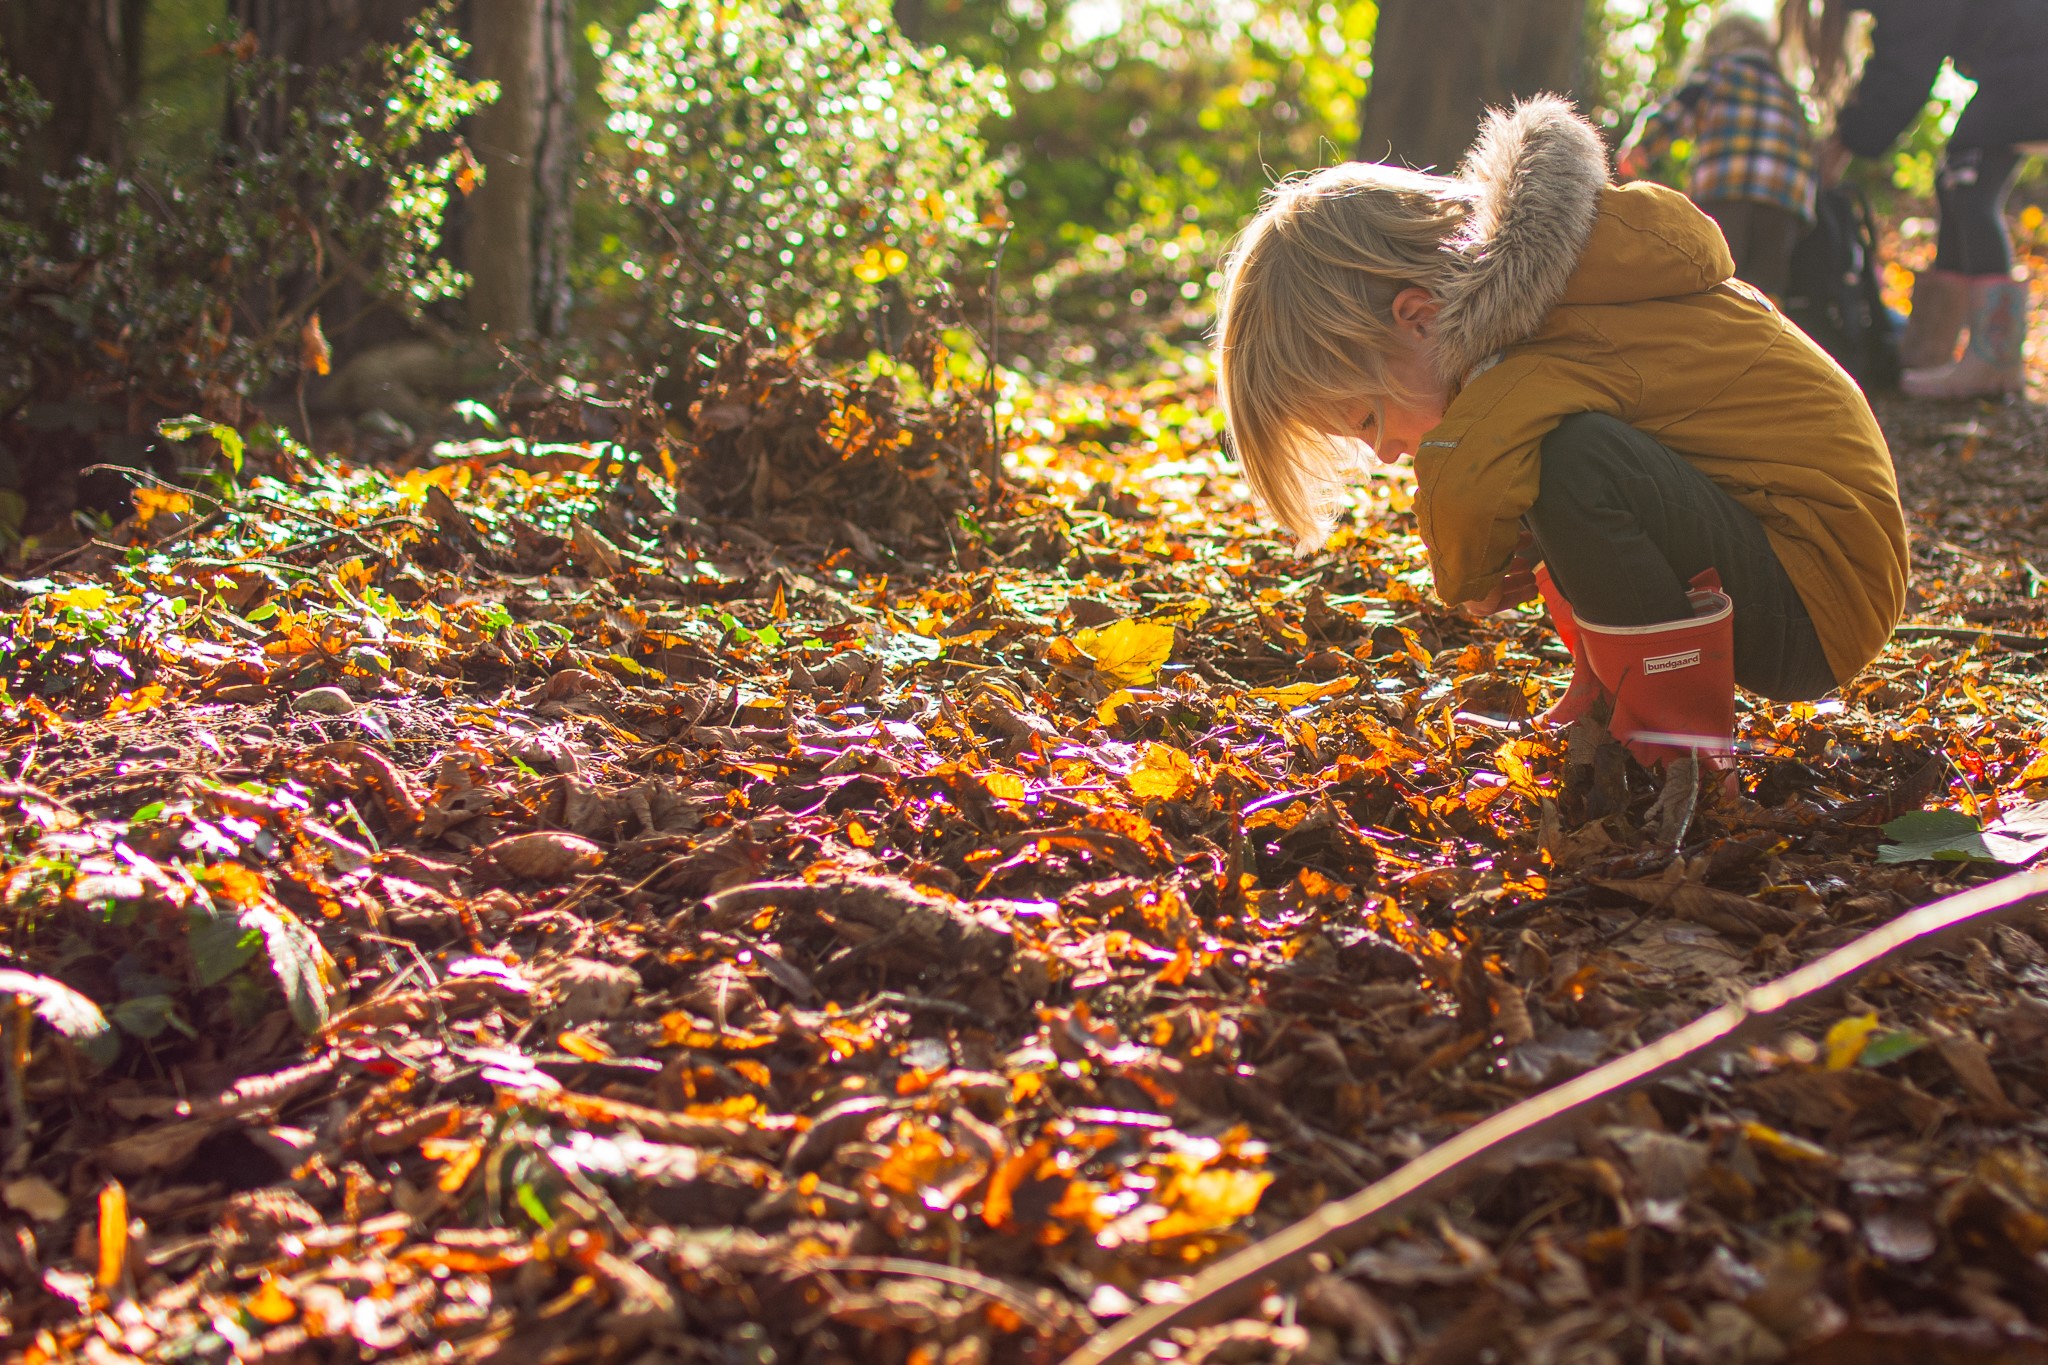
Photo by Hannah Slater
2. Kick’em high and throw'em far
An all time fave of all the kids I know. Build a leaf pile and get your kids to annihilate it by trying to kick it as high as they can or just run through it or have a good old-fashioned leaf fight. I DID mention the waterproofs at the start of this article... Wit younger kids, you can just throw them above them as they sit down and capture a bit of a leaf rain.
Things to think about:
- Consider your background – you need to make sure your leaves mid flight stand out against it. Look for either simply sky or a darker, uniform background with which they might contrast. Backlighting them might help to bring them out of the background too.
- Where is your light coming from? If you have strong light behind your subject, the leaves are likely to be backlit beautifully, but your subjects may be in their own shadow. With soffer light from an overcast source you will have a more forgiving scene.
- Go for full length or crop to just the feet sending the leaves fly from a close up
- Move around and capture the action from multiple sides – go for a side view or from behind or have them aim their kicks in your direction ( just keep your camera safe)
- Experiment with angles – try different vantage points – shoot from the ground pointing your camera upwards or from standing height, OR if you find the right set up – perhaps from above?
- If you can control your camera, go for fast shutter speed to capture the flying leaves sharp or slow it down for a bit of motion blur
- For some variety, shoot from below, with leaves falling right down on you.
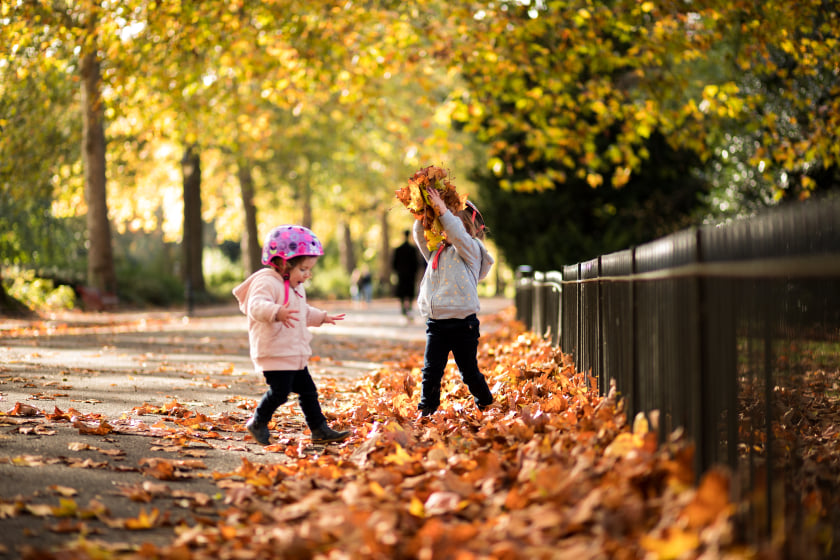
Photo by Jennifer Thomas
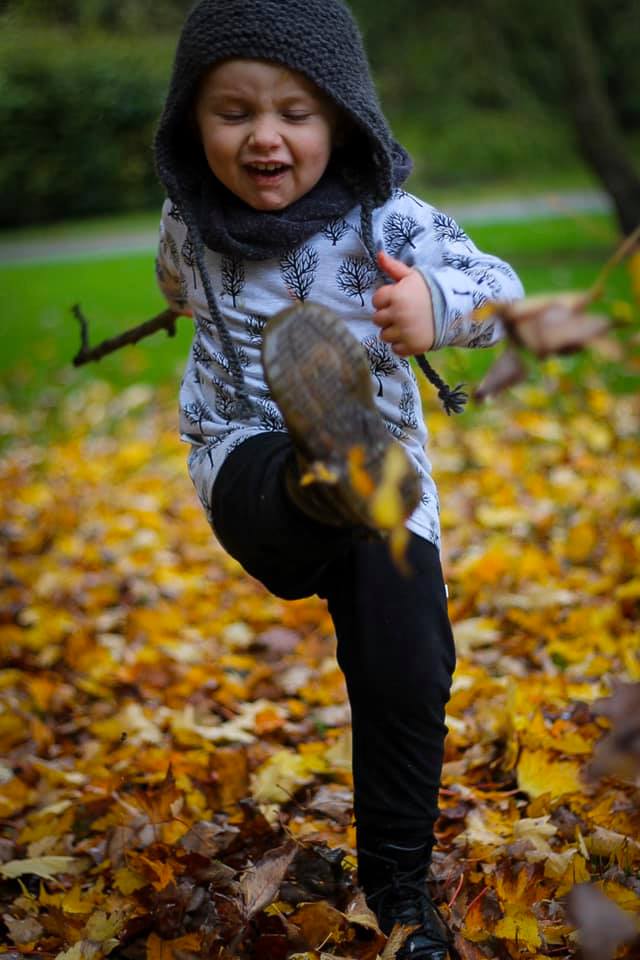
Photo by Carly Morgan
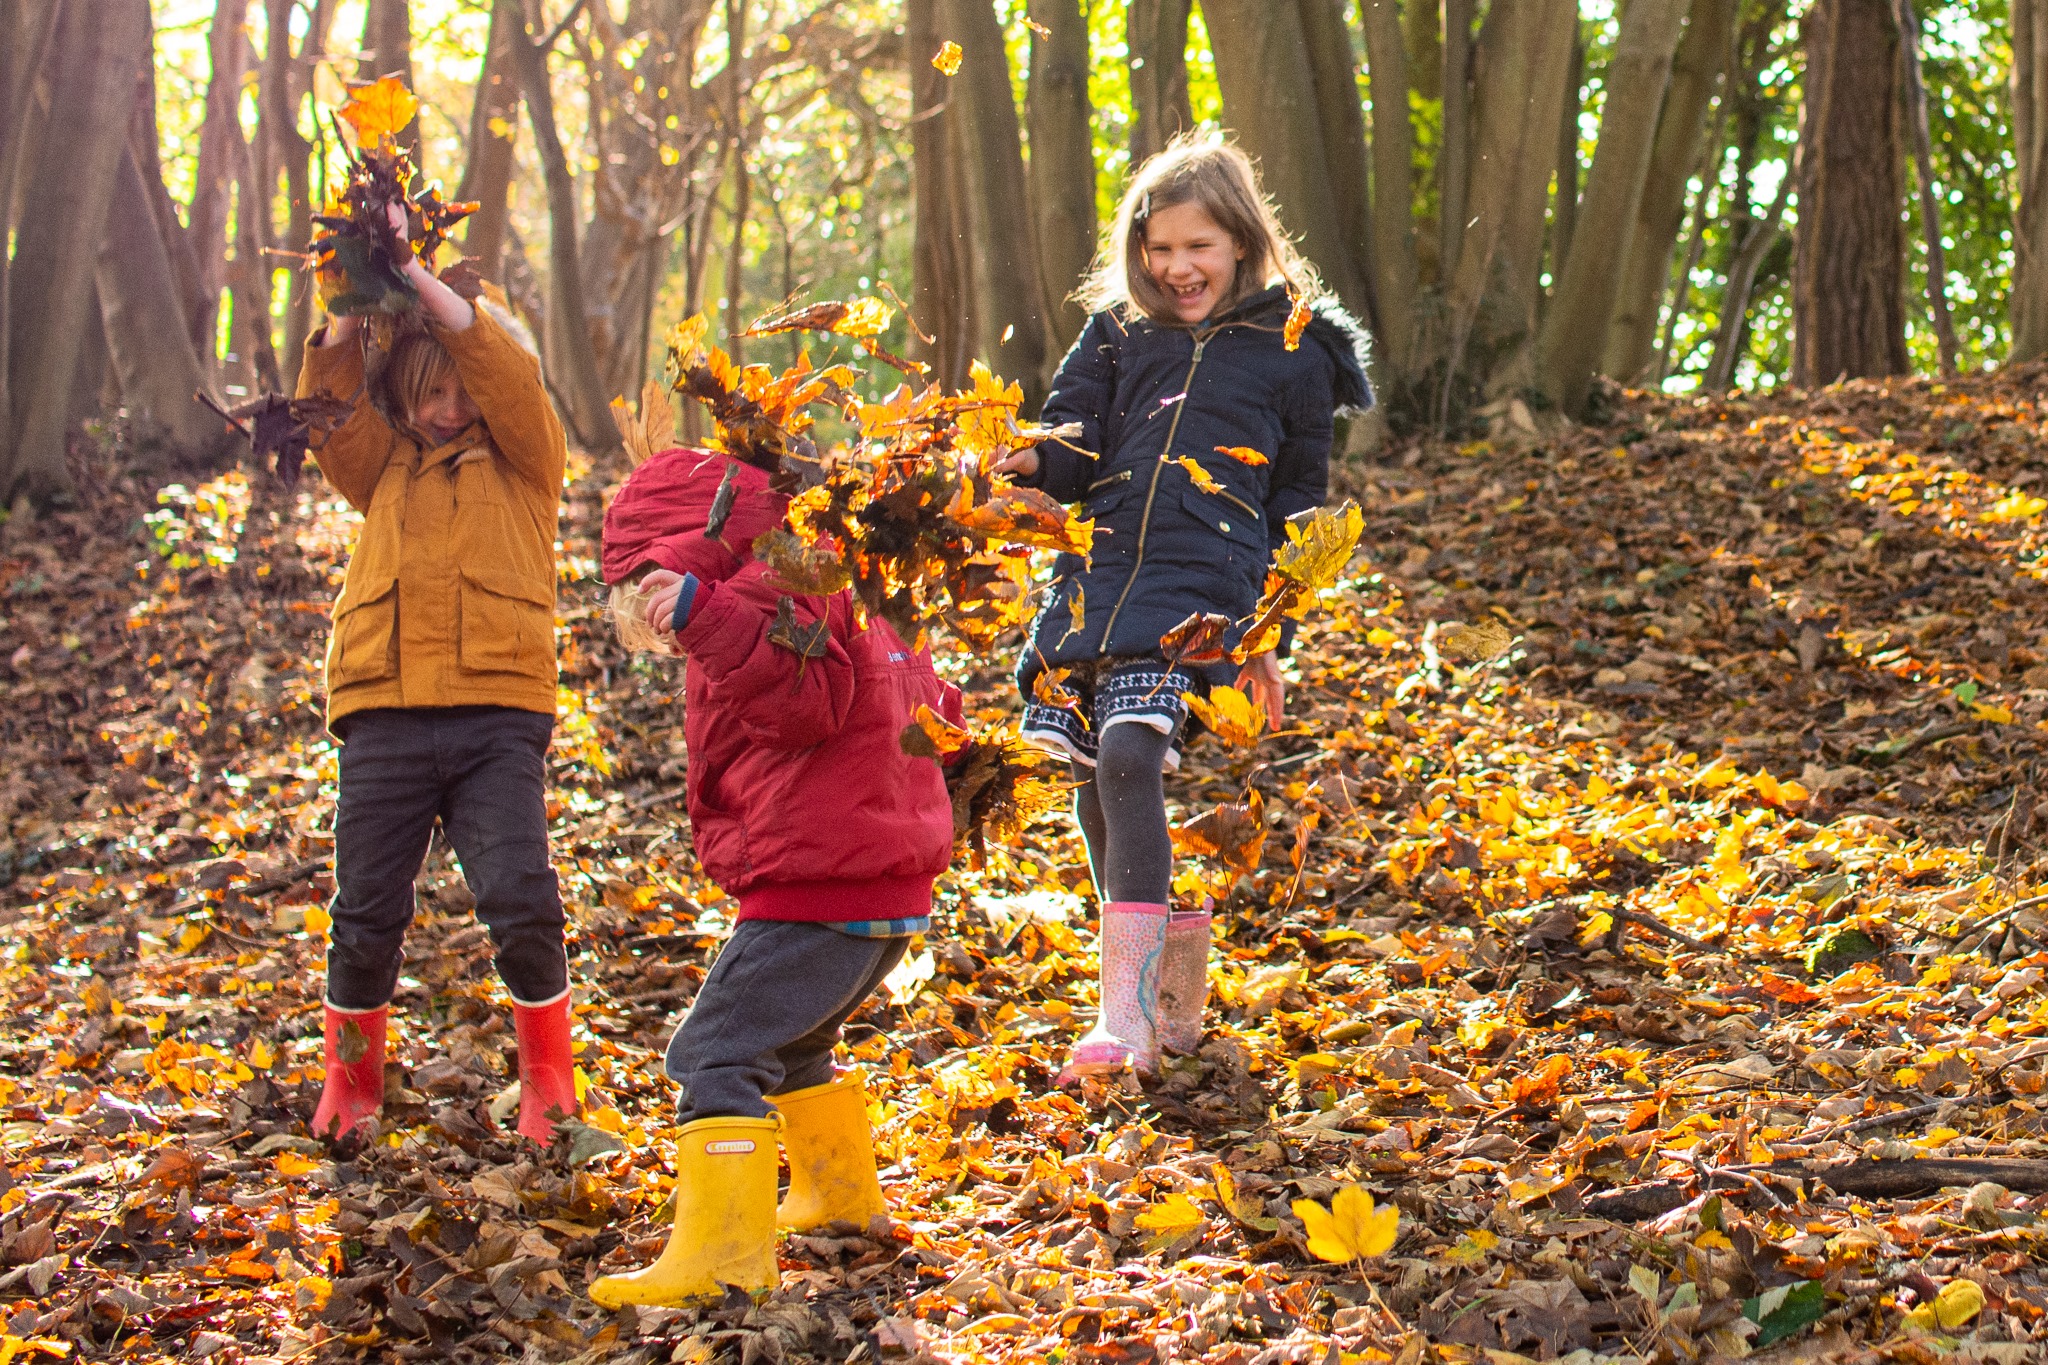
Photo by Hannah Slater
3. Use the leaves on the ground as a colourful, seasonal carpet
Things to think about:
- Where is the light? If you’re getting your kids down on the ground and you’re in plain sunshine at noon, your kids will keep their eyes firmly shut. Opt for some shade instead. If your kids are still still struggling to keep their eyes open, play a game with them where you ask them to keep their eyes shut until you tell them. You could either make it on 1,2,3 or go for some bonus giggles and insert a silly word when you’re meant to say three.
- Be careful what else is on the ground. I once got my daughter to lie down on a carpet of leaves and only discovered later she was inches away from some dog poo that was hiding among the colourful foliage.
- Look for trees that are dropping colourful leaves rather than just brown if you can
- Experiment with composition – tight crop or a wider image? Subject in the centre or side of the frame? Horizontal or vertical?
- Change the vantage point – with your kids on the ground, get down next to them and photograph from the ground level.
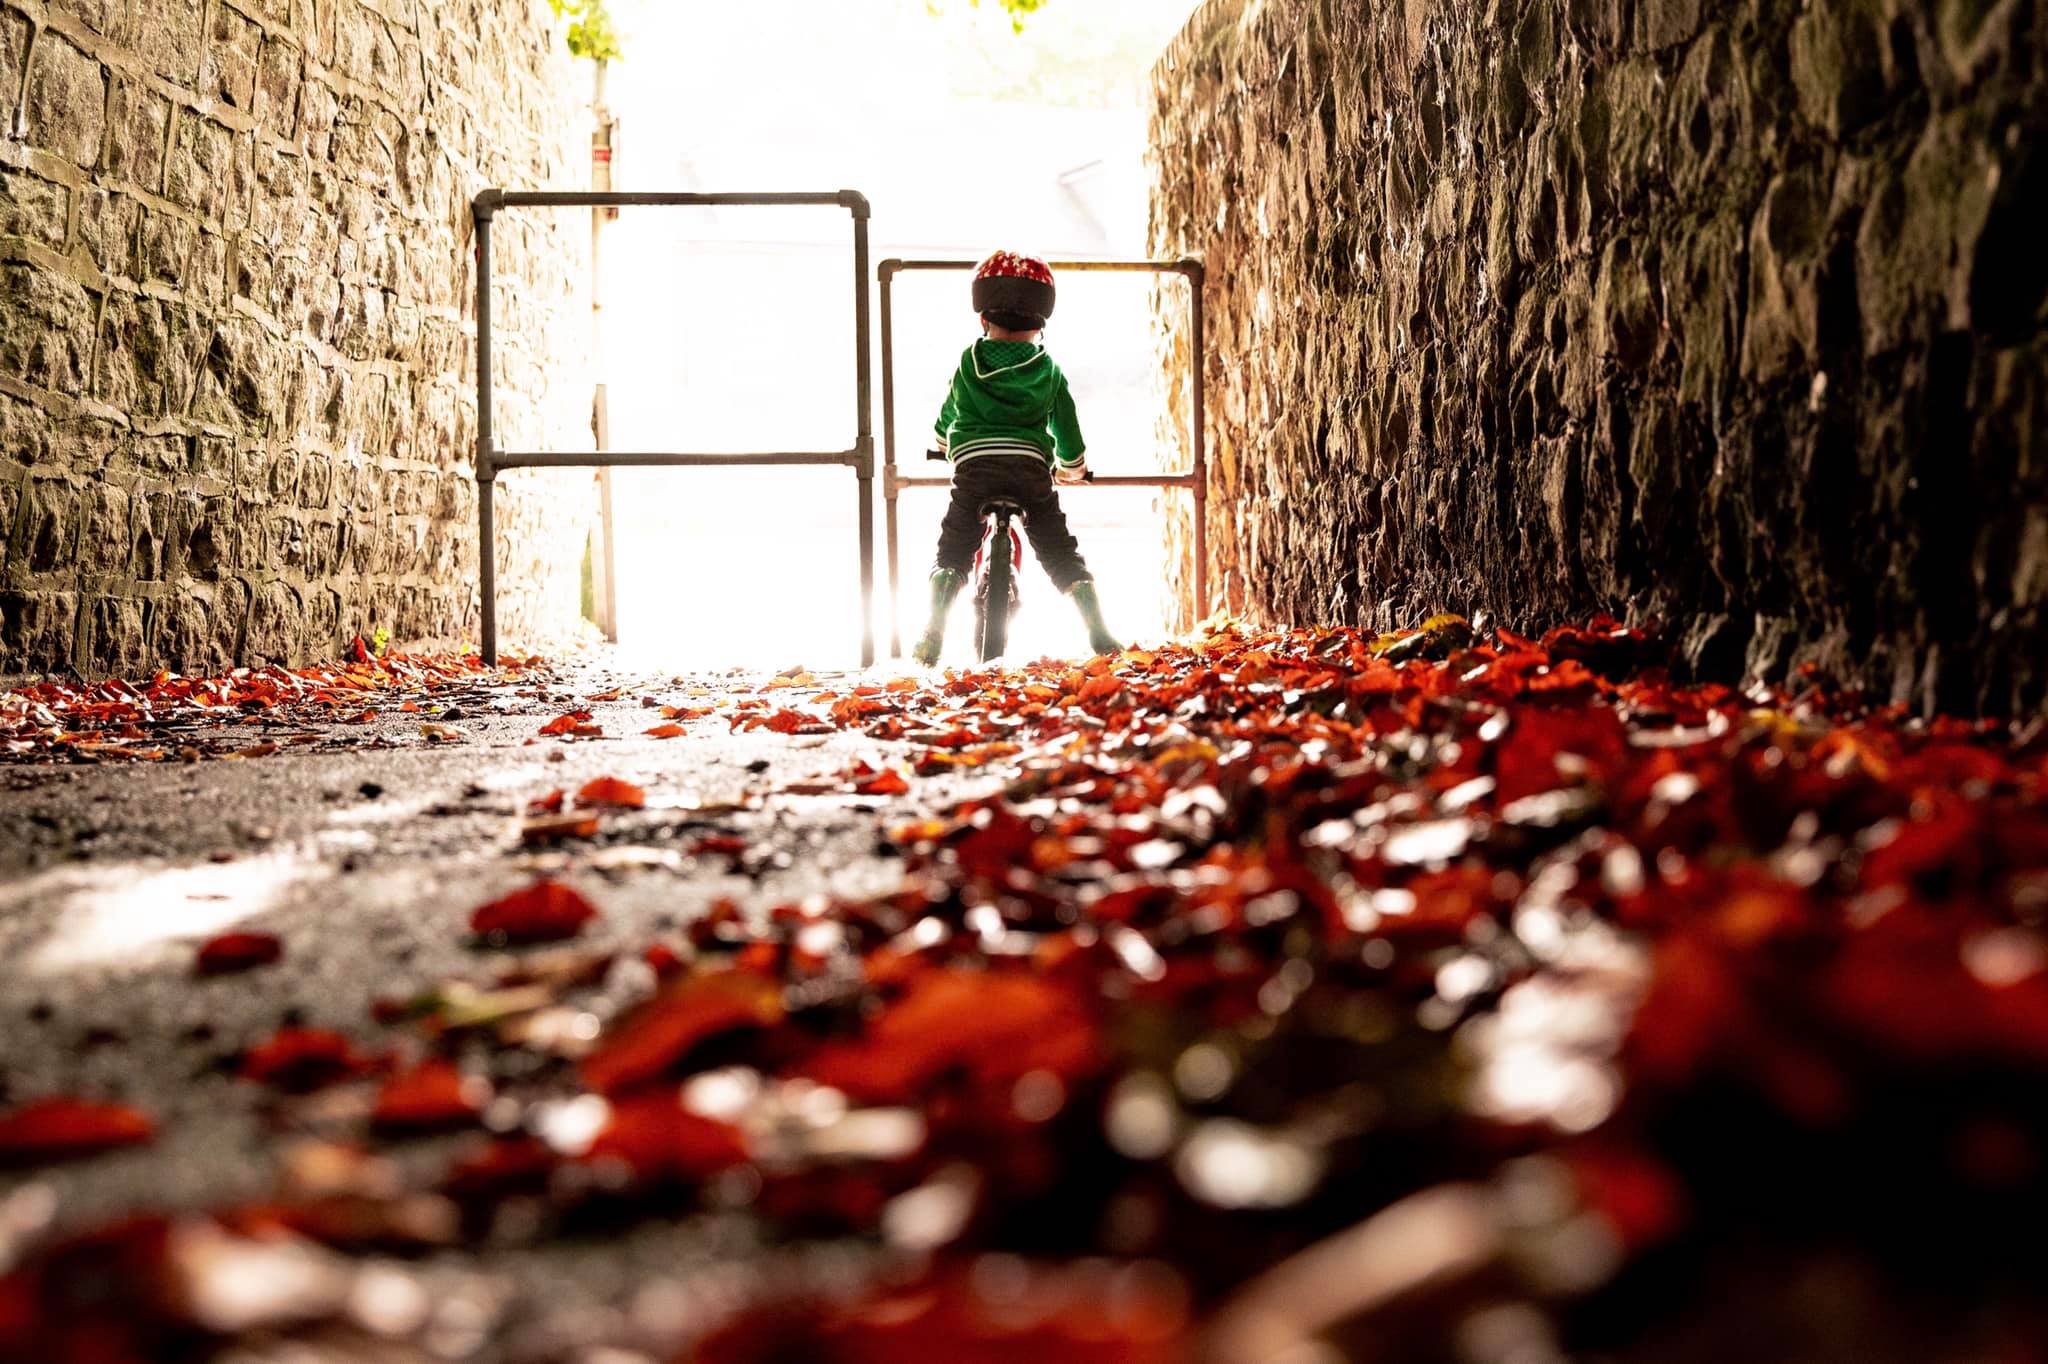
Photo by Kerry Anderson
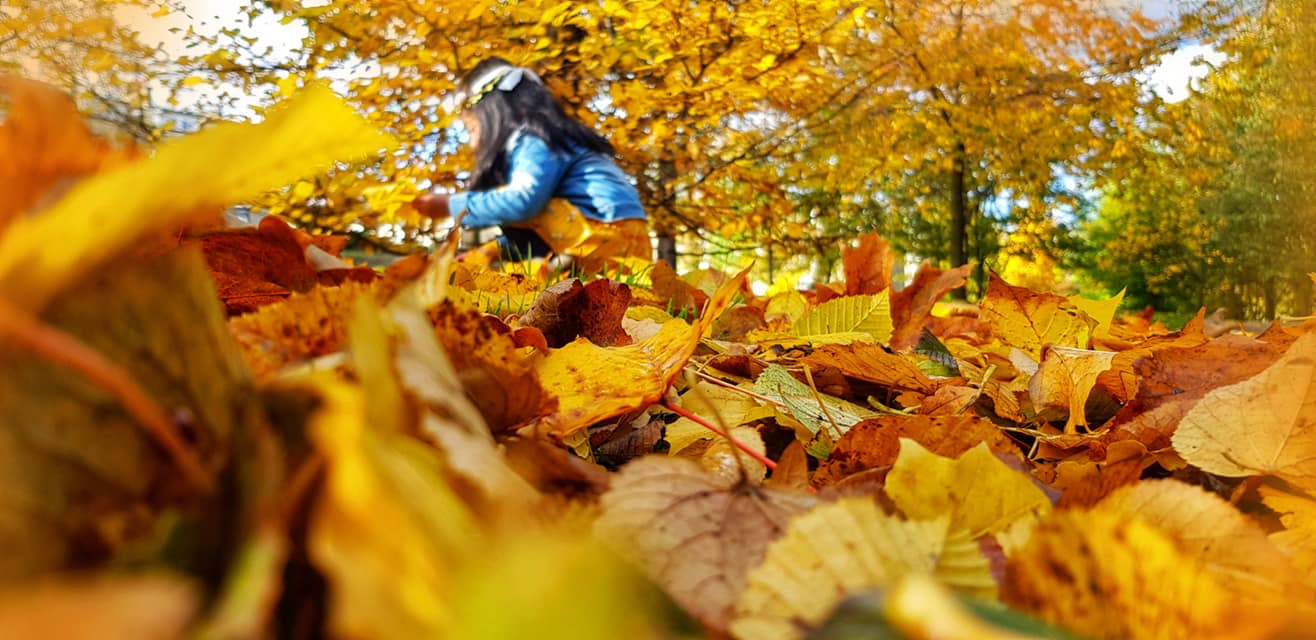
Photo by Namra Wasm

Photo by Colette Poore
4. Single out a beautiful leaf and photograph it from different angles and against different backgrounds.
Things to think about:
- Light will have a huge impact on the way the leaf will look depending on the kind of light you have ( direct and intense or soft and diffuse) but also where it’s coming from – front, side or back light?
- You have a lot of options when it comes to backgrounds – place it against a similar colour background or go for contrast – both colour and textural, keep it ‘in nature’ or take it home with you
- Play with camera angles – it doesn’t have to be just ‘from above’ – unless it’s been flattened like a pancake, it should have a little curl to it which could help you show off its texture.
- Experiment with different placements within the frame, go for both vertical and horizontal, crop in to it or leave a generous amount of negative space
- Can you get your kids to accessorise wuth the leaves?
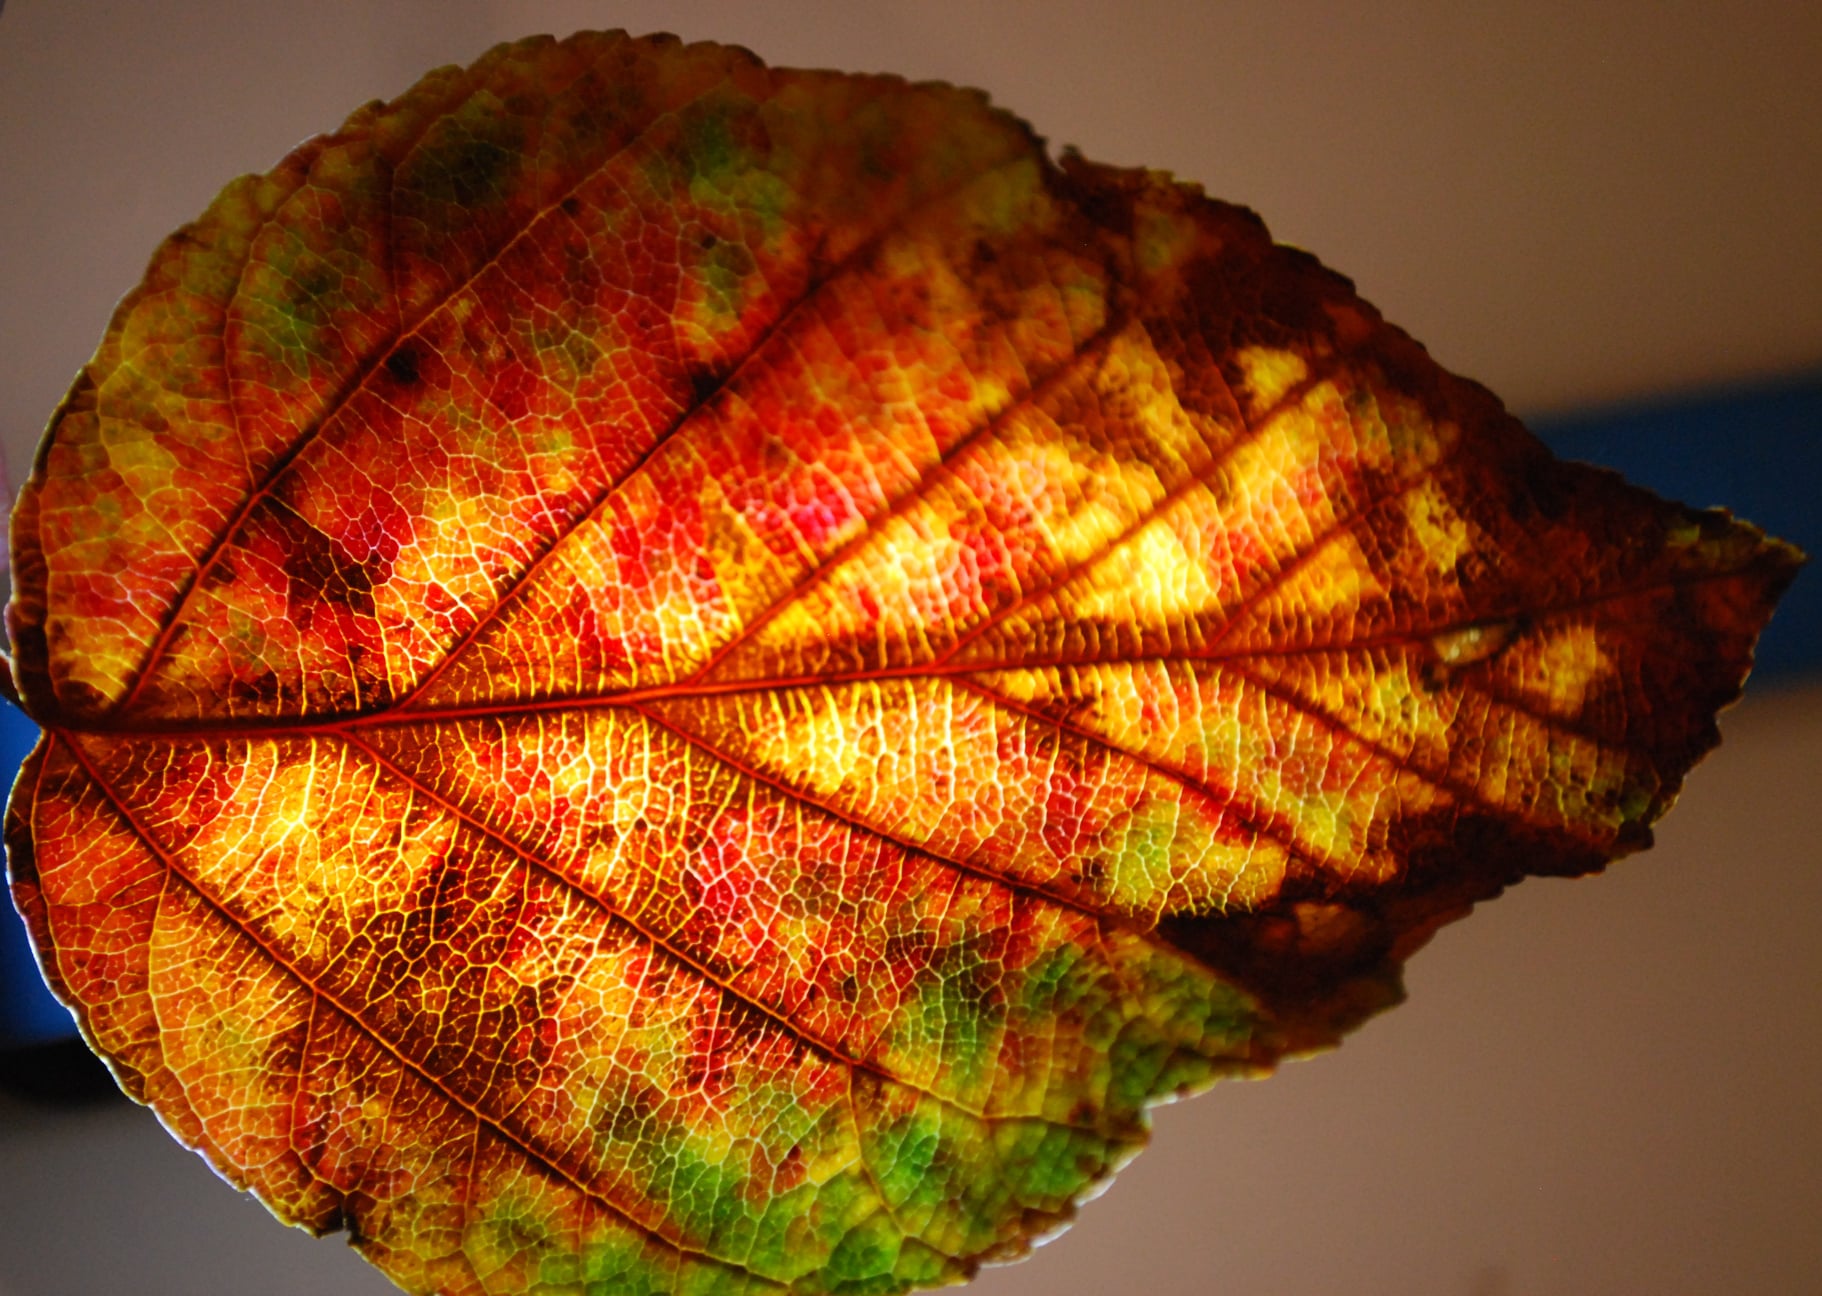
Photo by Lindsey Gaut
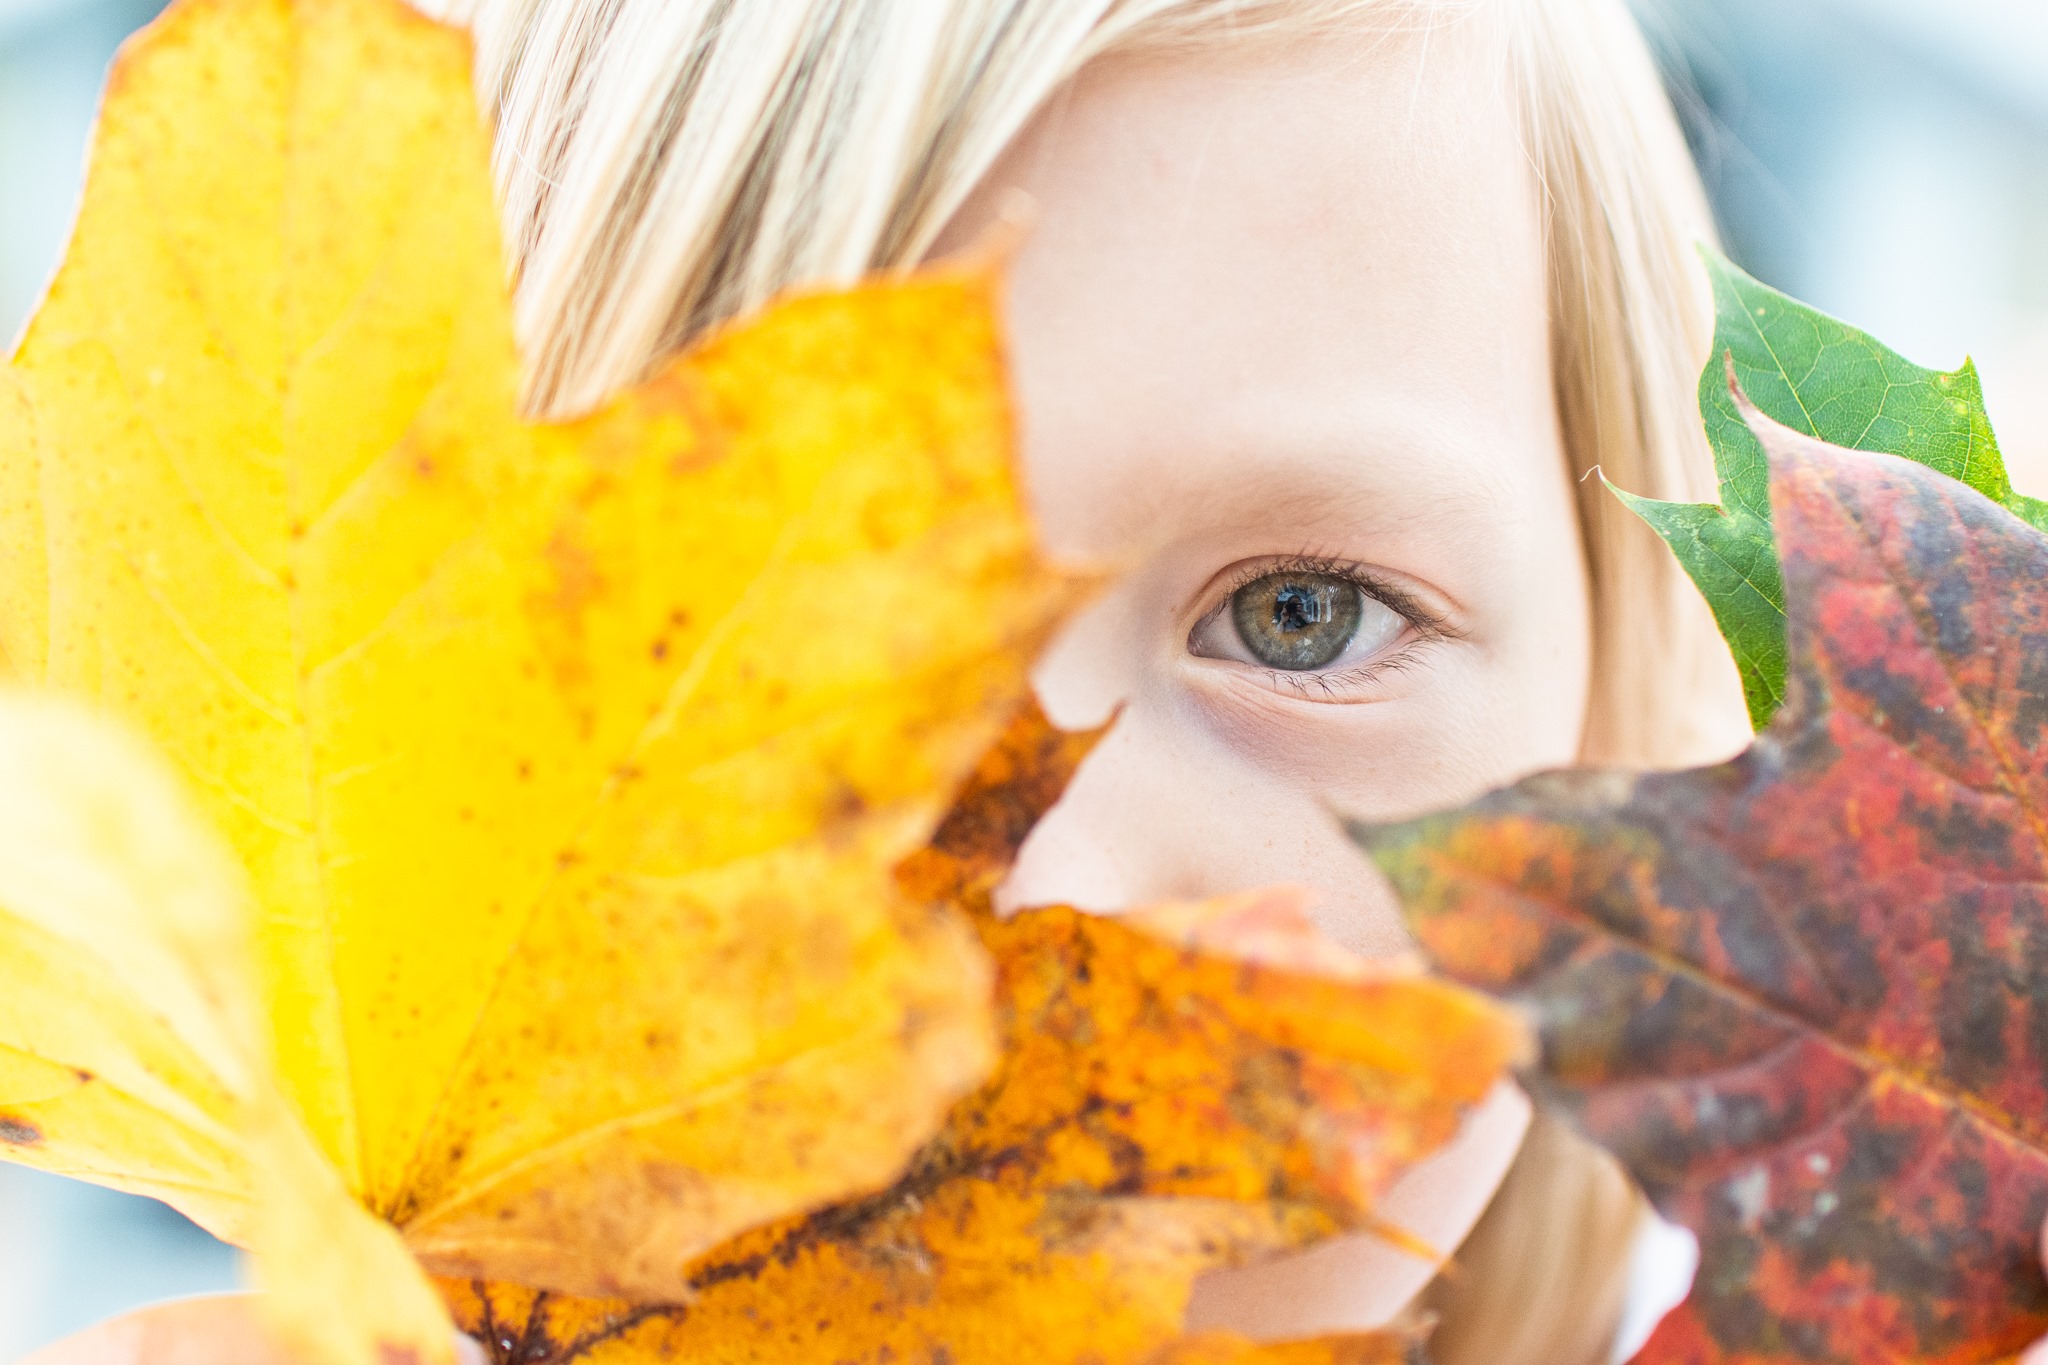
Photo by Hannah Slater
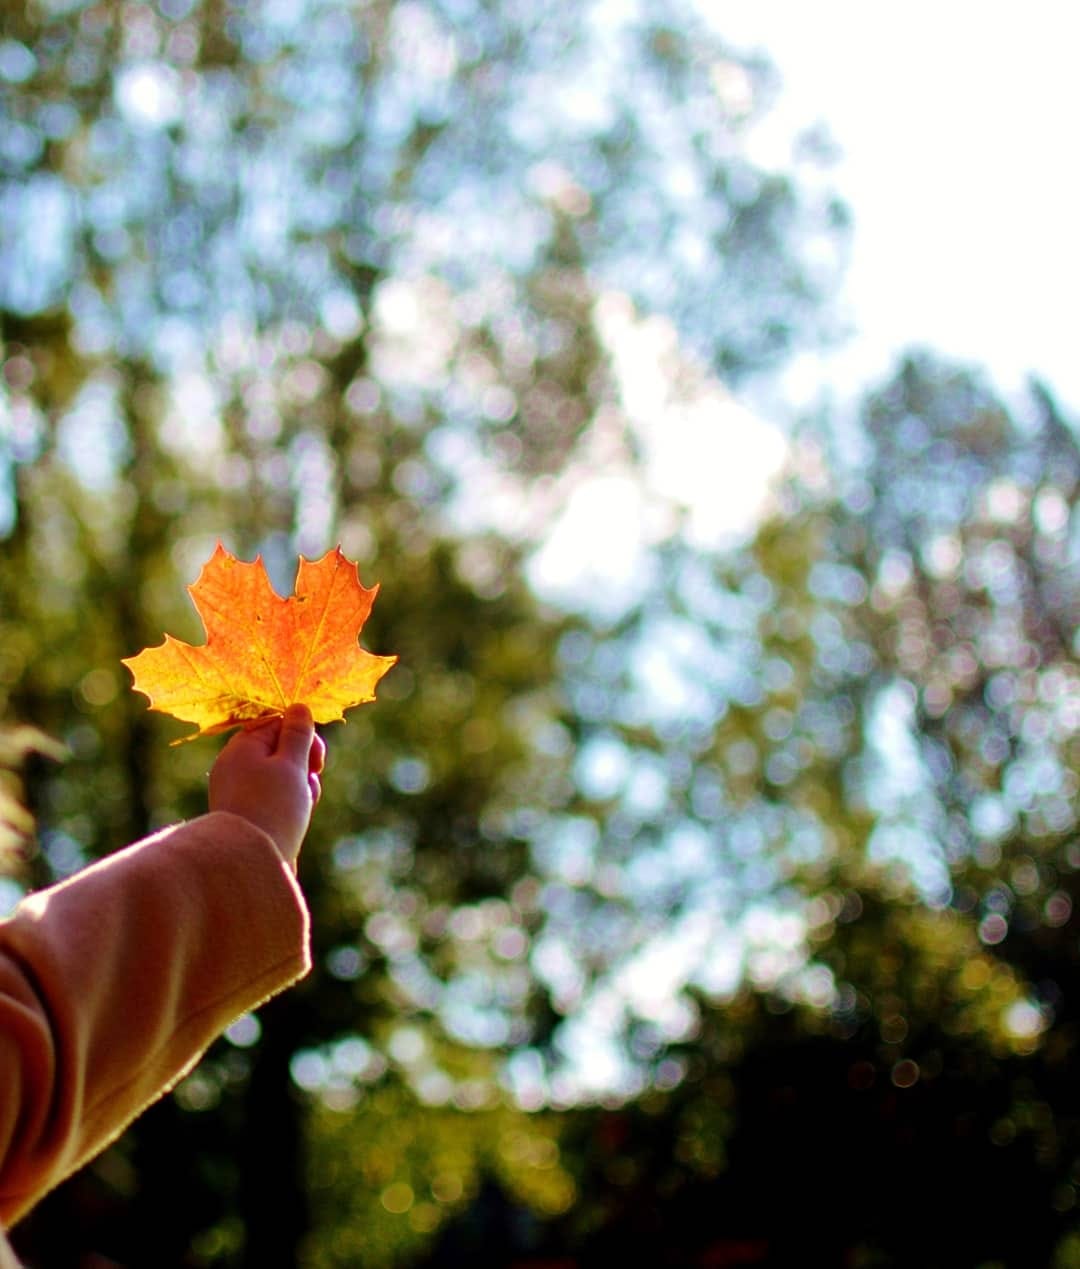
Photo by Emily Robinson
5. Have a good puddle splash!
Wellies? Check. Waterproofs? Check. Let's go!
Things to think about:
- What you want from a good puddle splash is one thing - and that’s a crown or water splashing out and being frozen in time and space with your camera. To get that, I am sorry, but if you want to get a really good picture of that, you will again, need to get very low on the ground.
- Go horizontal : by placing the camera nice and low and pointing it at your subject, parallel to the ground, you are building in depth in your image which will allow for the crown of water to truly stand out. If you shoot from CAH ( comfortable Adult Height) - your shooting angle will be pointing downwards, which means you will get that crown agains the ground and it won’t make the best of images.
- Go fast - if you can control it, make sure your camera has a good shutter speed. If you can shoot in shutter priority or manual, aim ofr 1/500s or faster. If you don't switch your camera over to Sports mode or similar.
- Finally - again, experiment with your light direction - especially if the sun has come out - it can make a world of difference
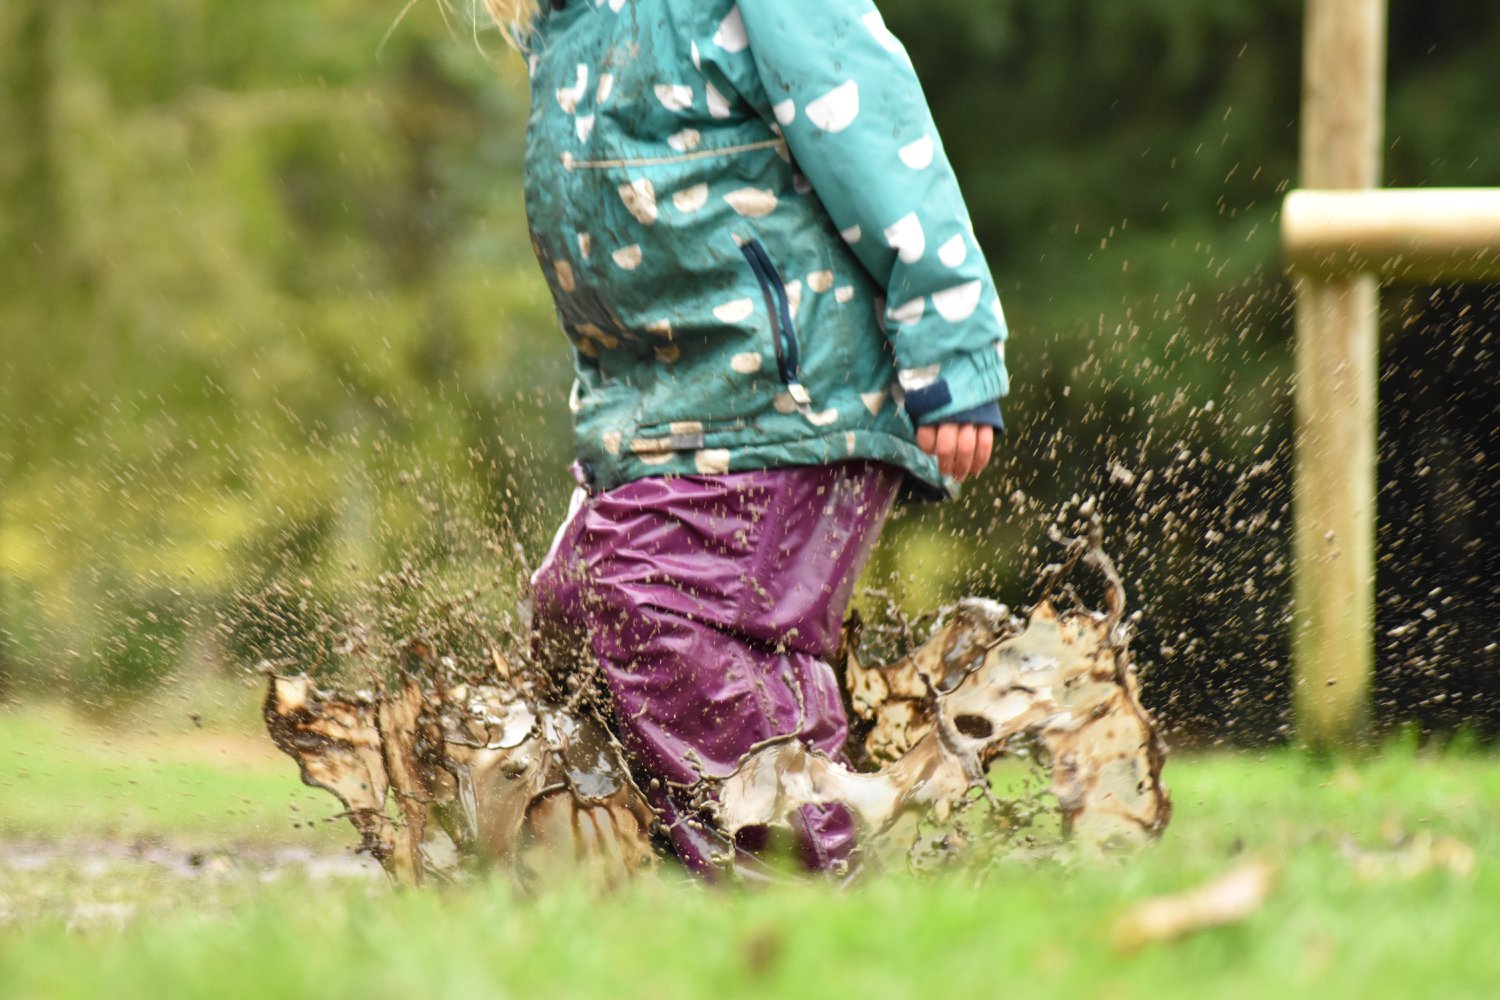
Photo by Hannah Louise Andrews
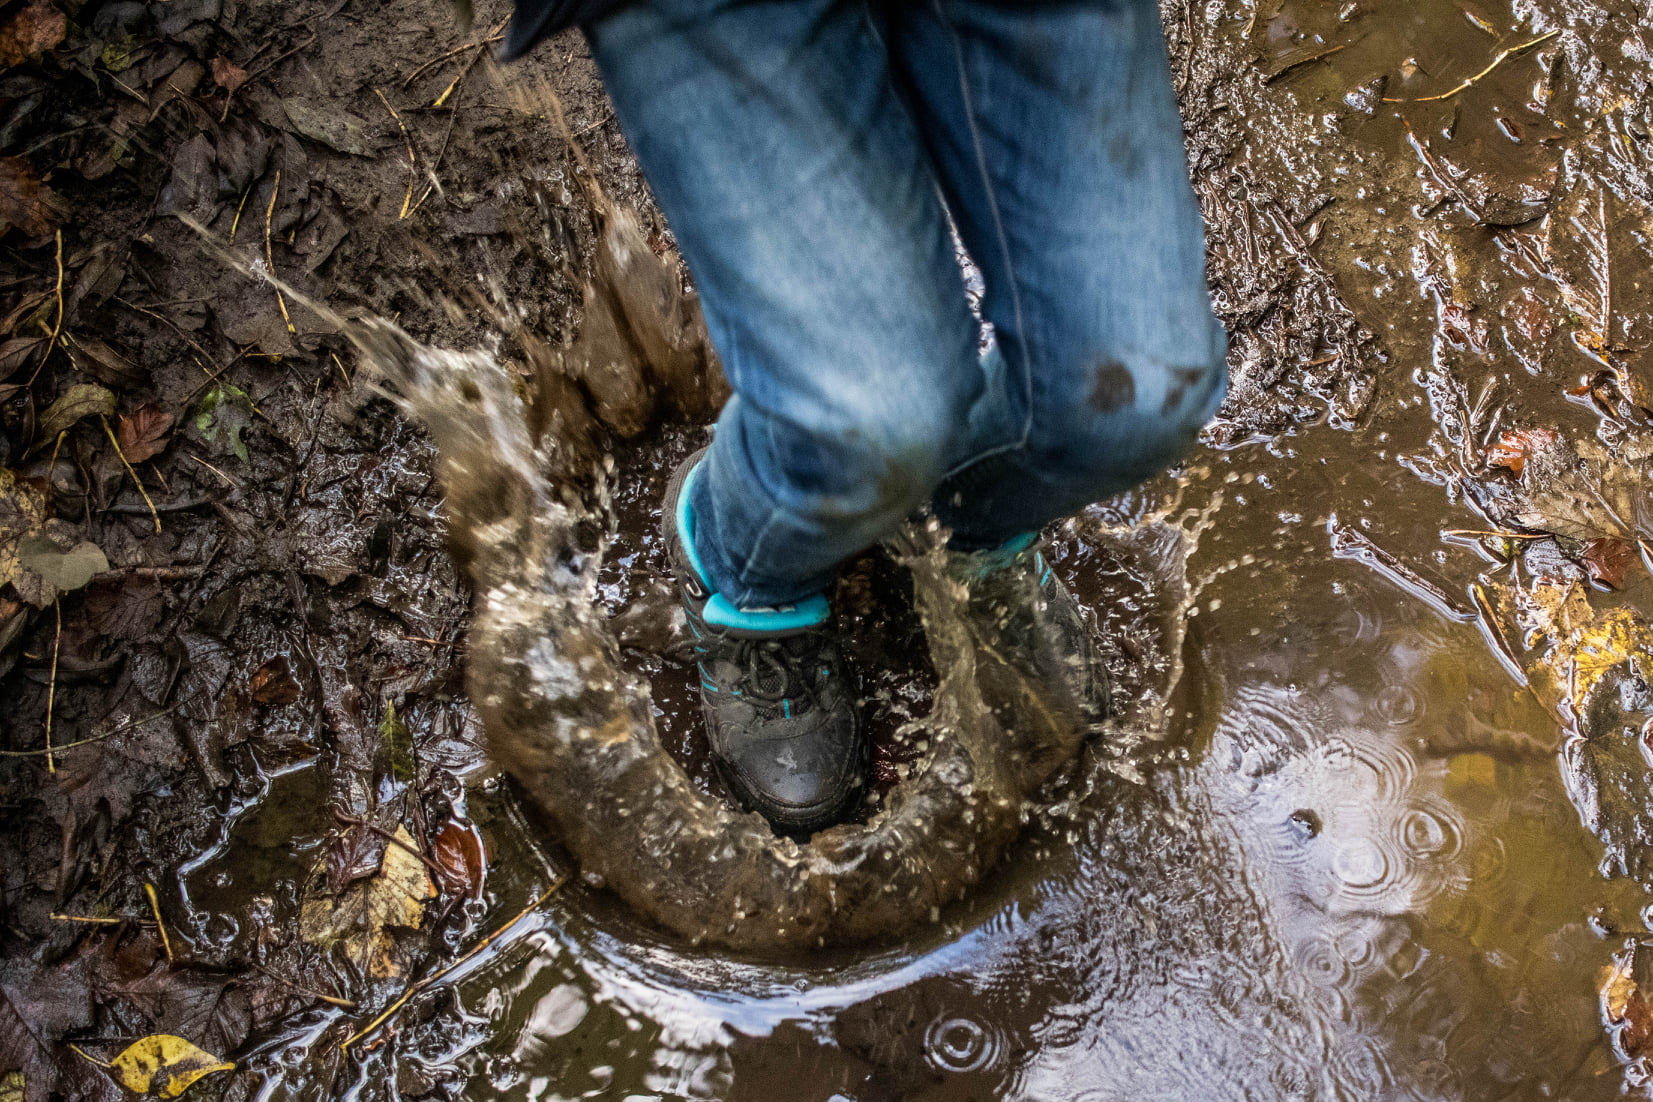
Photo by Sarah Collins
6. Look, really look into a puddle!
Puddles are not just for splashing in you know! They are also magical mirrors into the underworld
Things to think about:
- Even a tiny puddle can look great if you angle your camera correctly. And by correctly, I mean again, very very low, pretty much on the ground ( just make sure to protect it from the wet).
- You want to get your camera seeing from right at the edge of puddle to create that illusion of infinite water. By using a short focal length ( aka - not zooming in at all) you can stretch that puddle and still fit a lot of your subject in. With longer focal lengths ( aka - zoom in) you can bring more of the detail in.
- Light direction matters! Walk around your puddle and take test shots from a couple of different directions to make sure you get the light right. If the light is behind them, you may get a great reflection of the sky, but their reflection will look shady and muddy. If the light will be behind you, you can get an almost perfect, mirror-like reflection of your subject in full colour.
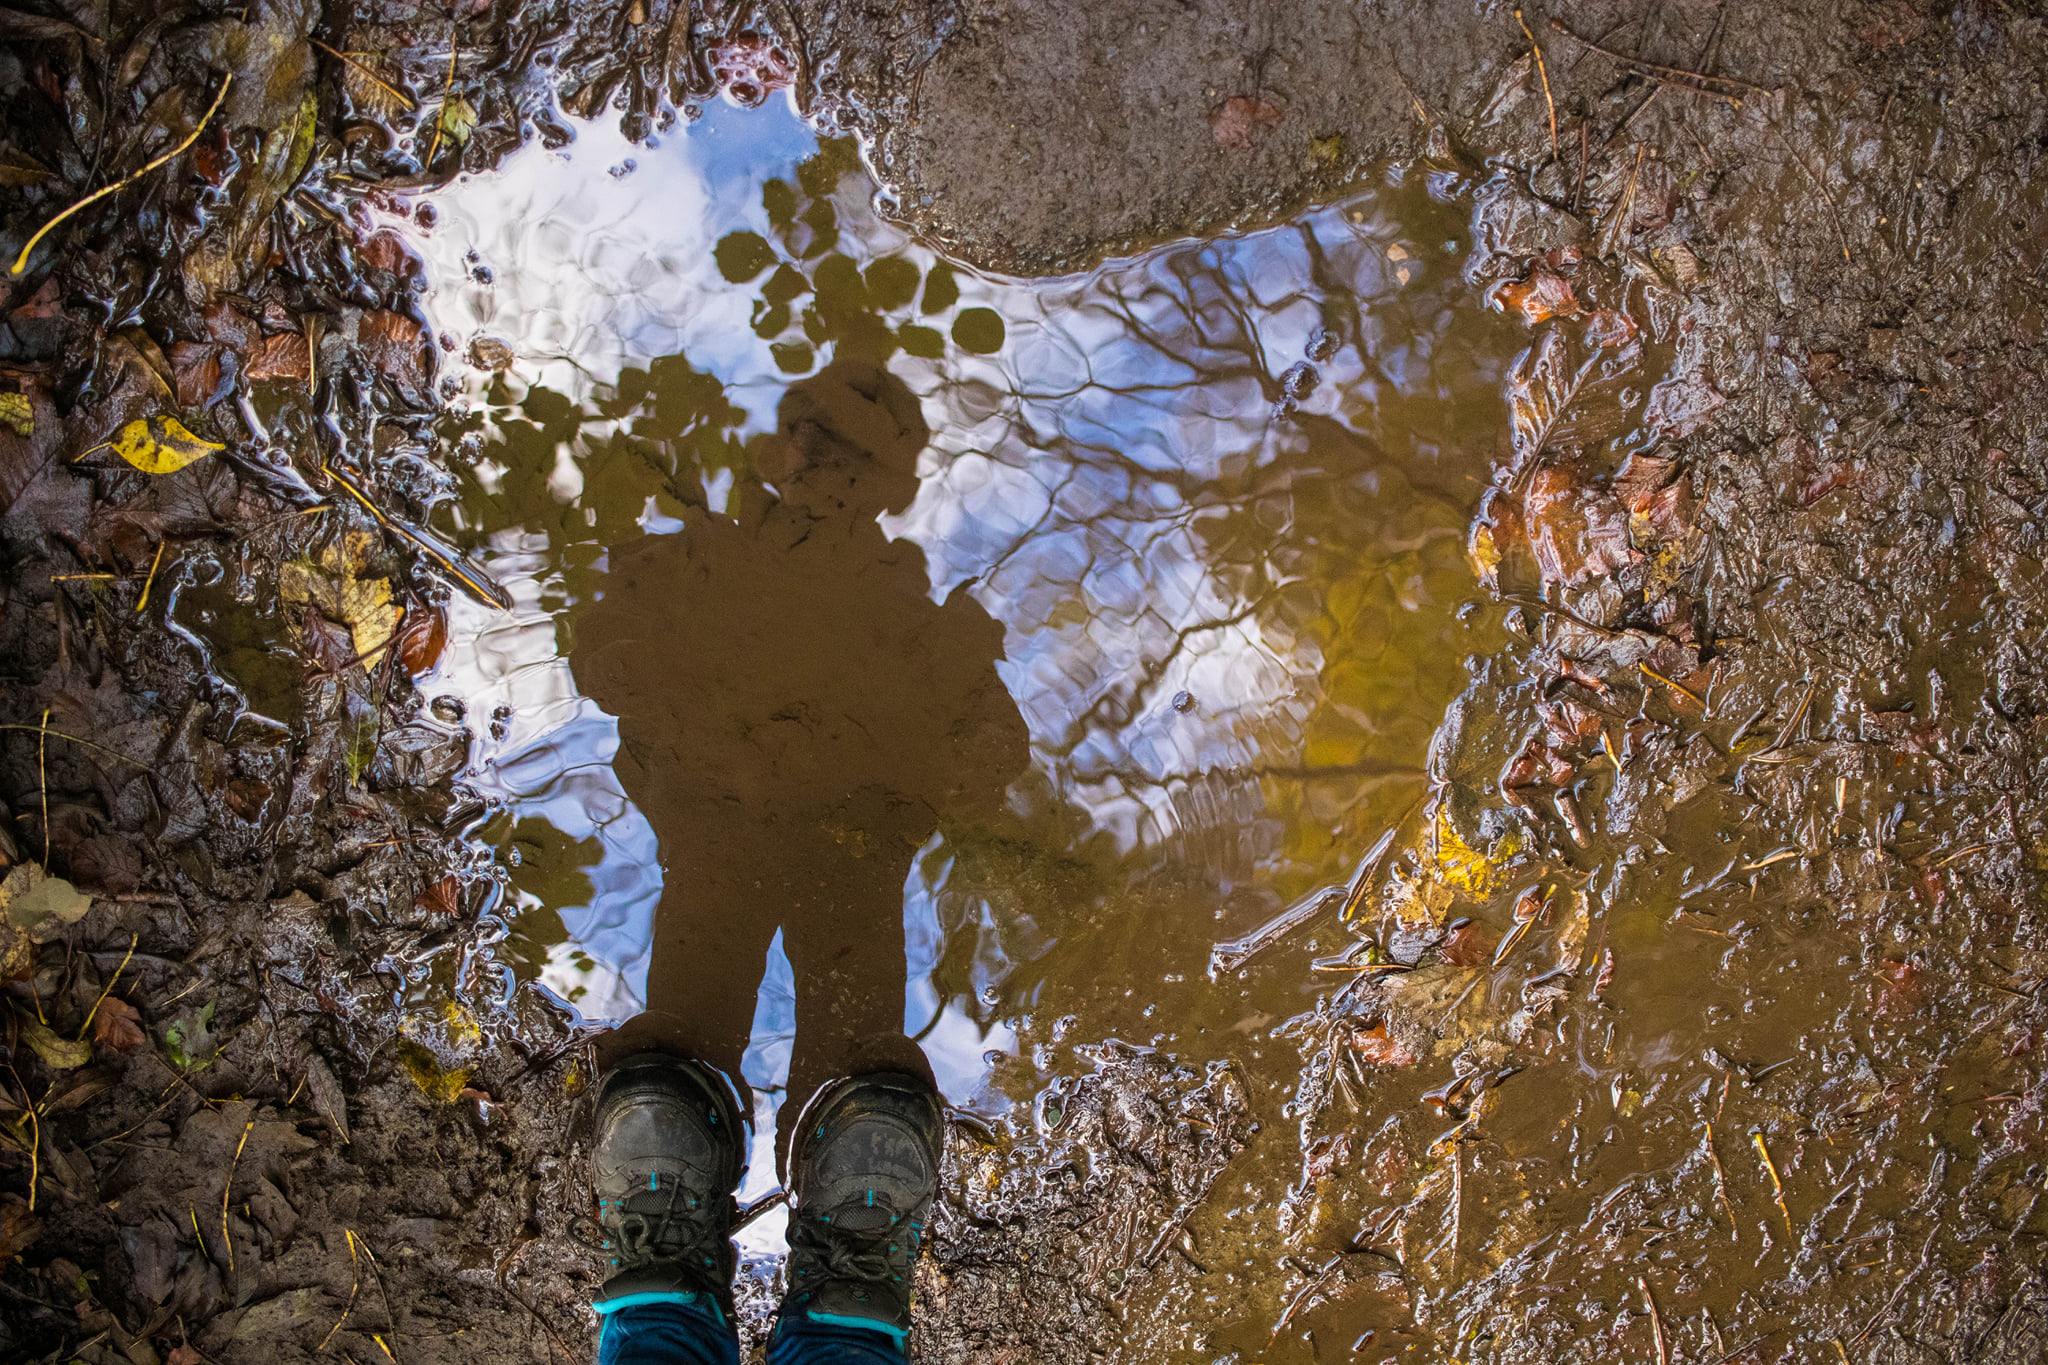
Photo by Sarah Collins
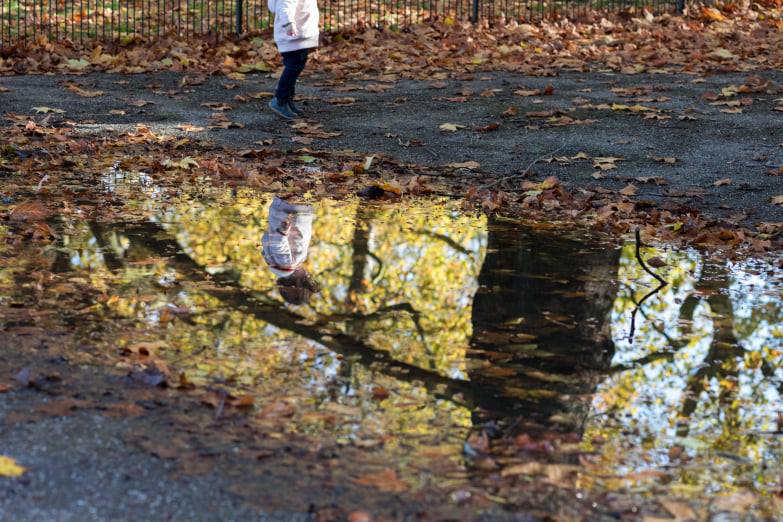
Photo by Jenn Thomas
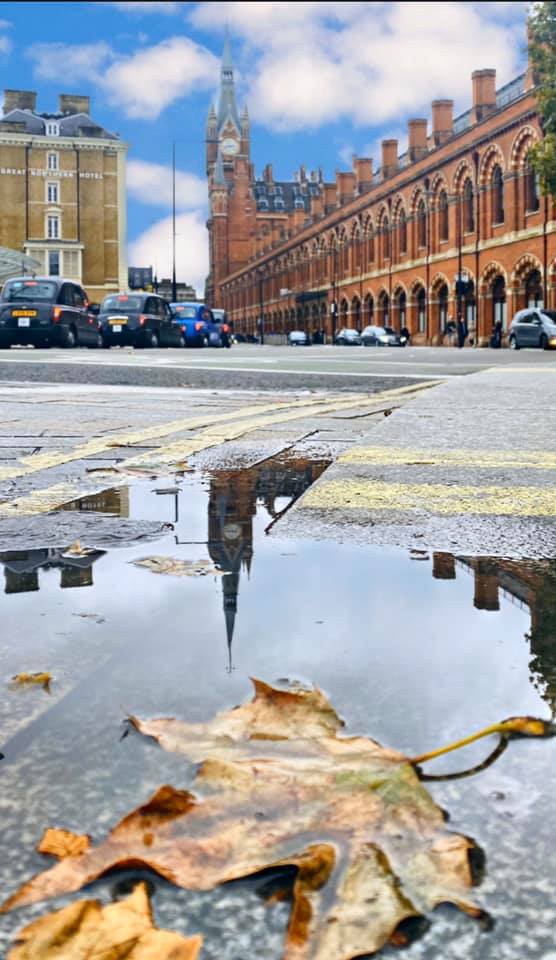
Photo by Kessia Kowalska
7. Create a flat lay - seasonal art
Flay lay is when you arrange a number of different elements on a surface and photograph from above. It’s great for showing different colours and textures and including other autumnal elements too.
- Think of a theme or concept for your flat lay – perhaps the same leaf type with different colours, or same colour, different shapes?
- Consider the colour and texture of your surface – to contrast or complement your subject
- Your light is crucial here – you want soft, diffused light which will not distract from your subjects
- Think about how you will use the space – will you fill the frame with leaves or leave a good amount of negative space?
- Will you keep the leaves as they are or turn them into art or have a little fun drawing faces onto them with your kids?
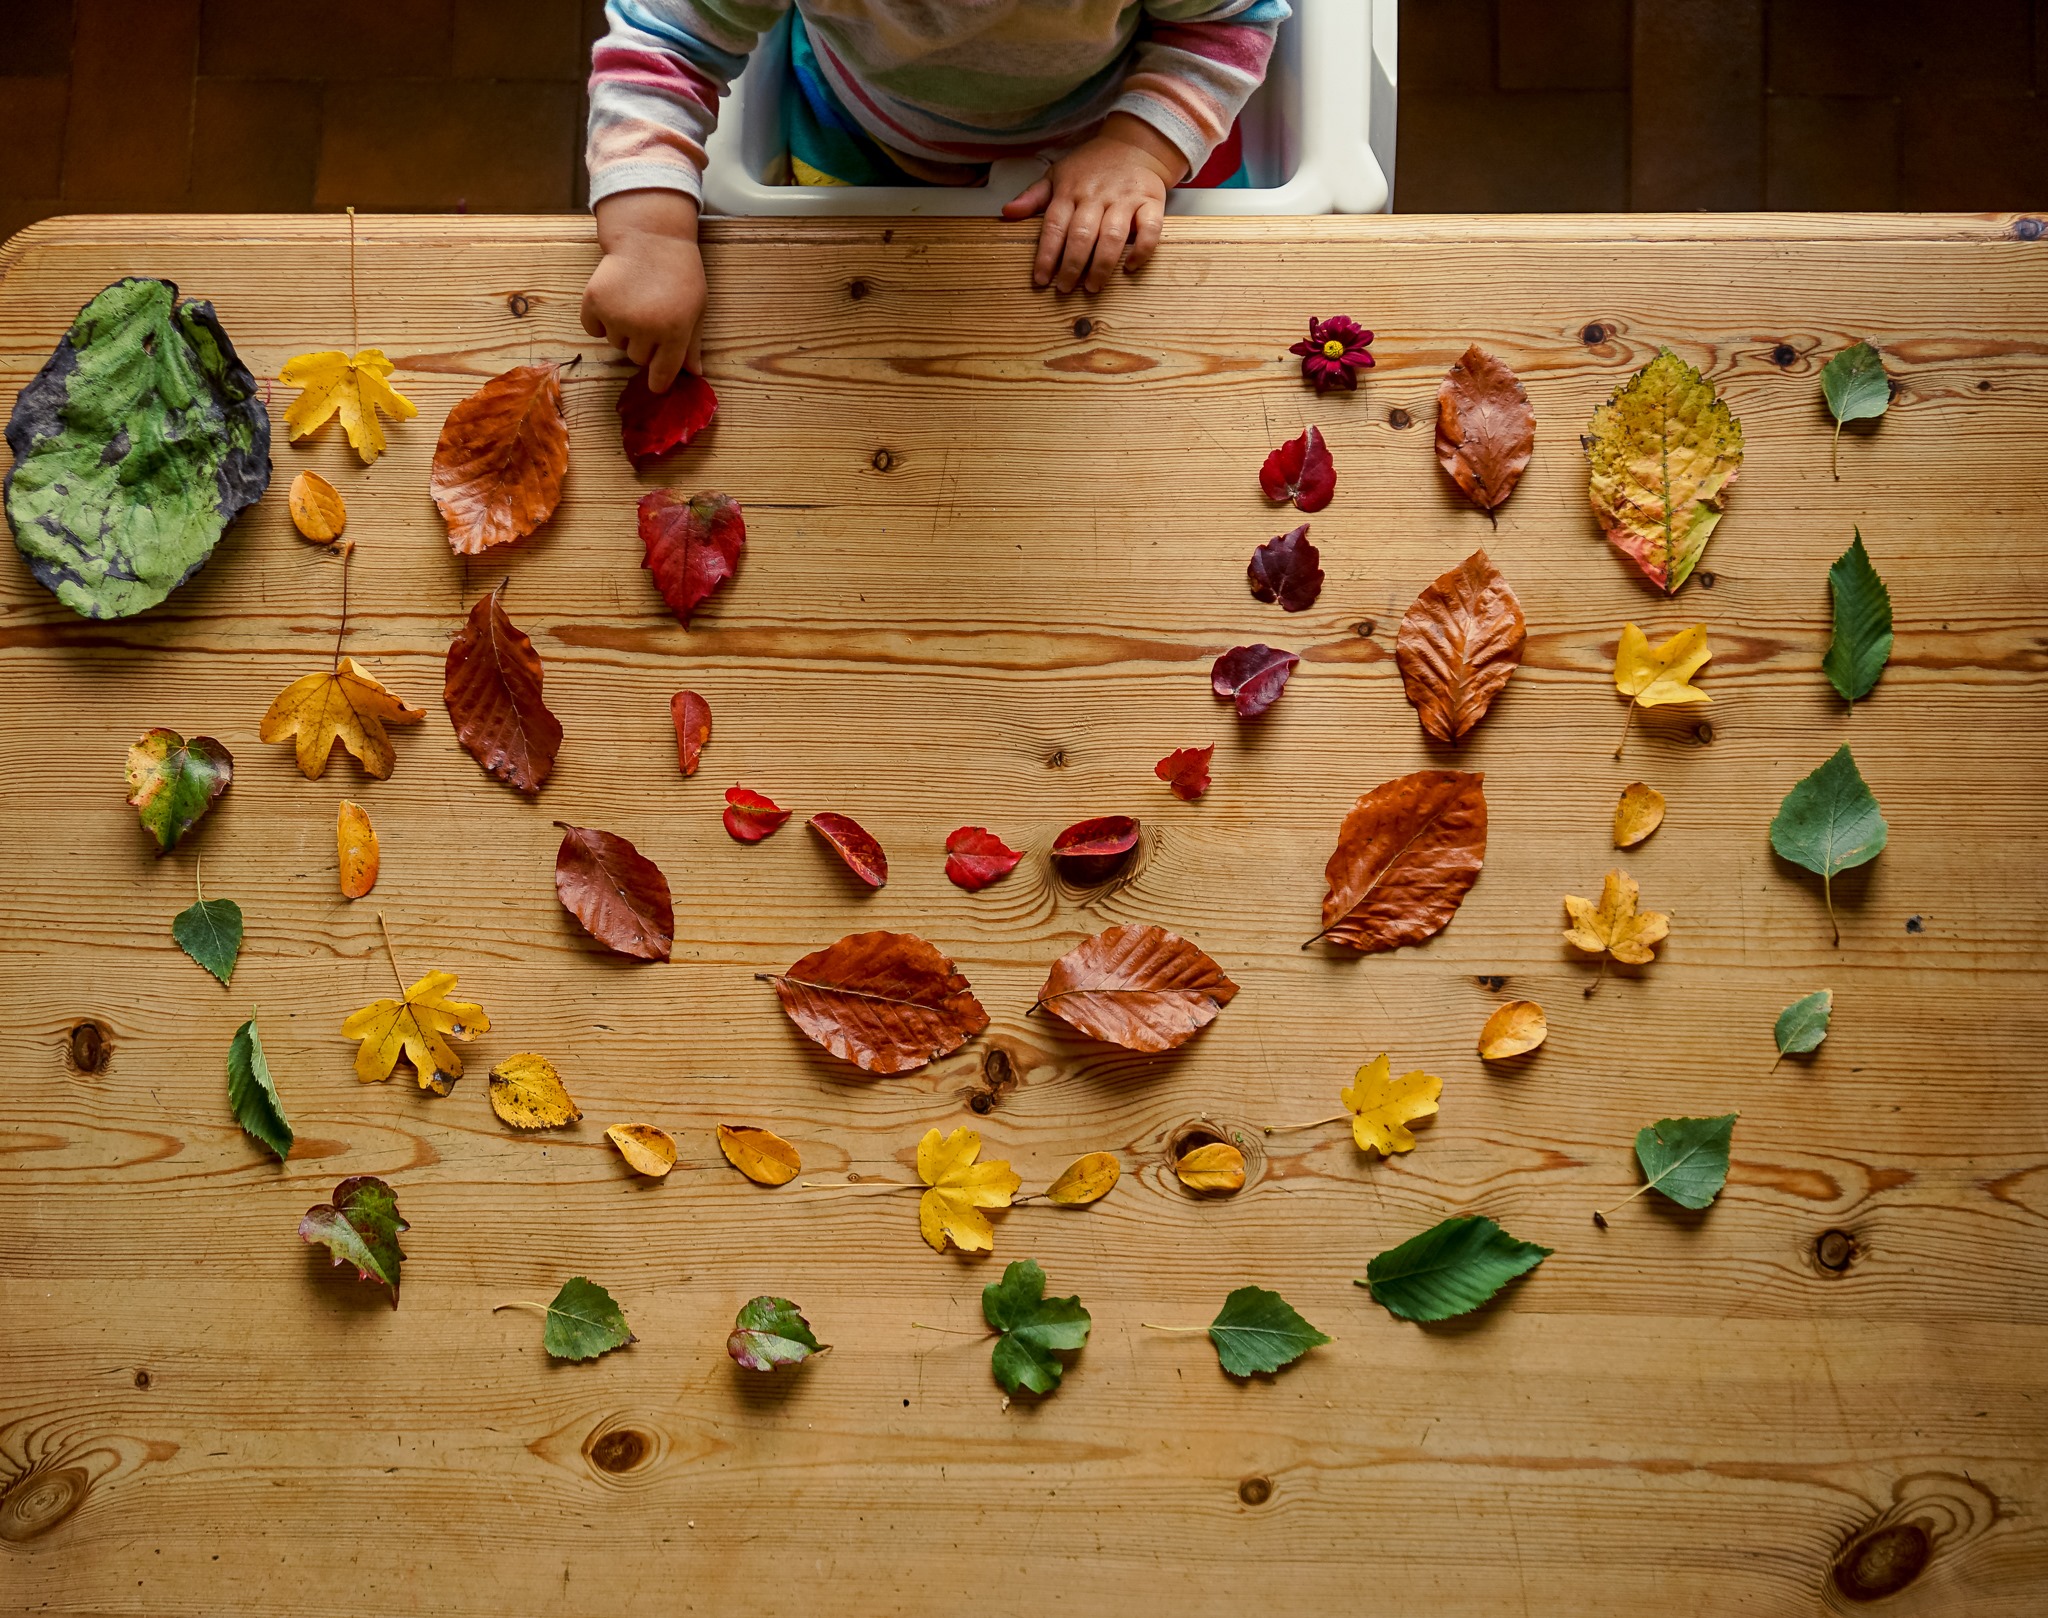
Photo by Olivia BIanchi Bazzi
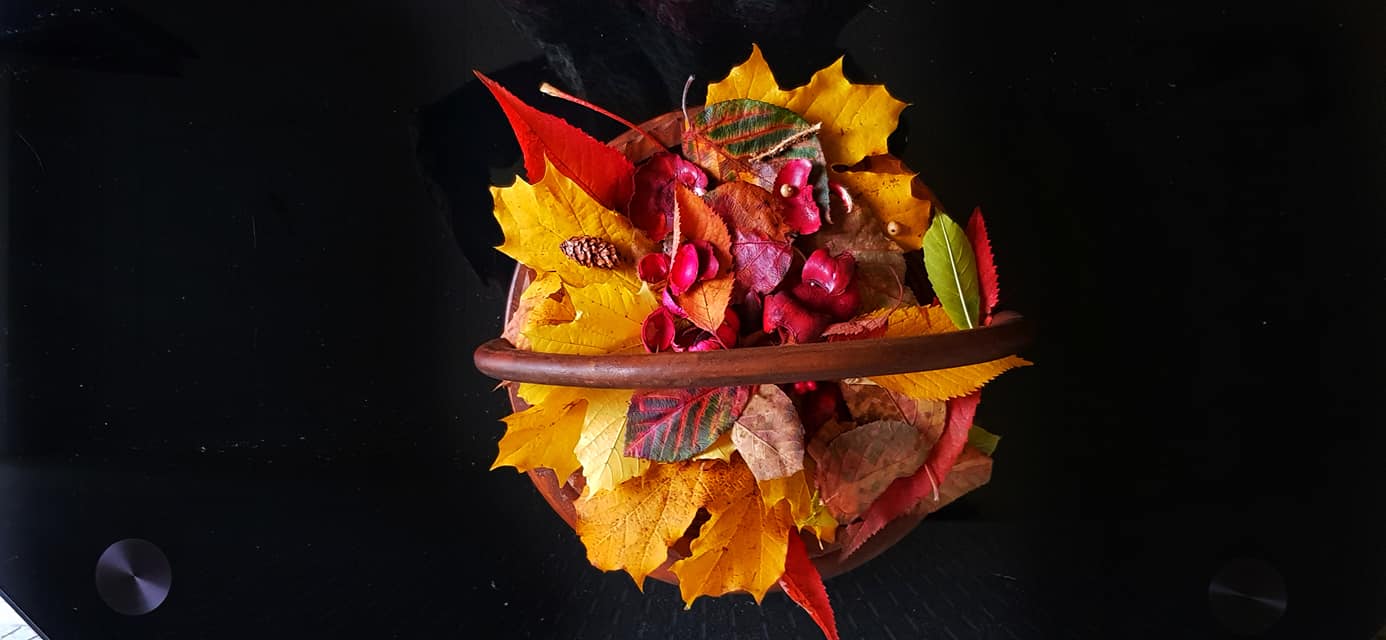
Photo by Namra Wasm
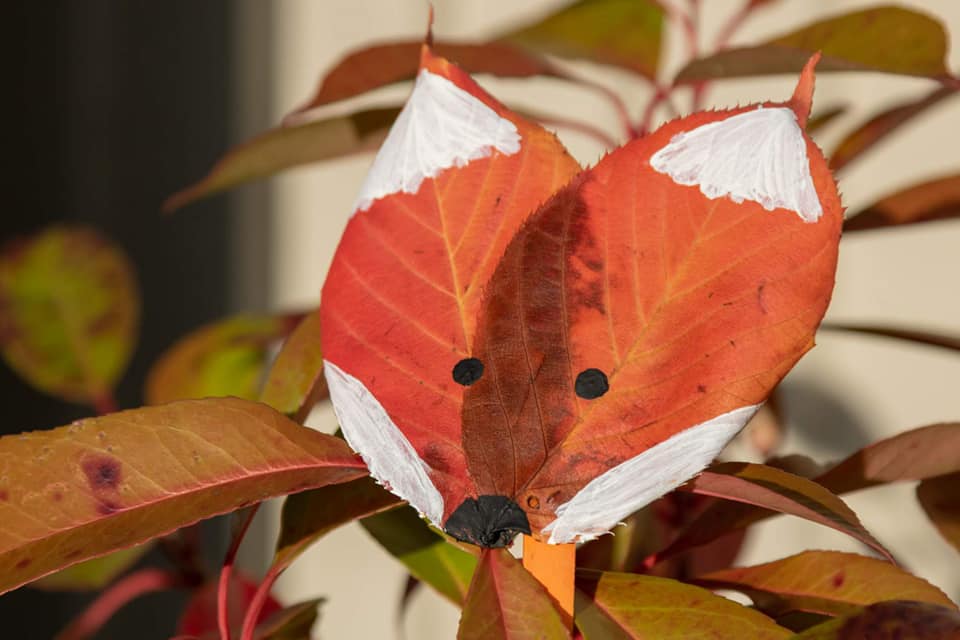
Photo by Lucy Pritchard
8. PUT IT ALL IN A COLLAGE
Finally, take all the awesomeness and put it together - side by side!
- Pick a selection of wider and more detail shots to end up with a complete story
- Ist there a colour or a theme that unifies them?
- Many little ones or a few, more carefully chose big ones?
- Good balance of colour and texture, evenly distributed through the frame.
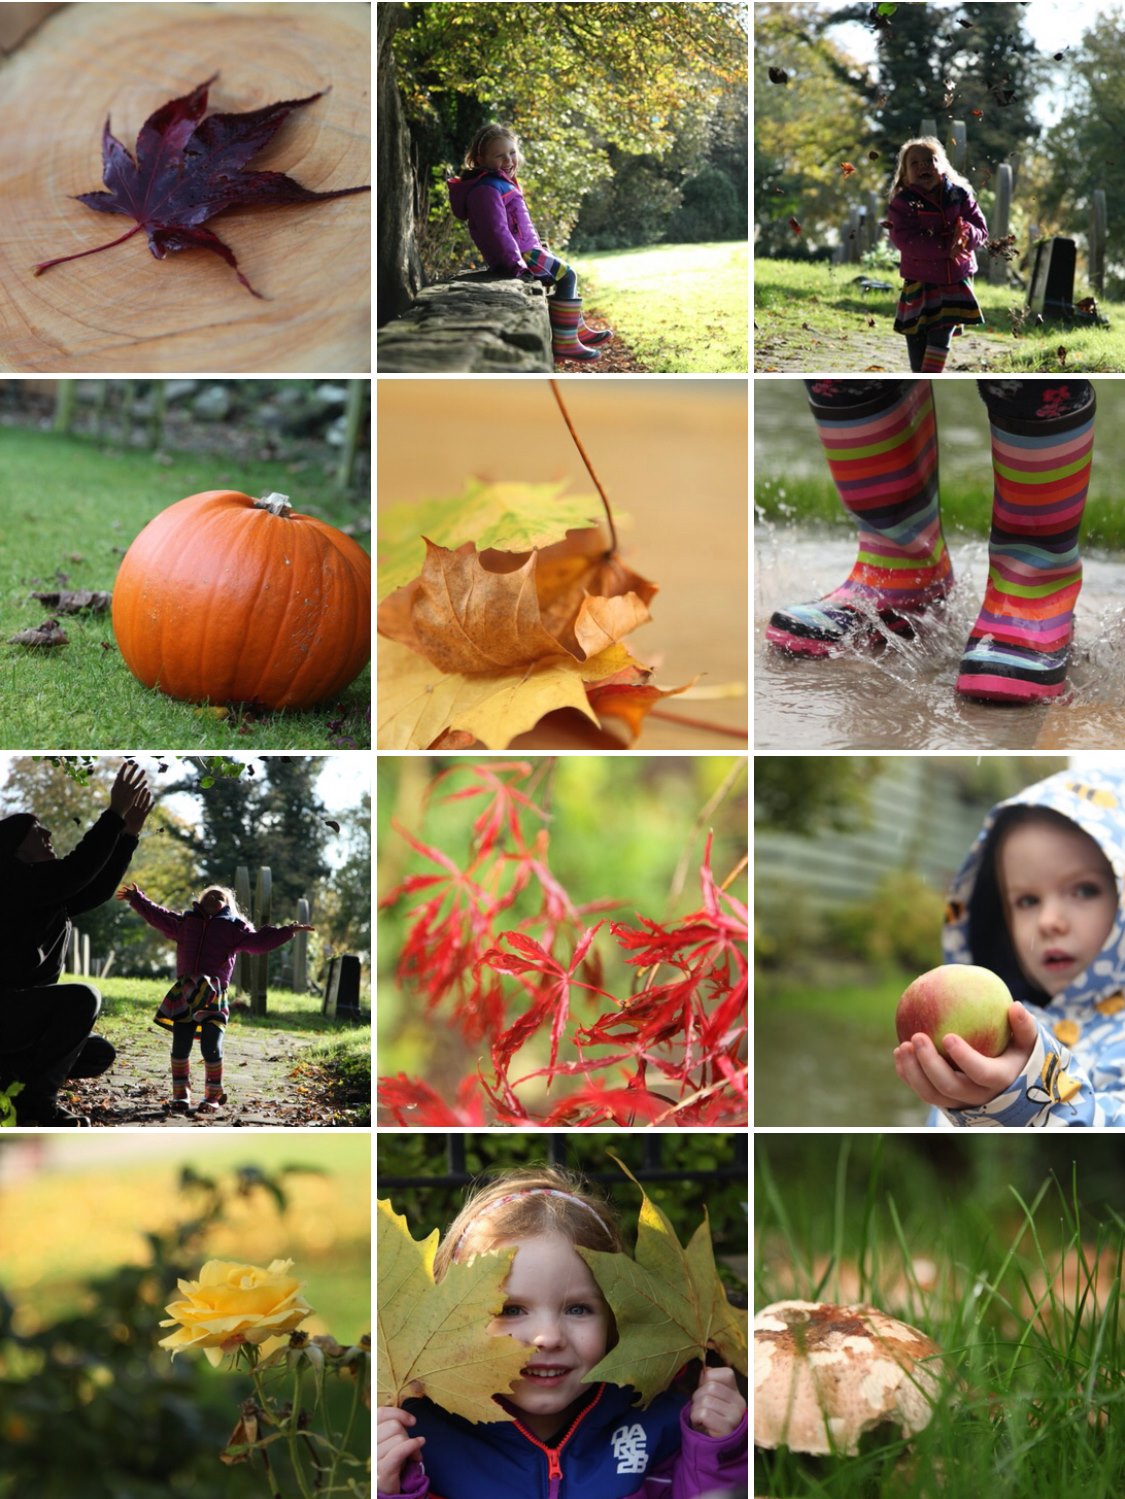
Photo by Marie Devine
