How to photograph your family in the bluebells
I have a feeling that if you're reading this, you may be planning on taking your kids into a local or not so local woods/ park etc to see some bluebells and photograph your family in bluebells . Just a hunch!
Well, I don't blame you - it's one of our family traditions to capture a family portrait in the bluebells. We're not very serios and neither are our photos, but we always make sure to find time to get out there with the camera, being blessed with proximity of several local areas where these gorgeous flowers thrive.
And since you're not here to read our family's story, let me just give you my 5 top tips for making those photos a bit better!
But wait - a warning first!
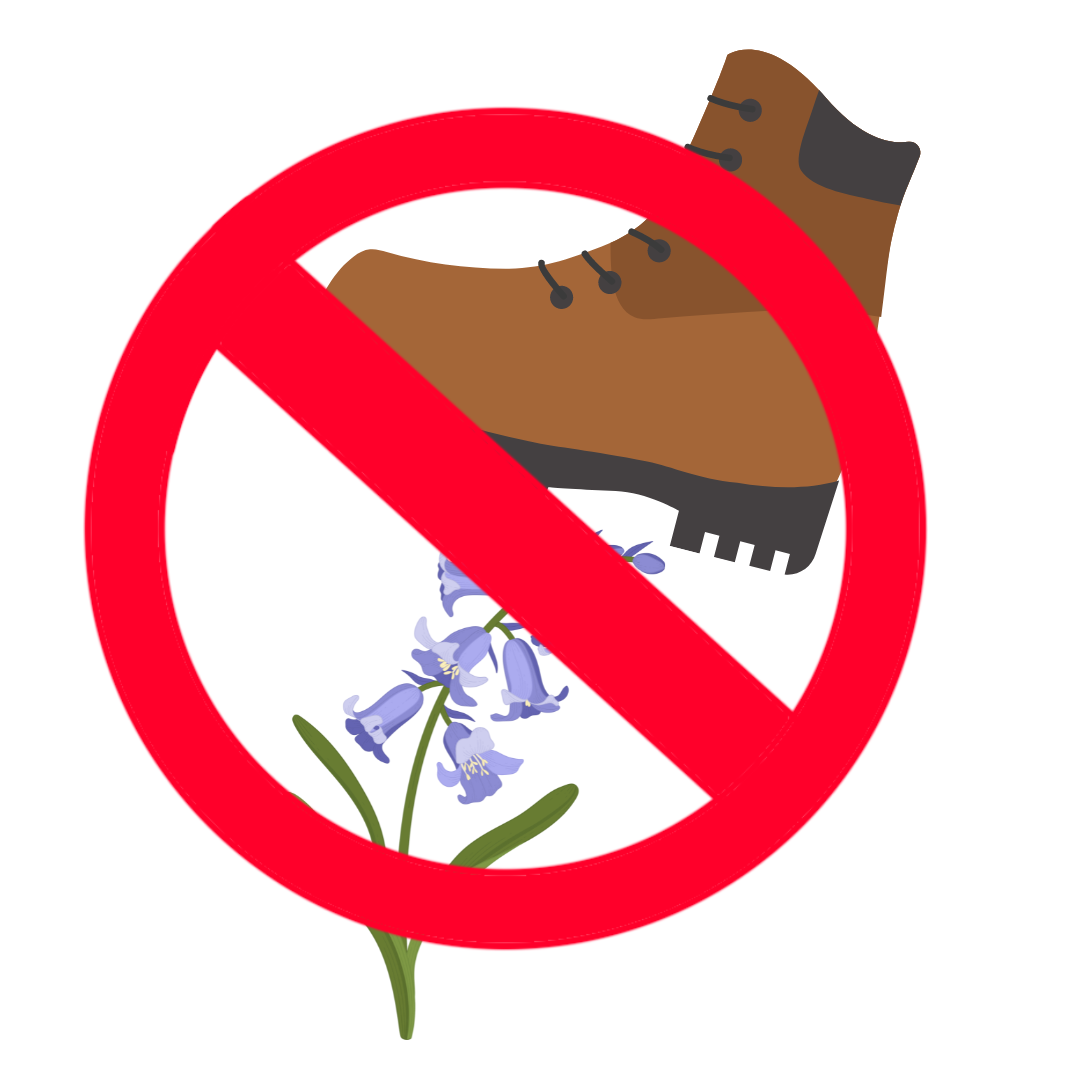
Protect the flowers! Do not trample!
Bluebells might look robust with their sassy, vibrant hues, but they are fragile and, importantly, they are a protected species. That means no picking, no uprooting, no trampling. Yes, you can still get images that looks like you're standing in the middle of a lush field without harming a single flower. This is what this blog post is about.
How to photograph your family in bluebells - our 5 best tips!
1. What to wear for Bluebell photos
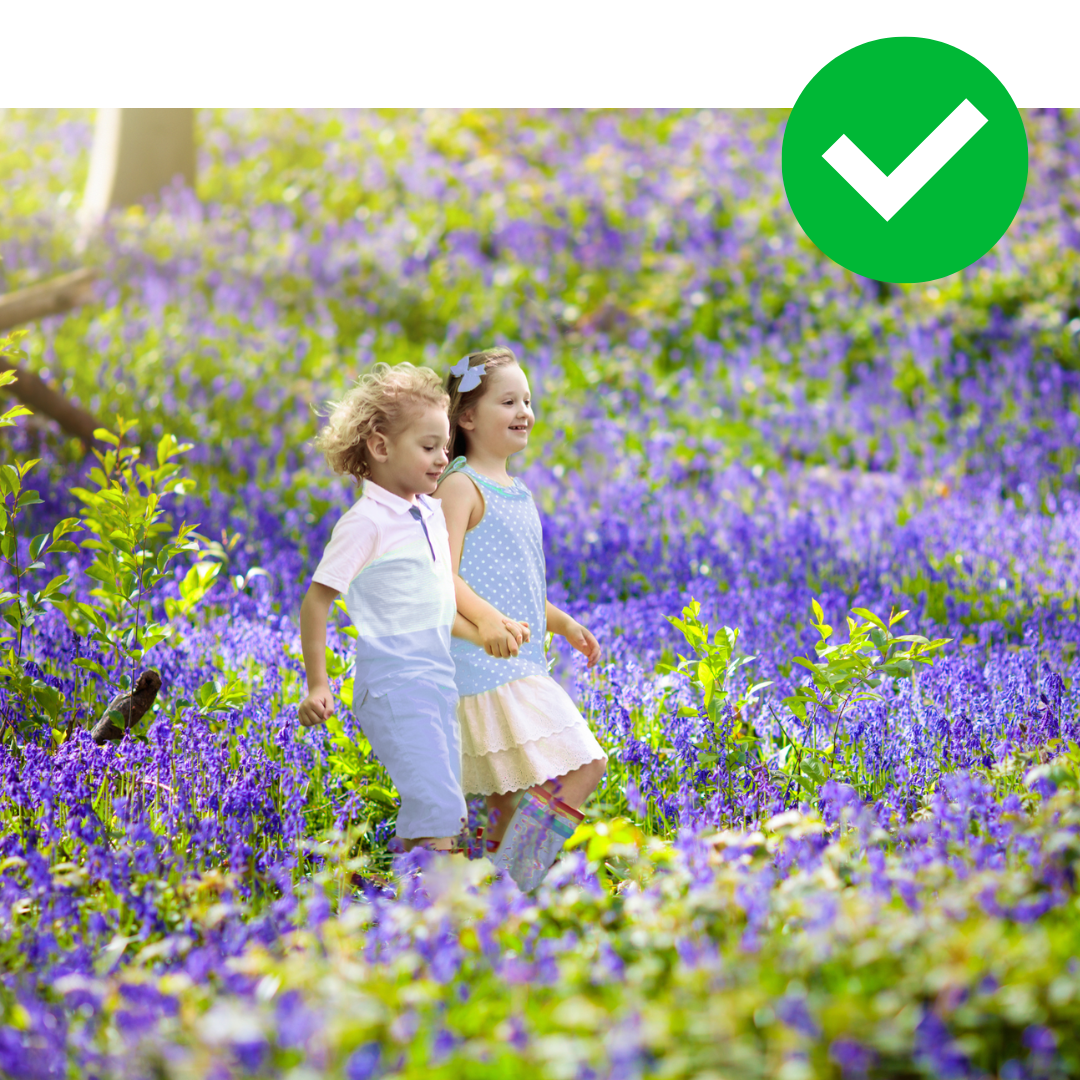
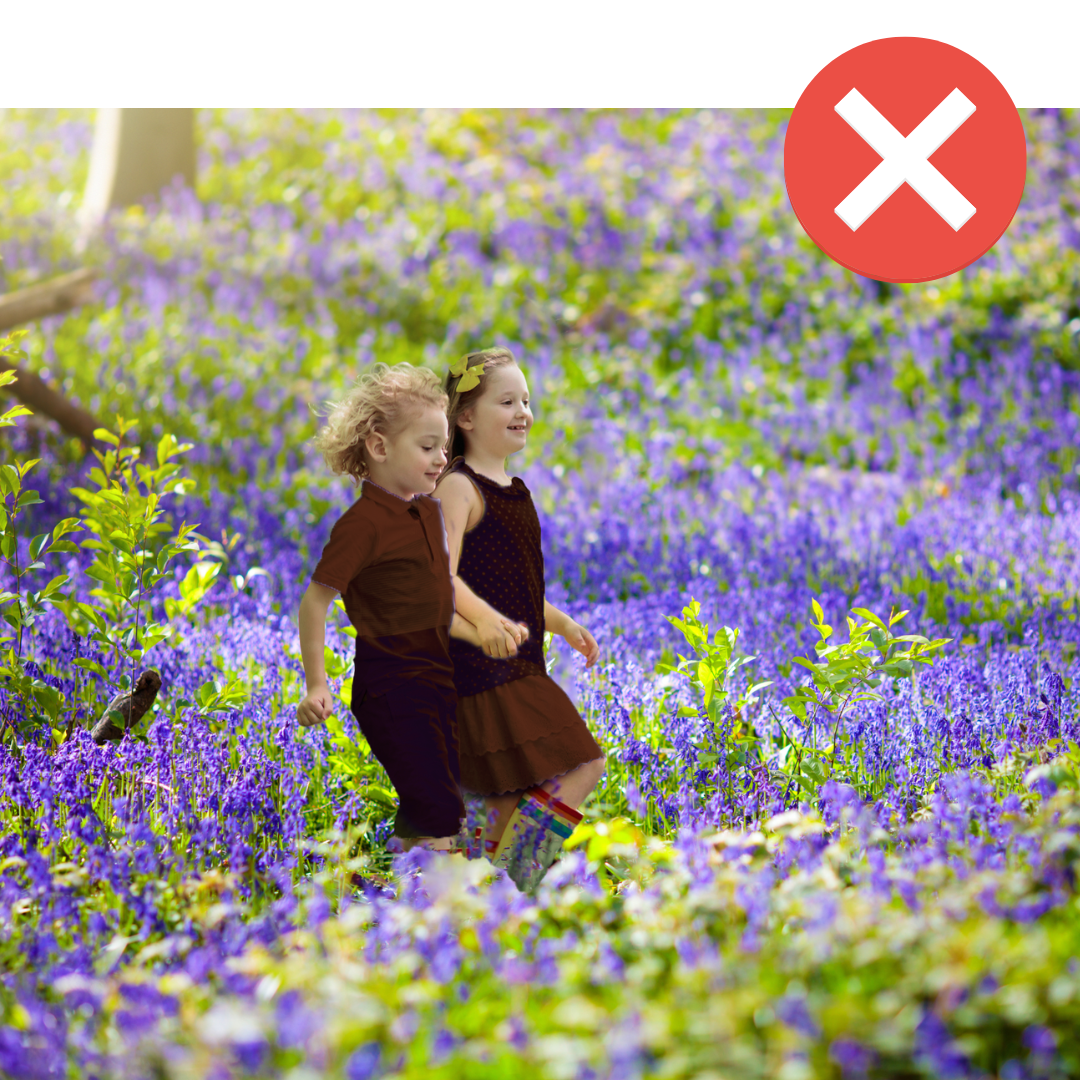
You want to go see bluebells because you love their beautiful colour and their ethereal beaty. If you're planning to photograph your family along them, you want to make sure they don't clash withe the flowers, but instead fit harmoniously into the scene. This means you want to take inspiration from nature and follow it's lead - pick neutrals ( white, cream, grey, light pastels) or colours similar to the flowers ( blues, violets, magentas) or if you want your family to stand out - the complementary colours ( yellow, red, orange). Avoid dark colours ( black, brown) - they'll dominate, and greens ( your subject will get lost among other greenery, and anything with big logoes, writing etc.
That is if your kids will let you tell them what to wear. Mine no longer do. We make do.
2. Camera or phone when capturing bluebell photos?
Ideally a camera-camera if you have one. The image quality will be better, the optics from a proper lens are likely to produce a clearer image, and you can control the level of background or foreground blur, shutter speed and more. That is if you know how to do these things.( if you have a camera and you don't know how to use it effectively HINT HINT ). But if the camera you have is a phone camera, that's fine too. Follow our composition suggestions and you can still get good looking photos, you might just not have quite as much control over the outcome.
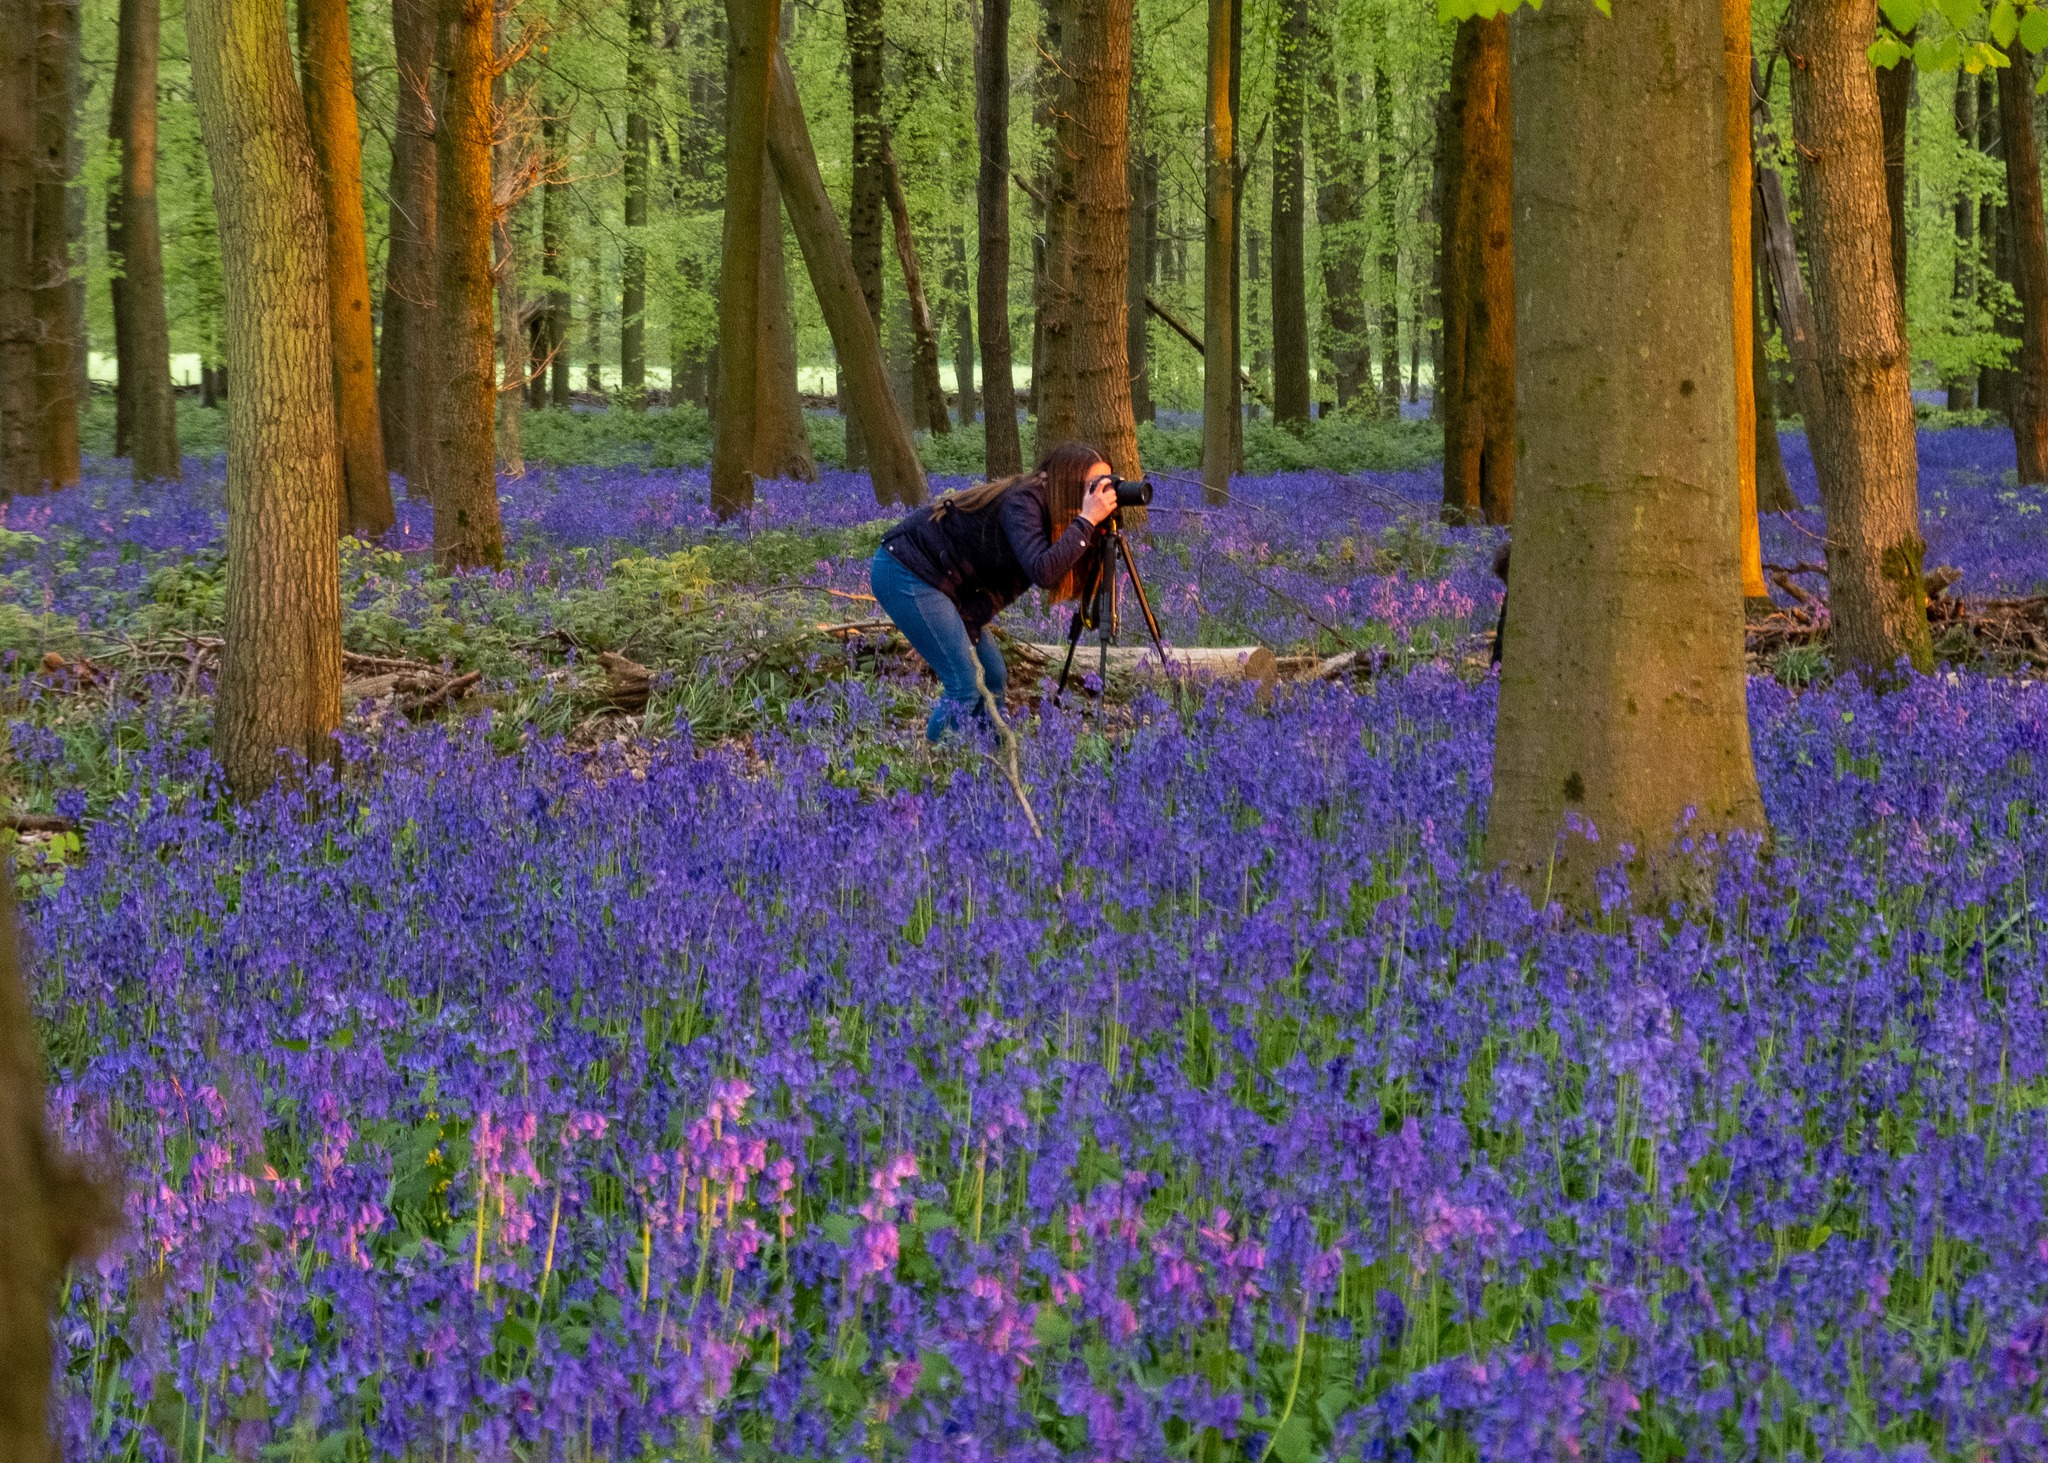
Photo by Helen White
Tips for camera and lens settings :
Camera:
make sure your shutter speed is at least 1/200s or else you're running a risk of having some motion blur especially if your kids are on the move. In wooded areas with dappled light I would be putting on ISO Auto to help wuth the ever changing light. I like a wider aperture lens ( f2, f2.8) to create a distinction between what's sharp and what's blurry.
Phone :
if available on your phone - put HDR mode on (to balance the contrast of bright highlights and shadows). Consider putting the portrait mode on ( it's called aperture on some phones) or if you have a Pro mode on your phone, slide your aperture value to a small number - this will help create a soft background.
3. 1-2-3 storytelling
Our students are well familiar with this storytelling technique because it really helps capture a fuller picture of what was happening on the day. How it works:
Whenever you see something that's worthy of a photo, you capture not 1 but 3 photos. But specific photos.
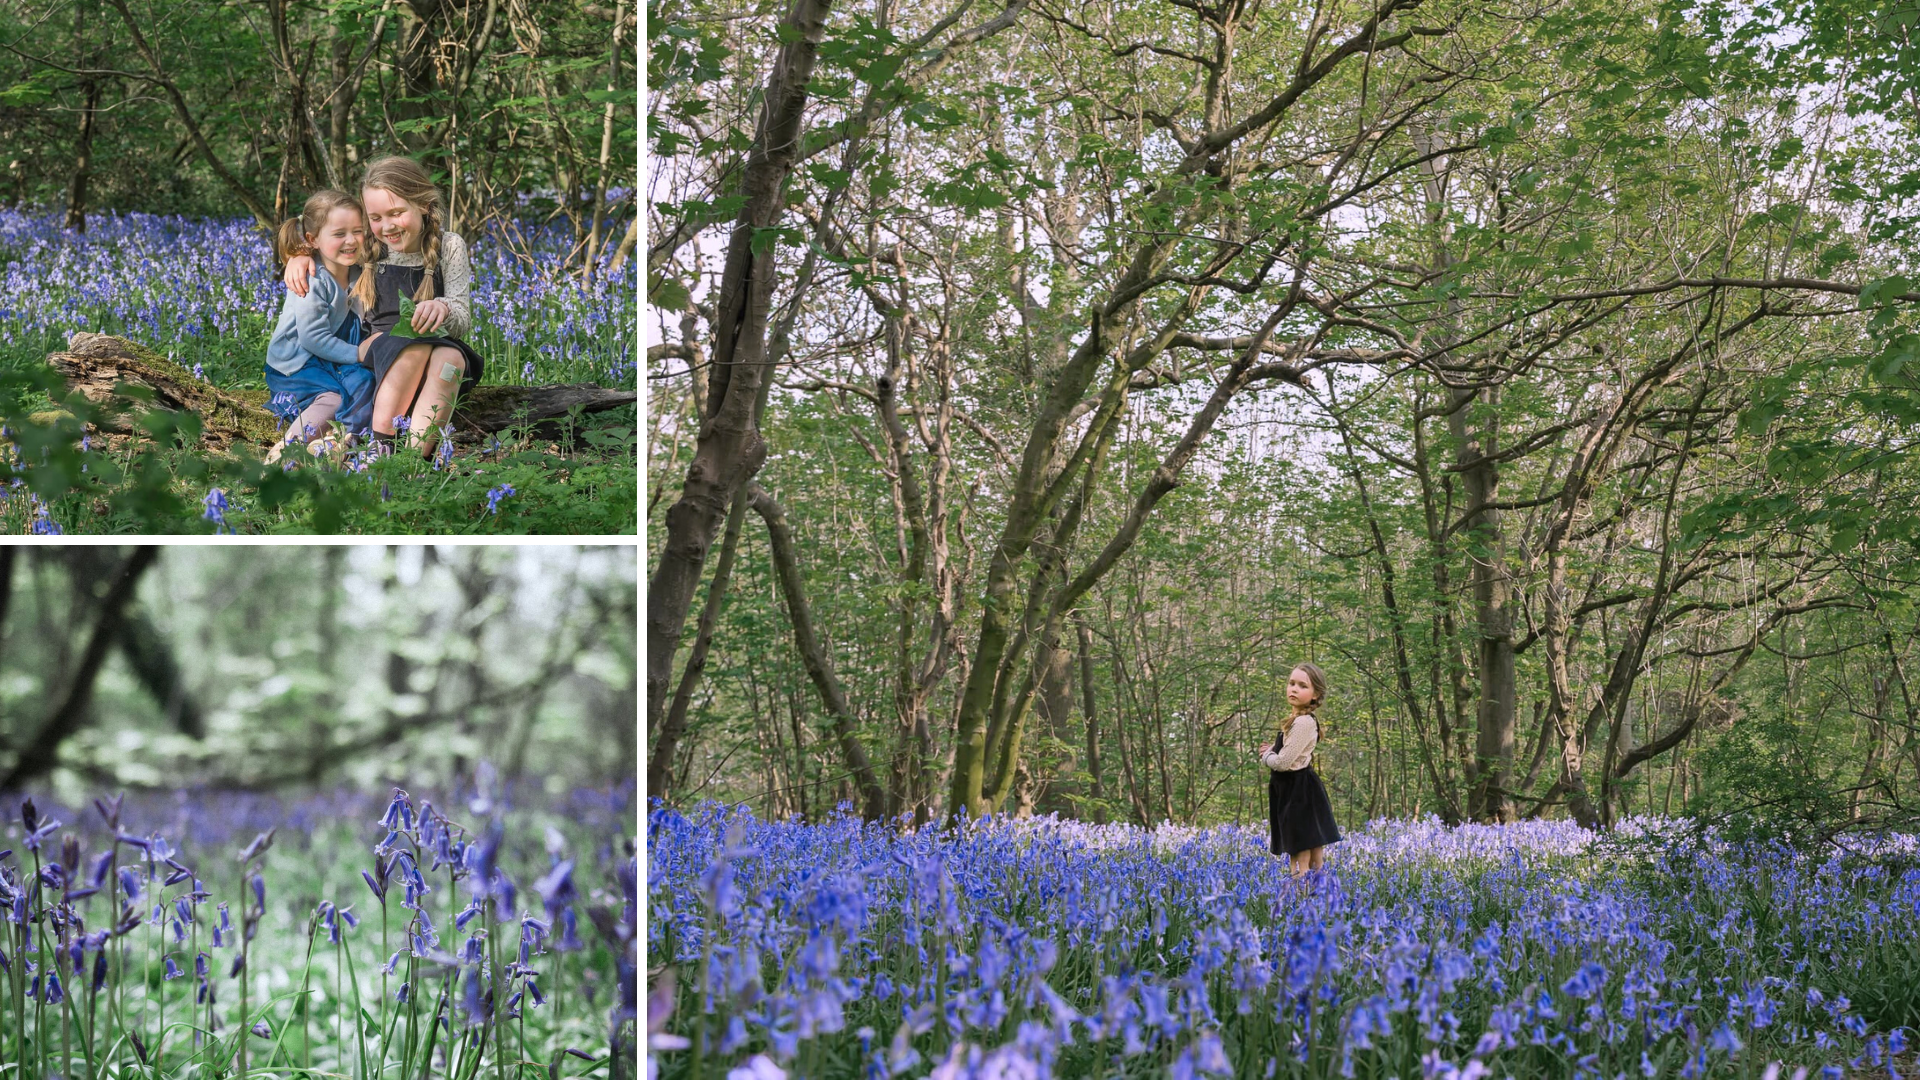
Photos by Helen Roberts
Your first photo will be the one that's your most usual go-to. Usually with your child being the main thing on your frame, often a portrait, or whatever it is that's your 'standard'. If you're not sure what that is for you, just look through your photo collection and one type of photo will surely stand out.
Then your second photo will be one that shows a bigger picture - where you pull back and show the wider scene, more of the context, more of the view. It helps contextualise that first photo and show wider circumstances - and in the case of a bluebell woods - a bigger view of the gorgeous flower carpet and the greenery around it.
Your final photo will be a photoos a detail, a close up, perhaps something senory? It helps our brains engage with the other images - as if your brain can literally zoom itself into the scene.
If you take this approach you are sure to capture a set of images that go beyond the usual 'smile for mummy' photos.
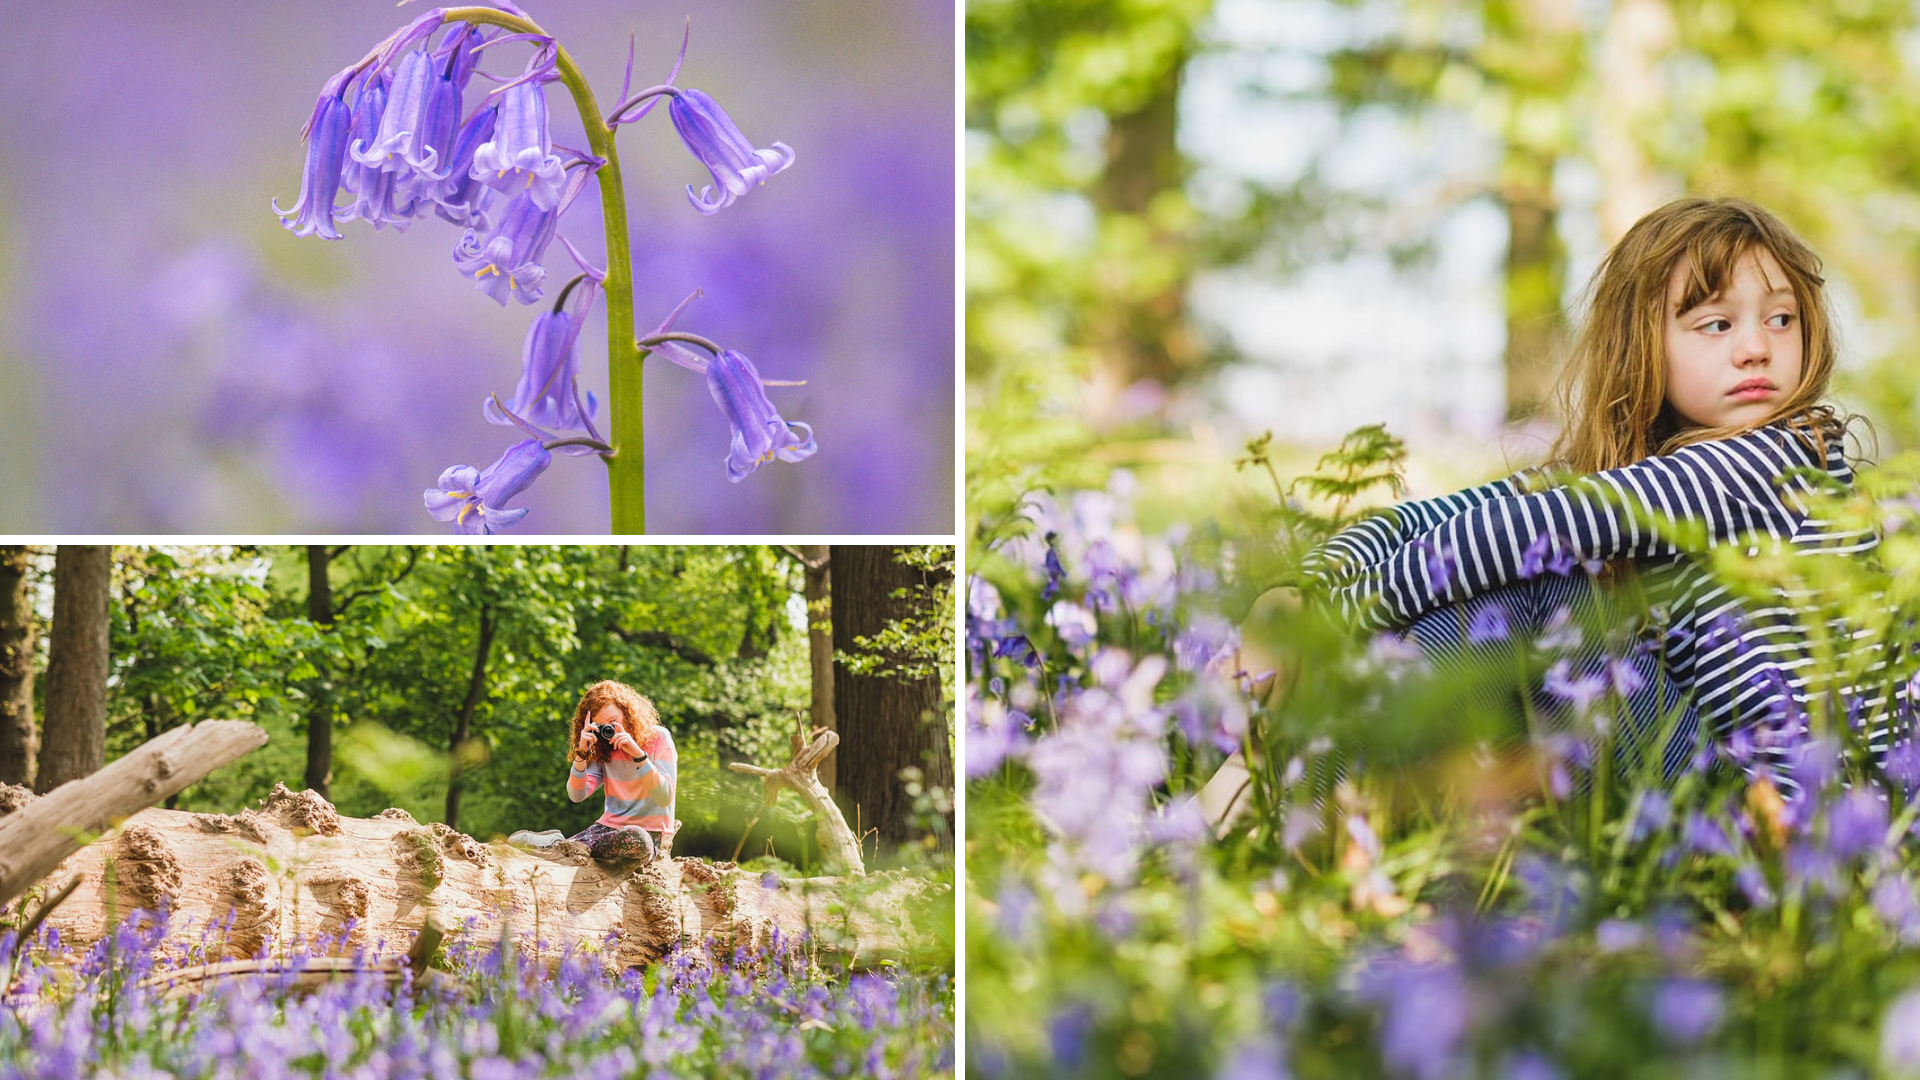
Photos by Morgan Wallace
4. Work those angles
If your usual approach is to simply lifte the camera up to your eye , or hold out your phone and hope for the best, I have bad news for you. If you want great photos, you are going to have to exercise a bit.
When you setting off to photograph your family in bluebells - experiment with your angles - hold your camera low to the ground or high up, shoot through things, flip your phone camera upside down for a closer to the ground look. Try capturing a scene from at least 3 different angles. Variety is the key to learning what you like and what looks good in different situations. Just don's simply stand there and point and shoot.
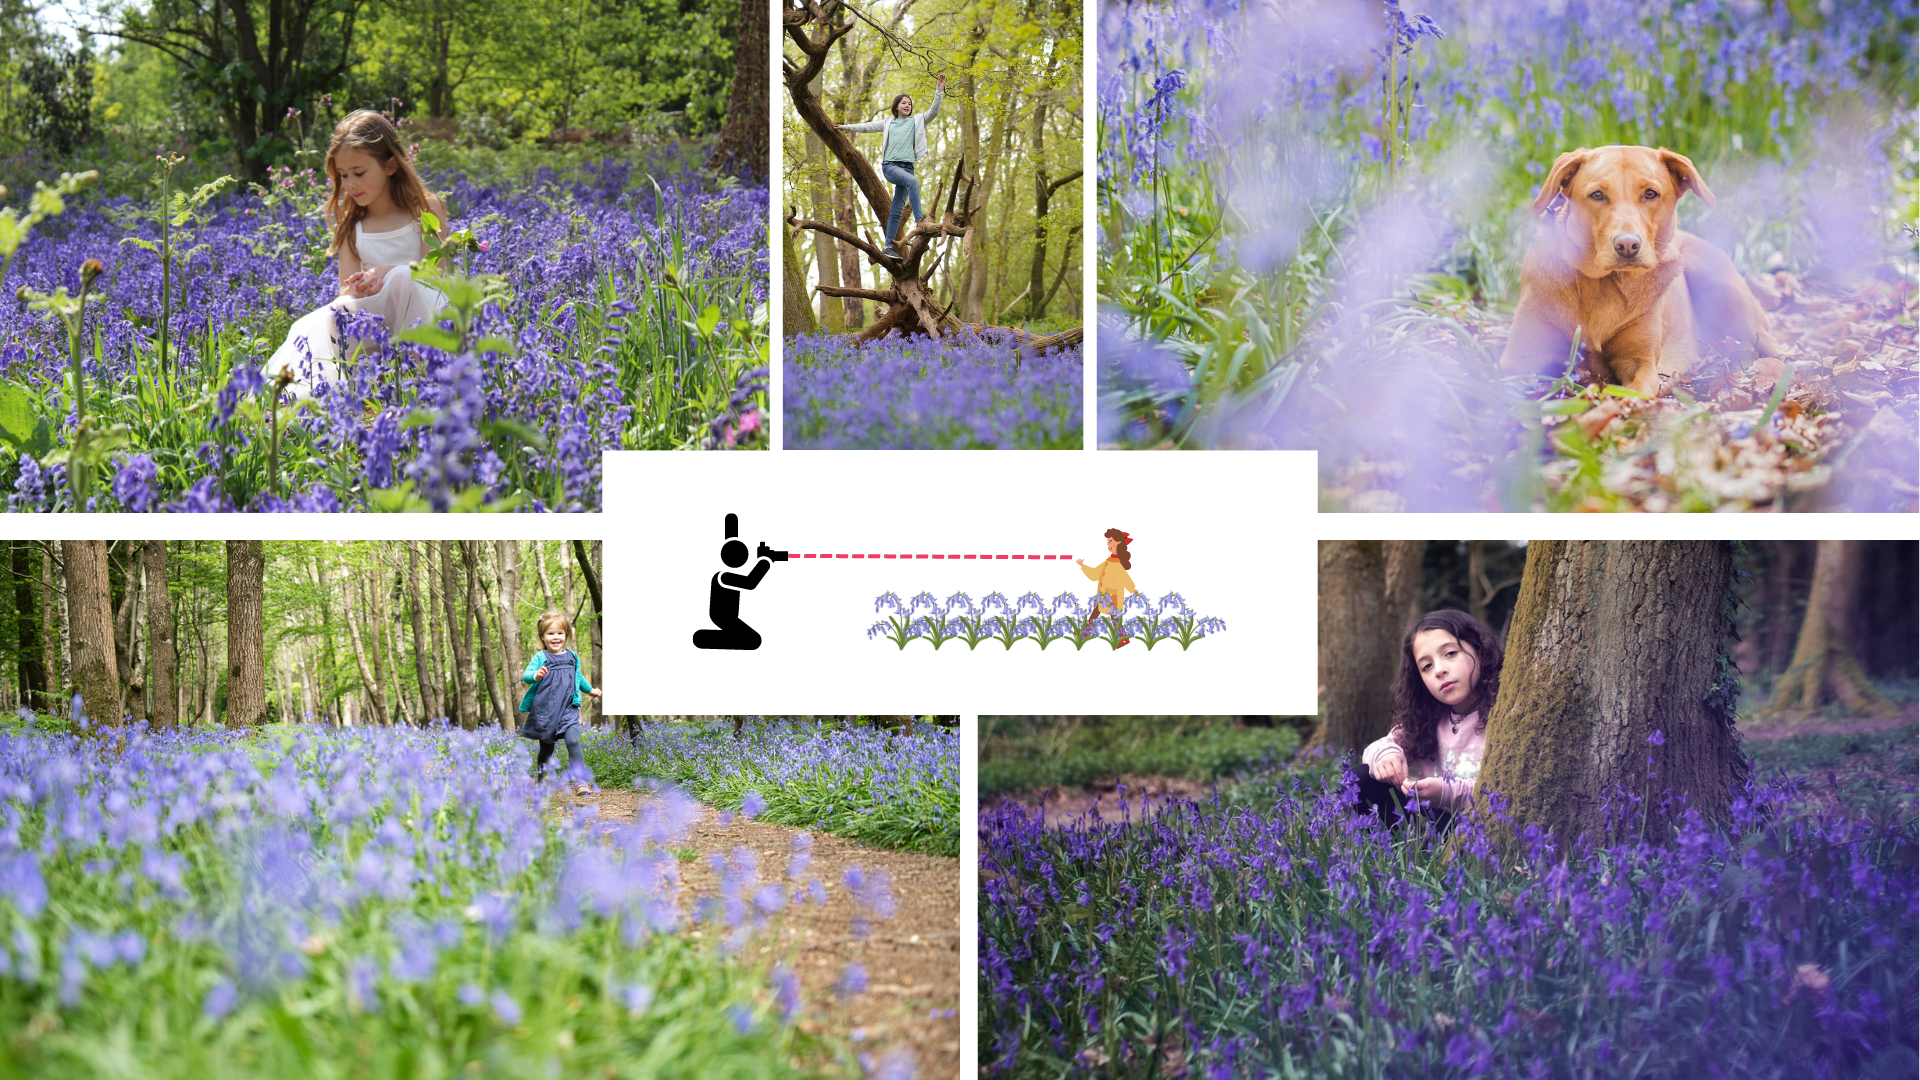
Photos by ( clockwise ) : Madeline Cave, Ania WL, Morgan Wallace, Kate Munday, Kirsty Hampson
5. Don't direct - ENGAGE
If you're a parent, this will come as no surprise to you that kids don't care about be beauty of their surroundings in the same way you do and that their favourite takeaway from a trip to a breathtakingly beautiful field of flowers might very well be a stick that sort of looks like a stickman if you squint in a specific way. Far less interested in standing in a field looking enchanged, even while powered by many many bribes. If that frustrates you, I have one piece of advice to you - give up the control now. Instead, engage.
Don't tell your child to longingly look at the flowers, ask them if they can see bee poo inside them. Don't just tell them not to tramp flowers, dare them to only step on bare ground. Don't tell them to smile for mummy, make them laugh - proper belly laugh, at something silly you said or did. Give them a scavenger huntto complete witha reaward after. Let them exlore and let them lead - you might not end up with etheral portraits, but you will get photos that are tru to your family and who they are.
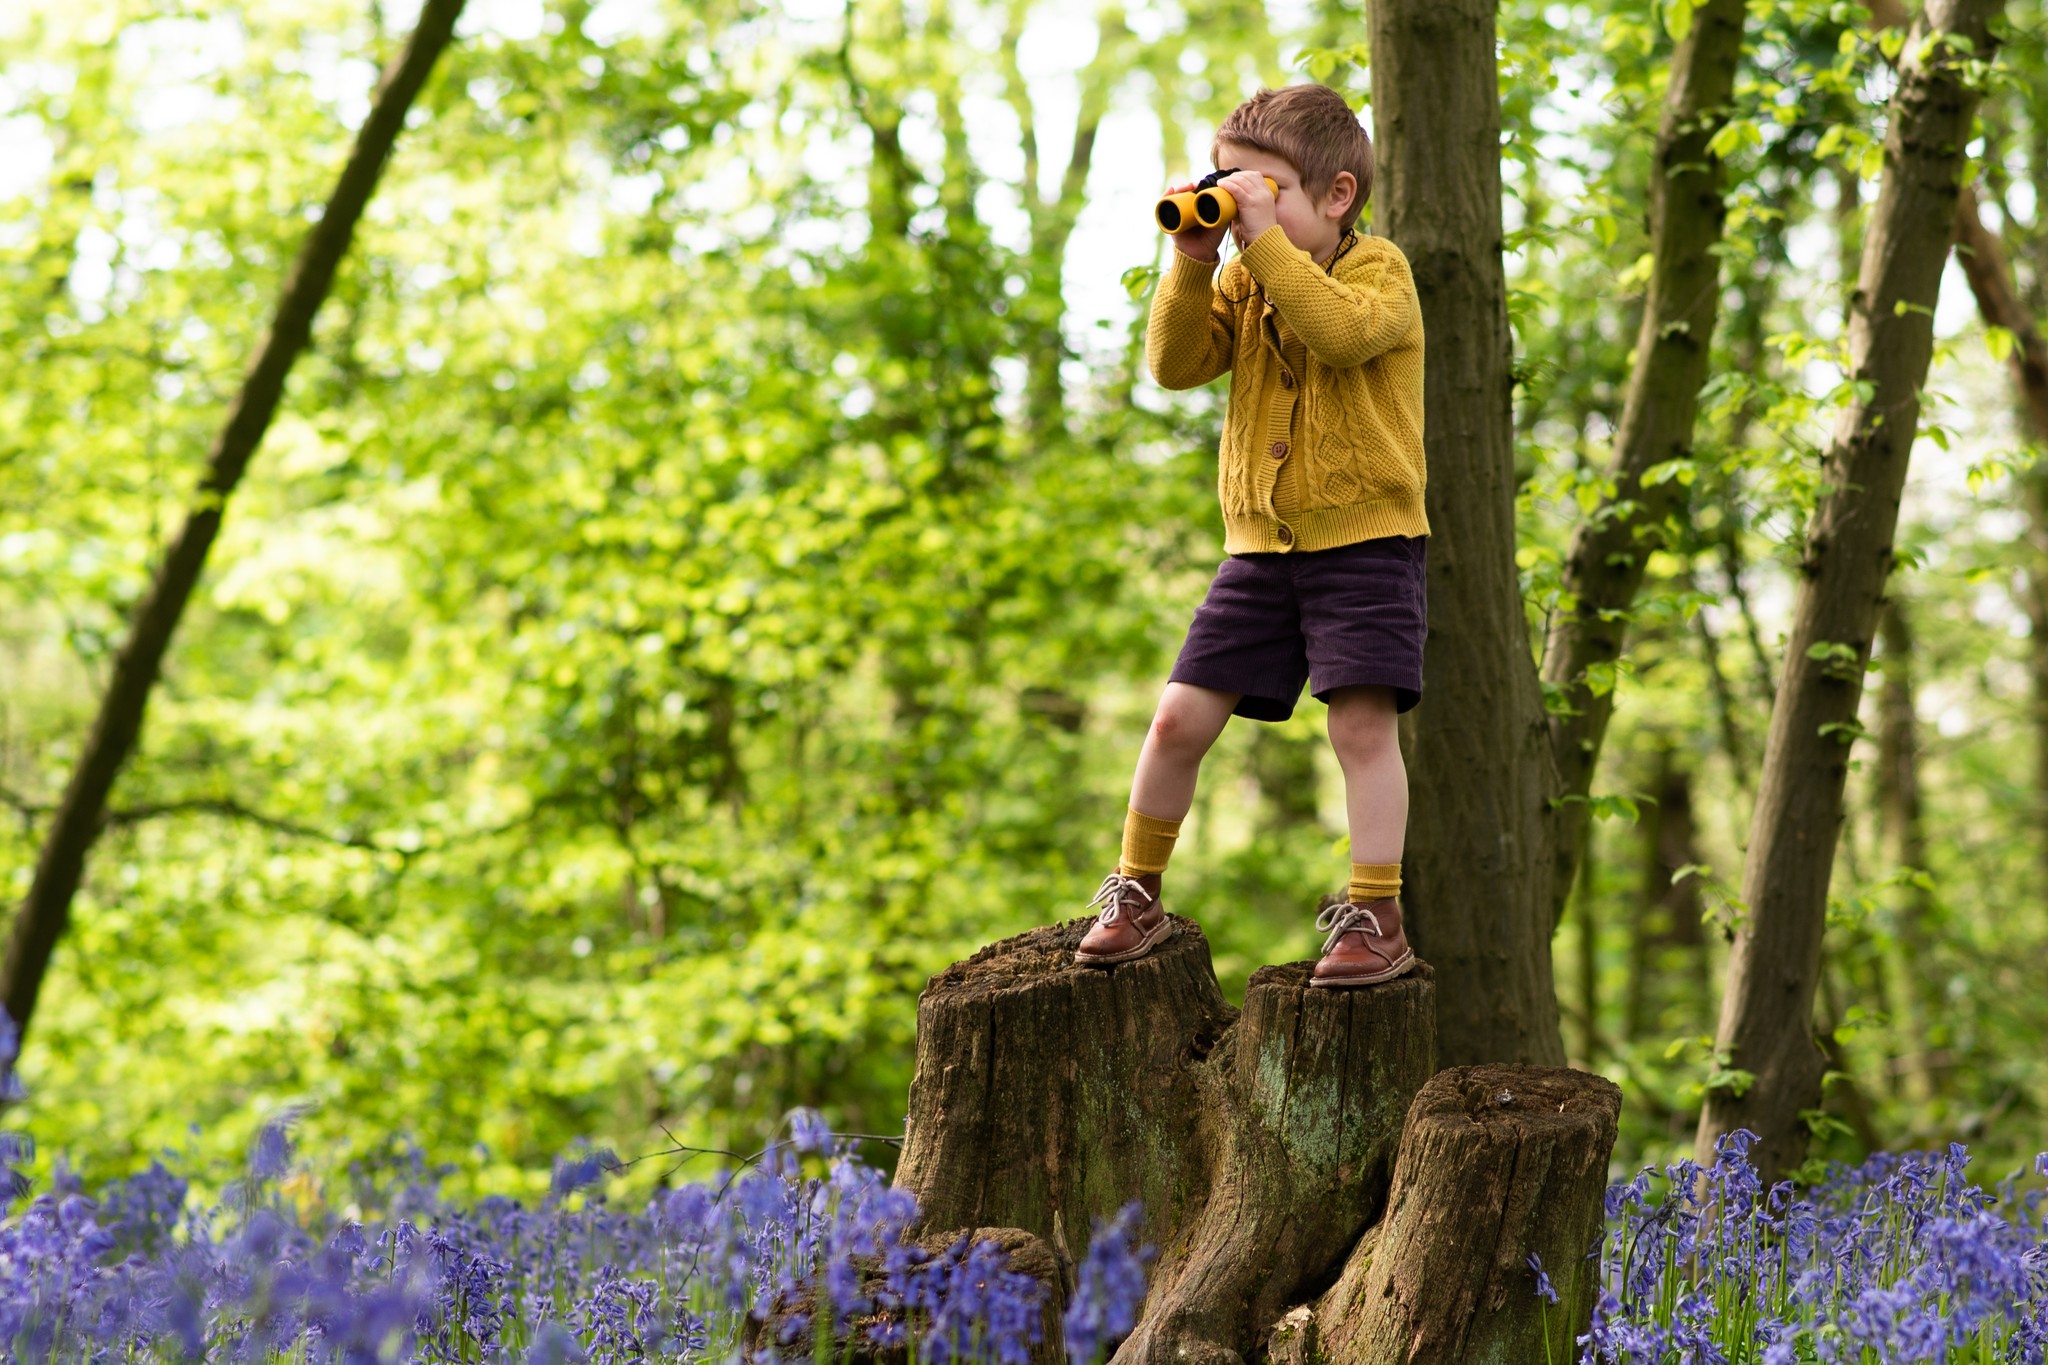
Photo By Diana Chende
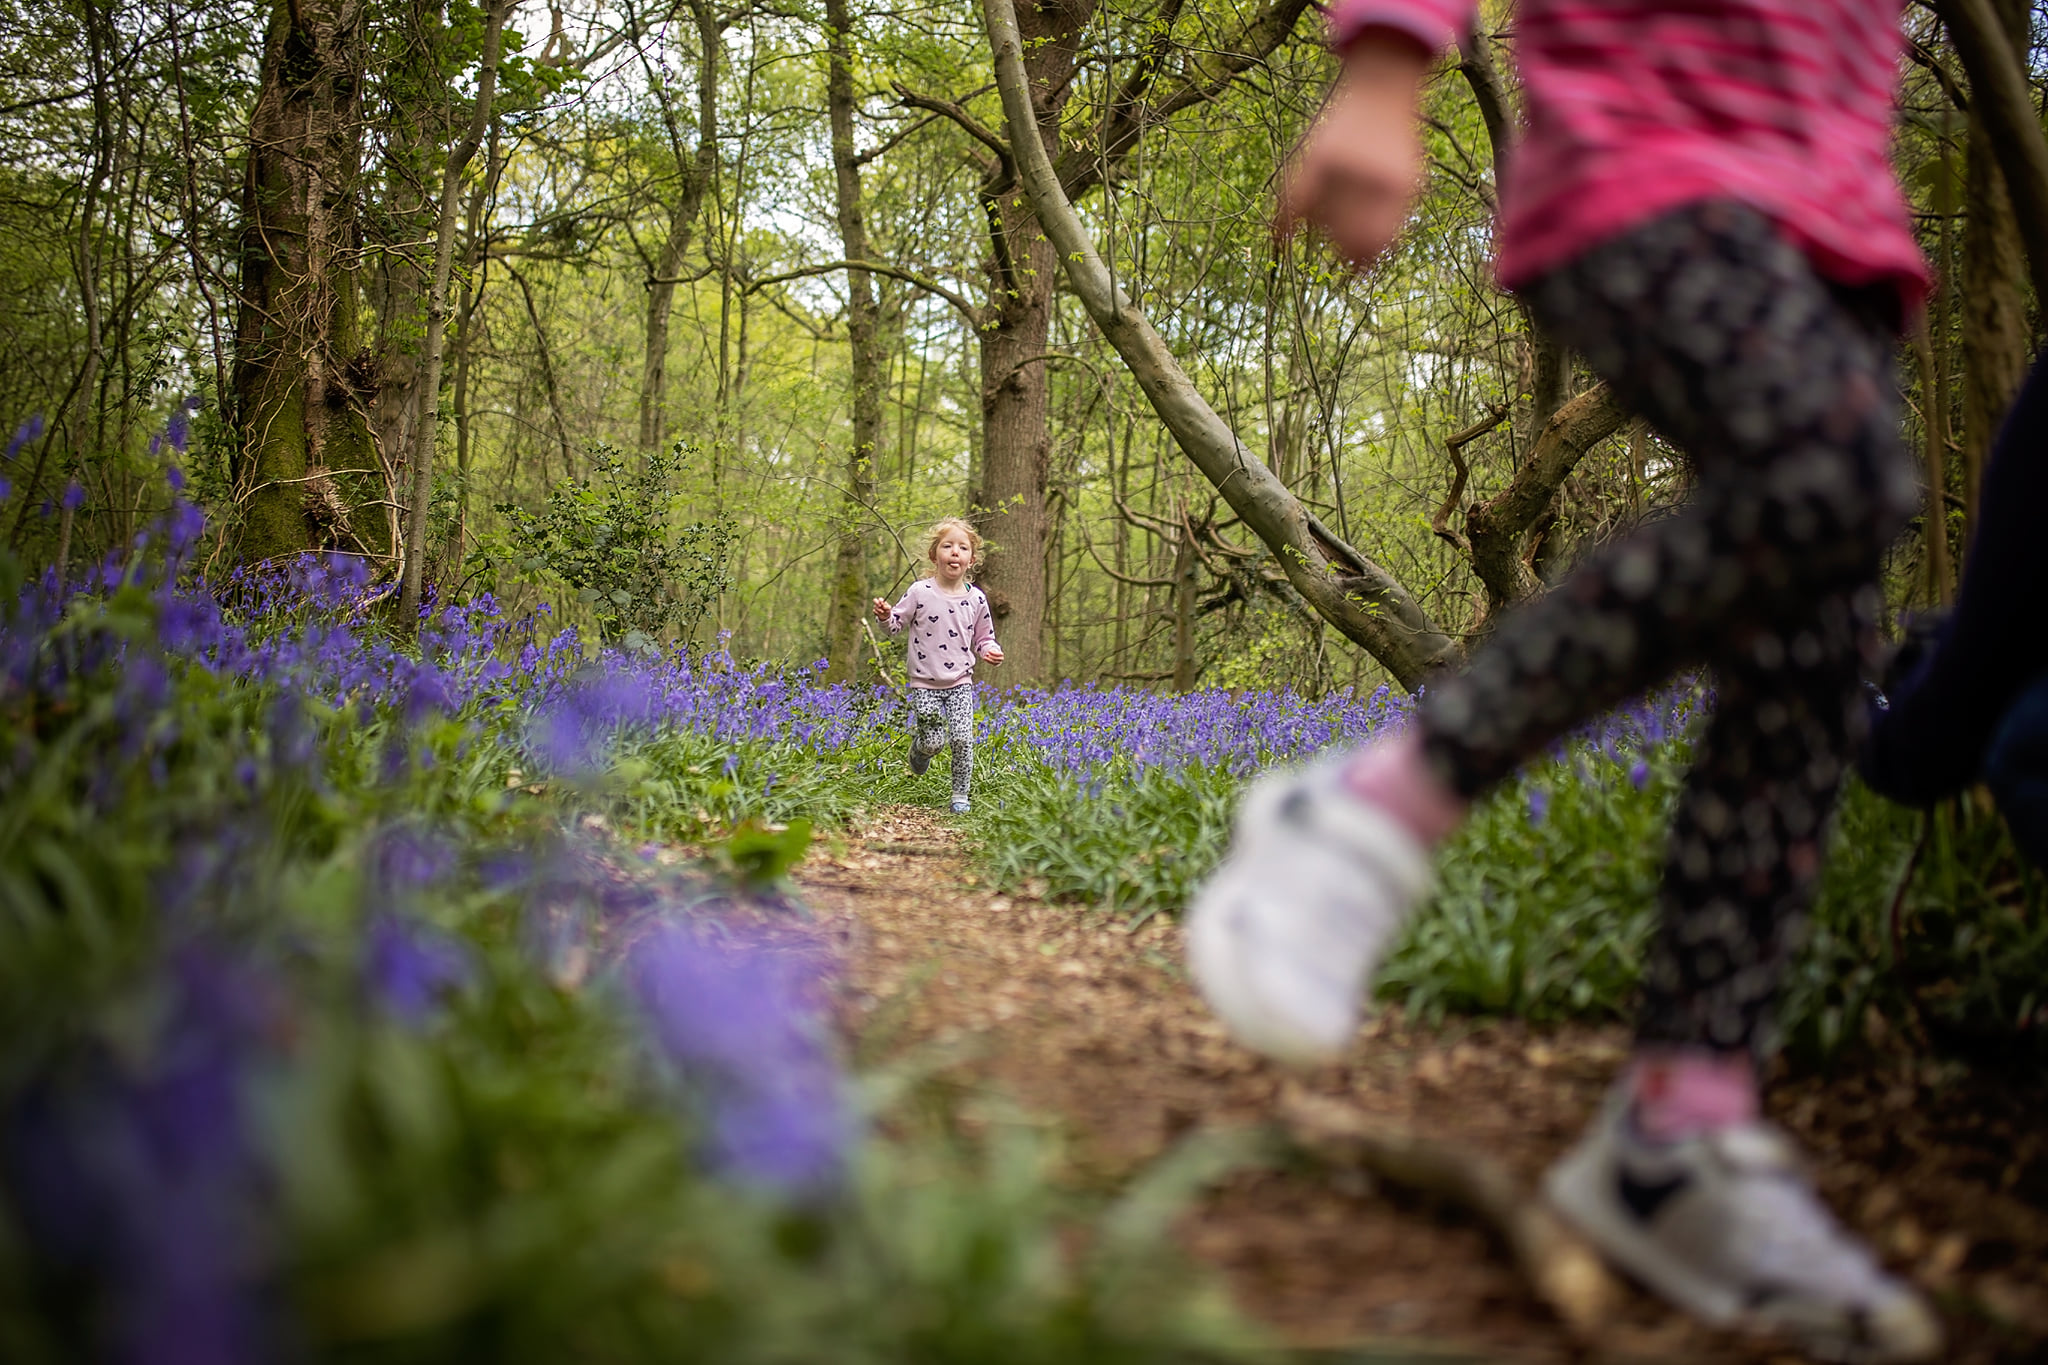
Photo by Lisa Friday
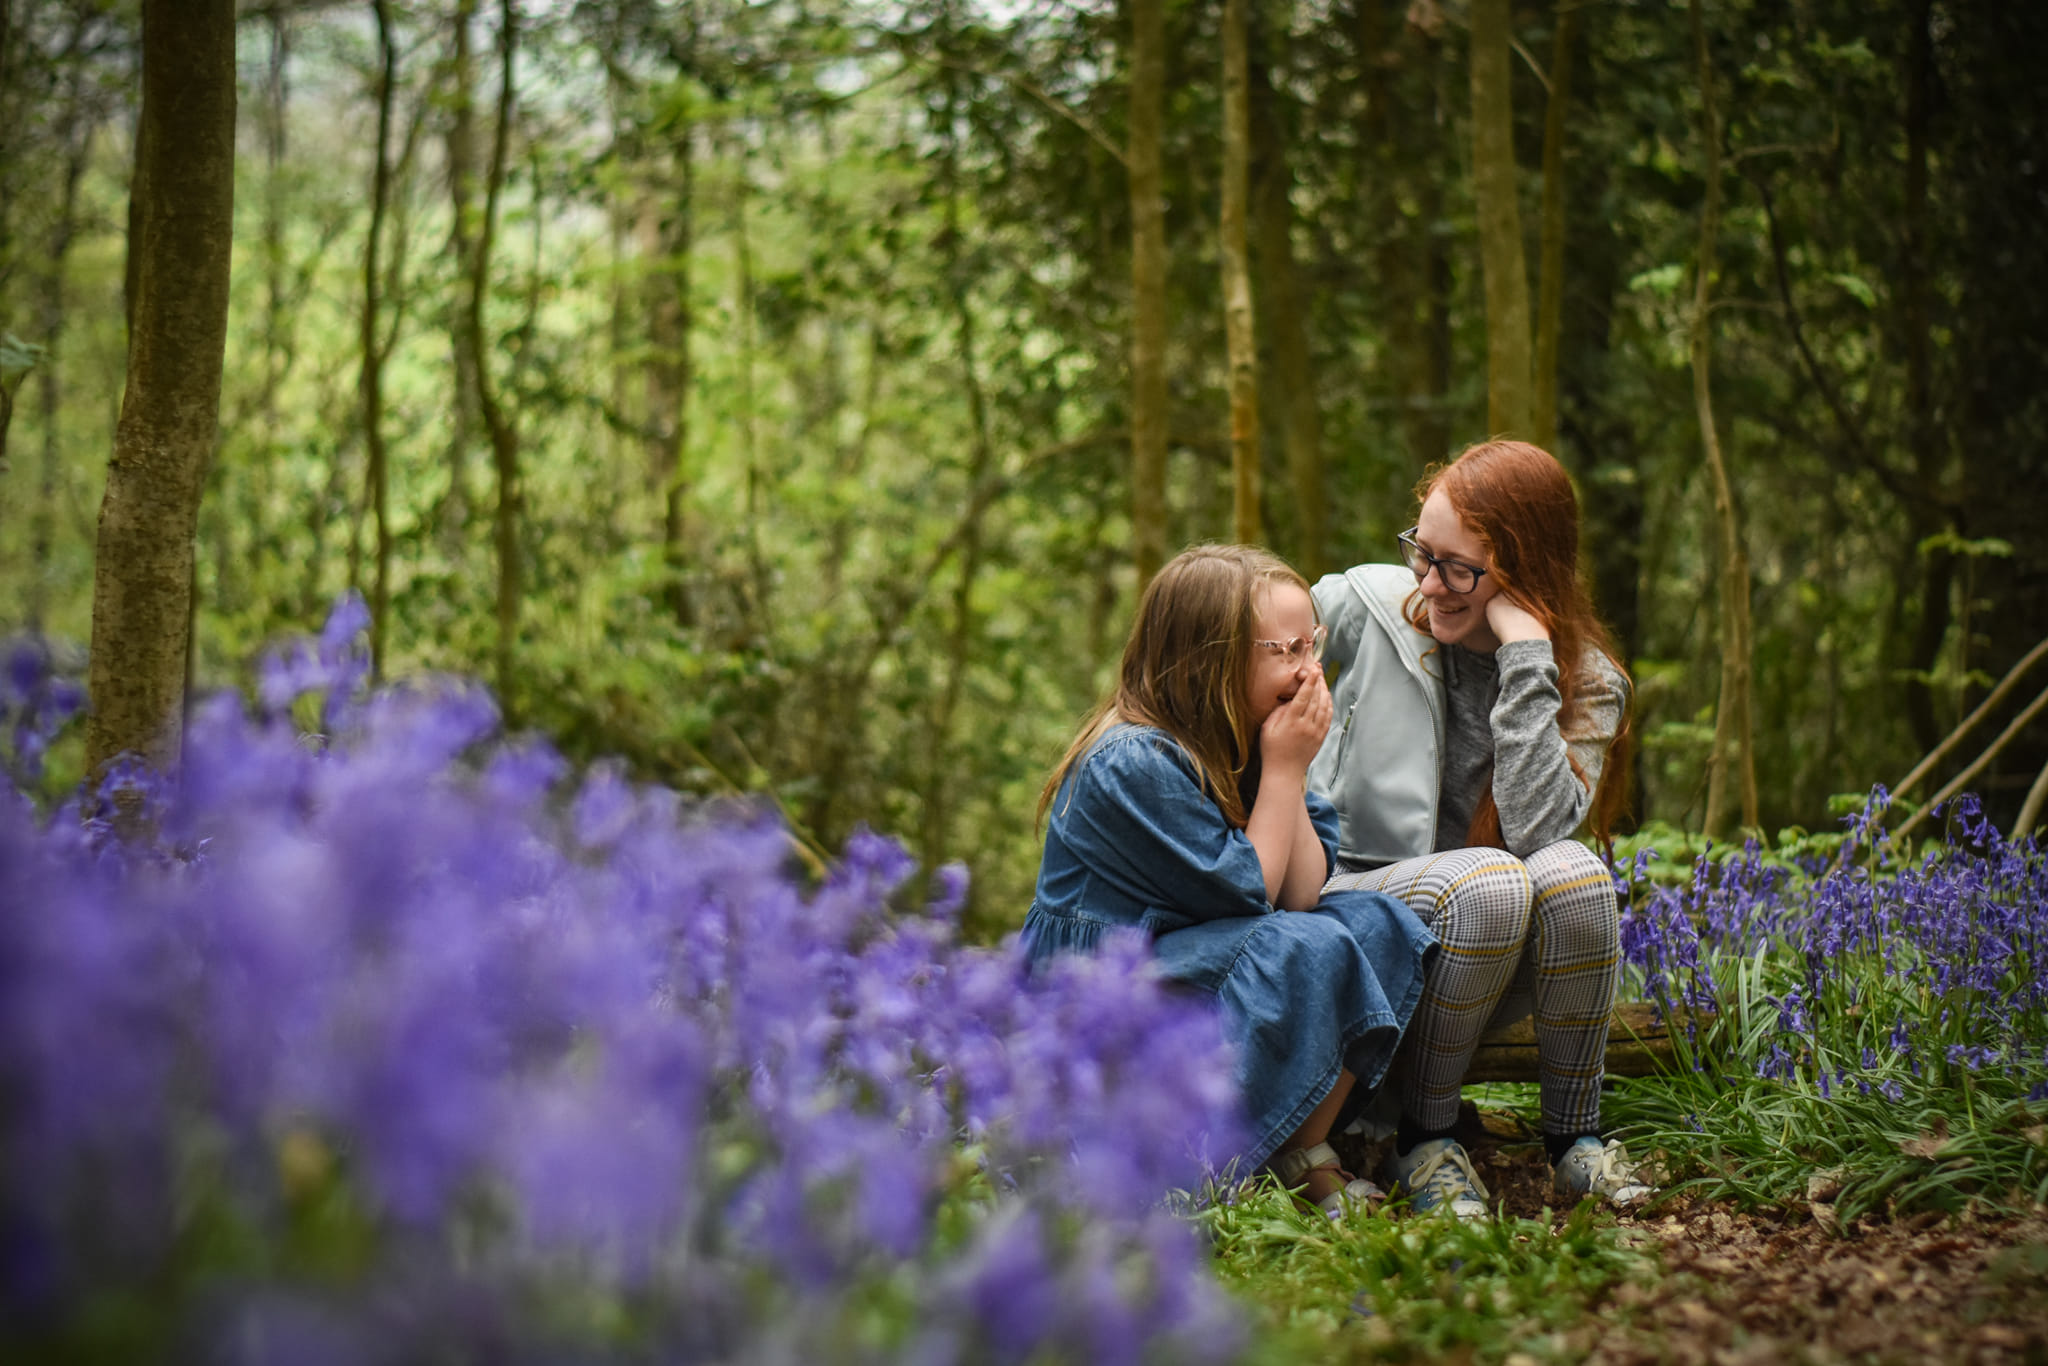
Photo by Suzy Hill
But wait - THERE'S MORE!
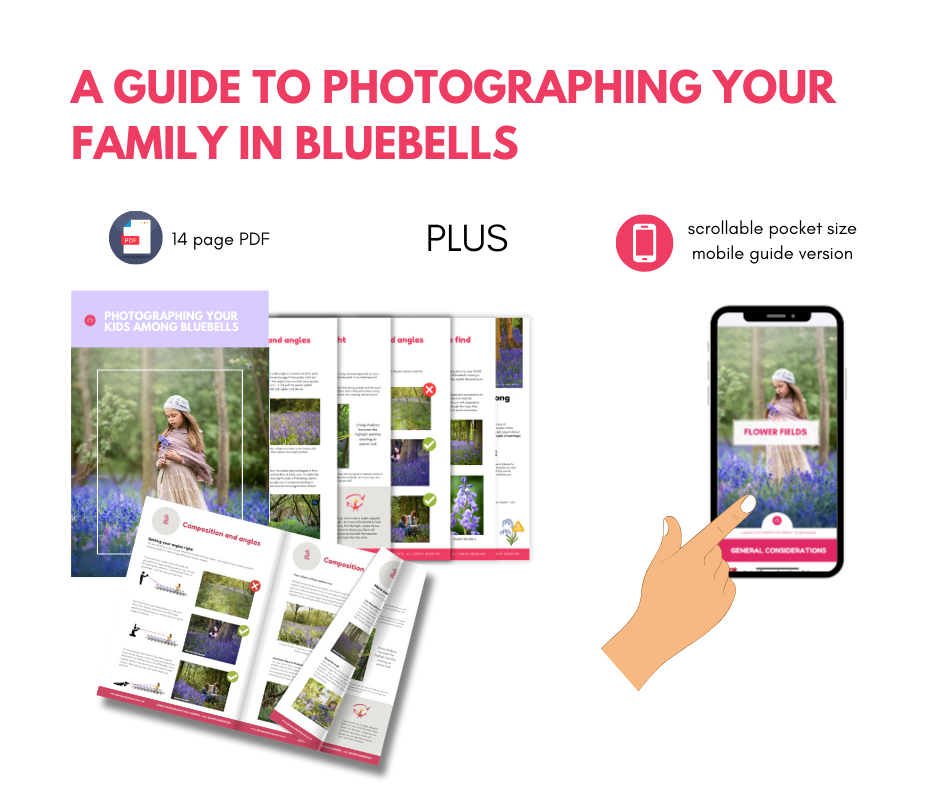
We've written a Comprehensive guide to capturing your family in bluebells covering more on the subject and in more detail - 14 pages to be exact!
And to make things even more convenient, so you can whip the information up on your phone as an when you need it, it even comes with a compact Pocket guide version, perfect for viewing on your phone!
And best of all, for a limited time ONLY - it's the price of a coffee!
Photoparents Guide to Photographing your family among Bluebells
£3.99
