Want to take bright, beautiful photos of your kids outside? Here are five simple light tips to help you make the most of what’s around you—no fancy equipment or techniques needed!
1. Notice What Kind of Light You Have
Before you start taking photos, take a moment to look at what kind of light is around you:
Harsh Direct Light
That’s unfiltered, un-interrupted sun light for you - shining directly onto your child. It can make colours pop, but it can also cause deep shadows on the face or make your children squint —not the most flattering for portraits!
Soft Overcast Light
Cloudy days create soft, diffused light that wraps gently around your child’s face. It’s great for portraits because it doesn’t create shadows or make them squint. Everything just looks soft and even.
How to Spot the Difference
Strong, sharp shadows mean direct light. Soft or barely-there shadows mean overcast light.

Soft overcast light is great for great portraits. Pic by Hannah Slater
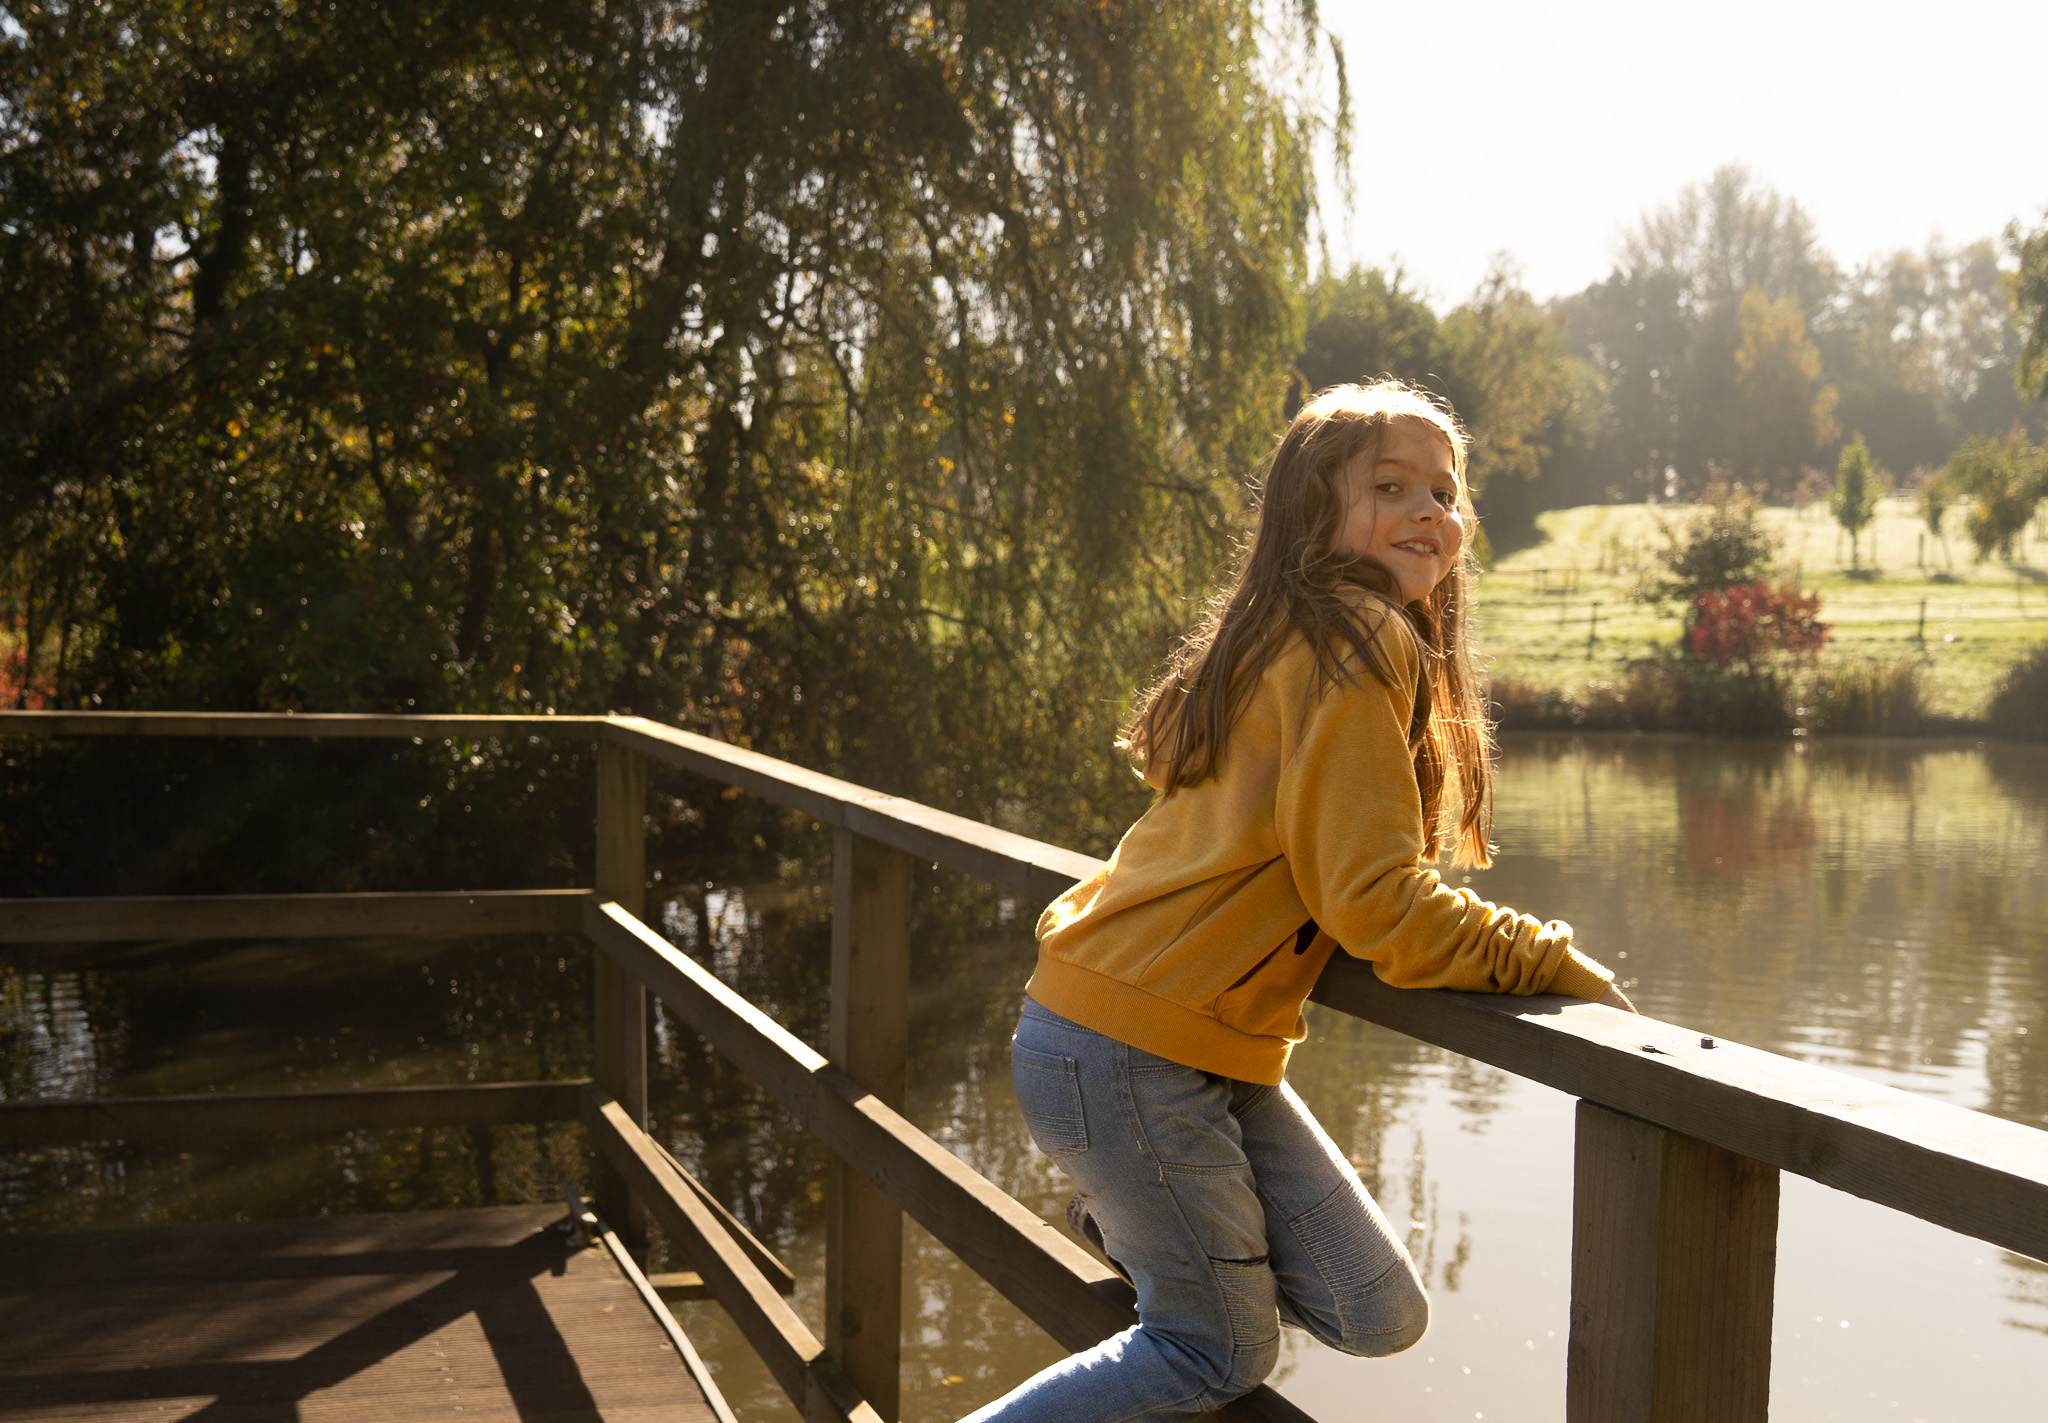
Hard light with bright highlights and dark shadows. Pic by Ania Wilk-Lawton
Pros and Cons
Direct Light Pros: Brings out bright colours and creates high contrast.
Direct Light Cons: Can cause squints, harsh shadows, and uneven lighting.
Overcast Light Pros: Even exposure with no squinting!
Overcast Light Cons: Colours may be a bit less vibrant.
2. Position Your Kids and Yourself Relative to the Light
Placement can make a big difference in your photos!
Avoid Facing the Sun Directly
Positioning your child right in the sun’s path can lead to harsh light and squinting. If only possible, avoid this like a plague!
Make the Most of Overcast Light
On a cloudy day, let your child face towards the brightest part of the overcast sky. This way, their face will be evenly lit without any harsh shadows with plenty of light in the eyes.
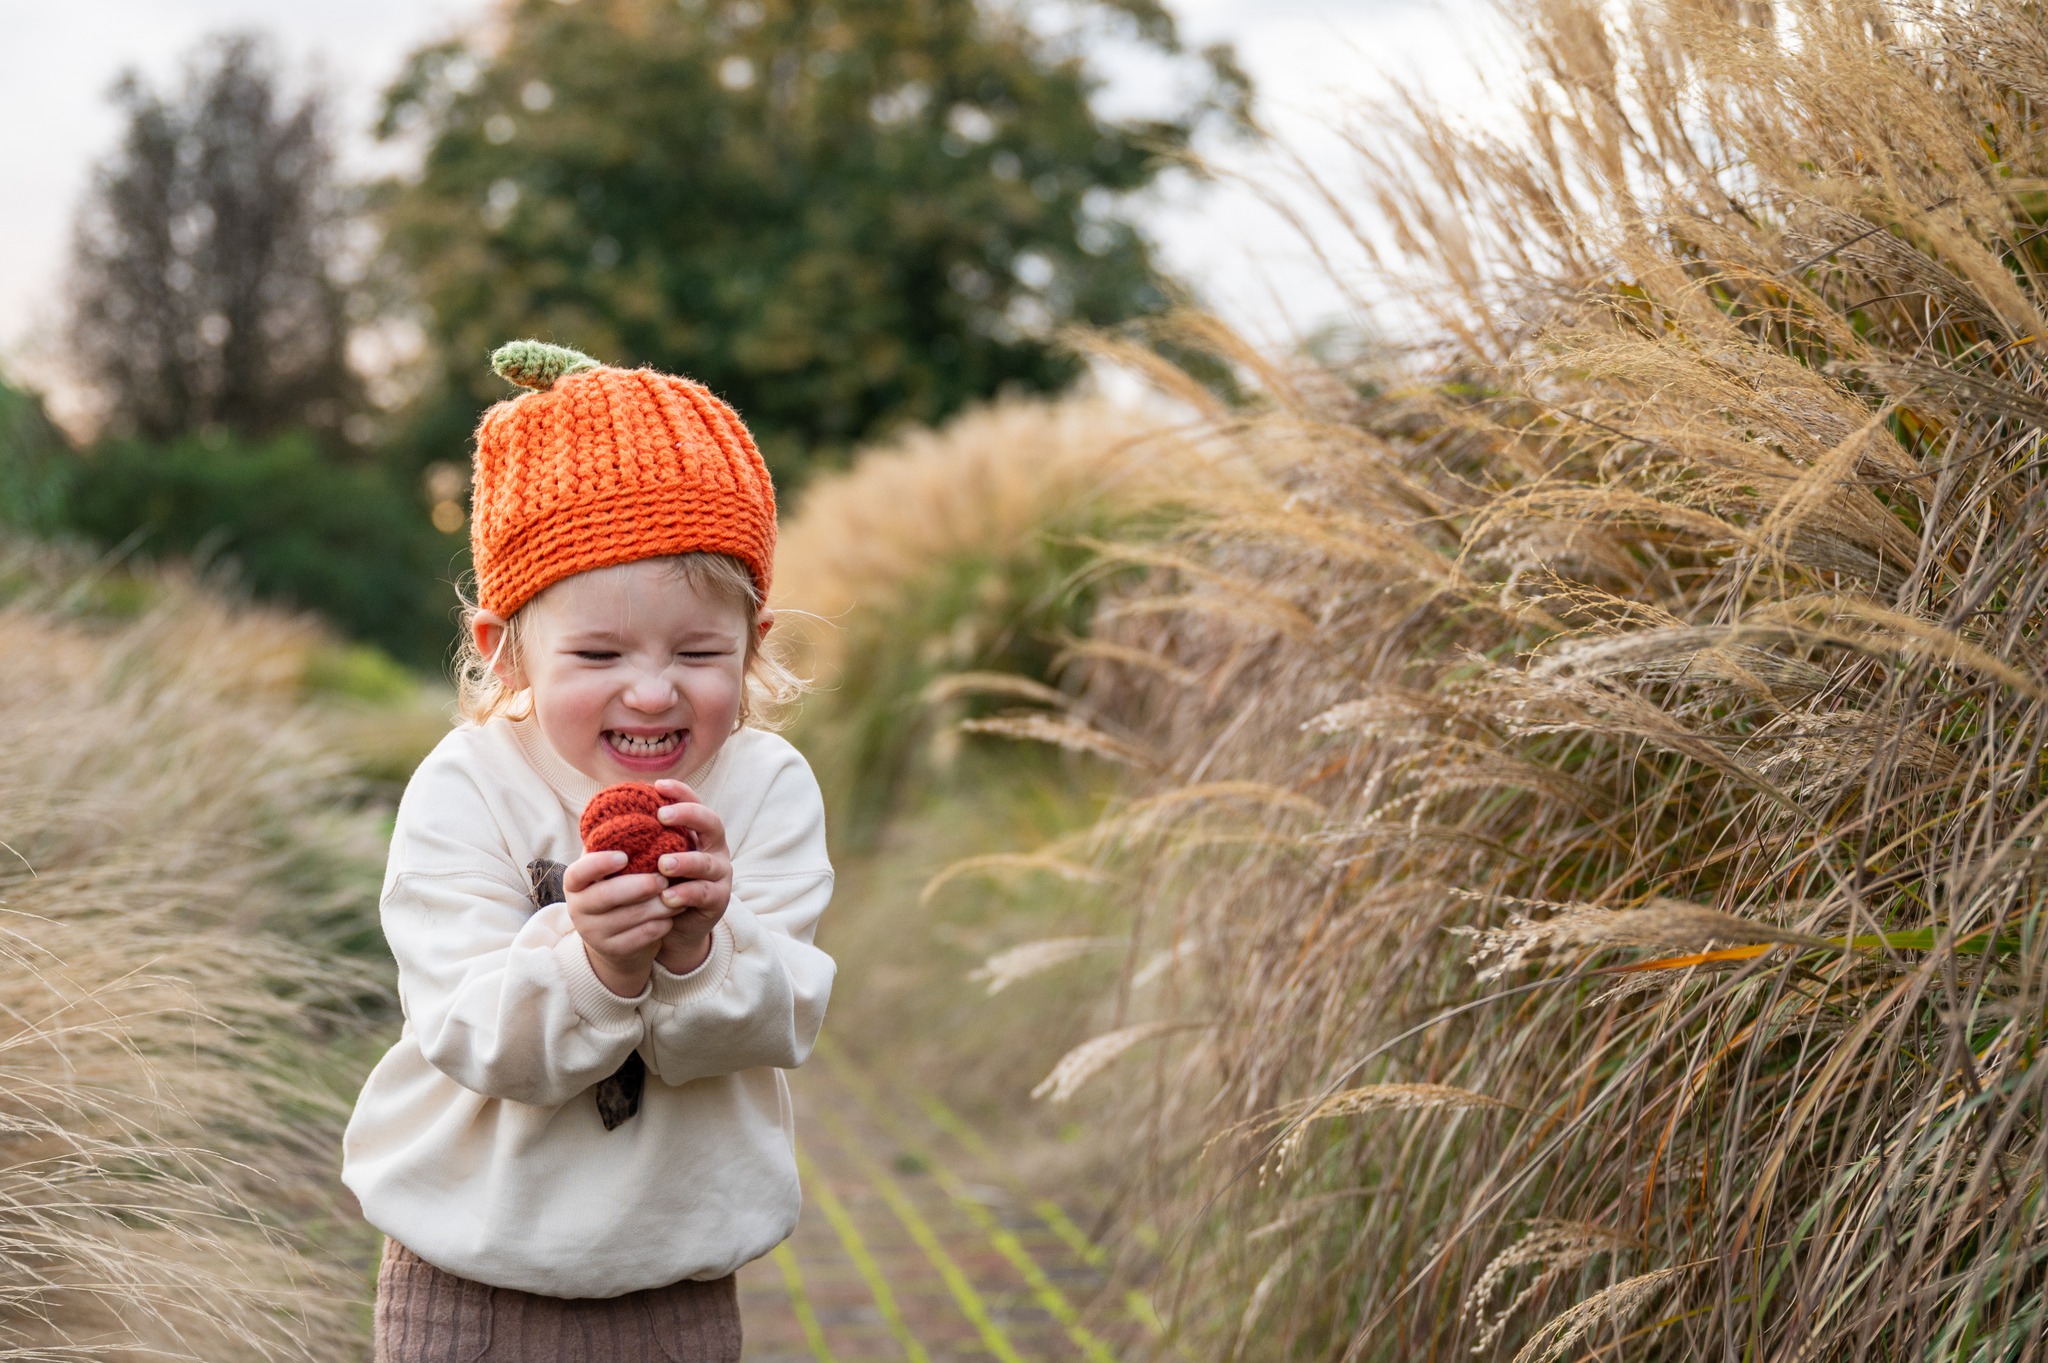
Lovely overcast light. Pic by Chloe Wolff
Try Putting the Sun Behind Them
If you place the sun behind your child, it can create a beautiful halo effect around their hair—adding a little magic to your shot! You might need to adjust your camera’s brightness (exposure) to make sure their face is well-lit, even if it means the background might look a bit brighter.
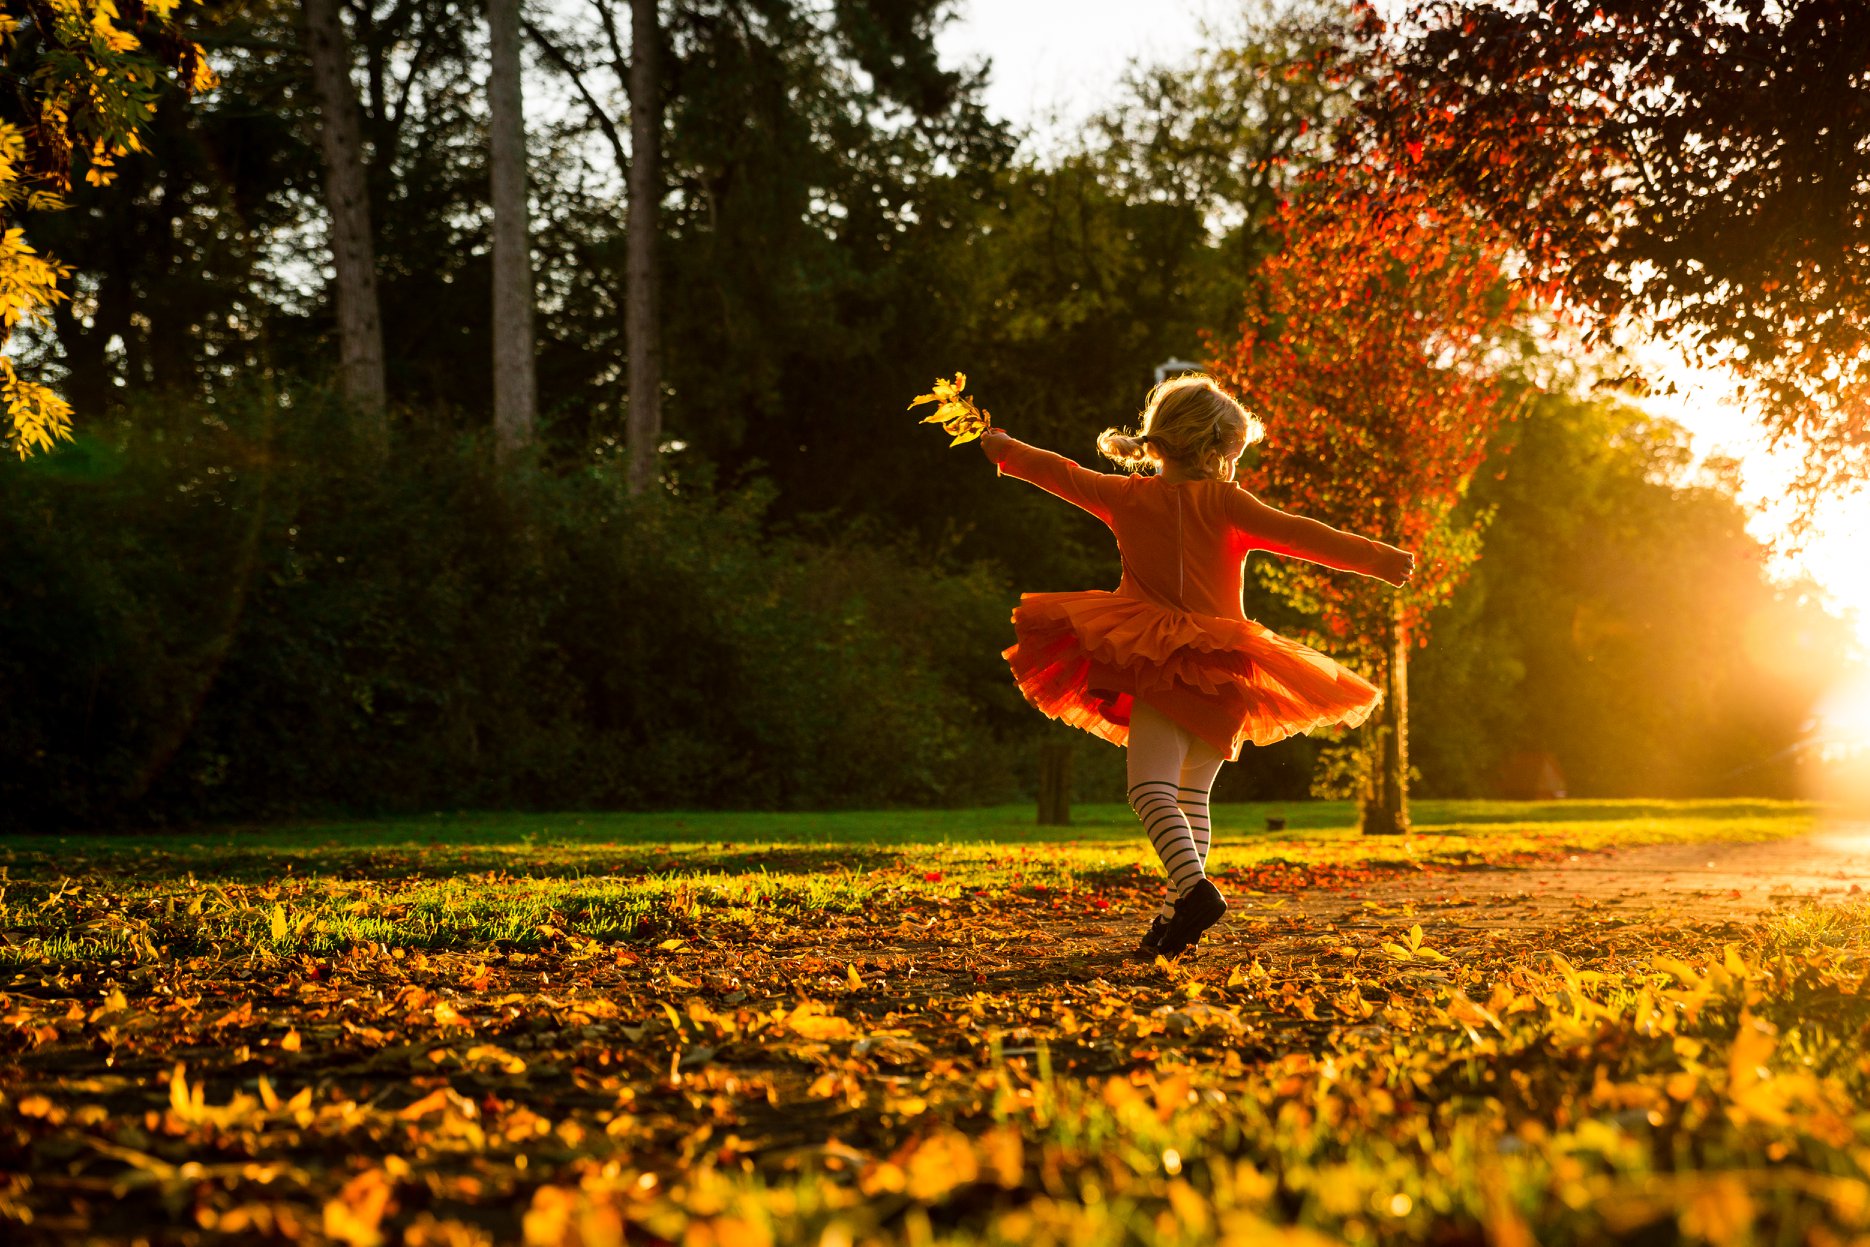
Putting the sun behind your subject can add a little magic to your shot! Pic by PFP grad Teresa Foyster
3. Find a Spot in the Shade
Open shade is like a secret weapon for great portraits!
Why Shade Works
Open shade happens when your child is shielded from direct sunlight but still surrounded by plenty of ambient light. This setup creates soft, even lighting without harsh shadows or squinting eyes.
Best Spots for Open Shade
Look for shade under trees, beside a building, or in the shadow of something larger. Just make sure their face is turned towards the main source of ambient light (like an open sky or lighter area) to keep everything looking bright and natural.

Gentle light in open shade. Pic by Ania Wilk-Lawton
4. Don’t Be Afraid of Using Flash!
People often think flash is only for indoors or at night, but it can be handy outdoors too!
Using Flash as “Fill Light”
If you’re shooting with the sun behind your child, a bit of flash can help lighten up the shadows on their face without overpowering the natural light. This is called “fill flash,” and it can make your photos look more balanced.
Flash Tips
Use flash sparingly—just enough to brighten their face without looking overly lit. Test it out a few times and adjust the flash strength if needed.
5. Adjust the Exposure as You Need It
Sometimes, automatic settings don’t capture light perfectly—especially in tricky lighting.
Exposure Compensation
If your photos look too dark (underexposed) or too bright (overexposed), you can fix this! Most smartphones allow you to tap on the screen to focus on your child and then use a slider or brightness icon to adjust the light.
Pro Tip: When the sun is behind your child, slightly increase the exposure to make sure they’re well-lit. The background might look a bit washed out, but your child will be nicely lit up!
