Your guide to photographing the Northern Lights - Aurora borealis
What a treat we had last weekend in the UK where for the first time in a long long time, we were able to see with the naked eye something that's been on many people's bucket lists. I loved my social feeds filling up with amazing photos of this astounding phenomenon - many of them from our students and community members so we thought it was only right to show them off while giving you a comprehensive guide to capturing the Northern Lights - enjoy!
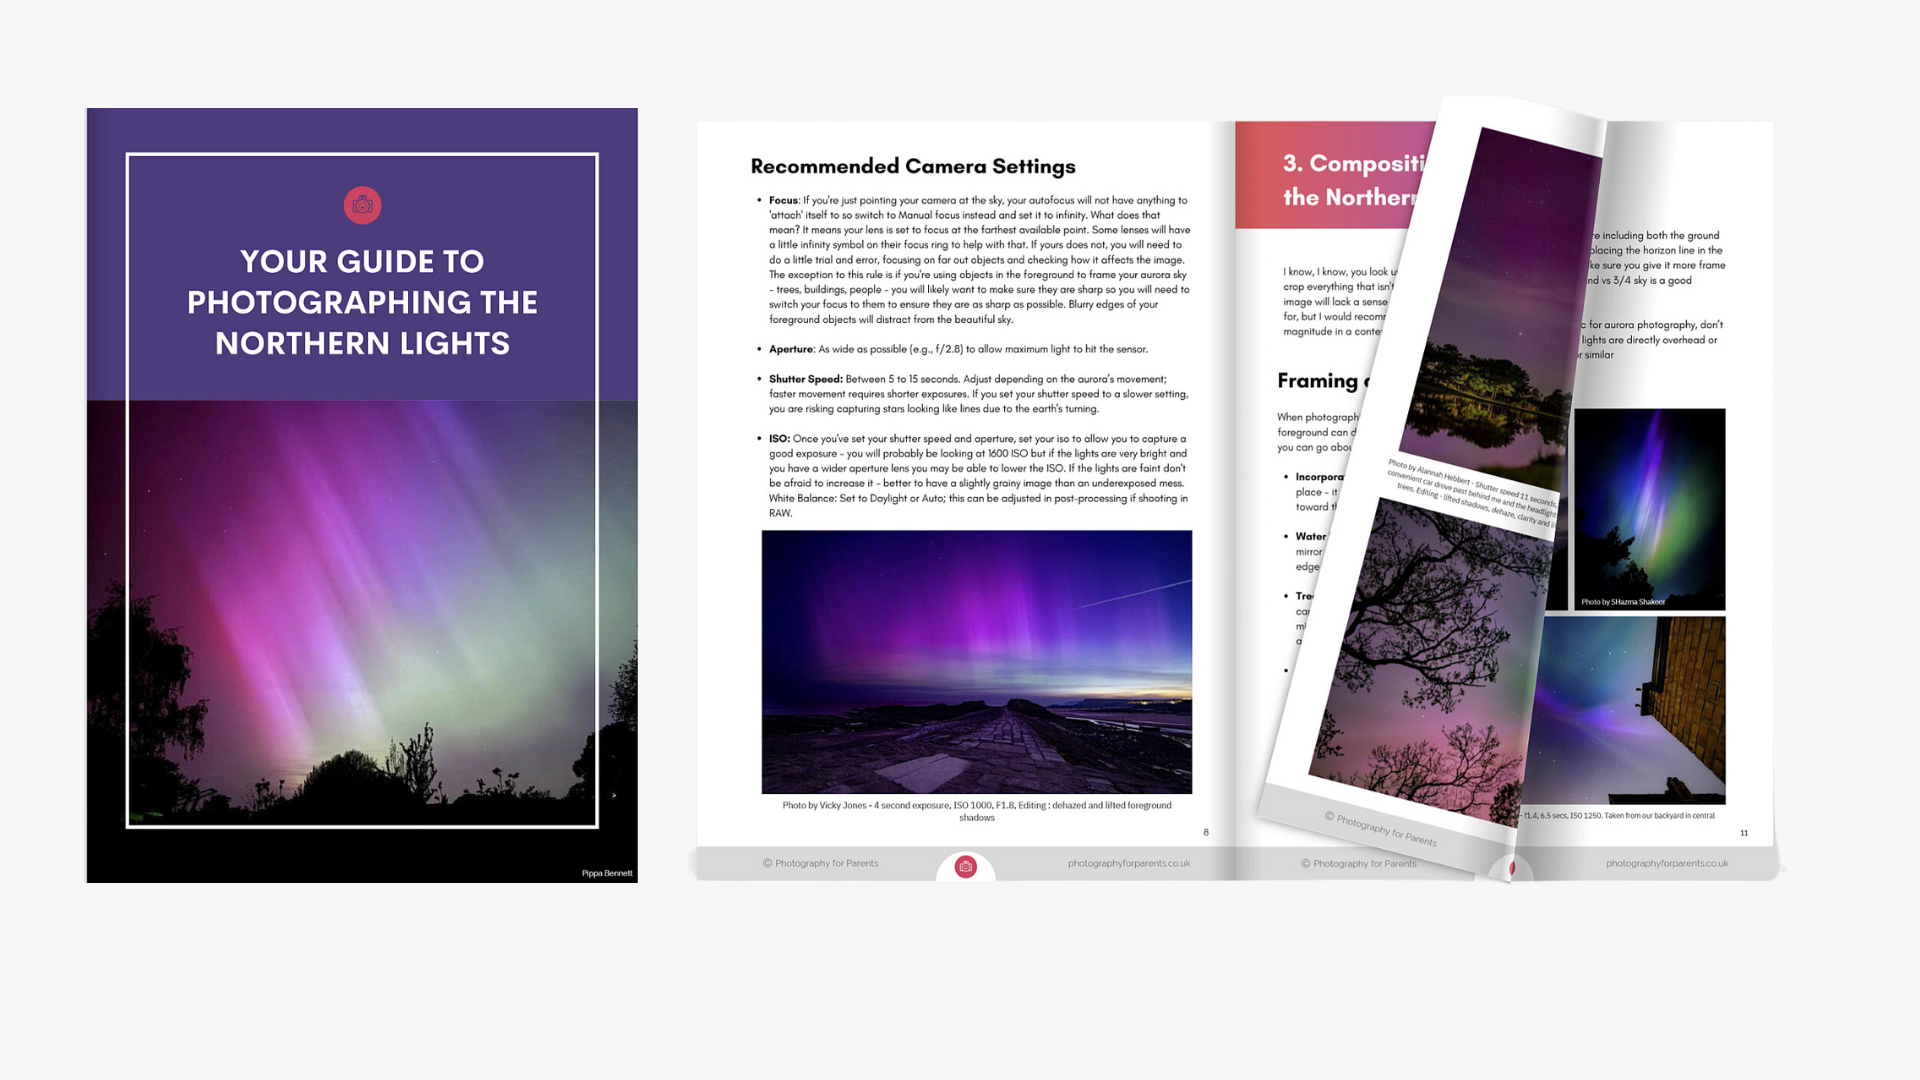
BTW, if you want to download this guide in PDF form that you can save to your device and bring out whenever needed, you can do so! We created a downloadable PDF version of the guide just for that reason. Enjoy!
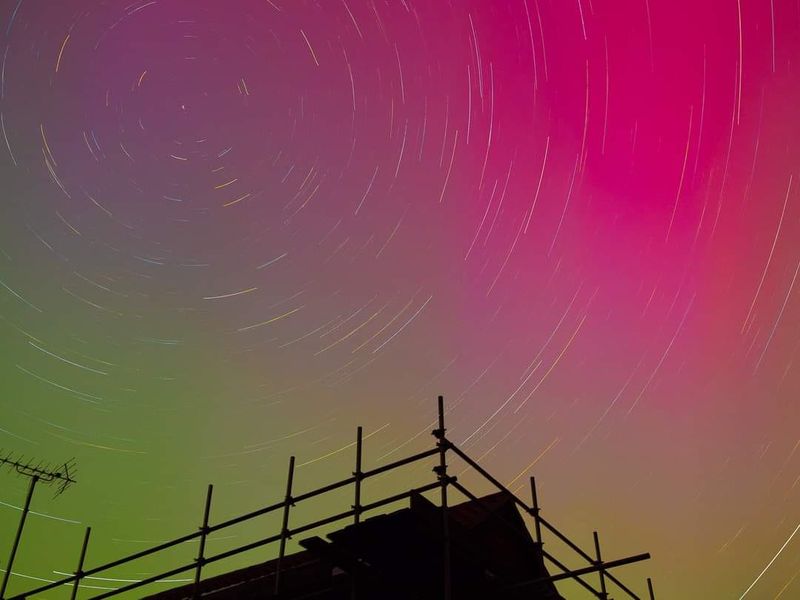
Photo by Sarah Talbot - captured with Olympus OM-1 Starry Skies setting. An hour and a half exposure, 30 second shots which the camera stitched together. F4 ISO 400
1. Understanding the Aurora Borealis
What Causes the Aurora Borealis?
The Aurora Borealis is a result of interactions between the Earth’s magnetosphere and charged particles from the sun. These particles are carried towards Earth by the solar wind and interact with the magnetosphere's magnetic field. As these charged particles collide with oxygen and nitrogen in the Earth's upper atmosphere (around 80-300 km above the surface), they emit light that is visible from the ground under dark conditions. This process creates the beautiful, dancing lights of the aurora.
Factors Influencing the Northern Lights
The likelihood of the Aurora Borealis appearing depends on several factors:
- Solar Activity: High solar activity, such as solar flares and coronal mass ejections (CMEs), increases the intensity and frequency of auroral displays - a particularly massive coronal mass ejection was the reason for our recent sky spectacle
- Geomagnetic Activity: The KP index measures geomagnetic disturbances. A higher KP index (3 and above) means a greater chance of seeing the Northern Lights. Anything above 5 is classes as a light storm
- Time of Year: Auroras are more commonly observed around the equinoxes due to the Earth's position relative to the sun, enhancing geomagnetic activity.
- Location: Closer proximity to the poles (the Arctic and Antarctic circles) increases the likelihood of auroral activity. Prime locations include northern parts of Norway, Sweden, Finland, Iceland, Canada, and Alaska - although as we saw seen last weekend, if the conditions are right, the aurora can be observed further south as well
- Weather and Light Conditions: It goes without saying, but clear, dark skies are essential as clouds and full moonlight can obscure the auroras.
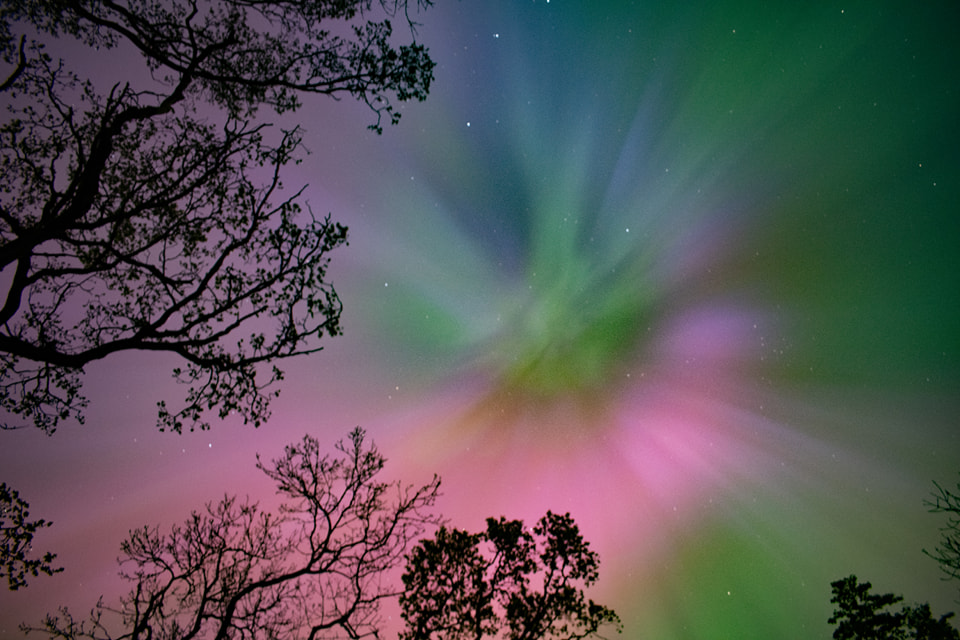
Photo by Ruth Elizabeth
How do you know if an Aurora is likely to appear?
To maximise your chances of capturing the Northern Lights, you can use several apps and websites that forecast auroral activity:
- Space Weather Live: Offers real-time solar activity and aurora forecasts.
- My Aurora Forecast App: An easy-to-use app that gives alerts when auroral activity is likely to be high in your location.
- NOAA Space Weather Prediction Center: Offers comprehensive space weather forecasts, including geomagnetic storms that can produce auroras.
- Glendale app - aurora UK forecast - an accurate and pro bono app with aurora predictions tailored to your specific location
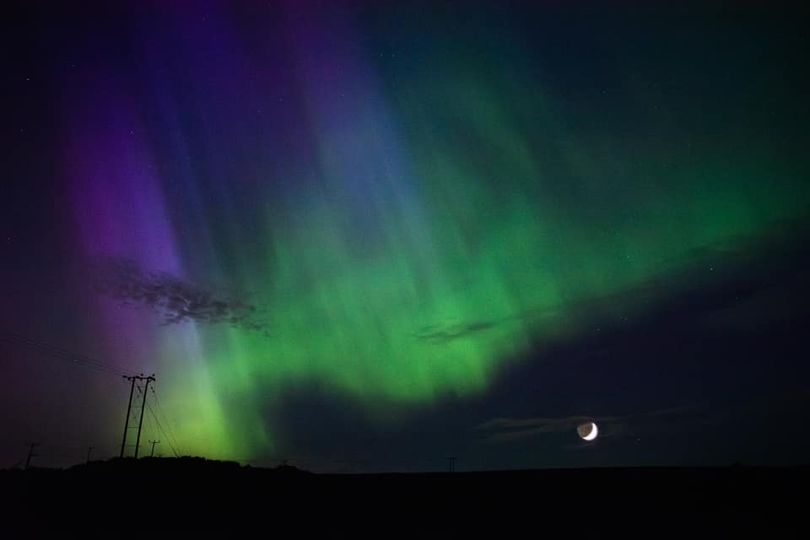
Photo by Natalie Michie - 'Taken with Nikon D810. Didn’t have a tripod, so the iso was a lot higher that I wanted. Basic adjustments, vibrance and de noise in LR'
2. Camera Equipment and Settings
Can you photograph the Northern lights with just your phone - yes. Is it better to use your 'proper' camera if you have one - also yes. Here is why.
First things first - let's talk about your phone and it's ability to capture northern lights. As the Northern Lights were lighting up our skies last weekend, many people observed that they were able to see the lights better on their phones than with the naked eye. That is because your phone camera ( the better onces anyway) dynamically adapts itself to low light, giving a boost to colour and saturation and filtering and amplifying certain light frequencies to capture a photo in a dark environment. So the aurora image that you were capturing was being boosted as you were capturing it.
If you tried using your DSLR or a Mirrorless, you were probably not really seeing that - so why shouldn't you just give it up and use your phone? The answer is - more data, more control and less noise.
- More data: The bigger sensor in your camera is capable of capturing more data - and while it may not be amplifying it off the bat, especially if you shoot RAW you can actually get more out of it if you edit it afterwards - more on it later. RAW images contain a huge amount of light and colour information, but it's a bit like ingredients that have not yet been cooked - they're not 'singing' yet. When you edit that image, you're able to 'pull' a lot more colour and light out of that image and make your aurora images shine as bright as you want without relying on the phone's built-in auto processing software.
- More control - with your camera, you can control your settings and decide how bright you want your image, the exposure time and other settings that can be really helpful in ensuring your photo comes out exactly the way you want it, including control of the grain / noise level and degree of exposure
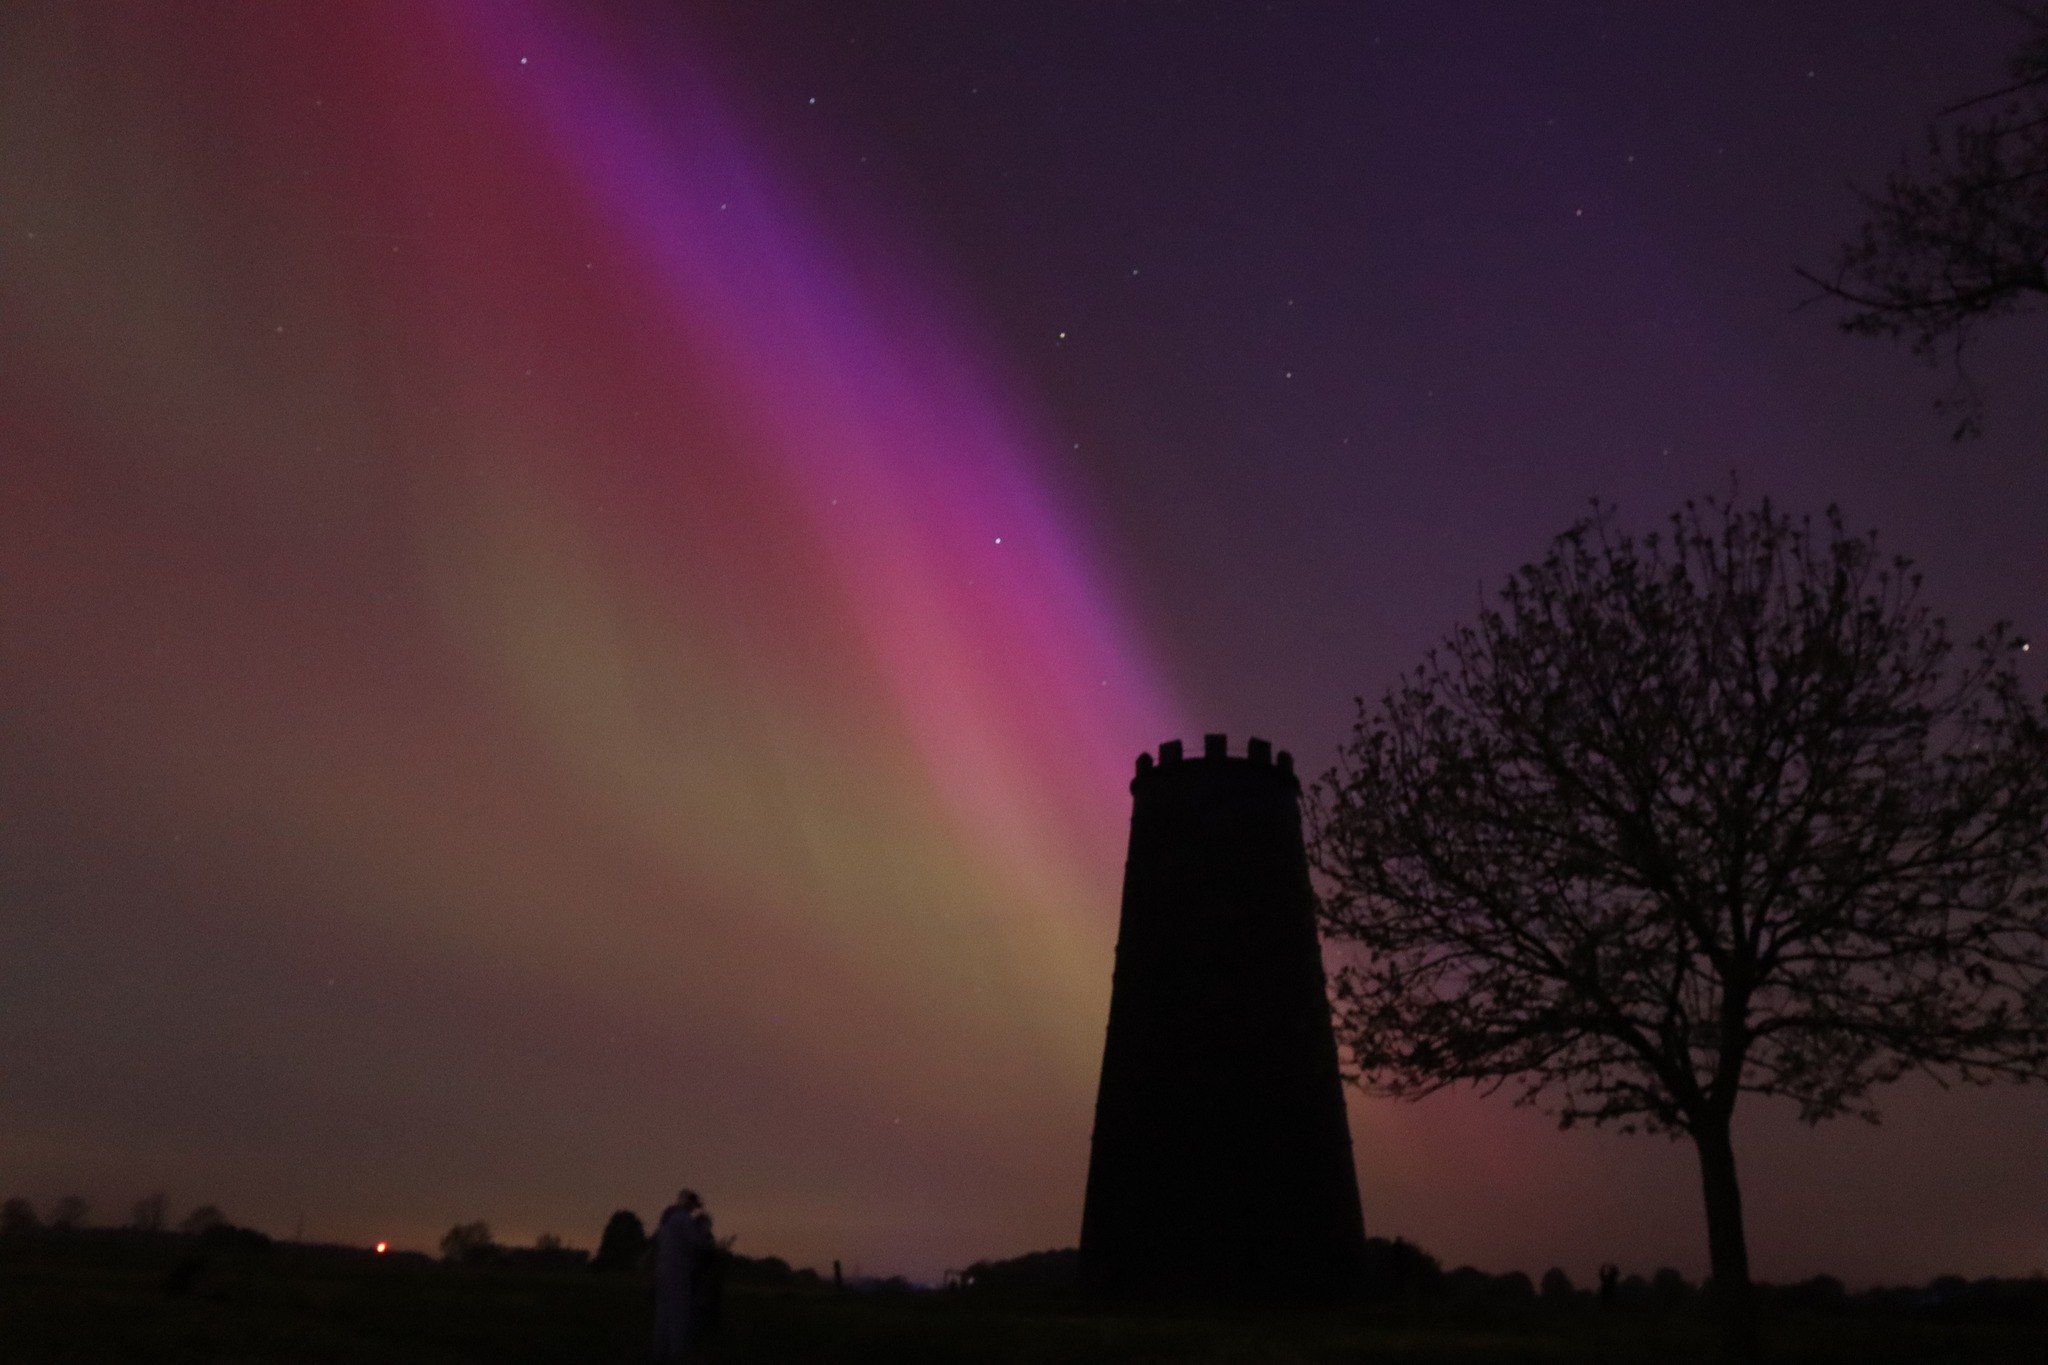
Photo by Sarah Lawson - ISO 3200, 16mm, 6 second, f6.3, taken using manual focus.
Essential Camera Equipment
- Camera: A DSLR or mirrorless camera capable of manual mode is best for controlling exposure, focus, and ISO.
- Lenses: A wide-angle lens (24mm or wider) with a fast aperture (f/2.8 or lower) is ideal so you can capture a good portion of the sky. Wide aperture capability means you will be able to let more light into the camera faster which will help reduce grain and the chance of camera shake.
- Tripod: A sturdy tripod is crucial to eliminate camera shake during longer exposures.
- Extra Batteries and USB cards: Cold weather can drain batteries quickly, so bring extras. An extra USB card is always a good idea - can you just imagine setting out to take the once in a lifetime photos only for your USB card to fail? *shudders*
- Remote Shutter Release / App : To prevent camera shake when pressing the shutter button.
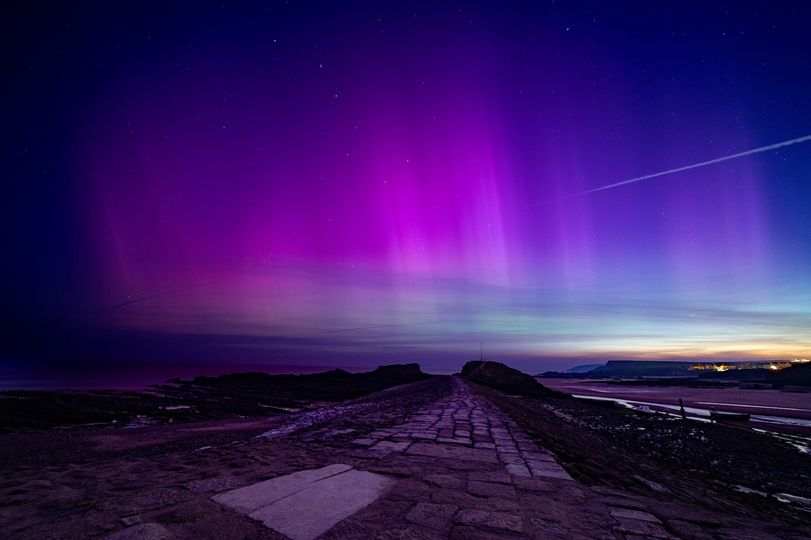
Photo by Vicky Jones - 4 second exposure, ISO 1000, F1.8, Editing : dehazed and lifted foreground shadows
Recommended Camera Settings
- Focus: If you're just pointing your camera at the sky, your autofocus will not have anything to 'attach' itself to so switch to Manual focus instead and set it to infinity. What does that mean? It means your lens is set to focus at the farthest available point. Some lenses will have a little infinity symbol on their focus ring to help with that. If yours does not, you will need to do a little trial and error, focusing on far out objects and checking how it affects the image. The exception to this rule is if you're using objects in the foreground to frame your aurora sky - trees, buildings, people - you will likely want to make sure they are sharp so you will need to switch your focus to them to ensure they are as sharp as possible. Blurry edges of your foreground objects will distract from the beautiful sky.
- Aperture: As wide as possible (e.g., f/2.8) to allow maximum light to hit the sensor.
- Shutter Speed: Between 5 to 15 seconds. Adjust depending on the aurora’s movement; faster movement requires shorter exposures. If you set your shutter speed to a slower setting, you are risking capturing stars looking like lines due to the earth's turning.
- ISO: Once you've set your shutter speed and aperture, set your iso to allow you to capture a good exposure - you will probably be looking at 1600 ISO but if the lights are very bright and you have a wider aperture lens you may be able to lower the ISO. If the lights are faint don't be afraid to increase it - better to have a slightly grainy image than an underexposed mess.
- White Balance: Set to Daylight or Auto; this can be adjusted in post-processing if shooting in RAW.
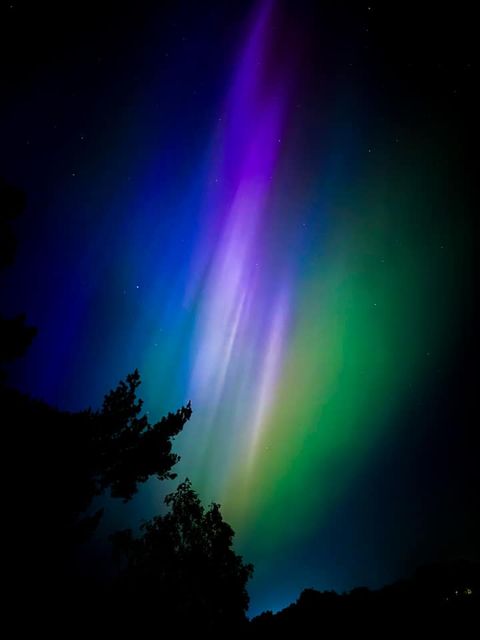
Photo by Shazma Shakoor 'Taken with my iphone 15 pro max with night mode turned on. I have edited this in Lightroom light on my mobile. I increased the exposure a smidge; increased contrast, whites, vibrance and dehaze; reduced shadows, highlights and blacks.'
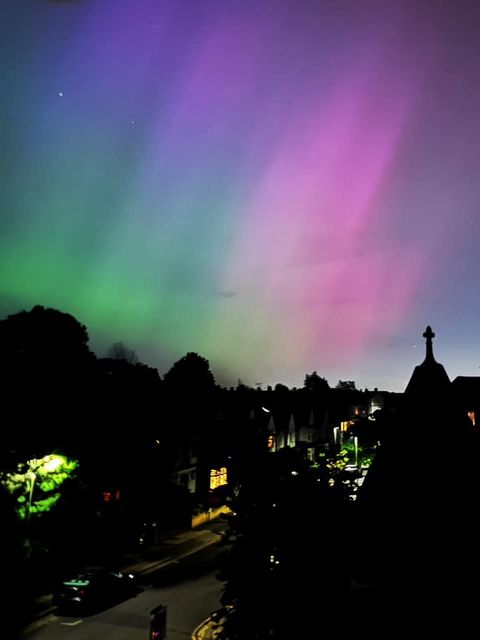
Photo by Rachel Hudson Field - captured on a smart phone and edited lightly in Lightroom to lift up the brightness.
3. Composition Tips for Photographing the Northern Lights
I know, I know, you look up and see the beautiful sky, the temptation is to just capture that, to crop everything that isn't it. But I urge you to rethink it. Without other elements in the frame, the image will lack a sense of scale and will feel a little abstract. It's fine if that's what you're aiming for, but I would recommend using your space to ground and anchor it a little to show its magnitude in a context that's instantly understandable to the viewer.
Framing and Foreground Interest
When photographing the Northern Lights, the way you frame your shot and what you include in your foreground can dramatically affect the impact of your final image.
- Incorporate the wider landscape : Use the natural or urban landscape to create a sense of place - it all can add to the composition. Position these elements to lead the viewer’s eye toward the aurora display or to frame it.
- Water Bodies: If you are near a lake, fjord, or ocean, consider how you can use water as a mirror for the aurora, doubling the visual impact. Position your camera close to the water’s edge to maximise the reflection of the lights in the water.
- Trees and Forests: Trees can frame your photographs beautifully, especially if you can capture the aurora through a gap in the branches or over the top of a silhouette forest line. Be mindful of the balance between the sky and the land; too many trees can block the view of the aurora, while a few well-placed trees can enhance the composition.
- Snow and Ice: In winter, snow and ice add a magical element to night landscapes. Snow-covered fields or icebergs can reflect the aurora’s glow, adding light and colour to the lower parts of your images. Use these elements to create a balanced composition between the cool snow and the warm aurora.
- People : Including people in your composition can create a more human connection for the viewer and the instantly recognisable scale of a person provides additional scale comparison for the night sky.
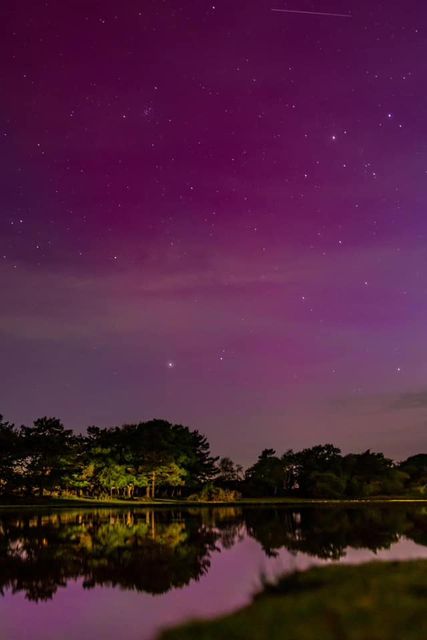
Photo by Alannah Hebbert - Mirrorless camera capture : 'shutter speed 11 seconds, F2.8, iso 1000. A convenient car drove past behind me and the headlights illuminated the trees. Editing - lifted shadows, dehaze, clarity and lifted whites.'
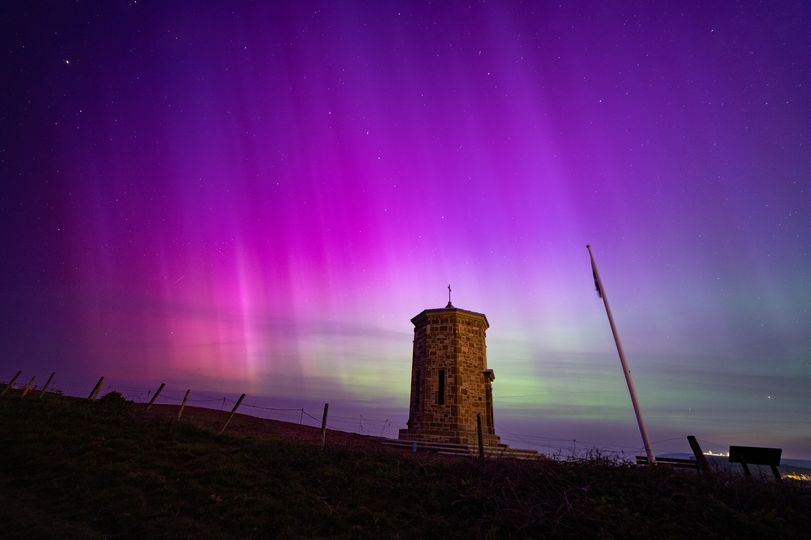
Photo by Vicky Jones - 14mm, F1.8, ISO2000, 6secs. Editing - bit of dehaze and took the blacks back a bit
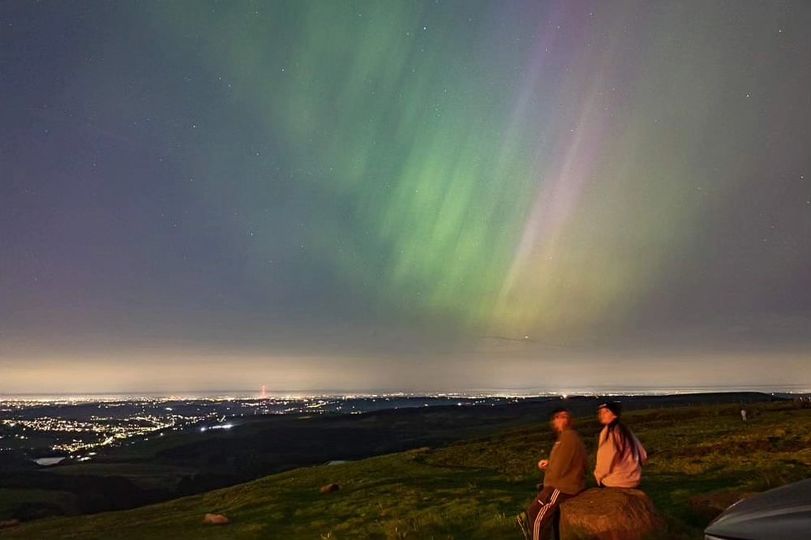
Photo by Sarah Collins - 24mm, ISO 800, 15 second exposure. Editing - slight dehaze in LR
Perspective and orientation
How you use space within your frame matters.
- Use the space in your frame to enhance what matters: If you're including both the ground and the sky in your photograph, a good rule of thumb is to avoid placing the horizon line in the middle of the frame. we're here to big up the beautiful sky so make sure you give it more frame real estate than the element that's meant to 'ground' it. 1/4 ground vs 3/4 sky is a good balance, though feel free to play with it.
- Vertical vs. Horizontal: While wide, horizontal shots are classic for aurora photography, don’t ignore the power of vertical compositions, especially when the lights are directly overhead or when reflected in a vertical element like a tree, building or similar
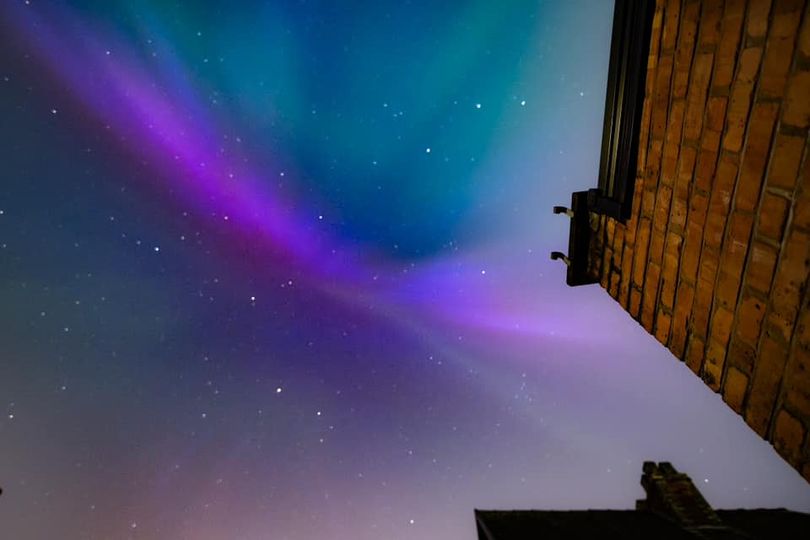
Big camera-f1.4, 6.5 secs, ISO 1250. Taken from our backyard in central Manchester.
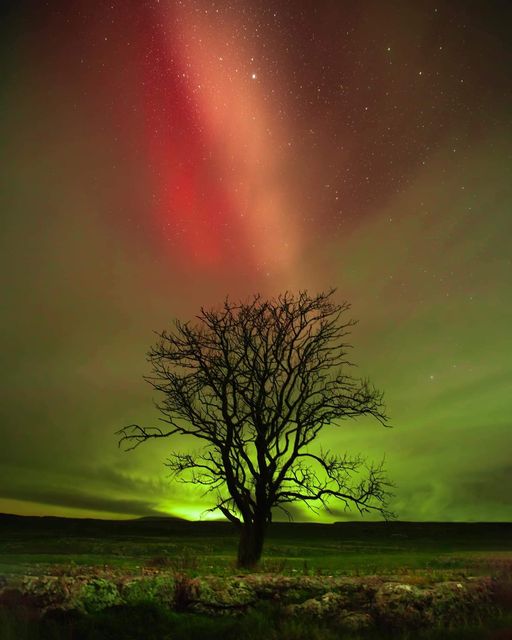
Photo by Neil Birchall
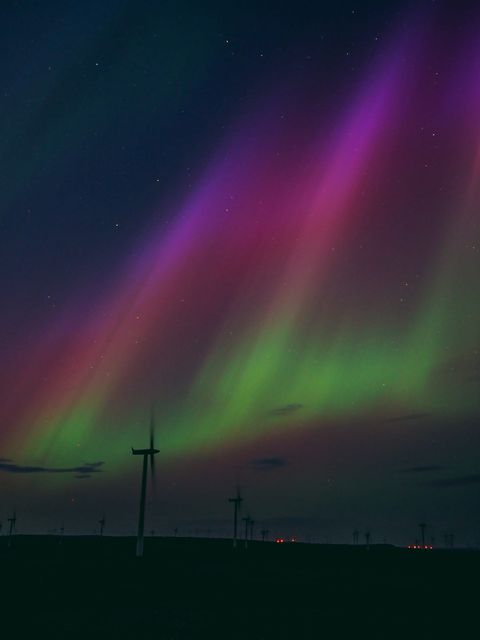
Photo by Bonnie Harkins - Olympus em5 mark iii. F3.8, 6 seconds, 17mm, ISO1000. Edited in Lightroom mobile: exposure +0.2, contrast +8, highlights - 14, colour temp - 6, dehaze +19
Capturing Aurora's Movement and Drama
The aurora borealis is dynamic, with light patterns that can change rapidly. Capturing this movement can add a lot of drama to your photos:
- Time-Lapse Sequences: By setting up your camera to take a sequence of images over time, you can create a time-lapse that shows the movement of the aurora. This is particularly compelling when the lights are very active. Some cameras and phone apps have settings that will prompt the camera to take photos automatically at certain time intervals. Look for Interval timer/ interval mode in your camera menu ( sometimes they are called time lapse as well). The key thing is to set the camera firmly on the tripod and get your light/ focus settings dialled in correctly. Then just set it up to your selected intervals ( every 20 - 30 seconds may be good) and let it do its thing.
- Multiple Exposures for Creative Effects: Experiment with multiple exposures to create unique effects in your images. This can be done by combining several photos of the aurora in different stages of movement to show a fuller range of motion. Many cameras will allow you to do this in camera, others will require you to do that in editing afterwards.
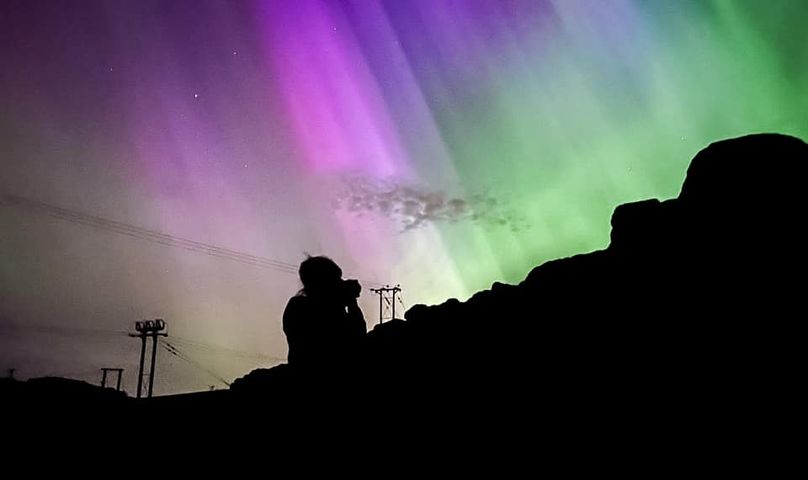
Photo by Natalie Michie's thoughtful husband
Silhouettes
Silhouettes can add a mysterious or dramatic touch to your aurora photographs:
- Silhouettes of Natural Forms: Trees, mountains, or even people can be used as silhouettes against the aurora-lit sky. Place these elements in front of the camera and expose for the sky, leaving the foreground elements dark but recognisable.
- Interaction with the Environment: Having people interact with the environment under the aurora can create compelling narratives in your photos. A person standing and reaching up towards the aurora can create a sense of scale and wonder.
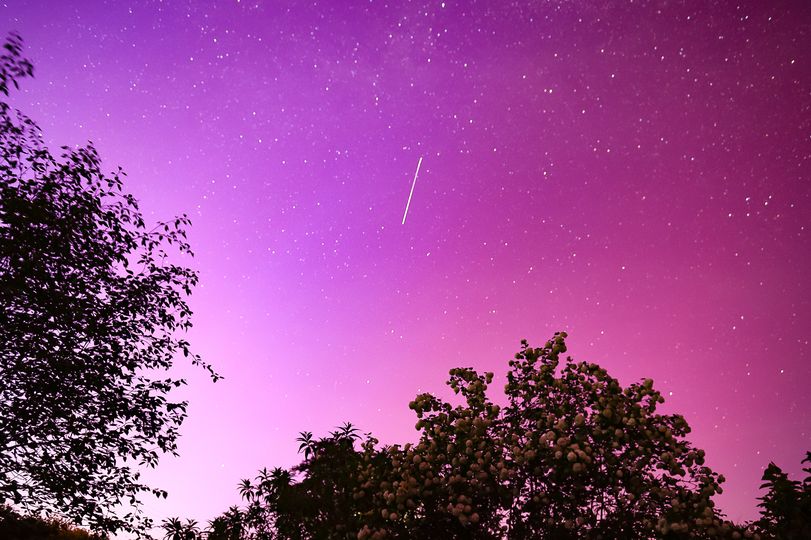
Photo by Sarah Gibson - shot on Nikon Z6ii, settings: f2.8, SS between 15" and 20" ISO 400-500. Editing: dehaze, lifted the whites and (in most) the shadows
Advanced Composition Techniques
For those looking to add an extra layer of depth and artistry to their photos, consider these advanced techniques:
- Star Trails and Auroras: By using a longer exposure or stacking images, you can capture star trails alongside the aurora, adding celestial motion to the scene. Some cameras - such as Olympus Om-1 have this option built in and can help create the star trail effect directly in camera. Otherwise you will need to do this in post production.
- Panoramas: For an expansive view of the landscape under the aurora, stitch together several wide-angle images to create a panorama. This can be particularly effective for capturing a large auroral arc over a wide landscape.
- Starbursts - while we generally recommend wide apertures for capturing the northern lights to maximise the light capture, if you have smaller light sources on the horizon ( street lights etc) you can switch your aperture to the narrowest setting available and compensate by extending your shutter speed and increasing your ISO. You will be rewarded with starbursts to complement the glorious technicolour skies.
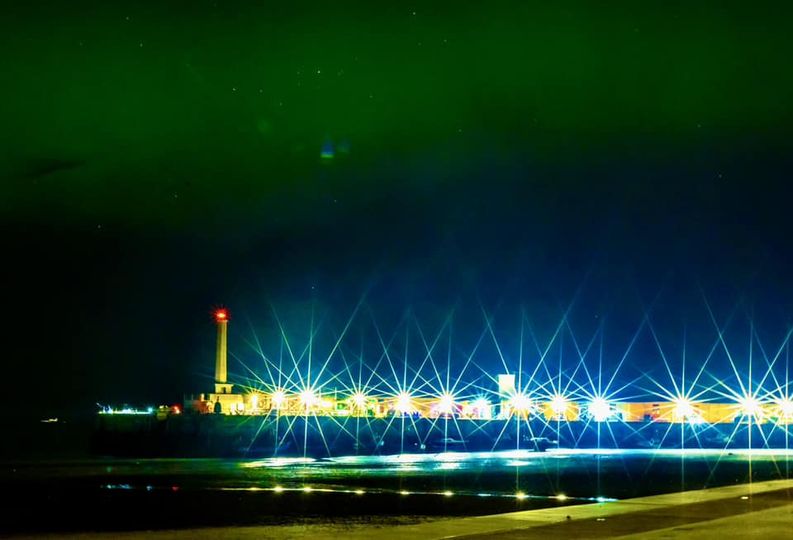
Photo by Kerry Anderson - captured on Mirrorless camera iso 4000, f22, 10a. Increased clarity, noise reduction, lifted whites, increased vibrancy.
4. Editing Tips
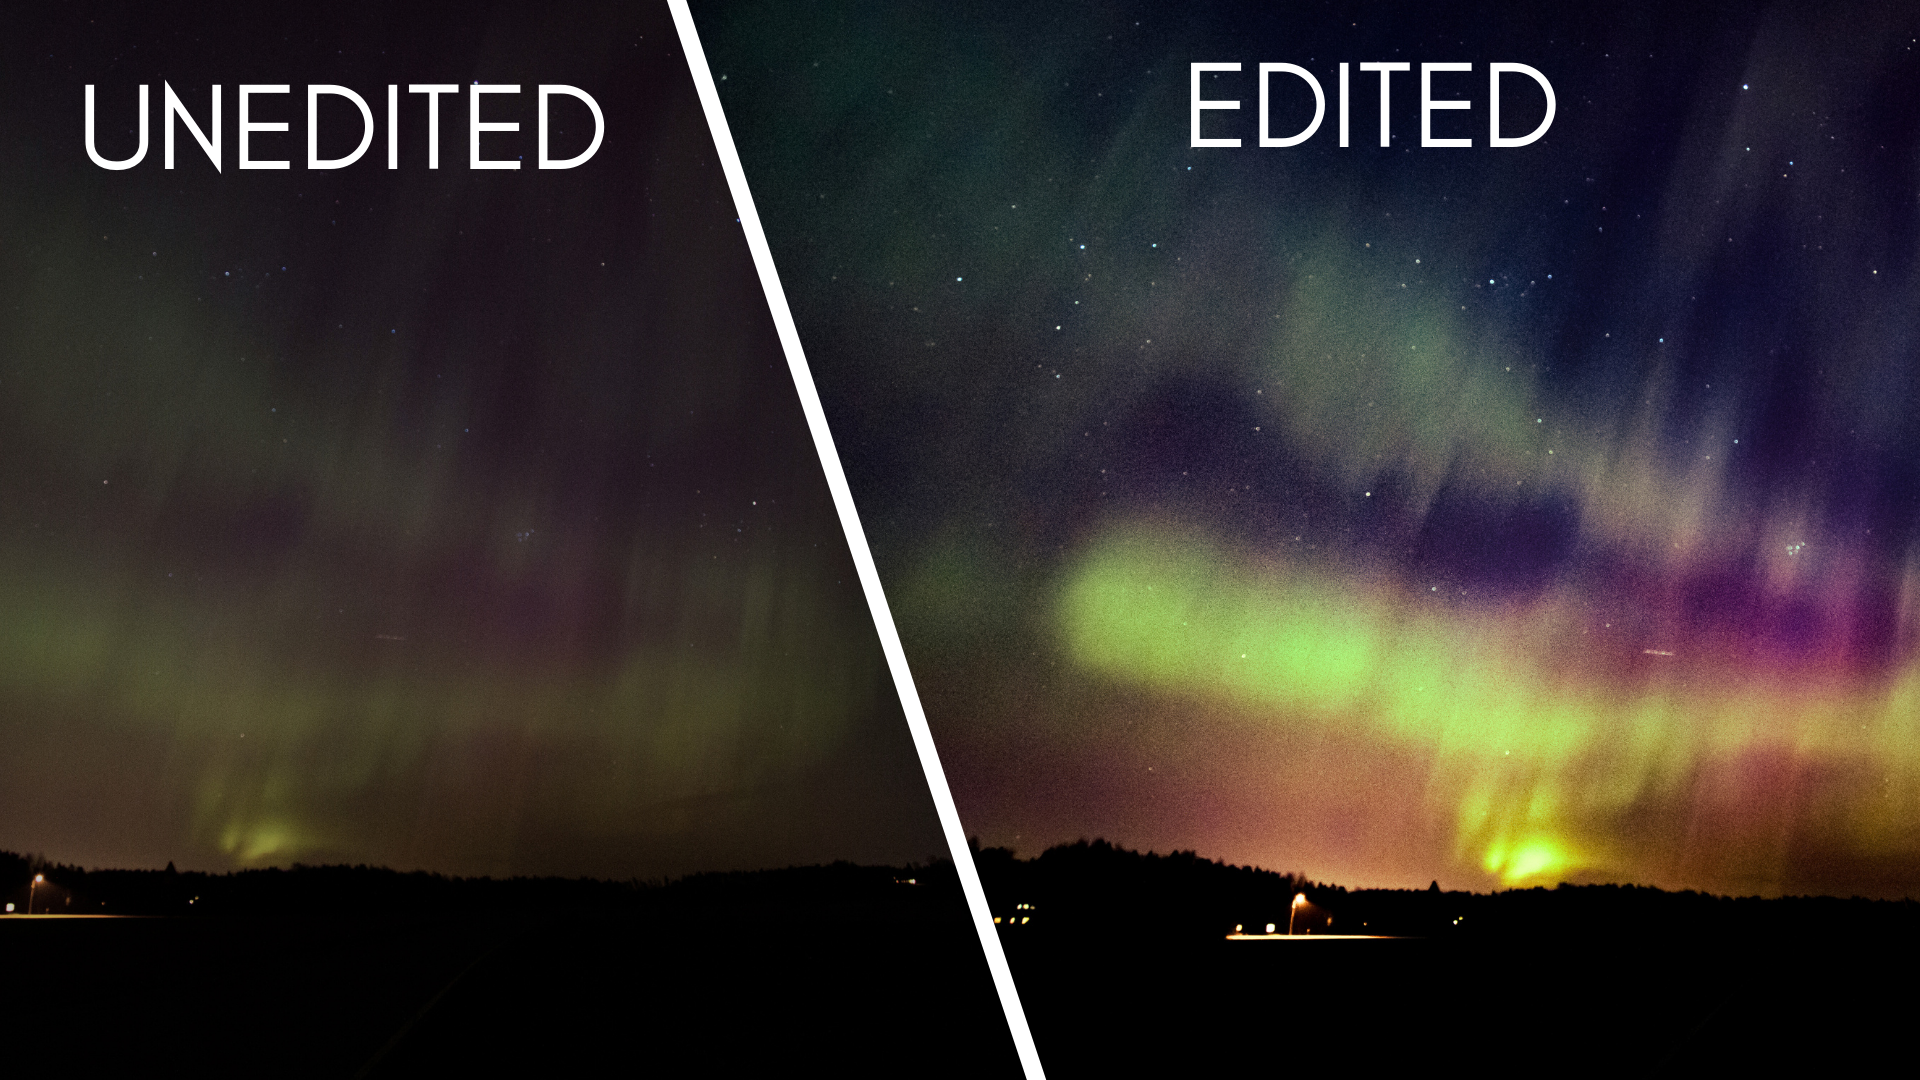
If you're not editing your photos yet, the Aurora photos may be the reason to start. The potential for amplifying the aurora light and making it look as bright in your image as it felt on the day is simply immense. Here are the settings we recommend tweaking ( based on Lightroom / ACR settings)
Basic Adjustments
- Exposure and Contrast: Adjust the exposure and contrast to enhance the lights without losing the details in the dark areas.
- Dehaze - the dehaze setting is simply amazing at heightening the strength and saturation of dim or hazy photos - but careful, it can be easily overdone, in which case you may want to lower the saturation to compensate.
- Color Balance: Auroras can range from green to purple. Adjust the temperature and tint to reflect the scene accurately or to your artistic preference.
- Clarity and Texture: Increase clarity to bring out the textures in the aurora and sharpness to enhance the edges and details.
- Black point - nudging the black point towards the left can help lower the darkest of shadows to increase the contrast and help the light shine brighter
- Noise Reduction: High ISOs can introduce noise. Use noise reduction to maintain details and smooth the sky texture. Again a warning - don't overdo it or you risk reducing the star details.
I hope this guide gives you a useful jump off point when you next find yourself faced with this beautiful phenomenon and armed with your camera. Enjoy!
DOWNLOAD THE PDF VERSION OF THIS GUIDE FREE
More Aurora examples
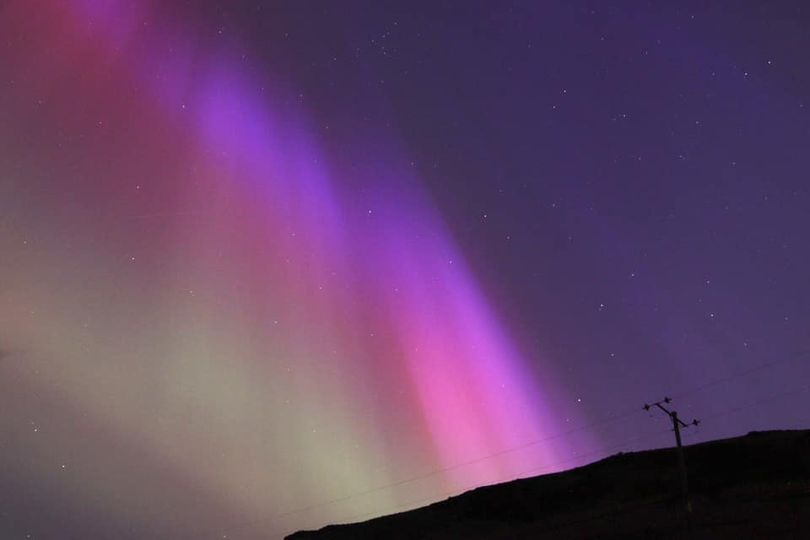
Photo by Jenny Taylor
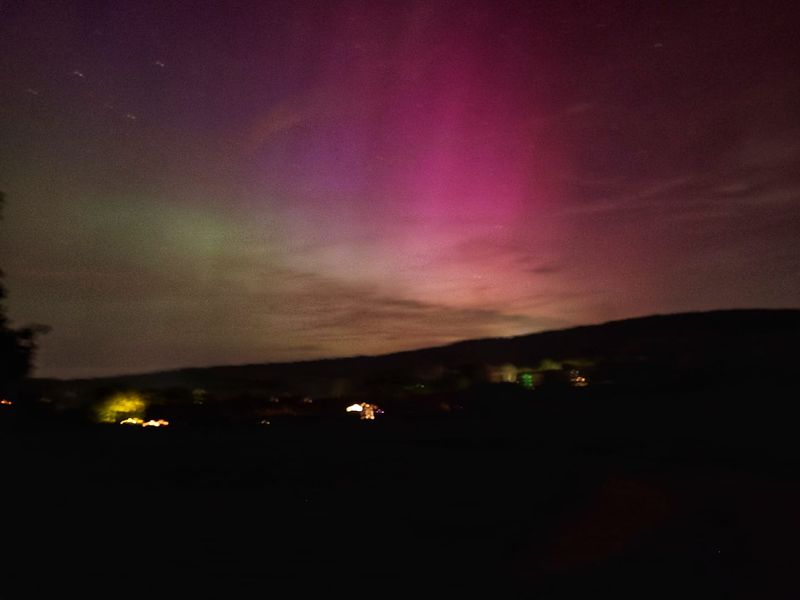
Photo by Thushara Wickramisinghe
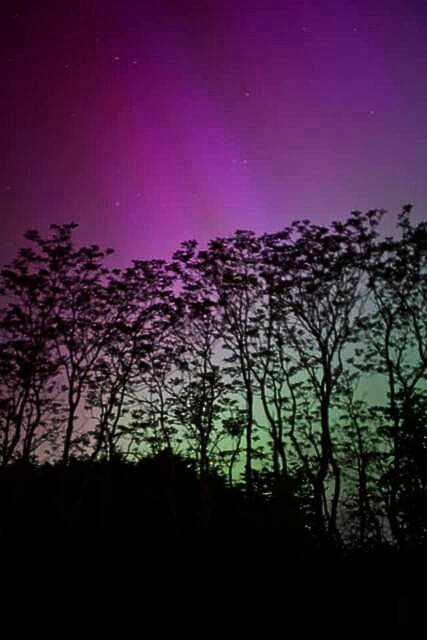
Photo by Sophie Porter
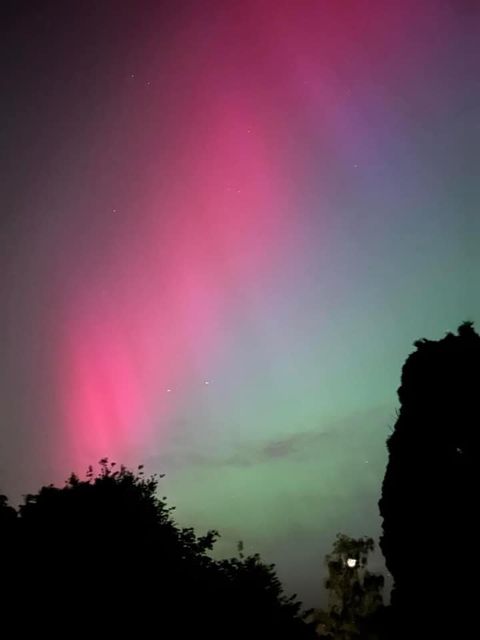
Photo By Hemisha Camtar
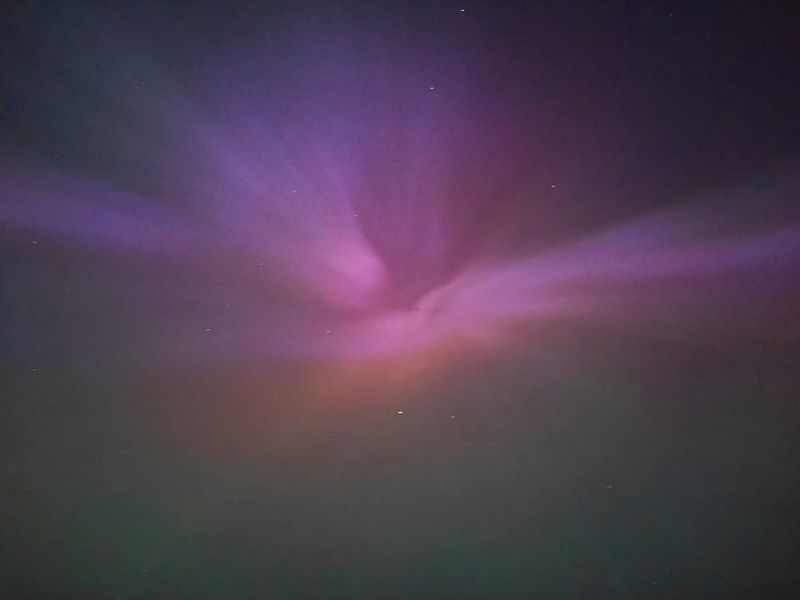
Photo by Eve Callow
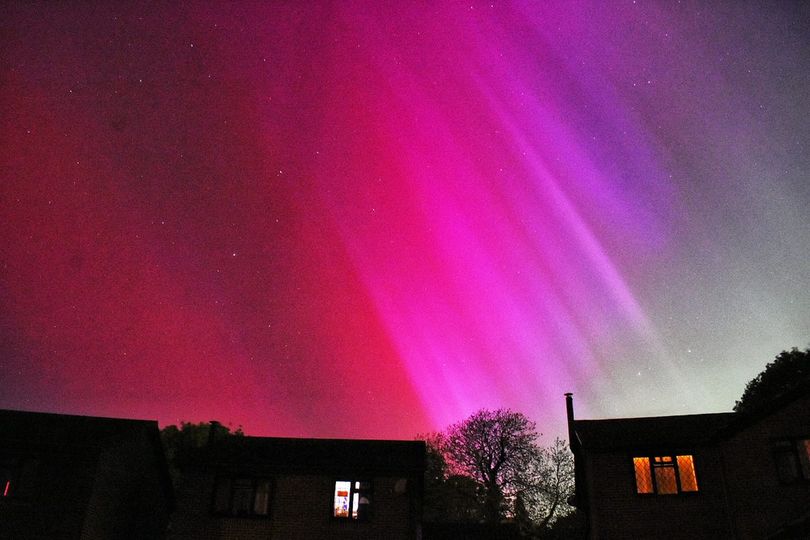
Photo by Hannah Slater
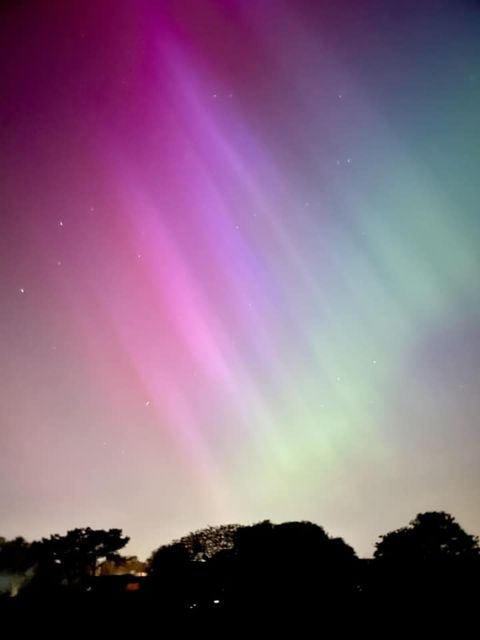
Photo by Kate Virdi
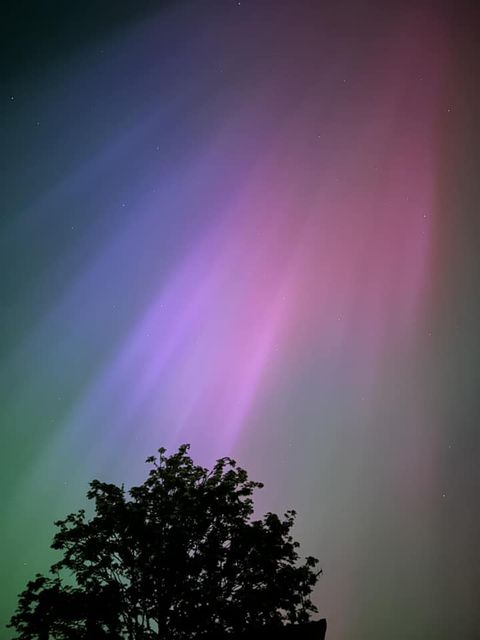
Photo by Claire Cullingford
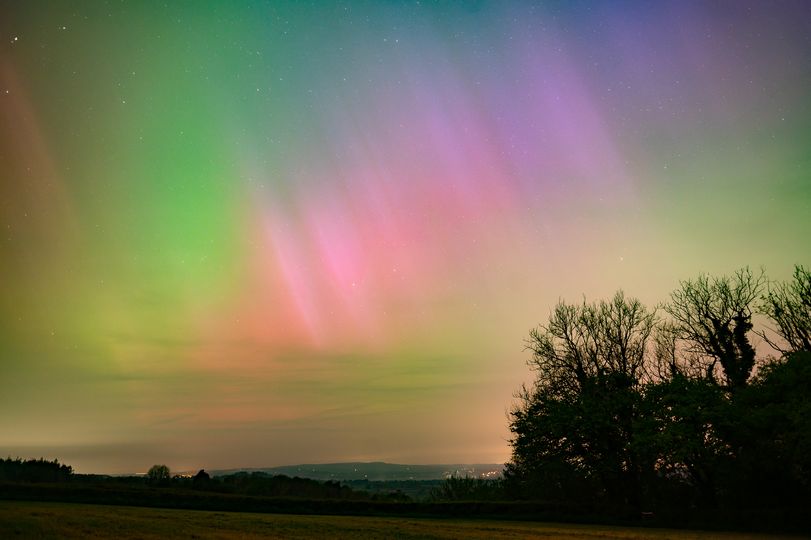
Photo by Sarah Gibson
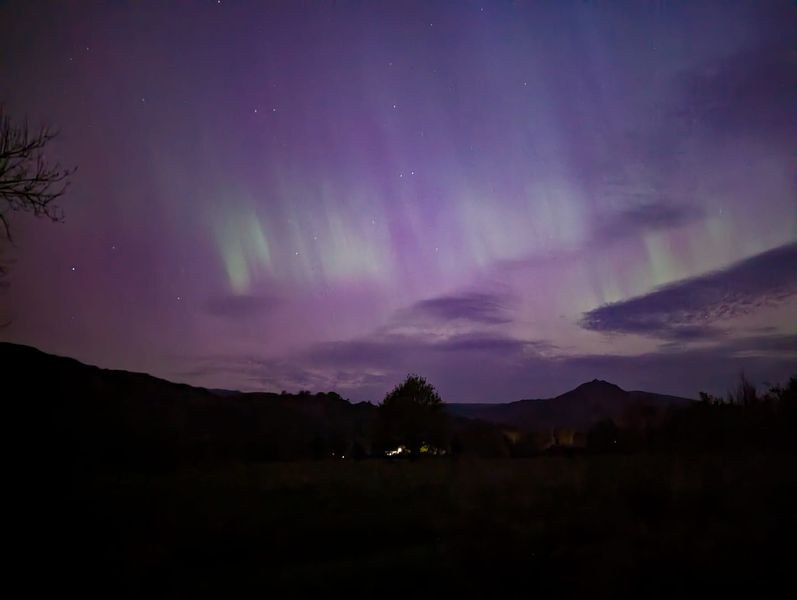
Photo by Ruth Smith
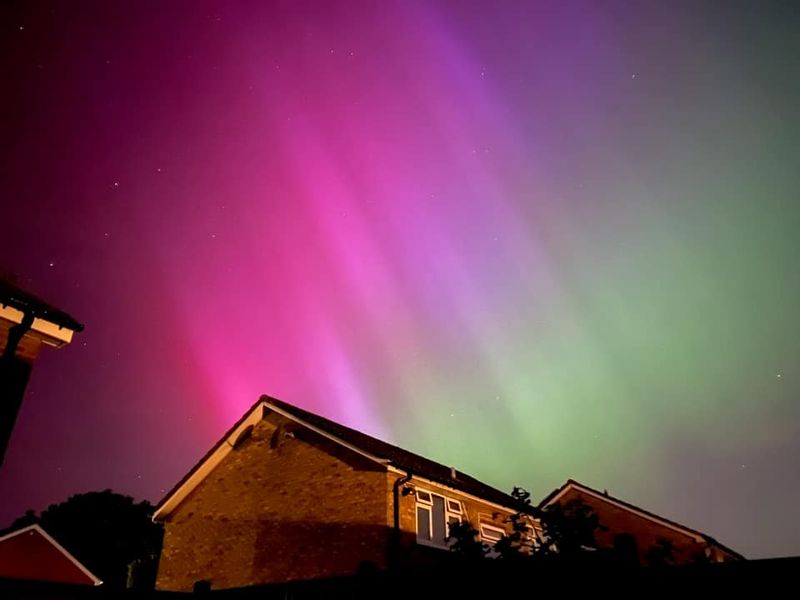
Photo by Jo Fowler
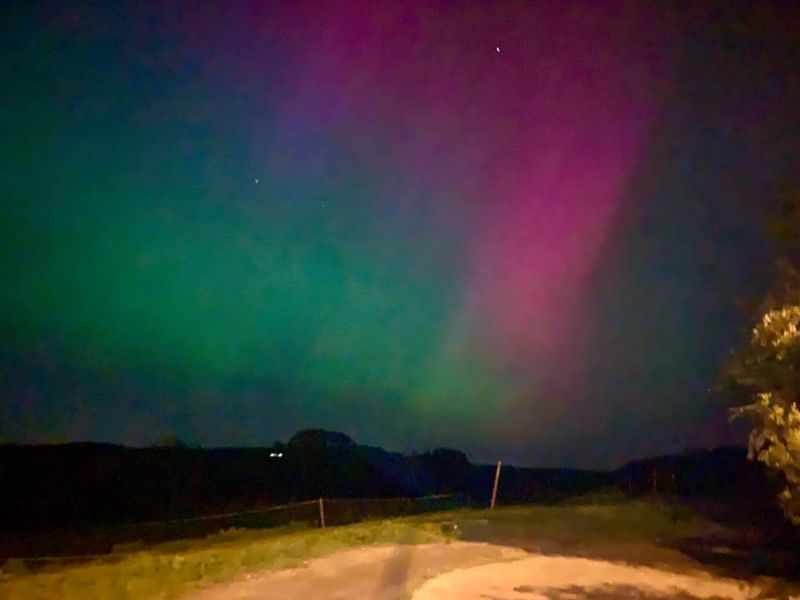
Photo by Helen Grey
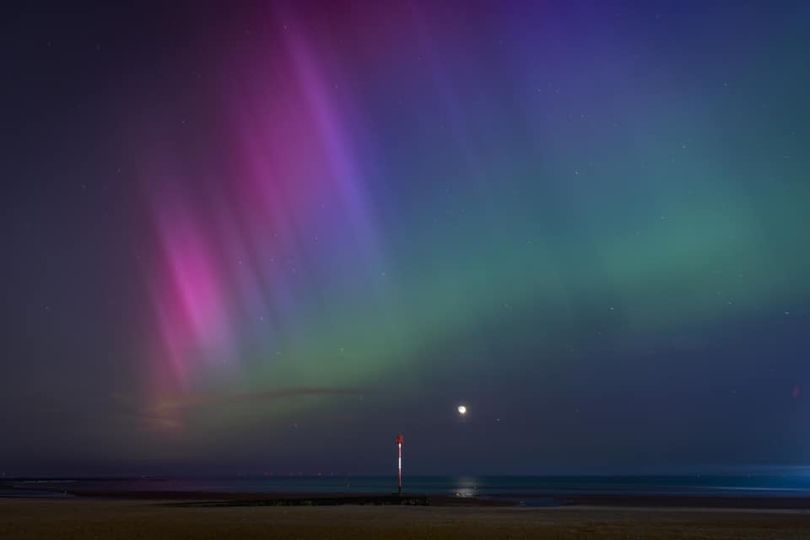
Photo by Helen Simon
